Paint

Why I Repainted my Chalk Painted Cabinets

If you are considering using chalk paint on your cabinets, this is a must-read.  Don’t make my mistake!  Learn from why I repainted my chalk-painted cabinets.

Why I Repainted My Chalk Painted Cabinets

When we first moved into our home, I painted our kitchen cabinets with chalk paint.  This is what they looked like before (the first time I painted them):
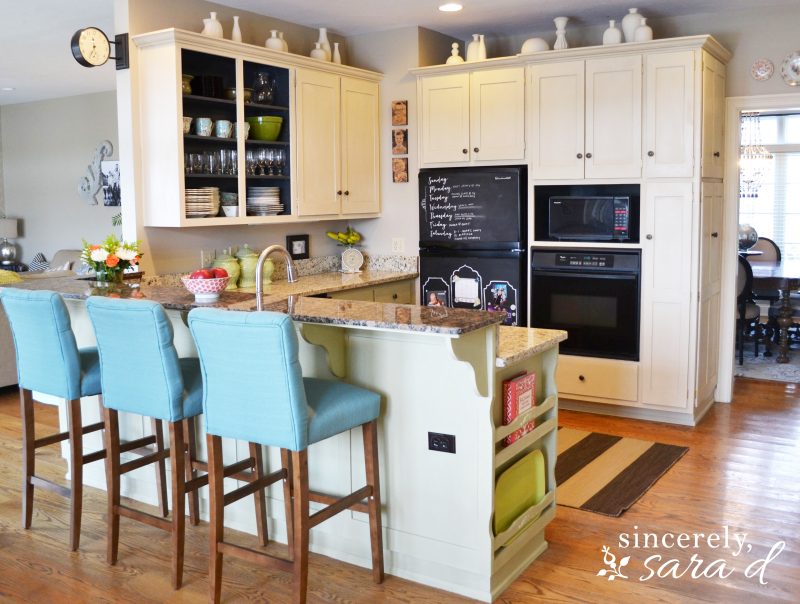
And here is a photo of how our kitchen cabinets originally looked when we first moved into our home:

Why I Repainted our Chalk Painted Cabinets

The chalk paint itself has held up really well. There was little to no chipping. Chalk paint is amazing for DIY projects because it requires no prep work and eliminates the need for priming.

However, I made one mistake.  Unfortunately, it was a big mistake – so big that I had to repaint the cabinets.

Cabinets Before

I used wax as my sealer.

Why not to use wax on cabinets

It is hard to see in photos, but the clear wax was next to impossible to clean in the kitchen.  Dirt, grease, dust, and grime were getting caught in the crevices, and the wax did not clean up easily.

Why I repainted my chalk painted cabinets

Don't use wax on cabinets

I had to repaint my cabinets.

Painting Cabinets with Amy Howard One Step Paint

I used chalk-type paint again, and I painted right over the previously painted cabinets sealed with wax.  I would recommend using sandpaper and/or a coat (or two) of primer if you paint over cured wax.  However, most likely you are not painting over the wax and will not need a primer. To apply the paint, I used a brush for the crevices and a roller for the flat areas.

Using a foam roller on cabinets

How to Correctly Seal Chalk-Painted Cabinets

I painted everything with two coats of paint (allowing the first coat to completely dry before I added the second coat) and finished with two coats of sealer. I applied the matte sealer the same way I applied the paint, but you can also use a water-based sealer like a polyacrylic (found at any hardware store).

I have already noticed such a difference between the sealer and the wax.  Now when my kids sit at the bar, I don’t have to worry as much. All the dirt they kick up can now be easily wiped away!

Painting Cabinets with Chalk Paint

Painted Kitchen Cabinets with One Step Paint

Chalk Painted Cabinets

If you are considering painting your cabinets with chalk paint, don’t make my mistake (which is why I repainted my chalk-painted cabinets).  

Use a top coat other than wax in the kitchen. 

I know people often love the look of dark wax to provide that more lived-in, distressed look. However, try antiquing your cabinet doors with a dark glaze so you don’t have to use wax as your sealant.


Here’s my supply list for this project: 

Gray Painted Cabinets


Did you know you can also apply chalk paint in a sprayer? I HIGHLY recommend this method when painting cabinetry to avoid brush marks and for a smooth finish.

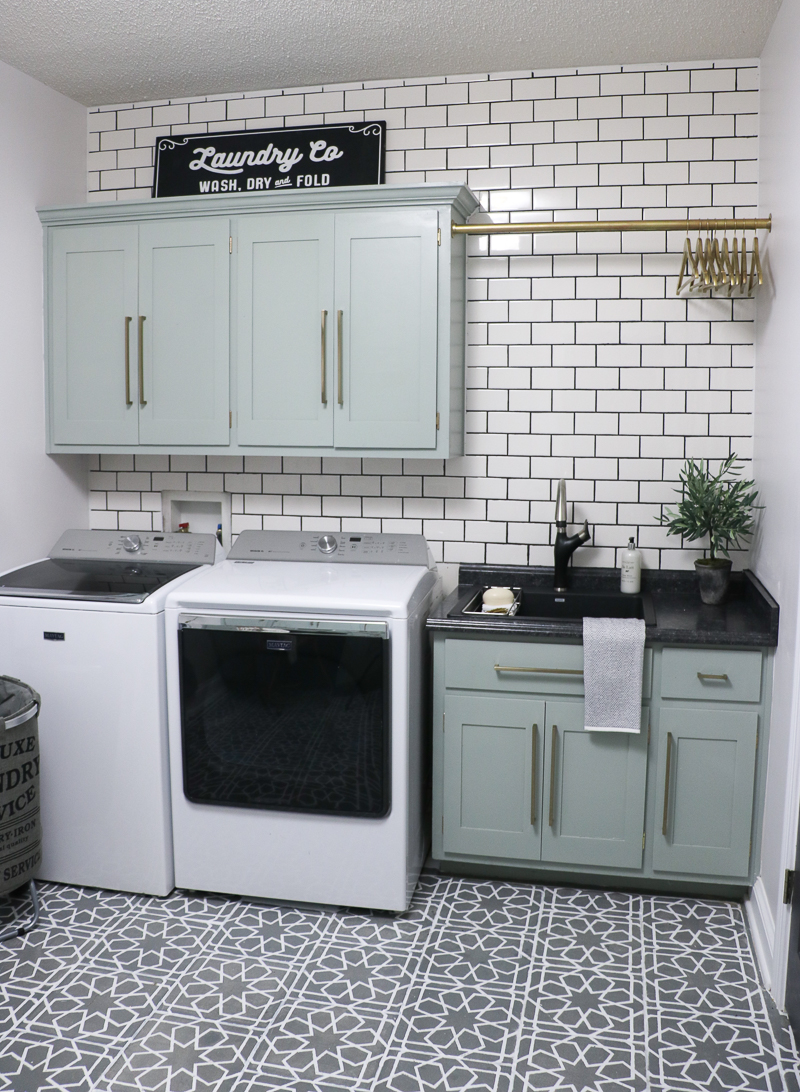
See how my laundry room cabinets turned out by going HERE and for the spraying chalk paint tutorial.

This post was originally published in April of 2016.

Painting our kitchen cabinets helped me love the space until we could remodel it:
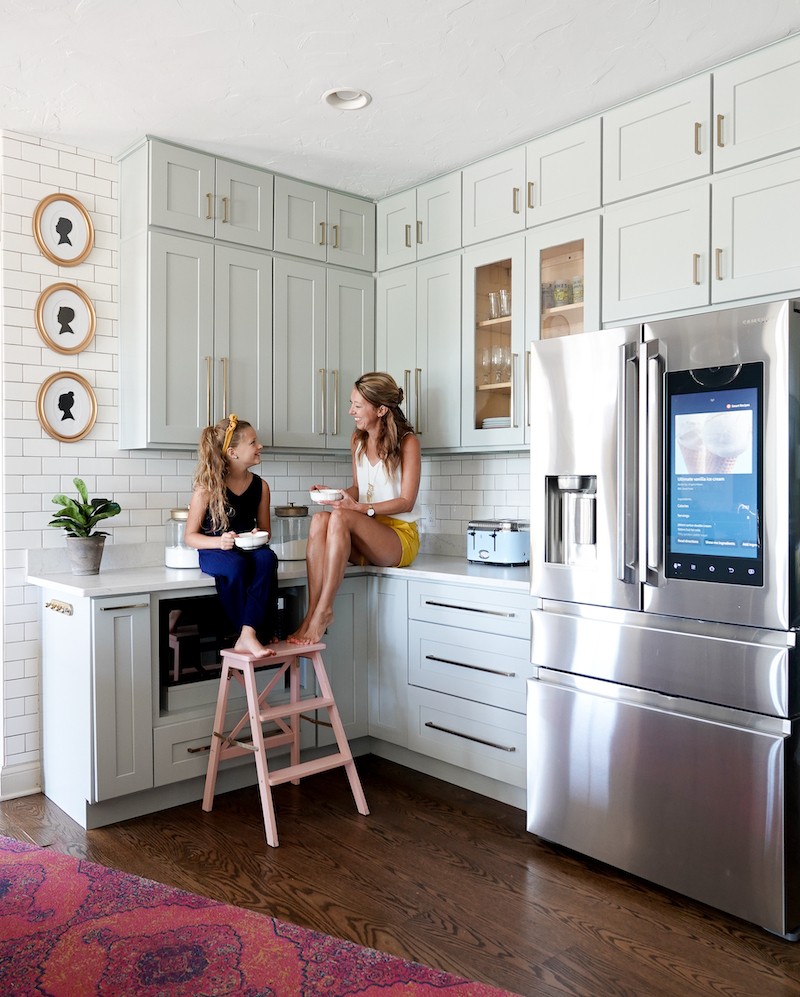
See the full DIY kitchen remodel reveal (and journey) HERE!


Go create something!

Are you new to my blog? Go HERE to see my home tour and HERE to shop for items I use in our home.

Find me on Facebook | Instagram | Twitter Pinterest

*This post contains affiliate links and is a sponsored post by Amy Howard at Home. I take pride in reviewing only products that fit my brand and will be beneficial to my readers. And while this post is sponsored, all the opinions are my own.

Why I repainted my chalk painted cabinets

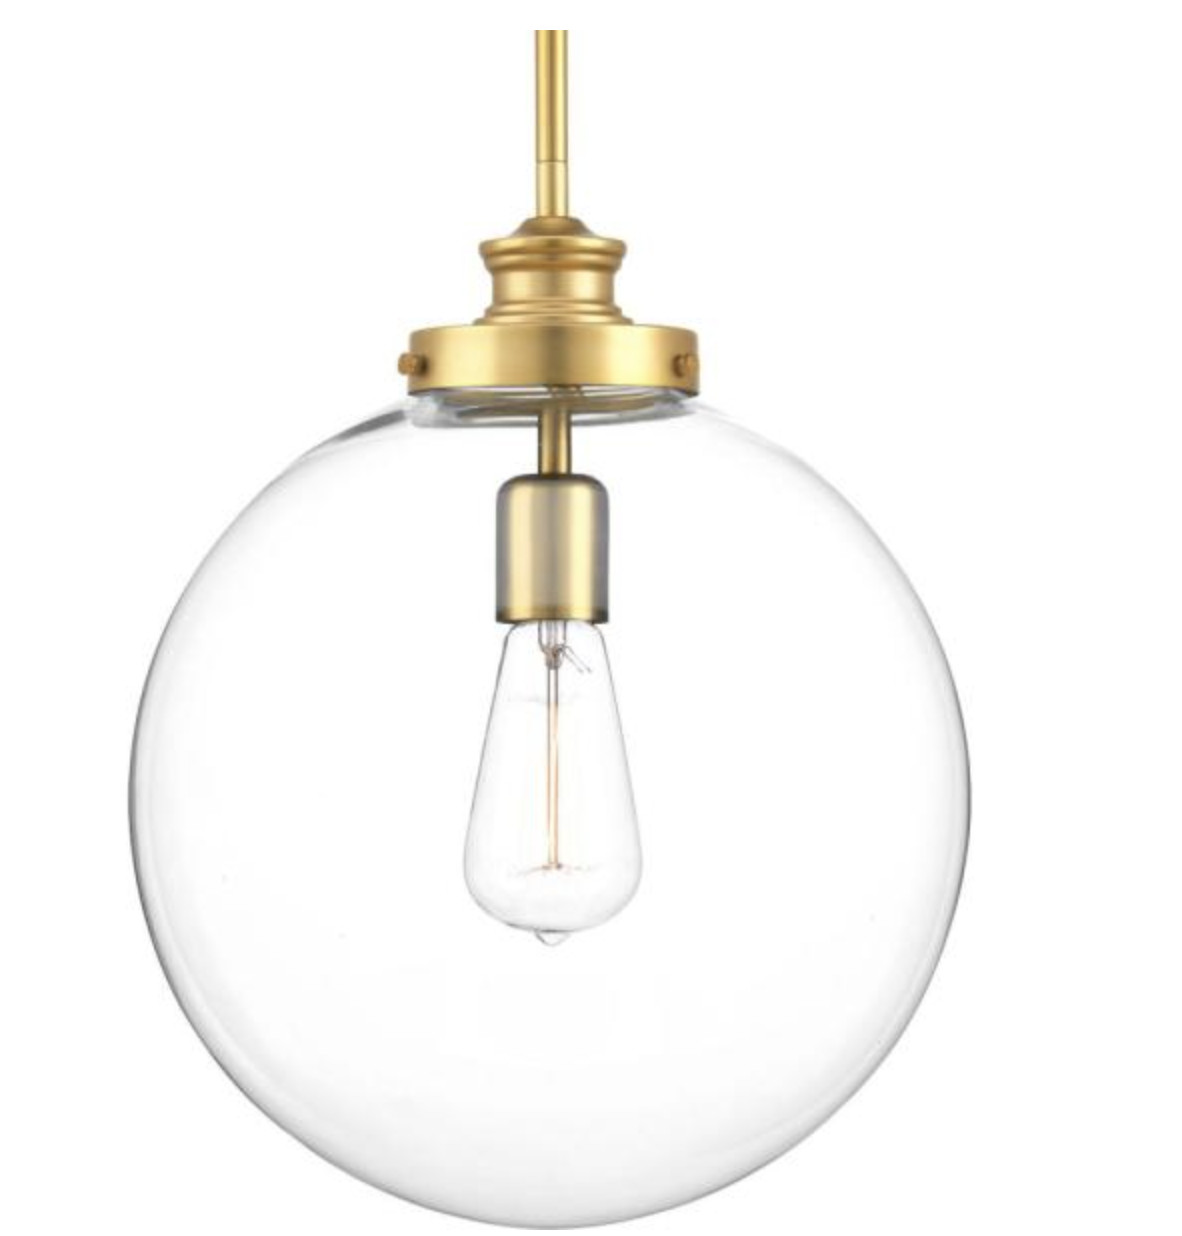
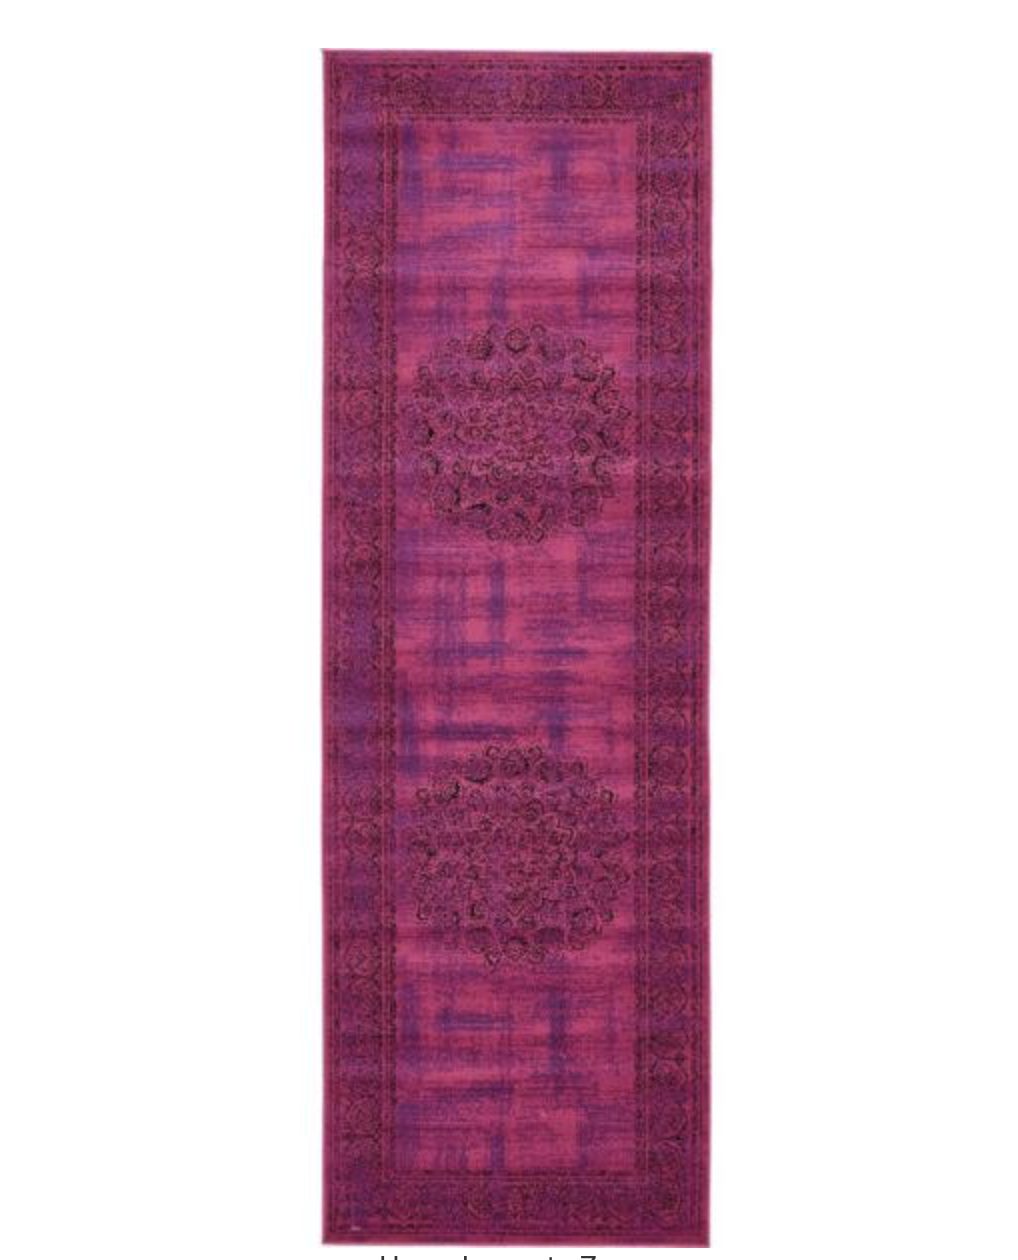
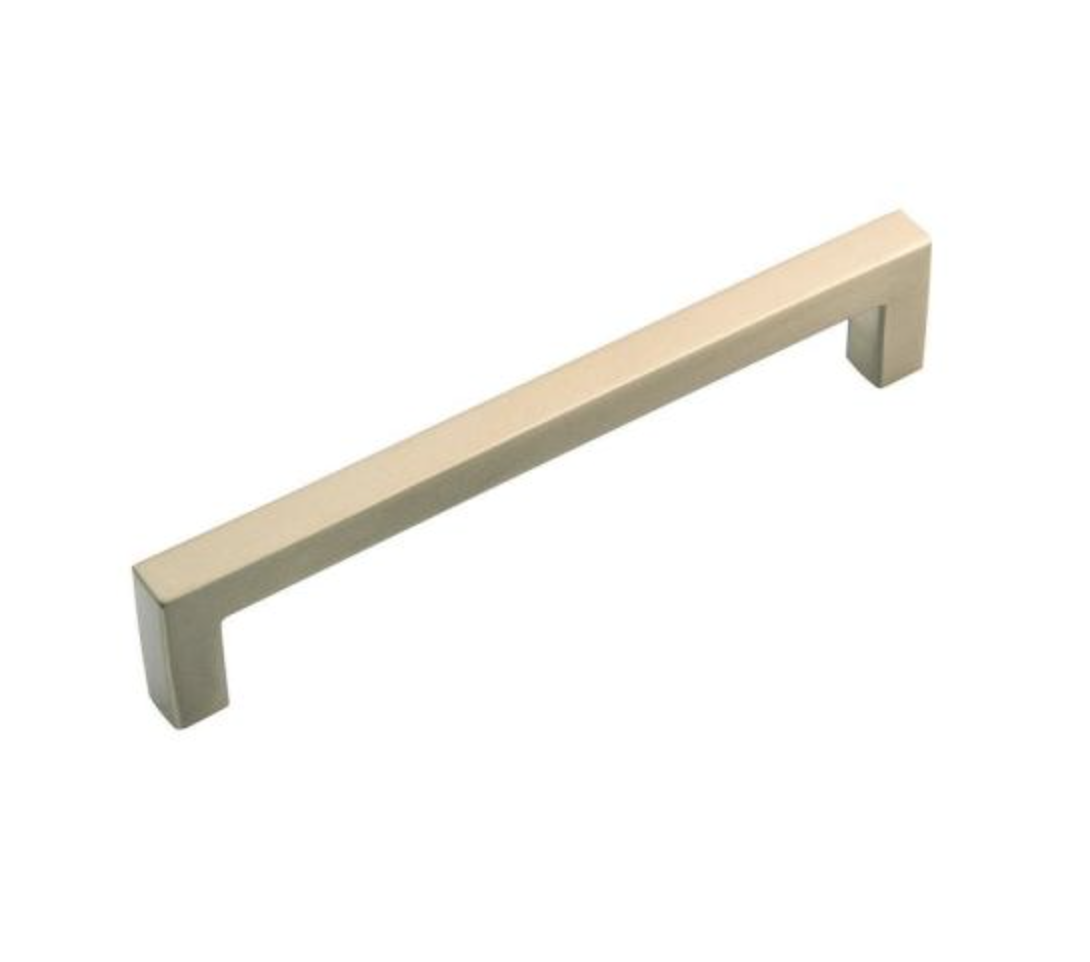
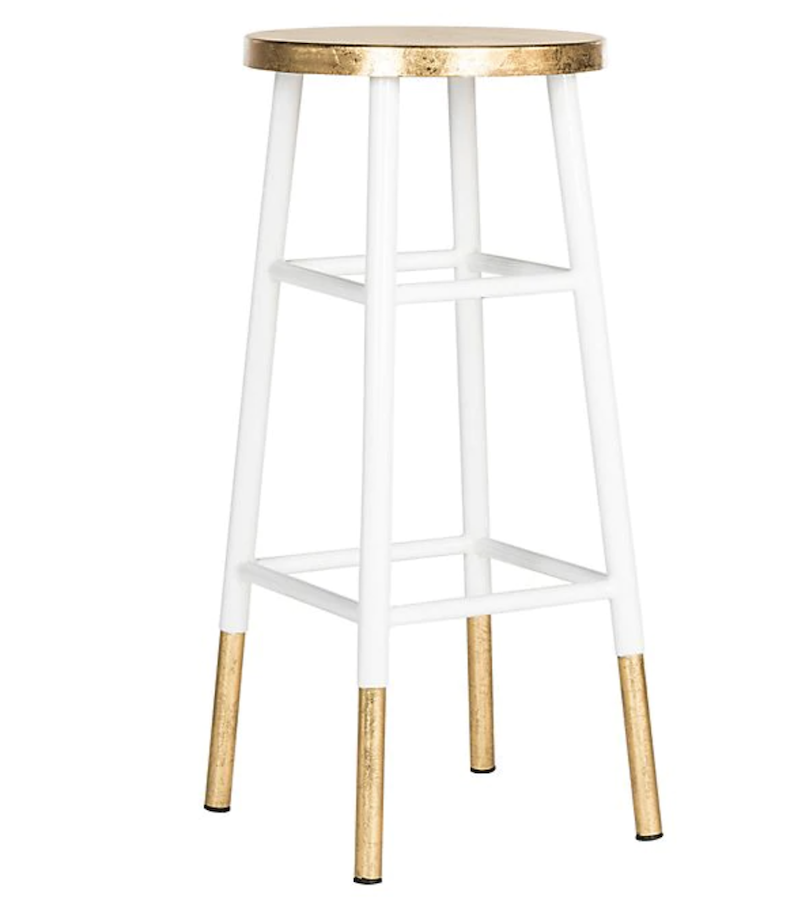
Shop the Post
Decor

Decorating with Brown

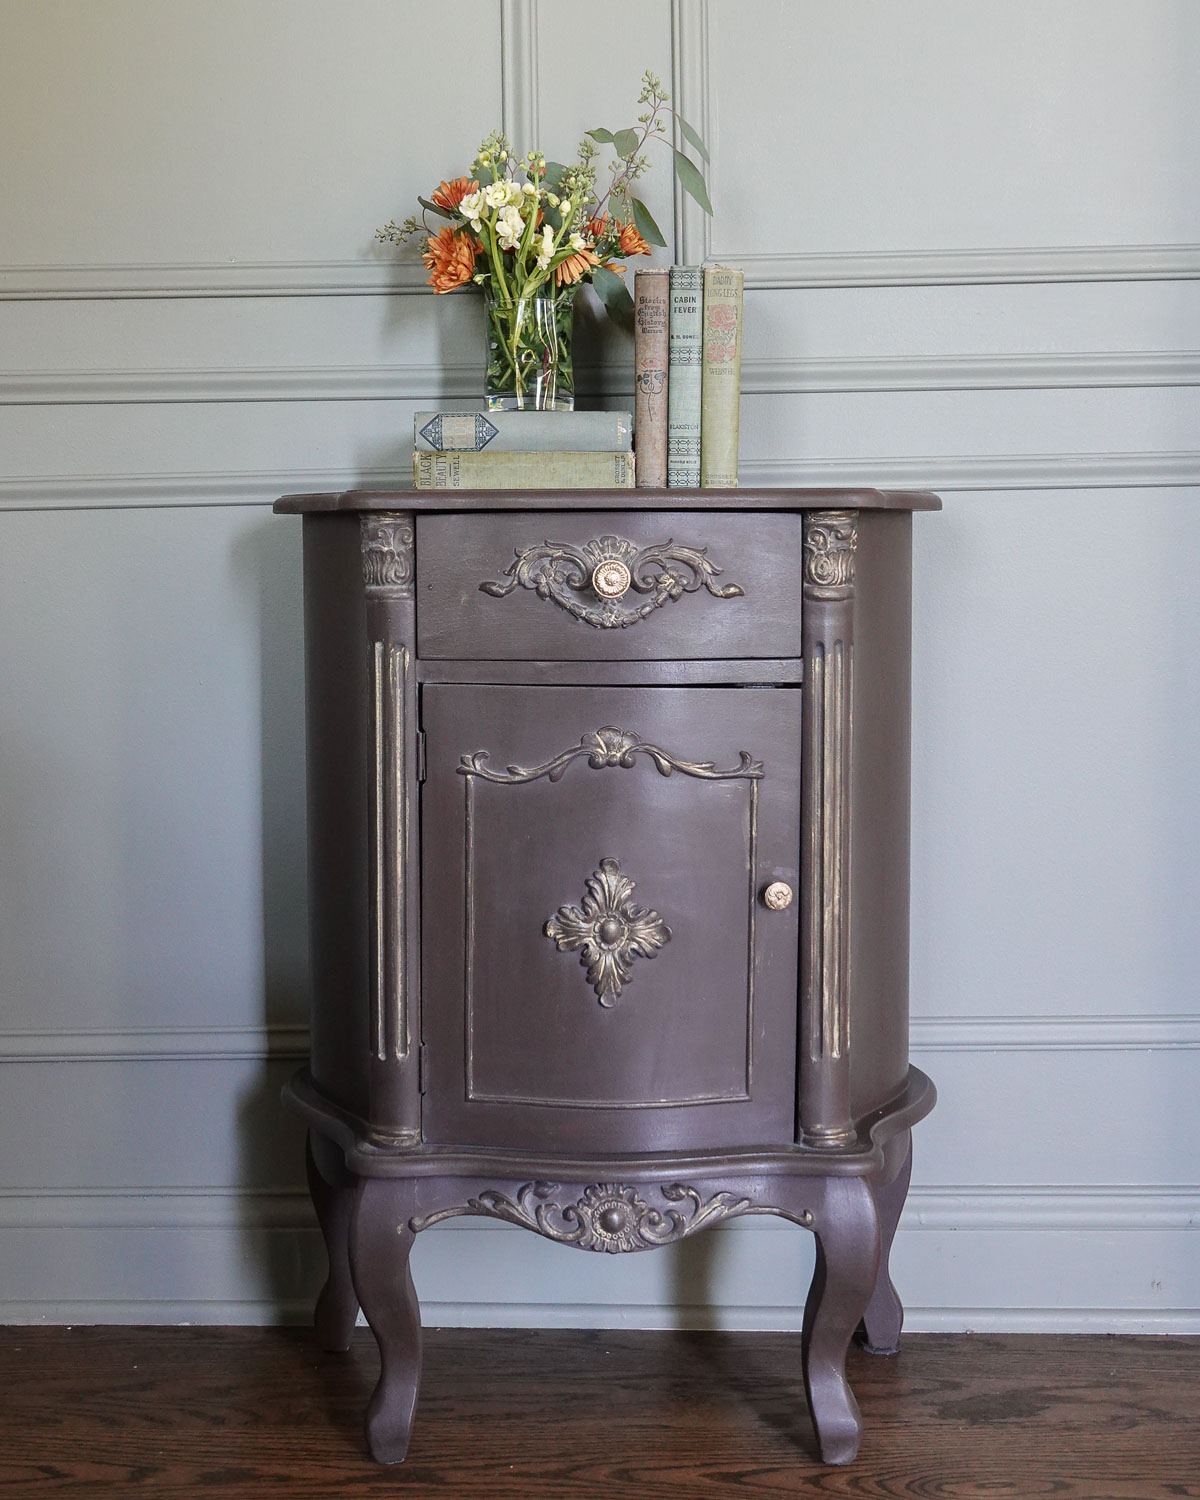
Today we’re talking about decorating with brown. Now before you decided to leave, brown is a hardworking neutral that works with just about every color. When used in the right environment, it can create a warm, stable feeling in any room.

This post contains some affiliate links for your convenience. Click here to read my full disclosure policy.

I partnered with Amy Howard Home to share their Color of the Month.

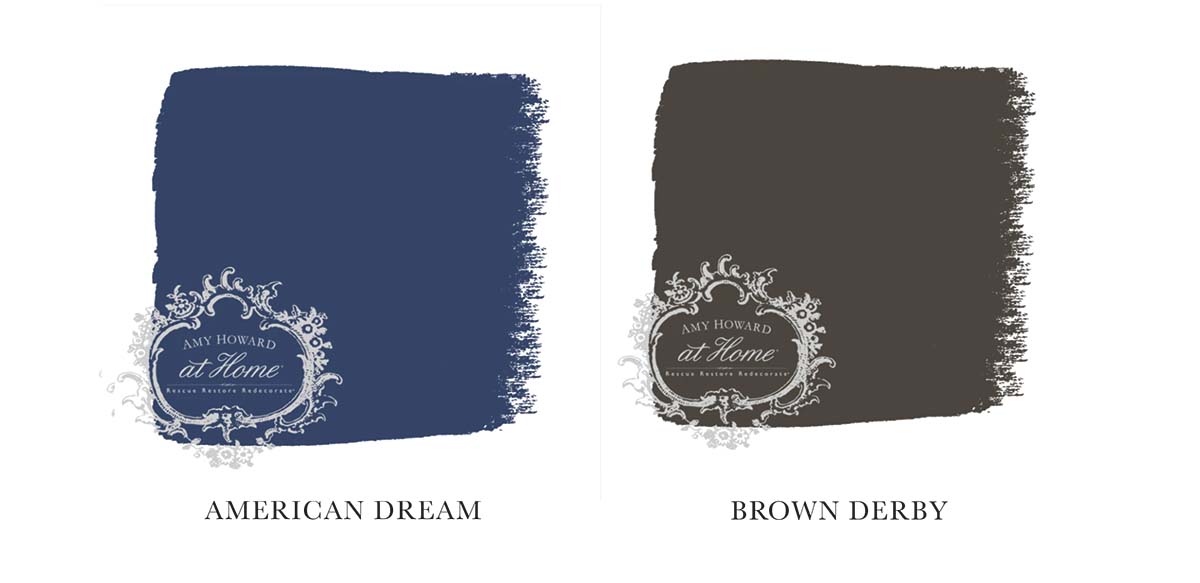
The Color of the Month Club is a monthly subscription where Color of the Month subscribers will receive a new color every month exclusive to the club. This month’s Color of the Month is Southern as Pecan Pie, and it is a dark chocolate brown which is perfect for fall – which is why we are talking about decorating with brown!

An excess of brown can create a dark, heavy feel in your space which is why it’s important to integrate shades of brown into a color palette with colors and shades that complement it. It’s all about knowing the colors that go with brown, and the best ways to incorporate them.

The Color Theory Behind Brown

Despite all of these meanings and uses, you won’t find brown on the color wheel or in the rainbow. It’s a composite color made by combining usually 3 other colors (black, red, and yellow for example, or red, yellow, and blue in certain ratios). Together with low brightness or low saturation, we get brown, instead of a clear shade of another color. Its composite nature makes it a natural background color, and you can find a shade of brown to complement any other color well.

Brown is the color of earth, wood, stone, wholesomeness, reliability, elegance, security, healing, home, grounding, foundations, stability, warmth, and honesty, is a natural, neutral color that is typically associated with the seasons of fall and winter. It is a warm color that stimulates the appetite. While it is sometimes considered dull, it also represents steadfastness, simplicity, friendliness, dependability, and health.

Brown is believed to help create a wholesome feeling, a connection with the earth, and a sense of orderliness and convention. Brown is a stable and grounded color that is known to make people feel safe and comfortable.

Brown & White

White goes with just about every color, and brown is no exception to that rule. Pairing any shade of brown with a white will give you a classic and clean contrast that works well in a room like a formal dining room or living room. If white and brown are your two main colors in any room, make sure you vary the shades to keep it interesting and from being too monochromatic.

Brown & Orange

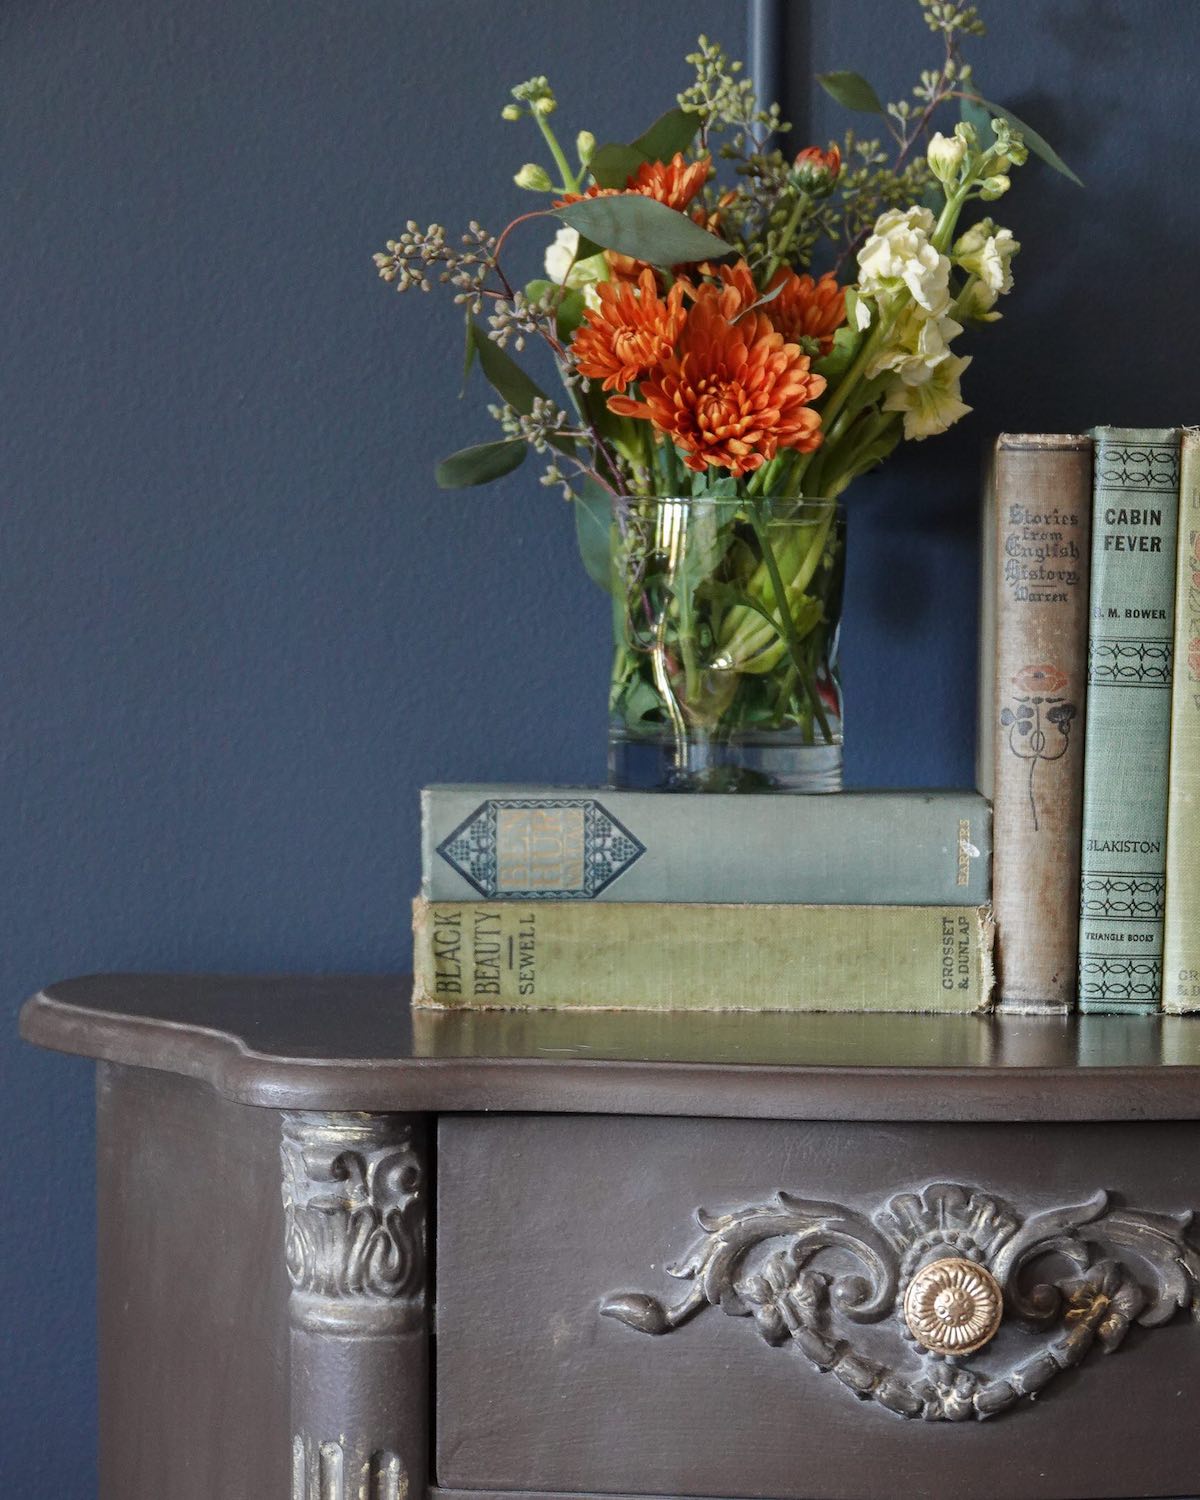
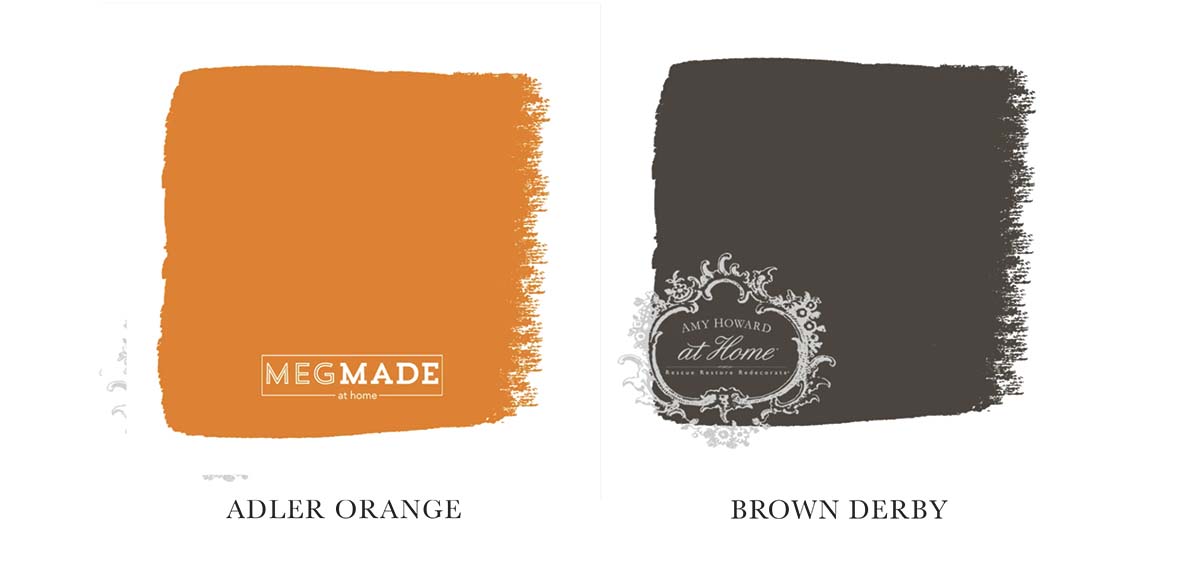
Since brown and orange are such similar colors you might shy away from pairing them together – but don’t! When placed in a primarily brown space, orange accents will serve as the perfect energizer for the room. A pop of orange in a brown room is very sophisticated and glamorous, especially against darker woods. For a more warm, sophisticated color scheme, you can try pairing a dark chocolate background with orange and cream accents.

Brown & Green

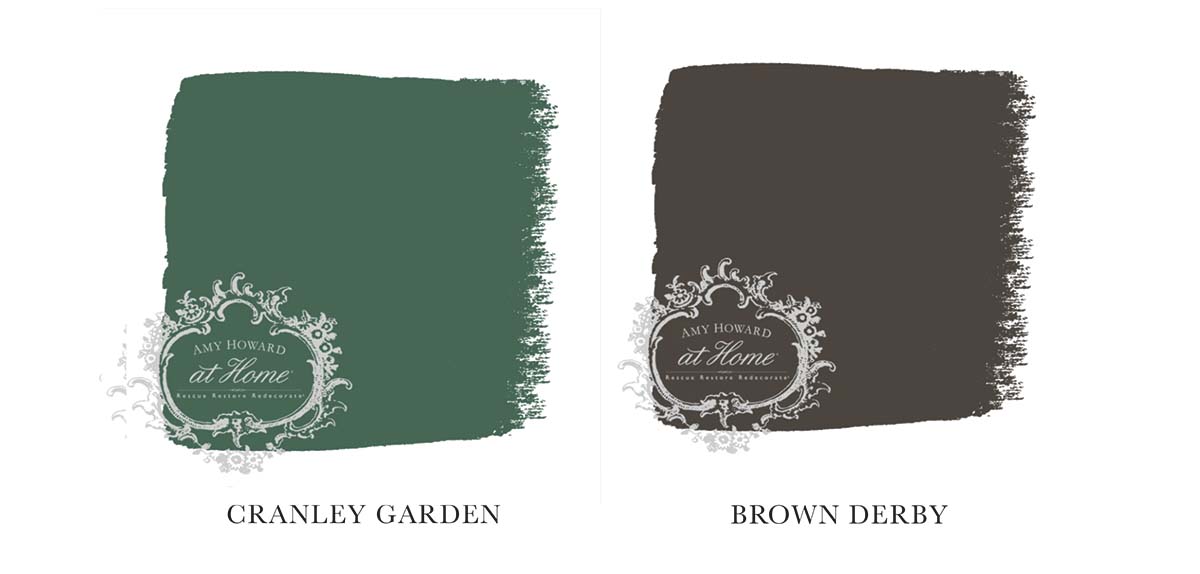
Brown is a color perceived as natural and neutral so pairing it with green plays just makes sense. Lighter shades of green like mint soften the darker furniture in a room. Using darker shades of green paired with dark brown accents or wooden furniture creates a darker, moody vibe that would work for a den or office space. There are few combinations of green and brown that wouldn’t compliment each other thanks to the two colors being natural in nature.

Brown & Yellow

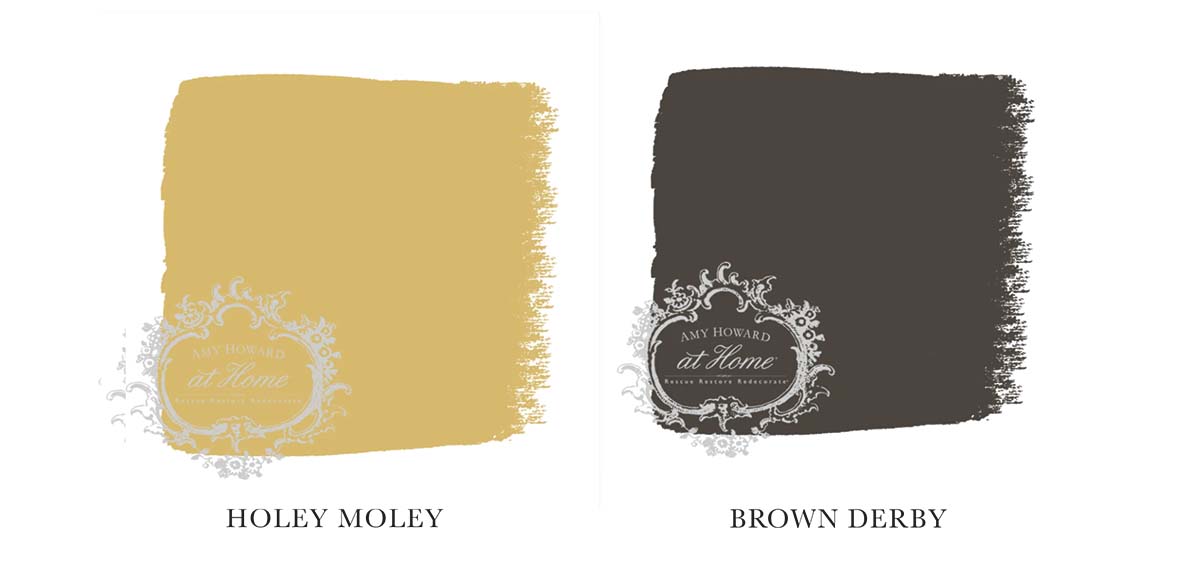
Consider pairing yellow with brown. Pairing brown with yellow creates a contemporary vibe in a bedroom or sitting room. Using the 60-30-10 rule would work well when pairing yellow and brown. 60% of the room should be a neutral shade such as white, with 30% of the room decorated in various shades of brown, while 10% is reserved for yellow accents.

Brown & Purple

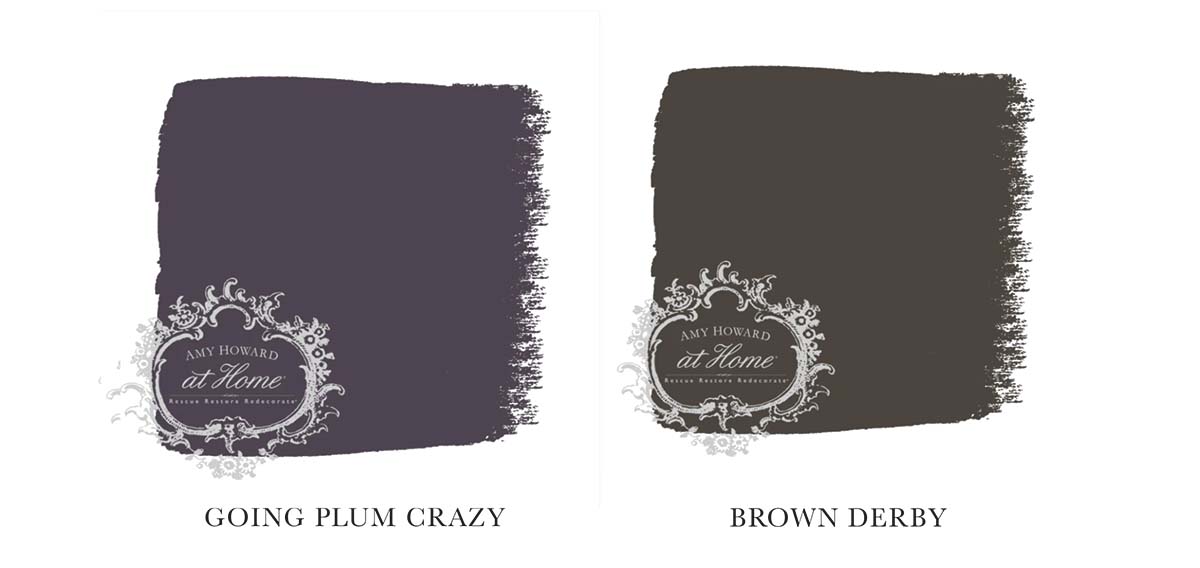
A more unexpected pairing is brown and purple. Deeper shades of purples and browns can make larger spaces feel warm and rich. When pairing purple and brown, always focus on the opposites. Darker woods like walnut pair well with pastel purples, and lighter brown woods pair well with deep shades of purple like plum or bright shades like amethyst. Brown and purple work very well in a room with gold accents and the colors can create a cozy, moody, and luxurious space.

Brown & Blue

You won’t find brown on the traditional color wheel, but since its closest shade is orange, blues is an obvious complementary color for brown. Combining blue and brown tones can make a relaxing environment. Brown paired with dark navy blue makes a room feel refined with the dark colors, whereas pale blue paired with beige or a lighter wood creates a more serene environment. The cool tones in shades of blue mix well with the warm browns of darker wooden furniture without leaving the room feeling too dark or heavy.

Brown & Pink

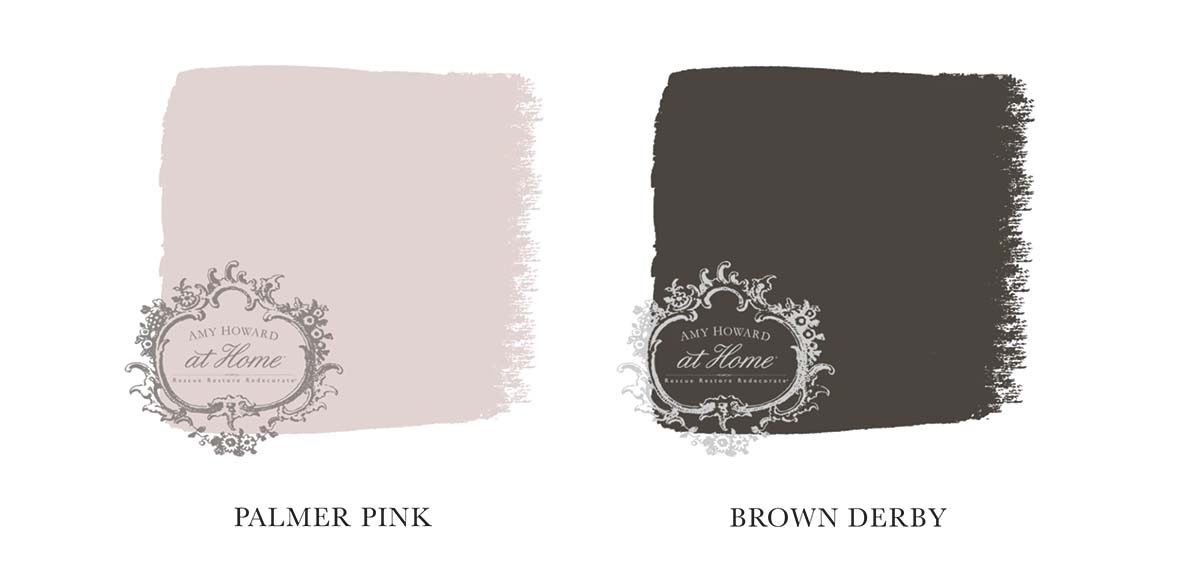
Brown and pink may be an unlikely pair, but they work really well together. Pairing brown with shades like rose or fuchsia creates a feminine space without overdoing it. If you’re going ahead with a pink room, the natural order would be to start with a brown base and brown or wooden furniture, using shades of pink as your accents in things like pillows, curtains, or artwork.

Brown & Black

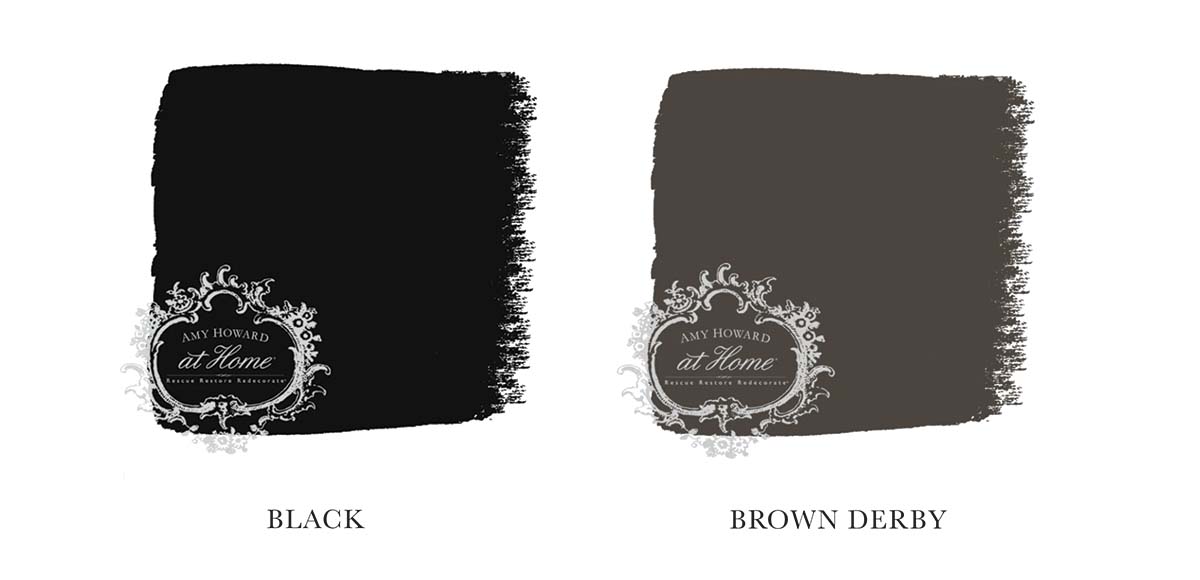
Brown and black are neutrals that work well together and create a classic color palette in any room. When using black as one of your main colors, you must make sure to balance it well. Lighter shades of brown work better so the room doesn’t appear too dark. In spaces with black furniture, brown accents can add depth and interest to the room, while black can create drama against brown furniture.

Brown & Red

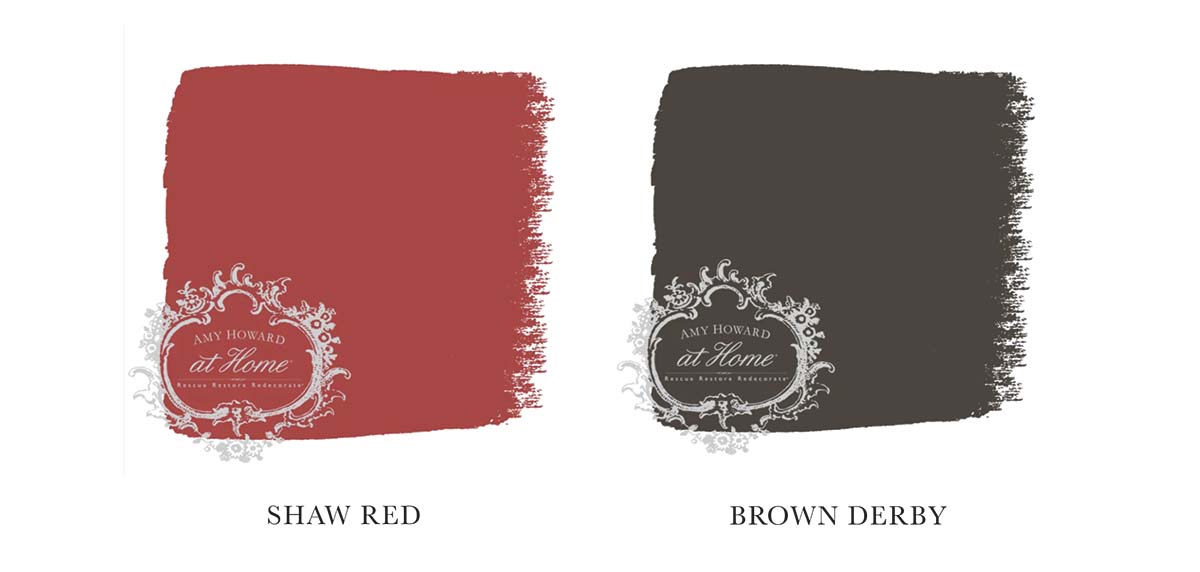
When it comes to pairing brown with red, it’s all about the shade of red that you choose. A room such as a home library or study might call for a moody color palette centered around darker hues of red, whereas a clean, modern bedroom can benefit from a pop of color in the form of a bright red throw blanket or reading chair.

The color brown is a wonderful neutral that can both carry or accent a room design. From deep rich chocolate to soft, muted taupe, brown is the great equalizer and goes with everything.

If you want to see more info on the color of the month club or purchase any of the specific paint colors I mentioned, go to Amy Howard Home.

Go create something!

Are you new to my blog? Go HERE to see my home tour and HERE to shop for items I use in our home.

Paint

Chalk Paint in a Paint Sprayer

Chalk paint can be used in a paint sprayer I don’t know where I’ve been, but I just discovered that you can put chalk-type paint in a paint sprayer! I have been a fan of chalk-type paint for years and have used Amy Howard’s version (One Step Paint) successfully on many different projects (like this bench, my kitchen cabinets, and my kitchen table).  I love it because it requires no prep work – you just wipe down and paint! However, I have always used the traditional brush route – until now. I was used the Amy Howard paint sprayer on this project, but unfortuntely they no longer sell a sprayer.  However, I have two other favorites I have used, and you can see those HERE and HERE.  Both require watering down the paint a little, but the sprayer provides a beautiful, smooth finish. My cabinets were a very 90’s dark green.  In my previous makeover I left the desk area green and only worried about the cabinets people saw from the doorway.  I painted the cabinets that were visible cream, and I always regretted the cream next to my very white washer and dryer. I decided to paint all the cabinets (including my desk area) a new color. I sanded the cabinets that I had previously painted cream and didn’t worry about sanding the other cabinets I had never painted. This post contains some affiliate links for your convenience. Click here to read my full disclosure policy. I cleaned all the cabinets with a rag and Simple Green. All the doors and drawers were painted in my garage. Early in the design stage, I wanted colorful cabinets and ordered Amy Howard’s One Step Paint in Barefoot in the Park.  However, I fell in love with this image on Pinterest (unfortunately I don’t know the source). I decided to mix some colors to create a soft similar color. I played around with a little paint to get the perfect color.  Once I felt confident in my ratios, I used an empty gallon can and mixed a batch large enough for both sets of cabinets in my laundry room. I used:
  • 1 quart Barefoot in the Park
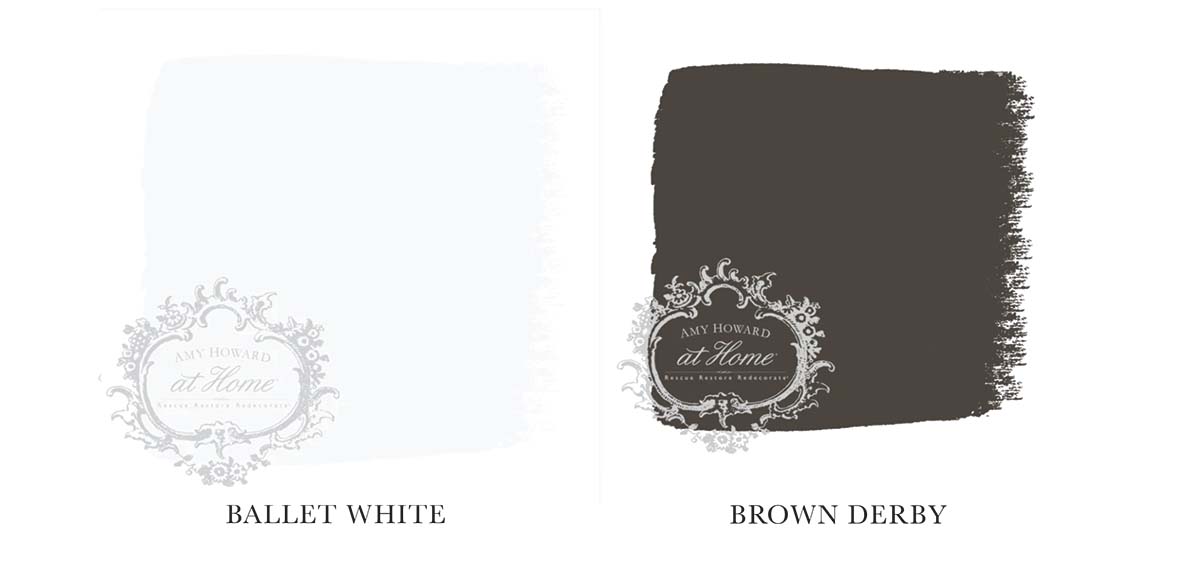
  • 1 quart Ballet White
  • 1 quart Luxe Grey
I used the sprayer and applied thin coats of the paint. I used a brush and foam rollers to paint the cabinet frames and sealed the paint with a Gloss Sealer.  I applied the sealer just like I did the paint.  I sprayed the doors and drawers with the sealer (but no thinning is required) and I used a brush and roller for the rest of the cabinets. And after an afternoon of painting, my cabinets were a gorgeous new custom color! I used Hickory Hardware’s gold Skylight Pulls, and they are the PERFECT accent for my cabinets.  They are just gorgeous! This room was definitely a labor of love, and I really am so excited to share the full reveal HERE! I have a few finishing touches left (like caulking around the tile and finding accessories for the space), but the hard work has been done. UPDATE: It has been several years since I painted these cabinets, and they still look great!  Spraying helped provide a smooth finish, and I ALWAYS recommend a water-based sealer rather than a wax for cabinets. You can go here to see why I don’t recommend wax on cabinets. Go create something!
Are you new to my blog? Go HERE to see my home tour and HERE to shop for items I use in our home. Find me on Facebook | Instagram | Twitter Pinterest *This post is a sponsored post by Amy Howard at Home and Hickory Hardware. I take pride in reviewing only products that fit my brand and will be beneficial to my readers. And while this post is sponsored, all the opinions are my own.
Shop the Post
Decor

Tuesday Transformation: Kitchen

Tuesday Transformation: Kitchen

The older I get, the more I feel my life goes into overdrive.  I feel like we just moved into our current home, and it will be three years this fall. We are planning our first major renovation later this year – the master bathroom.  However, everything else in the home has been pretty minor and included little projects and lots of paint.  I thought it would be fun to share what the home looked like when we moved in the Fall of 2013 and compare it to today. For today’s Tuesday’s Transformation, I’m sharing our kitchen.  

Here’s the before:

kitchen-makeover-using-mainly-paint

And after:

Painting Kitchen Cabinets with Chalk Paint

I would love to buy new appliances, but new appliances mean knocking out cabinets that would lead from one thing to another.  We really wanted to make the kitchen work for now, and hopefully, someday we will renovate the kitchen.

 Until then, here’s what we did:

  • PAINTED THE WALLS.  I painted the walls using Valspar’s Cincinnati Hotel Briggs Beige.  I love this neutral warm color and used it for years in our previous home.  To see all the details, click HERE.
  • PAINTED THE CABINETS.  If you have been following me for a while, you know that I actually painted my cabinets TWICE.  Do not make my mistake and read all the details HERE.
  • CHANGED THE CABINET HARDWARE.  I won all my hardware from a contest and had fun picking out vintage-inspired pieces. Click HERE for all the hardware details and links.
  • ADDED GLASS TO CABINET DOORS.  I went with seeded glass and am so glad I did.  You can read more on the glass HERE.
  • ADDED A BACKSPLASH  I absolutely love my subway tile.  This is the one project we did not DIY and hired out.  Click HERE to see more.
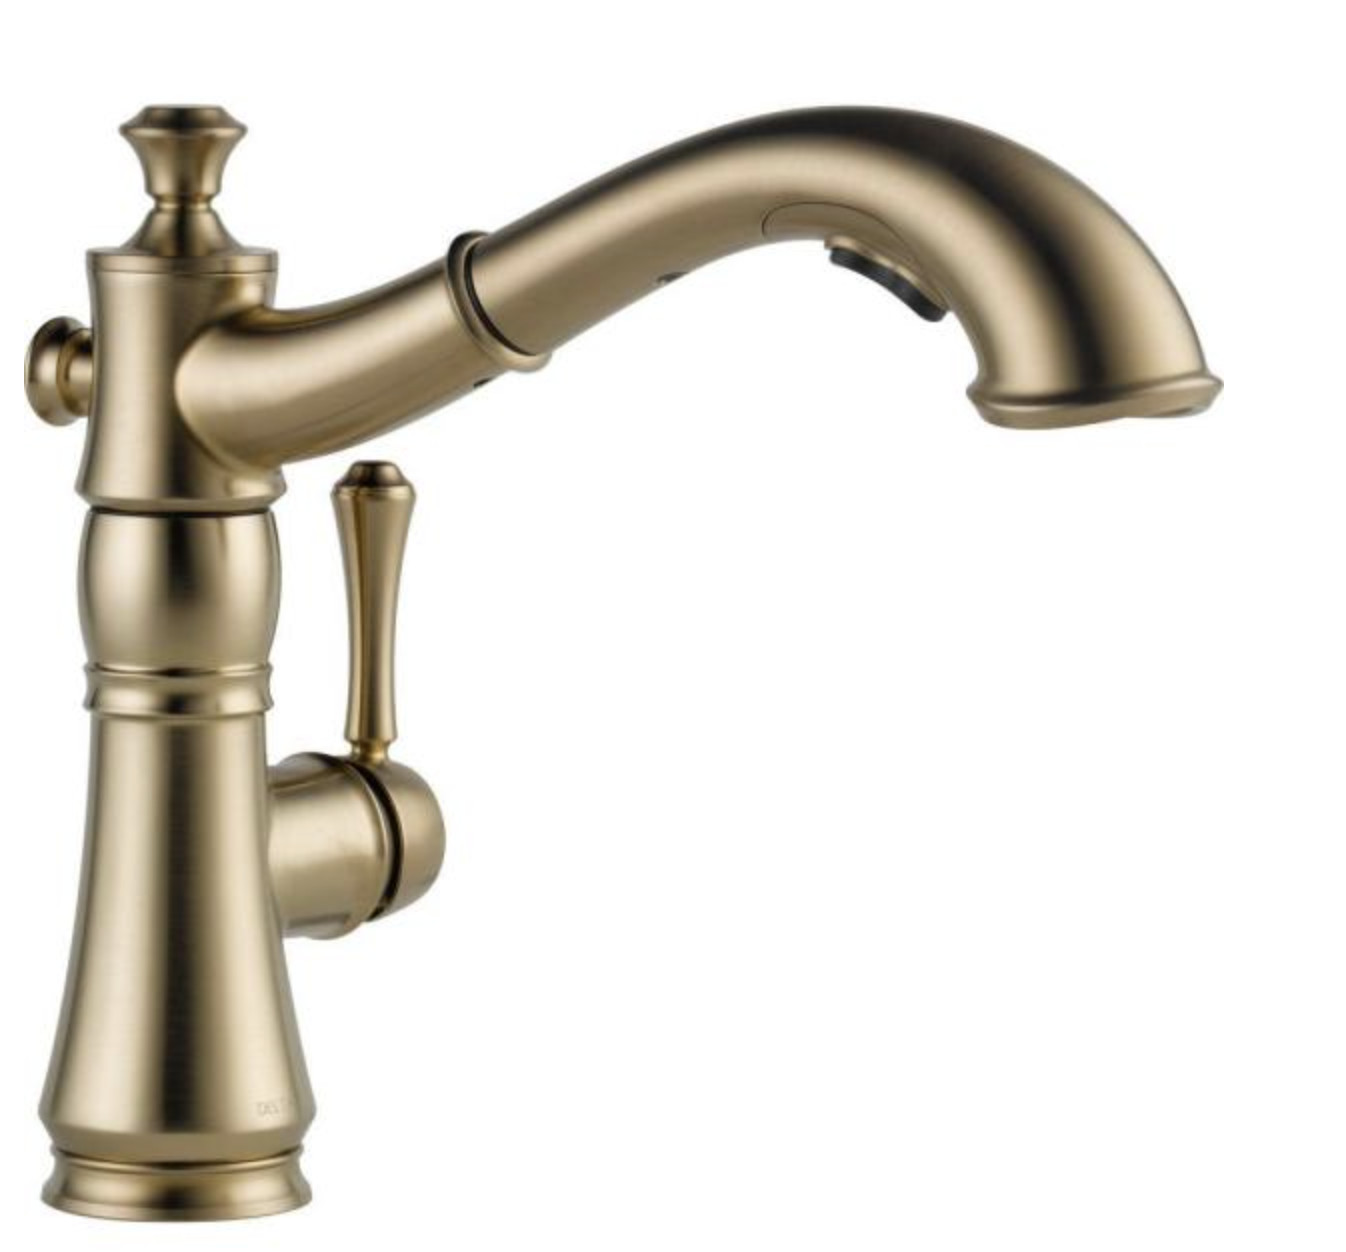
  • REPLACED THE FAUCET. I went with an oil-rubbed bronze faucet and love how it ties in my black appliances.  You can see all the details HERE.
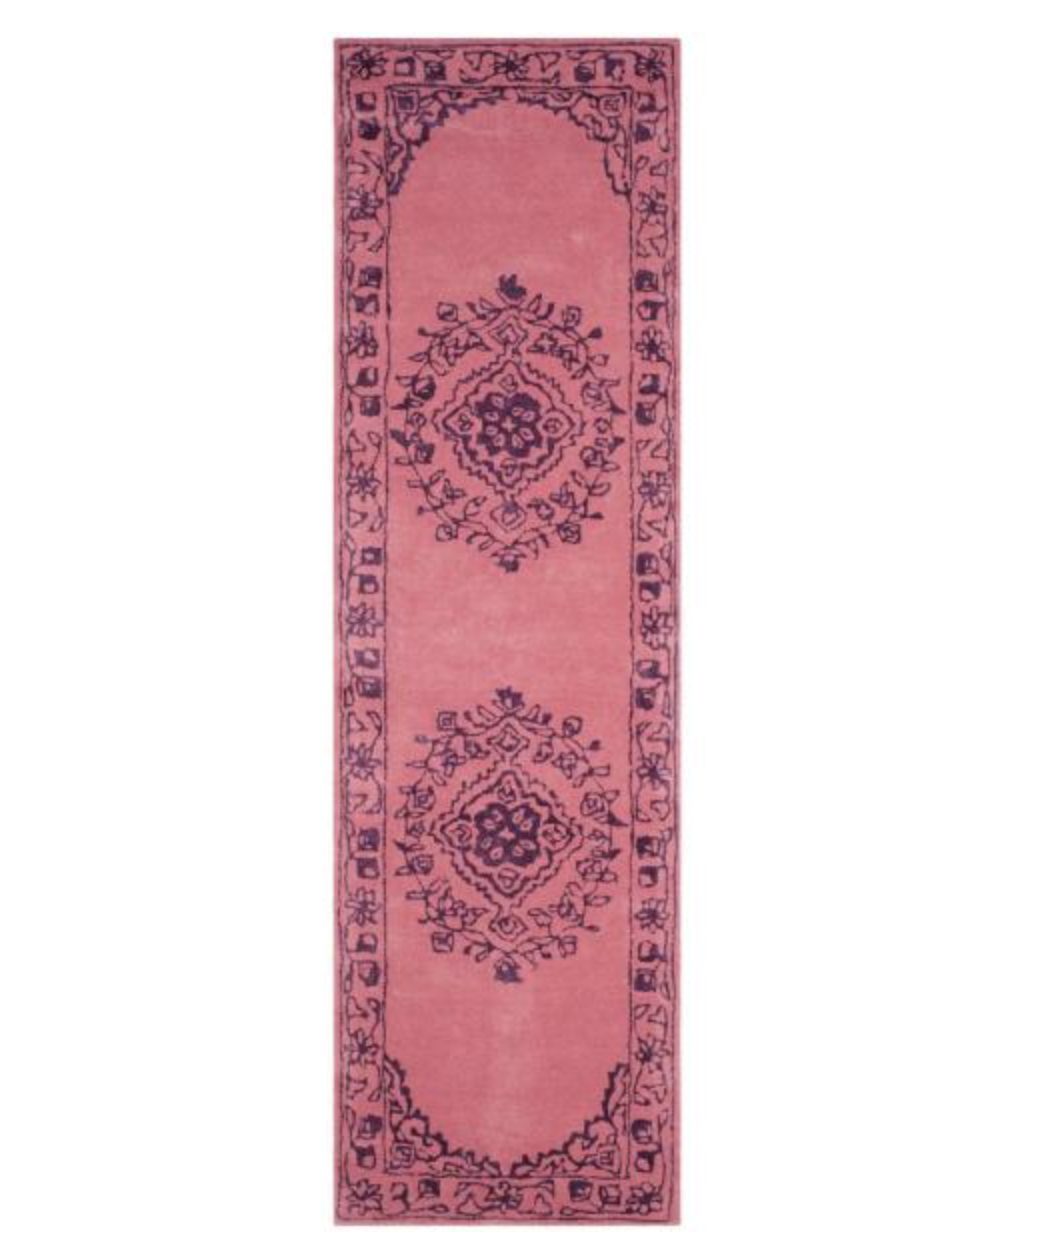
  • PAINTED THE FLOOR. The floor was in bad shape and very worn with water damage. When we first moved in, I hid it with a large rug.  Unfortunately, my kids kept spilling things on it (and I did too), and it just wasn’t working for us.  I painted a rug, and you can see my tutorial HERE.
  • PAINTED THE FRIDGE WITH CHALKBOARD PAINT.  This was one of my very first DIY projects when we moved in.  I love it and still update the calendar every week.  You can see more HERE.
  • ADDED SHIPLAP TO MAIN WALL.  I jumped in on the shiplap trend, but let’s hope it’s not a fast revolving one.  I love the texture it adds to the space, and you can see the full tutorial HERE.

Here’s another one more before and after (sorry the angle is different):

house.3

Painted Kitchen Cabinets.

Everything we have done to the kitchen has been slow updates over time.

Chalk Painted Kitchen Cabinets

Painted Kitchen Cabinets Tutorial

Although it isn’t my dream kitchen, it is a space that we have made into our own (and is brighter and happier than it was)! Want to see more Transformation Tuesdays? Check out these other makeovers:

Go create something!

Are you new to my blog? Go HERE to see my home tour and HERE to shop for items I use in our home.

Find me on Facebook | Instagram | Twitter Pinterest

Kitchen Makeover

Paint

Painting Kitchen Cabinets

Painting kitchen cabinets – I am all done! Painting cabinets is exhausting enough the first time around, but painting them twice is just crazy.  I made the mistake of using wax as the sealer (for my chalk paint), and it didn’t work for our family (to see more about why I didn’t like the wax, click HERE).  However, I used a liquid sealer the second time around and am much happier with the result.

Chalk Painted Kitchen Cabinets

When I repainted the cabinets, I did not sand or prime them.  I simply cleaned off the cabinets and painted (using a brush and small roller) the chalk-type paint.  However, I did find a few more nicks that happened with my second round of paint.  I assume this has to do with painting over the wax, and the majority of this happened at the kitchen bar where my kids bump the bar stools:

Scratches

If you paint over a previously waxed surface, I would suggest sanding and priming.  I ended up priming under the counter and repainting under the bar.  So far the nicks aren’t happening as often.

Adding primer to cabinets

I still had some cabinets left to paint, so I went ahead and primed any of the cabinets that still needed to be repainted.

Painting cabinets in sections

I also suggest painting cabinets in sections for sanity and removing all hardware before painting.

Painting Kitchen Cabinets with Chalk Paint

I painted the short wall of uppers cream again, but I changed the large wall of cabinets.  Originally they were also painted cream, and I asked for your help deciding whether to keep the cream or go with gray.  I received so much feedback from everyone, and it was so helpful.  Obviously, I went with the gray, and now my black appliances blend in so much better!

This post contains some affiliate links for your convenience. Click here to read my full disclosure policy. Here’s what I used the second time around:

Painted Kitchen Cabinets.

I have learned a lot from my cabinet painting saga.  My advice: If you use a chalk-type paint, use a sealer like the one I used or a polycrylic (instead of wax).  And if you’re like me and want to repaint previously wax-sealed cabinets, sand and prime before repainting them for the best possible results.

Kitchen Baked Goods

Painted Kitchen Cabinets Tutorial

Phew.  I’m so glad I am done.  Now I can move on to another project!

Go create something!

Are you new to my blog? Go HERE to see my home tour and HERE to shop for items I use in our home.

Find me on Facebook | Instagram | Twitter Pinterest

DIY Painting Kitchen Cabinets

DIY

Kitchen Table Makeover

I gave my kitchen table a makeover!

Kitchen Table Update

Kitchen Table Update

Table Makeover with paint

We’ve had the Pier 1 Carmichael Dining Table for close to five years.

Pier One Table

Kitchen Table - BEFORE

After daily use from three kids and a move, it was beginning to look bad.  The top is a veneer, and it’s starting to wear through in spots.

Table Top

And there was a film over the entire top, so it never looked clean.

Table Top. It was driving me crazy, so I started dreaming about replacing it. Like most of us, I started dreaming of a farmhouse table.  I began looking at farmhouse tables on Pottery Barn, since many of my dreams begin there…

Pottery Barn Farmhouse Table  

The price point was beyond what I was willing to spend.   I could have looked for less expensive farmhouse options, but I started thinking that the only thing separating me from a pretty farmhouse table were table legs and paint.  Why didn’t I just give my table a makeover? After searching online, I discovered  tablelegs.com

Tablelegs.com

I contacted them, and they worked with me to find the best solution.

Switching legs on a table

I ended up ordering four 27″ French Farm Dining Legs in Soft Maple.

Switching Table Legs

They had me measure the notches in my current legs, and they notched out my new farmhouse legs to make installation super easy.

Measurements

To install my new legs with my existing braces, I placed the table upside down on the floor.  Next, we removed the existing legs.  (My old legs were bolted on, and I just removed the bolts.)

Removing Bolts I could have used the old bolts, but we ran into some issues with reusing them.  So, we used new bolts.

Updating a table

Once the old bolts and table legs were removed, I added the new table legs and marked where the new bolts should go.

Mark before drilling

Next, we pre-drilled a hole for the bolts.  (We used a 1/4″ drill bit and our lag bolts were 5/16 – 9×3.)  By drilling a bit smaller in diameter, the threads have something to bit into and hold.

Drilling holes

Once the holes were pre-drilled, the legs were put back on the table and the bolts were drilled in.

Adding Bolts

Changing Table Legs

This post contains some affiliate links for your convenience. Click here to read my full disclosure policy.

I also gave the table a paint makeover with Amy Howard at Home’s One Step Paint in Bauhaus Buff and Atelier.

One Step Paint by Amy Howard

To see more about a step-by-step tutorial for One Step Paint, click HERE. Instead of using wax, I used Amy Howard’s sealer (in matte).  This sealer is great for tables, cabinets, and floors, and it’s so easy to clean. Now my table has an entirely new look thanks to new legs and a coat of paint!

Kitchen Table Makeover

Kitchen Table - One Step Paint

Kitchen Nook Makeover  

Go create something!

Are you new to my blog? Go HERE to see my home tour and HERE to shop for items I use in our home.

Find me on Facebook | Instagram | Twitter Pinterest

*This post contains affiliate links and is a sponsored post through tablelegs.com and Amy Howard at Home. I received compensation in the form of product in exchange for my review. I take pride in reviewing only products that fit my brand and will be beneficial to my readers. And while this post is sponsored, all the opinions are my own.
Paint

One Step Paint Tutorial

Amy Howard One Step Paint Tutorial – this paint is SO easy to use!

Amy Howard at Home One Step Paint Tutorial

About a month ago, I bought a bench at an auction.

I bought it because I saw what it could be, and it had beautiful bones.  I knew I could fix the dark brown (cracked and peeling) faux leather cushion and the (chipping) finish.

EBTH close up

This post contains some affiliate links for your convenience. Click here to read my full disclosure policy.

I recently spent some time in Memphis with the Amy Howard team.  I was excited to use what I had learned while there, and I gave the bench a makeover with Amy Howard at Home One Step Paint.

One Step Paint by Amy Howard

One Step Paint eliminates the need for sanding, stripping, and priming, and it has the chalky finish you know I love.   I cleaned my bench, and I was ready to paint!

Amy Howard at Home One Step Paint

One step paint is meant to be sheer, but you can add a second coat if you prefer complete coverage.  For my bench, I was looking for more of a washed look, so I painted only one coat of Atelier.

Amy Howard at Home One Step Paint on fabric

Although I eventually want to reupholster the bench seat (the faux leather is in bad condition), I decided to paint it as a temporary fix. I used the One Step Paint in Bauhaus Buff.  I stippled it on using a large round brush.

Painting Leather Amy Howard at Home One Step Paint

Since I wanted complete coverage, I added a second coat once the first coat was dry.  (I finished the seat by sealing it with antique wax, and the cushion was complete!)

Covering Paint brushes

In-between coats, it’s a good idea to cover your brushes to avoid drying them out.

Amy Howard at Home Gilding.

To bring out all the details, I added gold gild to areas of the bench.

Amy Howard at Home Sizing

Once my paint was dry, I brushed on size, a special adhesive for the gold leaf.  I brushed it on using long clean strokes.  I waited until it came to tack – meaning it was sticky.  I waited around 15 minutes for it to come to tack, but it does depend on how thick you paint on the sizing.

Amy Howard at Home Gilding Sheets

The gold leaf comes in a booklet.  I cut my book in half so it was the right size for my piece, and I didn’t waste the leaf.

Amy Howard Gilding Sheets

Applying the gold leaf takes a little practice, but the more you do it, the easier it becomes!

Amy Howard at Home Gilding

Pull the tissue back and while holding onto the tissue and the gold, turn it toward your piece and hold the end with your left hand and lay down firmly.

Amy Howard Gold Gilding

While holding the tissues – in place – rub your fingers back and forth – burnishing them into the surface.

Amy Howard at Home Gilding Process

When you pull up, pull the tissue away.  (When laying multiple pieces, do not try to match lines.  Overlap for full coverage.)

Buffing Gilding

Take a rag, burnish it and clean it up really well.  Then, take steel wool and lightly rub it in one direction.  This allows for some of the paint to show through.

Amy Howard at Home Waxes

Once the gilding process is done, you can begin the waxing process.  Although One Step paint doesn’t require sealing, I used light wax to give my piece some age.

Amy Howard at Home Light Antique Wax

I put my brush into the wax and offloaded it to get the wax even on my brush.

Amy Howard Light Antique Wax

Next,  I went over the entire piece and allowed it to dry for around 20-30 minutes.  Once dry, I did the same process with the dark wax.

Amy Howard Dark Antique Wax

The dark wax is what makes the piece look aged.  Place it where the piece would have gotten age and wear – the top of the piece, around the hardware (if it has any), legs, arms – anywhere your hands would go!

Amy Howard Dark Wax

Once the waxing process is complete, I used Dust of Ages powder.  This powder gets in the crevices and gives your piece an authentic old look.

Amy Howard Dust of Ages Powder

Amy Howard at Home Dust of Ages

I dipped my brush in the Dust of Ages and pounced it on – getting it in the crevices.

Amy Howard Dust of Ages

Using a clean rag, lightly buff to get the patina.

Final Light Buff

And my bench makeover was complete!

Amy Howard Paint Tutorial

I now have an elegant bench (that looks to be a fine antique!) at the end of my bed.

Amy Howard One Step Paint Tutorial

Amy Howard At Home One Step

You can find Amy Howard at Home One Step Paint at Ace Hardware and on their website by clicking HERE. I hope this Amy Howard One Step Paint Tutorial was helpful!

Go create something!

Are you new to my blog? Go HERE to see my home tour and HERE to shop for items I use in our home.

Find me on Facebook | Instagram | Twitter Pinterest

*This post contains affiliate links and is a sponsored post through Amy Howard at Home. I received compensation in the form of product in exchange for my review. I take pride in reviewing only products that fit my brand and will be beneficial to my readers. And while this post is sponsored, all the opinions are my own.
Decor

This World Needs What You Hold

“This world needs what you hold.” – Amy Howard in her book A Maker’s Guide

12212368_10153230460753733_18645878_n

Last week, I had the amazing opportunity (along with 13 other bloggers) to travel to Memphis and spend time with Amy Howard, her husband Gene, and the Amy Howard team.

Amy Howard & Sara

Along with designing and manufacturing luxury furnishings, Amy Howard has created an artisan paint line.

Amy Howard

Our first evening in Memphis, Amy graciously invited us into her beautiful home to eat and spend time together.

Amy Howard.23

And I was in total awe of her talent. (I apologize for the quality of my photos.  We were at Amy’s home in the evening, and I’m a terrible photographer when there isn’t natural light available.)

Amy Howard.20

Amy’s the most amazing designer.  Not only does she have an eye for antiques and a vision for space, but she’s a true DIYer.  She gives life to forgotten pieces.

This world needs what you hold.

Amy Howard.17

This room and bed were absolutely to die for.  The walls were upholstered!

Amy Howard.12

And the bed was DIY’d to match the walls.


 Amy Howard Home.1

As I walked from room to room, I was greeted with unexpected and beautiful surprises.

Amy Howard.9

The half bath had a mirror she repurposed from a dresser with her lacquer paint.

Amy Howard.1

And the dining room was beyond gorgeous

. Amy Howard.4

Amy playfully mixed chairs around a pretty table.

Amy Howard Home.3

Not all of Amy’s rooms had patterned walls, but I found that I was drawn to those spaces, like this bedroom.

Amy Howard Home.6

Amy created a sophisticated but playful room for her granddaughters.

Amy Howard Home.4

I loved the mix of the fabrics.

Amy Howard Home.7

And the attached bathroom left no detail untouched.

Amy Howard Home.2

Perfection.

Amy Howard Home.12

Amy Howard.2

The kitchen had these amazing old sliding doors that opened to reveal pantries.

Amy Howard Bloggers

This was a group shot of all of us the first evening.  After a fun evening, we went back to the hotel and woke up bright and early for the painting workshop at the Amy Howard headquarters.

Amy Howard Bloggers copy

We spent the entire next day painting, and anyone who knows me knows there are few things I love more.

Sara at Amy Howard

It’s peaceful and therapeutic.

Amy Howard Presentation.1

And if the day could get any better, I was being trained by Amy Howard herself.

Amy Howard One Step Paint.1

We learned about her huge line of different paints.

Amy Howard Painting

She taught us techniques and details.

Amy Howard Laquer

And the color options were endless.

Amy Howard Display

Amy Howard Bloggers copy

The Amy Howard office was filled with pretty displays and painting ideas.

Amy Howard at Home Showroom

Amy Howard at Home Project

Amy Howard at Home Paints

This little trip filled my cup.  Not only am I excited to share my newly discovered painting knowledge, but I feel so refreshed after spending time with other creatives. I’m not quite sure how I got to the place where I am now, but I am so thankful.  I love creating.  As I’ve said before, I know God created me to create.  And, I love sharing what I’ve learned with you all, and I hope I give you the confidence to create. Besides being amazing gifted creatively, Amy Howard is an intelligent businesswoman.  In her book, A Maker’s Guide, Amy says, “Embracing your talents is accepting the gift of opportunity… Taking this opportunity to heart requires courage…Singers want to sing, painters want to paint, and teachers want to teach.  The most unnatural path in life is to not do what you were made to do.”

What were you made to do? This world needs what you hold!

Are you new to my blog? Go HERE to see my home tour and HERE to shop for items I use in our home.

Find me on Facebook | Instagram | Twitter Pinterest

*This post contains affiliate links.