Installing exterior lights can feel overwhelming, but I’m sharing how to install outdoor lighting THE EASY WAY!
This post is a sponsored post by Enbrighten. I take pride in reviewing only products that fit my brand and will be beneficial to my readers. While this post is sponsored, all the opinions are my own.
We have had Enbrighten outdoor lighting in the past and absolutely loved them. They survived our harsh Indiana winters and wind. Unfortunately, our house was struck by lightning not too long ago and as a result, we lost almost all of our electronics (including my beautiful Enbrighten Cafe Lights). When I had the opportunity to partner with them again, I was excited. Their product is so impressive.
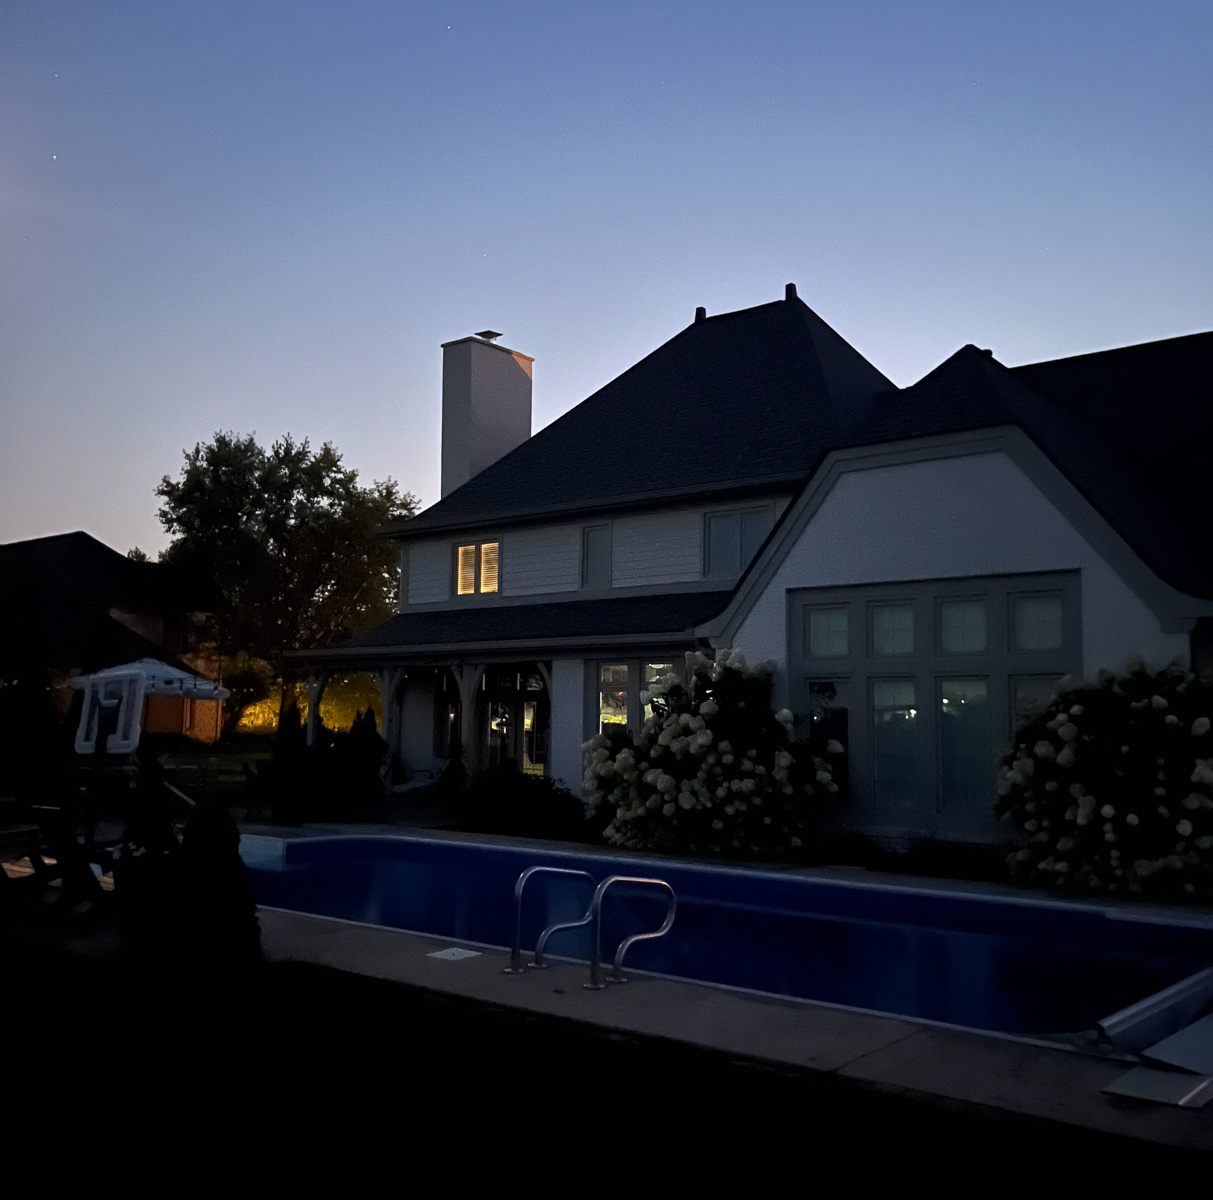
Here’s a before of our backyard without lighting:
And an after:
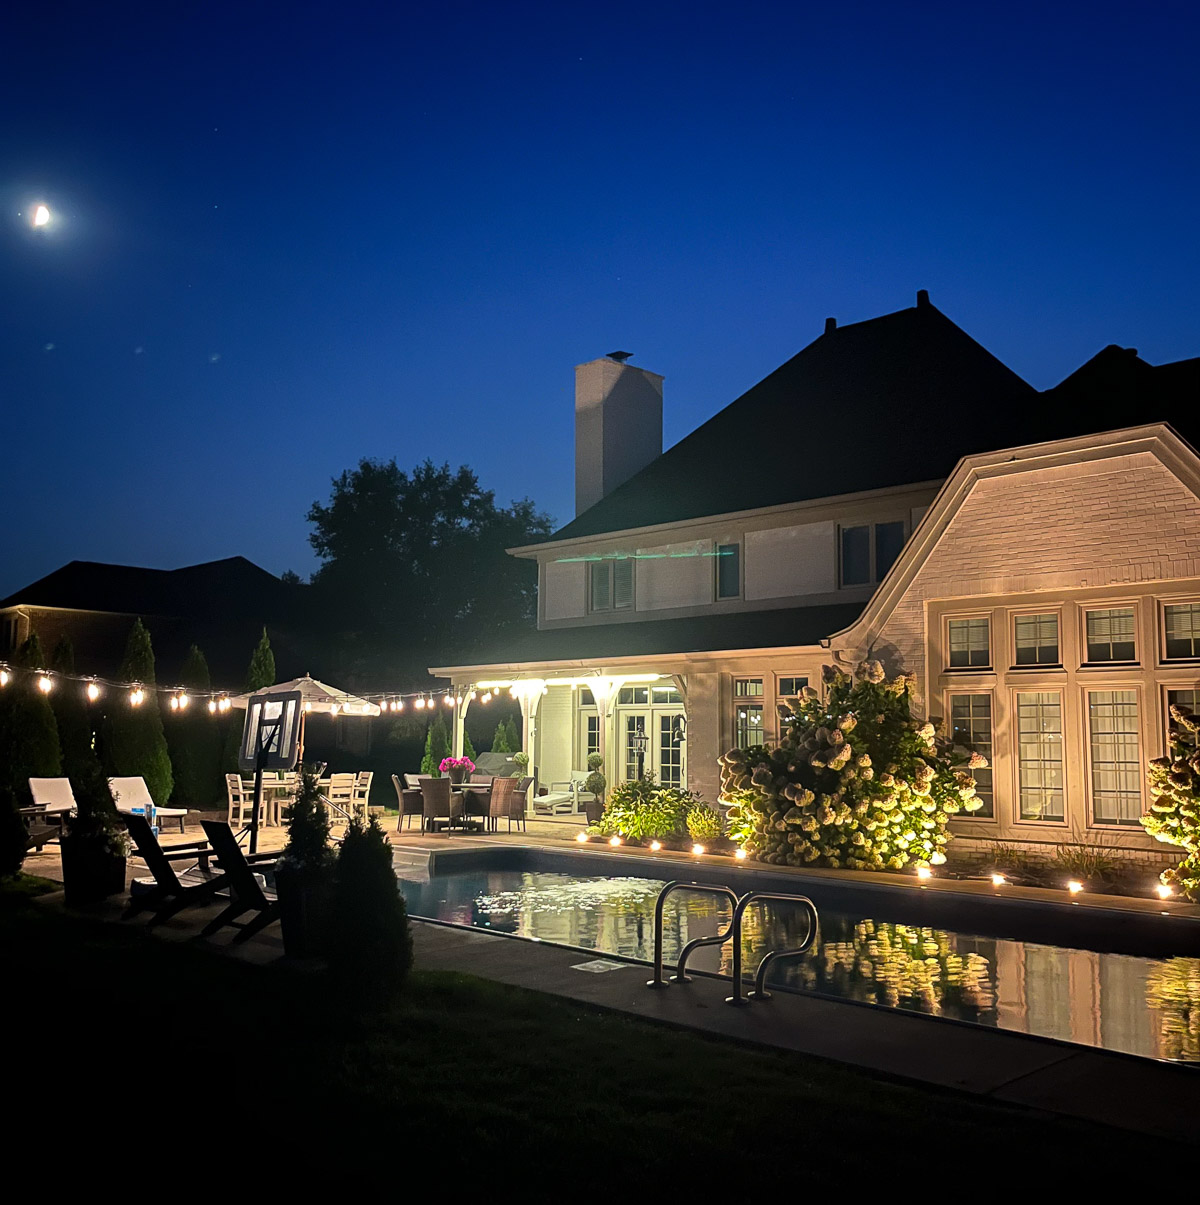
To create this look, we used:
- (2) boxes of the Wifi Cafe Lights (48 ft)
- (1) box of the Wifi Flex Lights (8 ft)
- (1) box of the Wifi Landscaping Lights (110 ft)
Wifi Cafe Lights
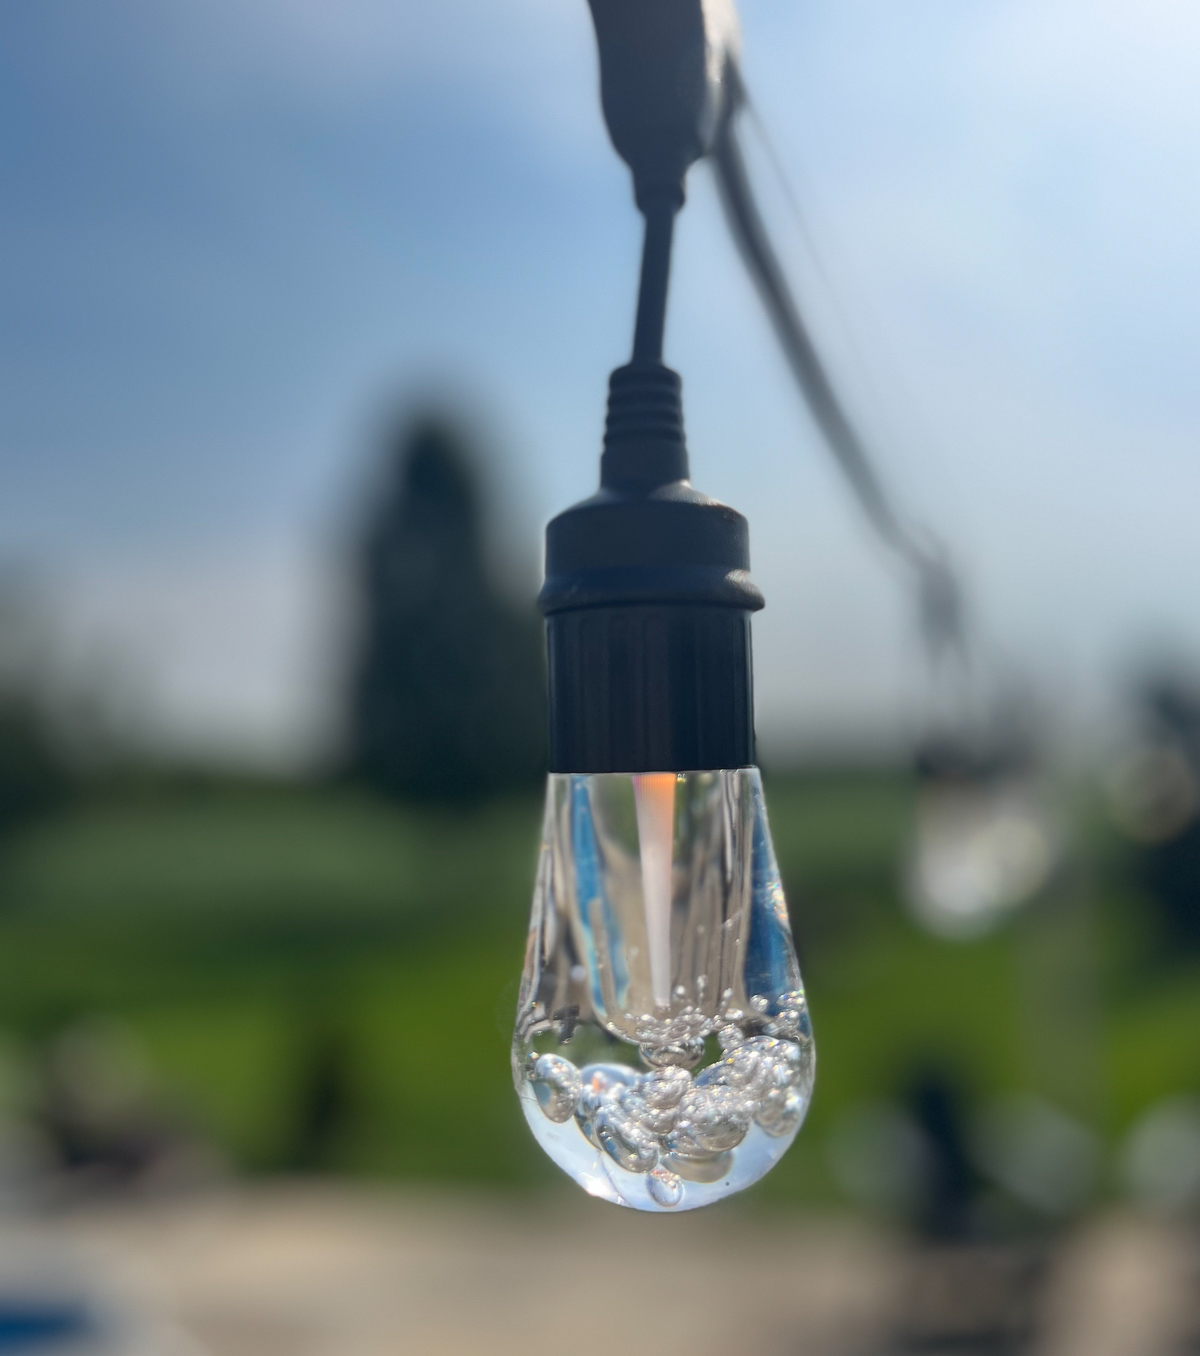
These cafe lights are among the best I have ever tried. They have linkable strands (connect up to 750 feet), and the bulbs are impact-resistant (commercial-grade construction). Installation isn’t hard:
This post contains some affiliate links for your convenience. Click here to read my full disclosure policy.
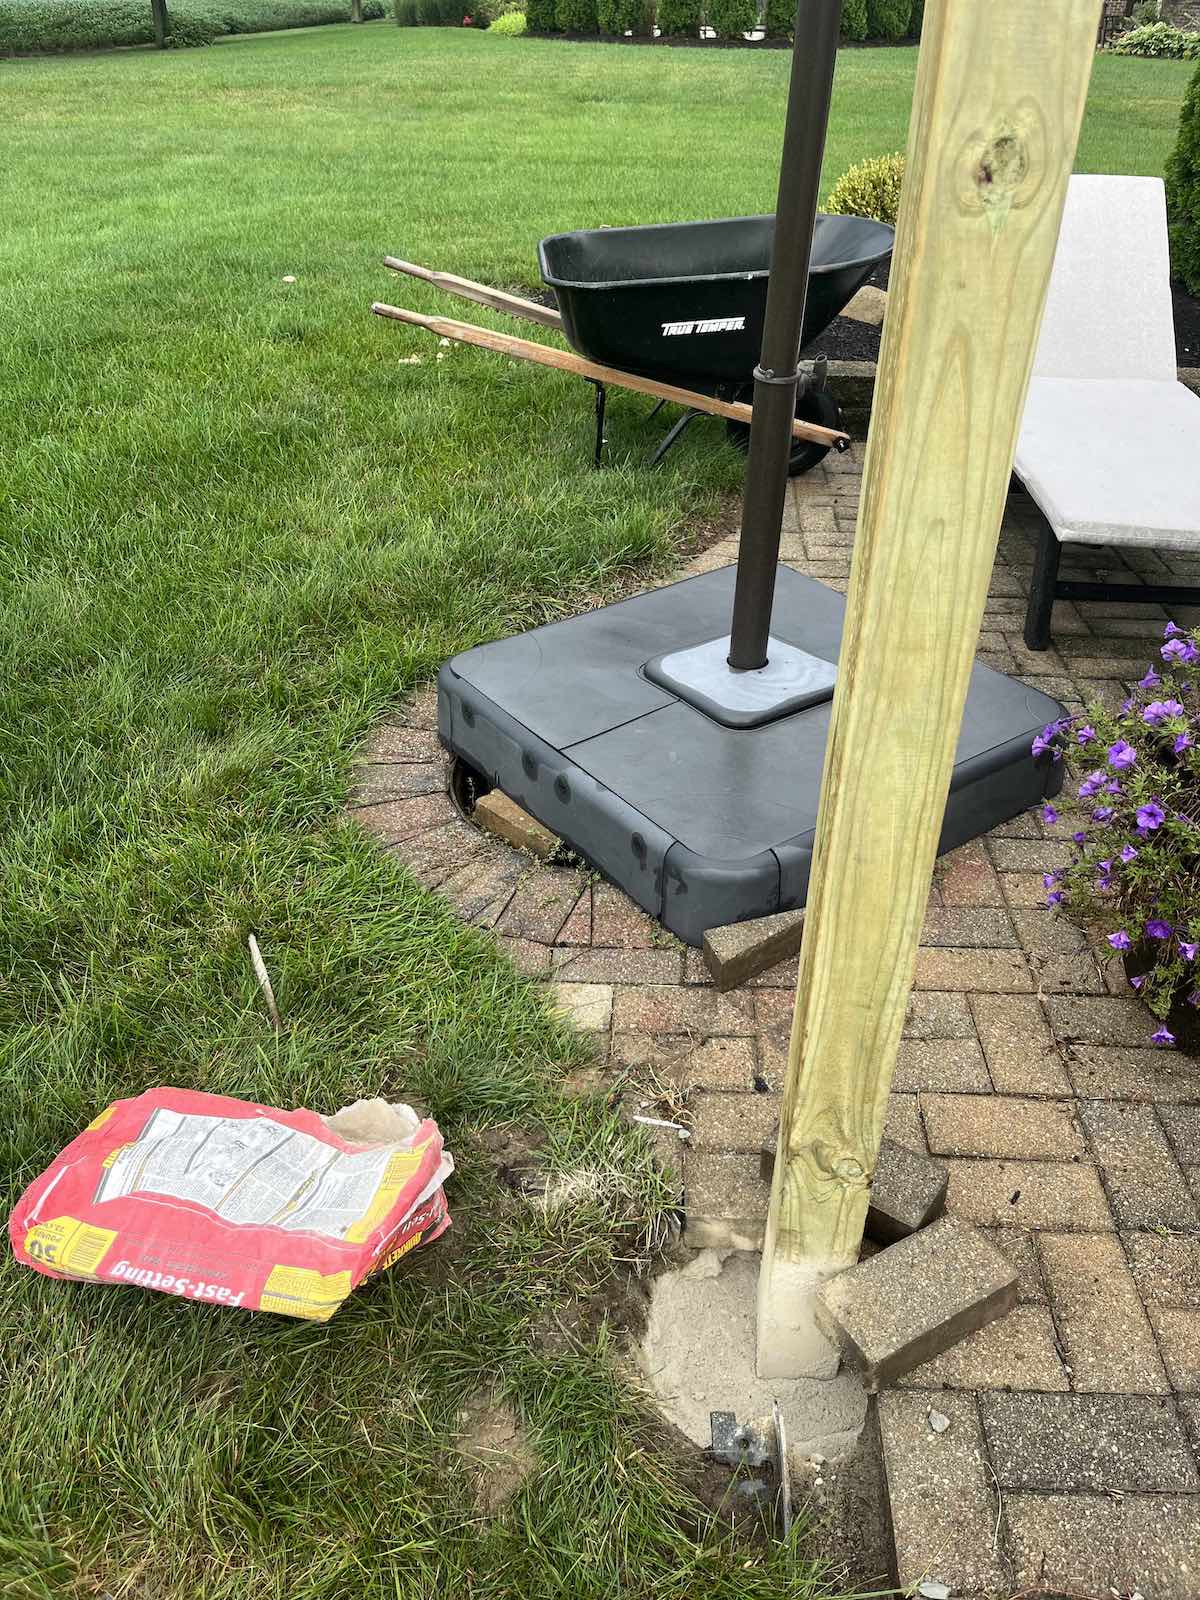
We dug a hole 24″ deep and cemented a 4×4 pole and connected two strands of cafe lights from the pole to our home. Here’s the wire rope string light hanging kit I used.
Wifi Flex Lights
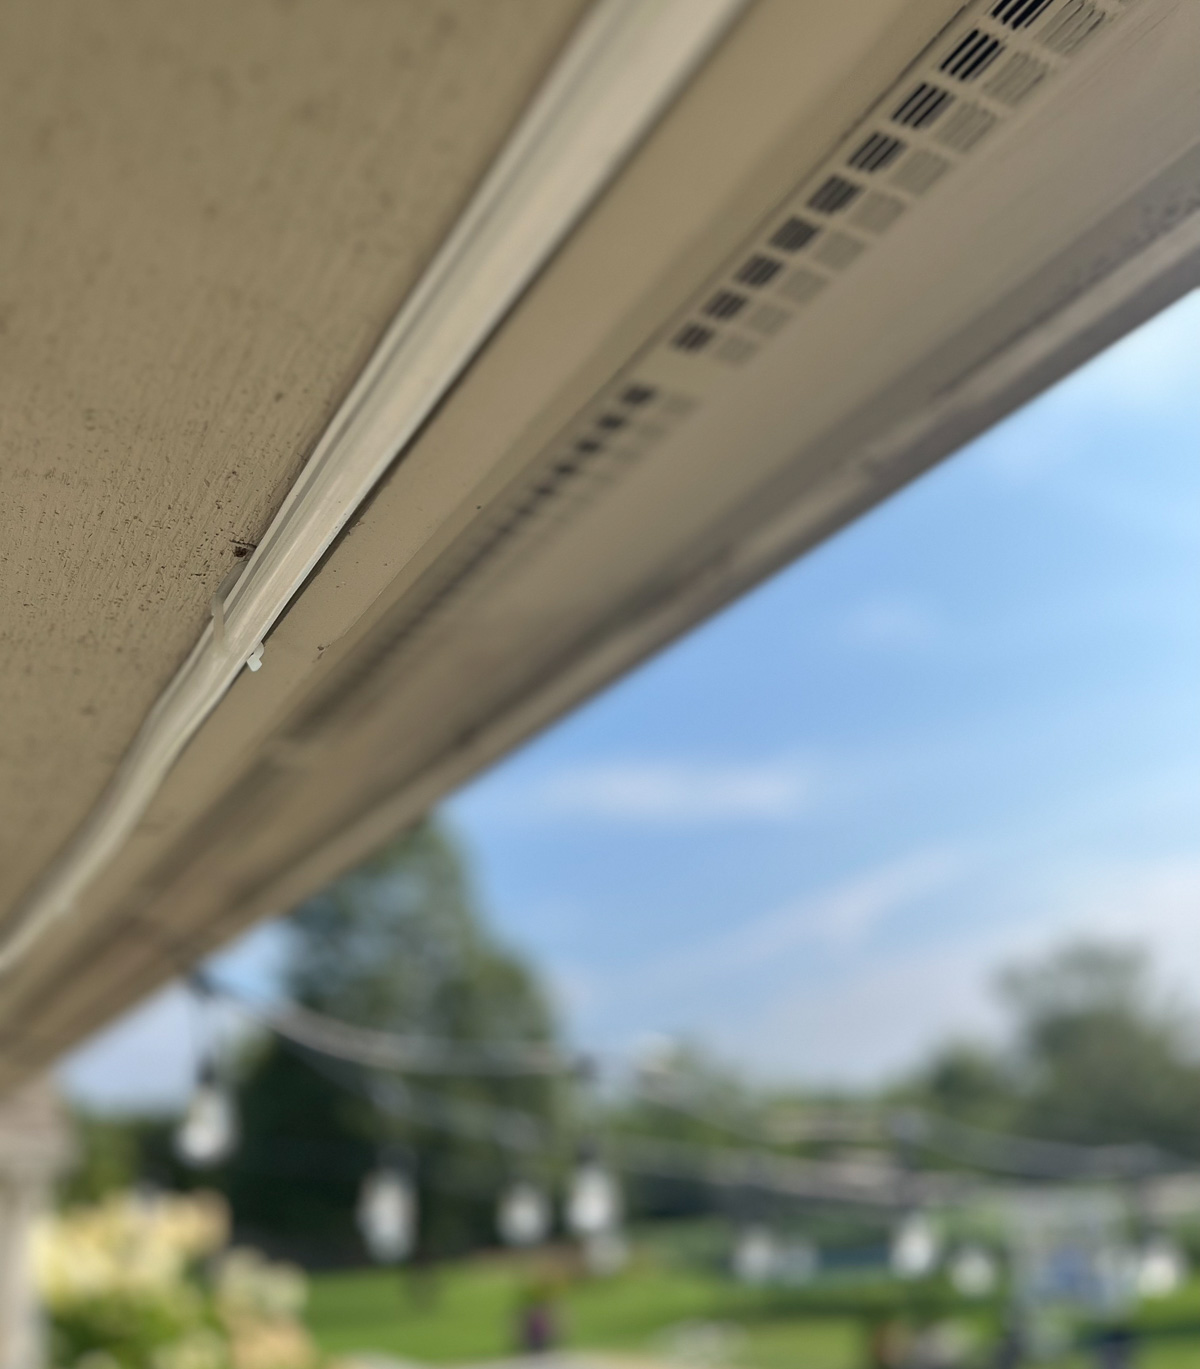
These flex lights have a thin profile that can easily be shaped around corners or laid in a line. We outlined our covered back porch with them, but they would be perfect for a walkway or landscaping as well. They come with clips which I used to install them on the house, but they also come with stakes if you want to use them in your landscaping design.
The flex lights are high-quality LEDs and each 2-3 inch section showcases the endless color combination possibilities.
Wifi Landscaping Lights
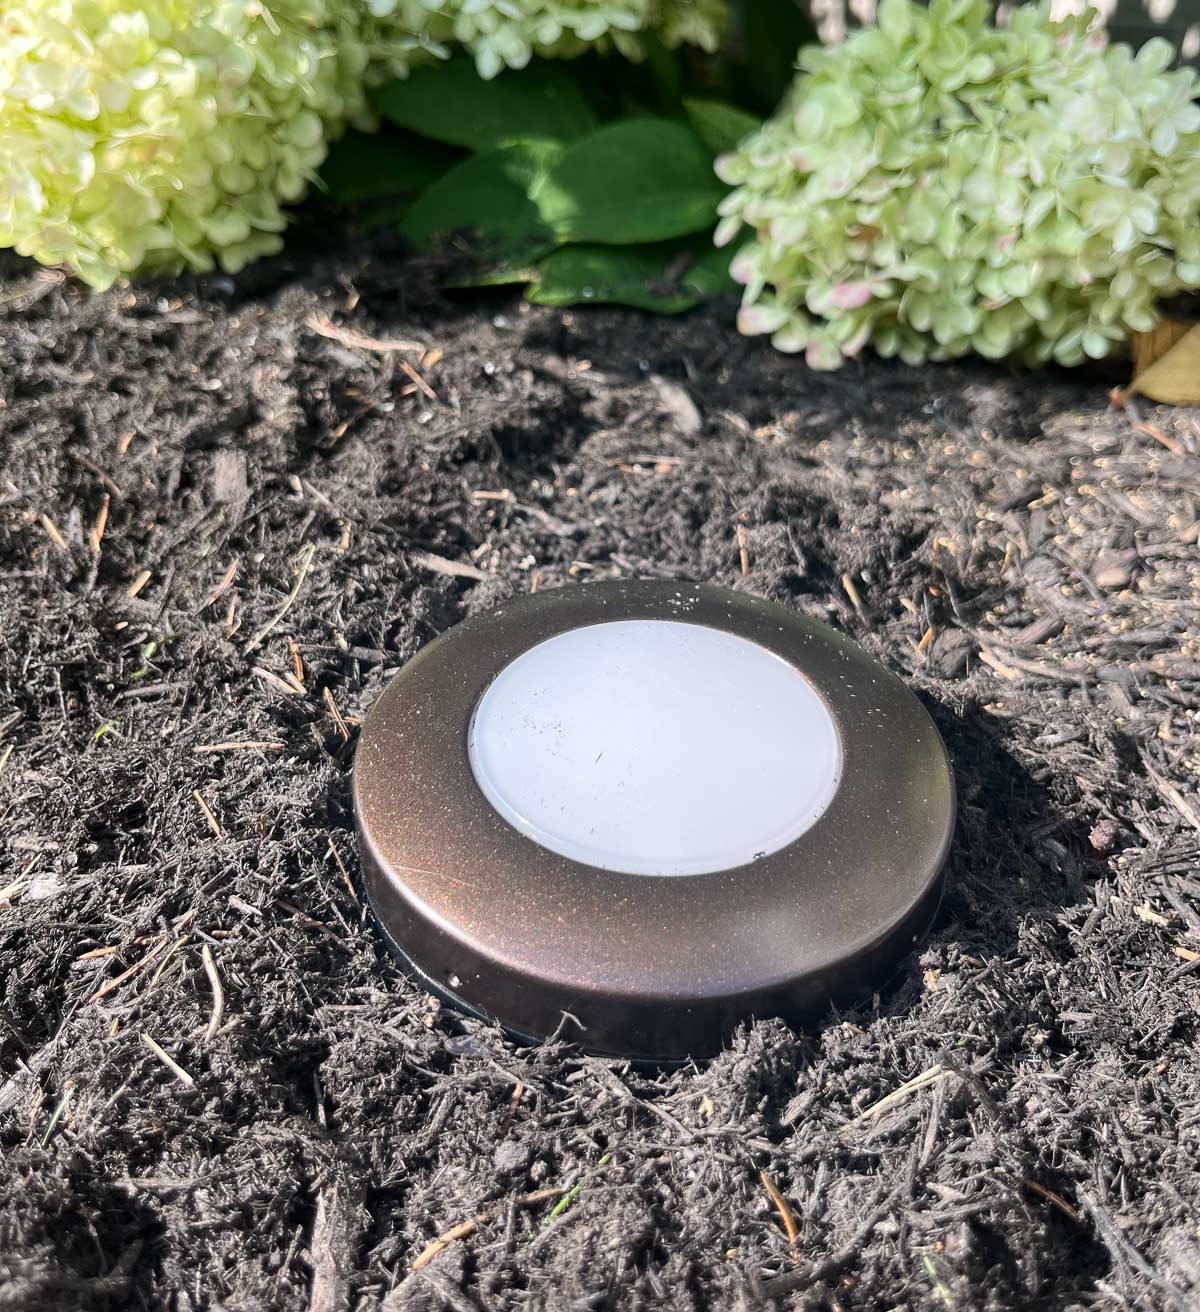
These landscaping lights allow for easy installation. Simply place them on the ground using the included stakes or mount them via the keyholes. They are commercial grade with burial grade cable and UL-rated for permanent outdoor installation.
I love that you don’t have to buy the power supply, lights, and cord separately. The lights are an all-in-one solution.
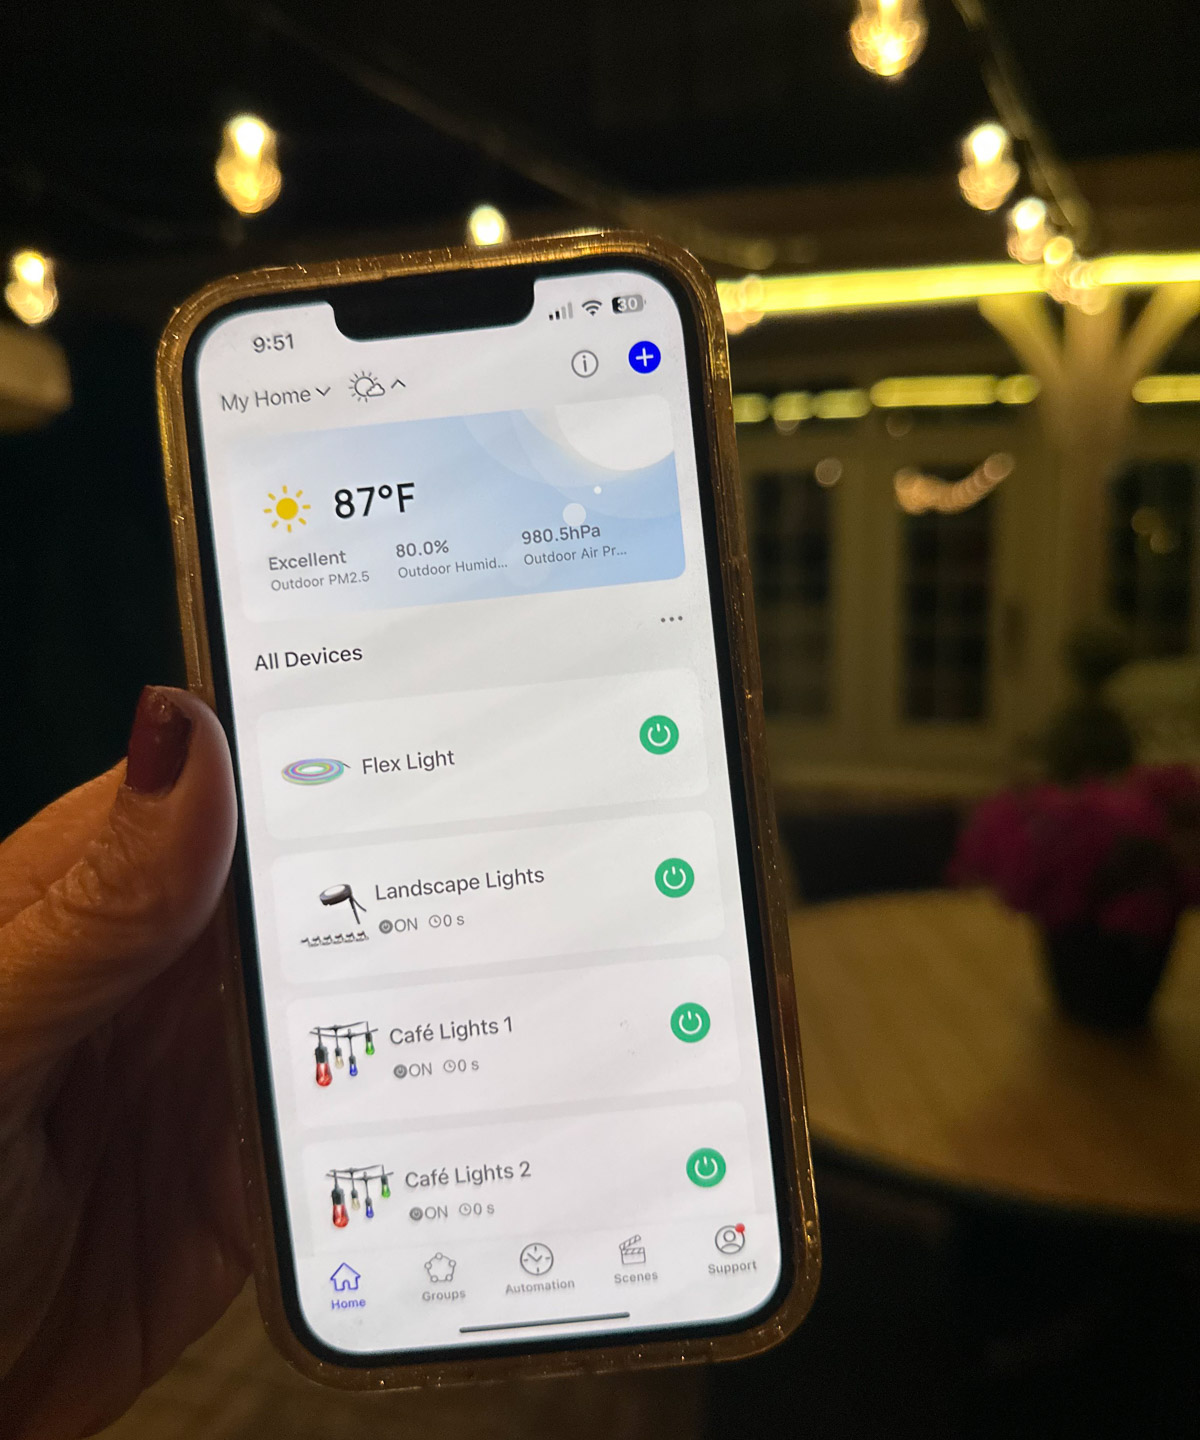
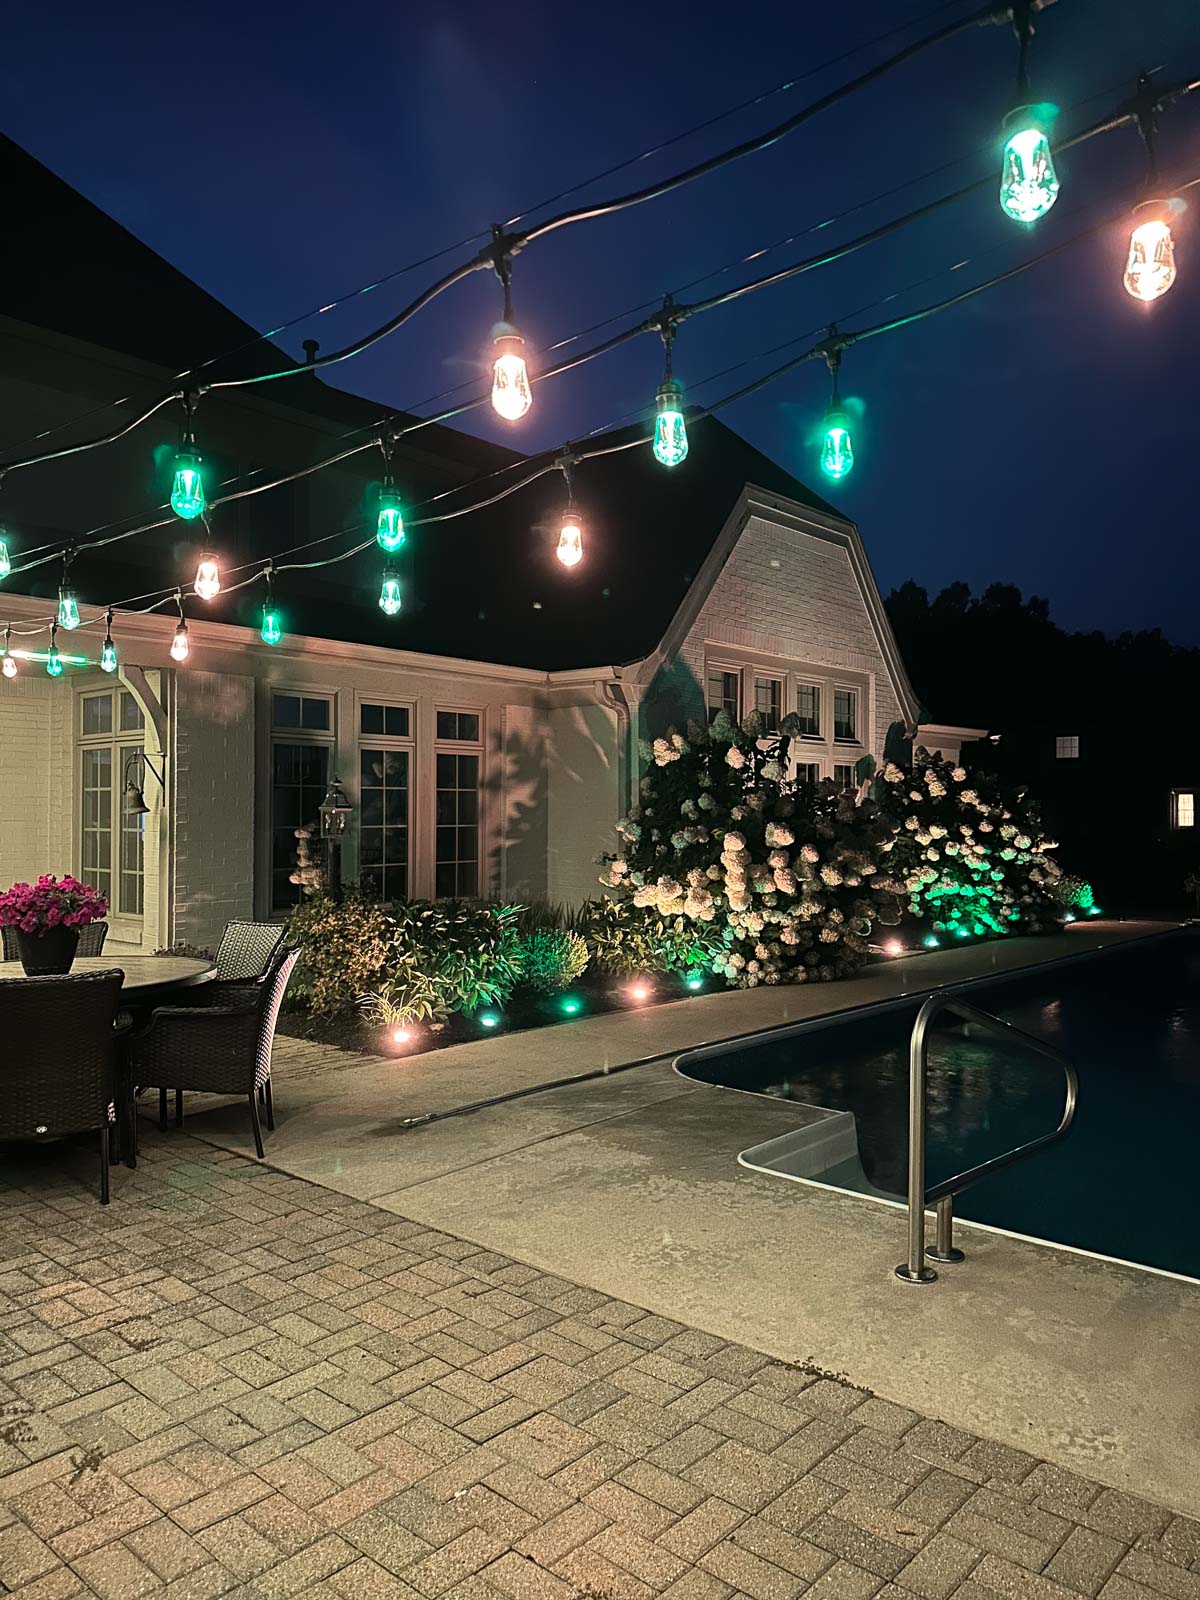
Not only are these lights quality and easy to install, but they are all fully controlled using an app, AND you can choose between 62 colors with the ability to select two and three-color combinations.
Also, you can group your lights together so they are all controlled at one time. I grouped my Cafe lights, landscape lights, and flex lighting. With a touch of a button, I can change my lighting.
The Enbrighten app and products are compatible with Google Home and Alexa.
For pool parties with my son’s football team, we can change the lights to our school colors:
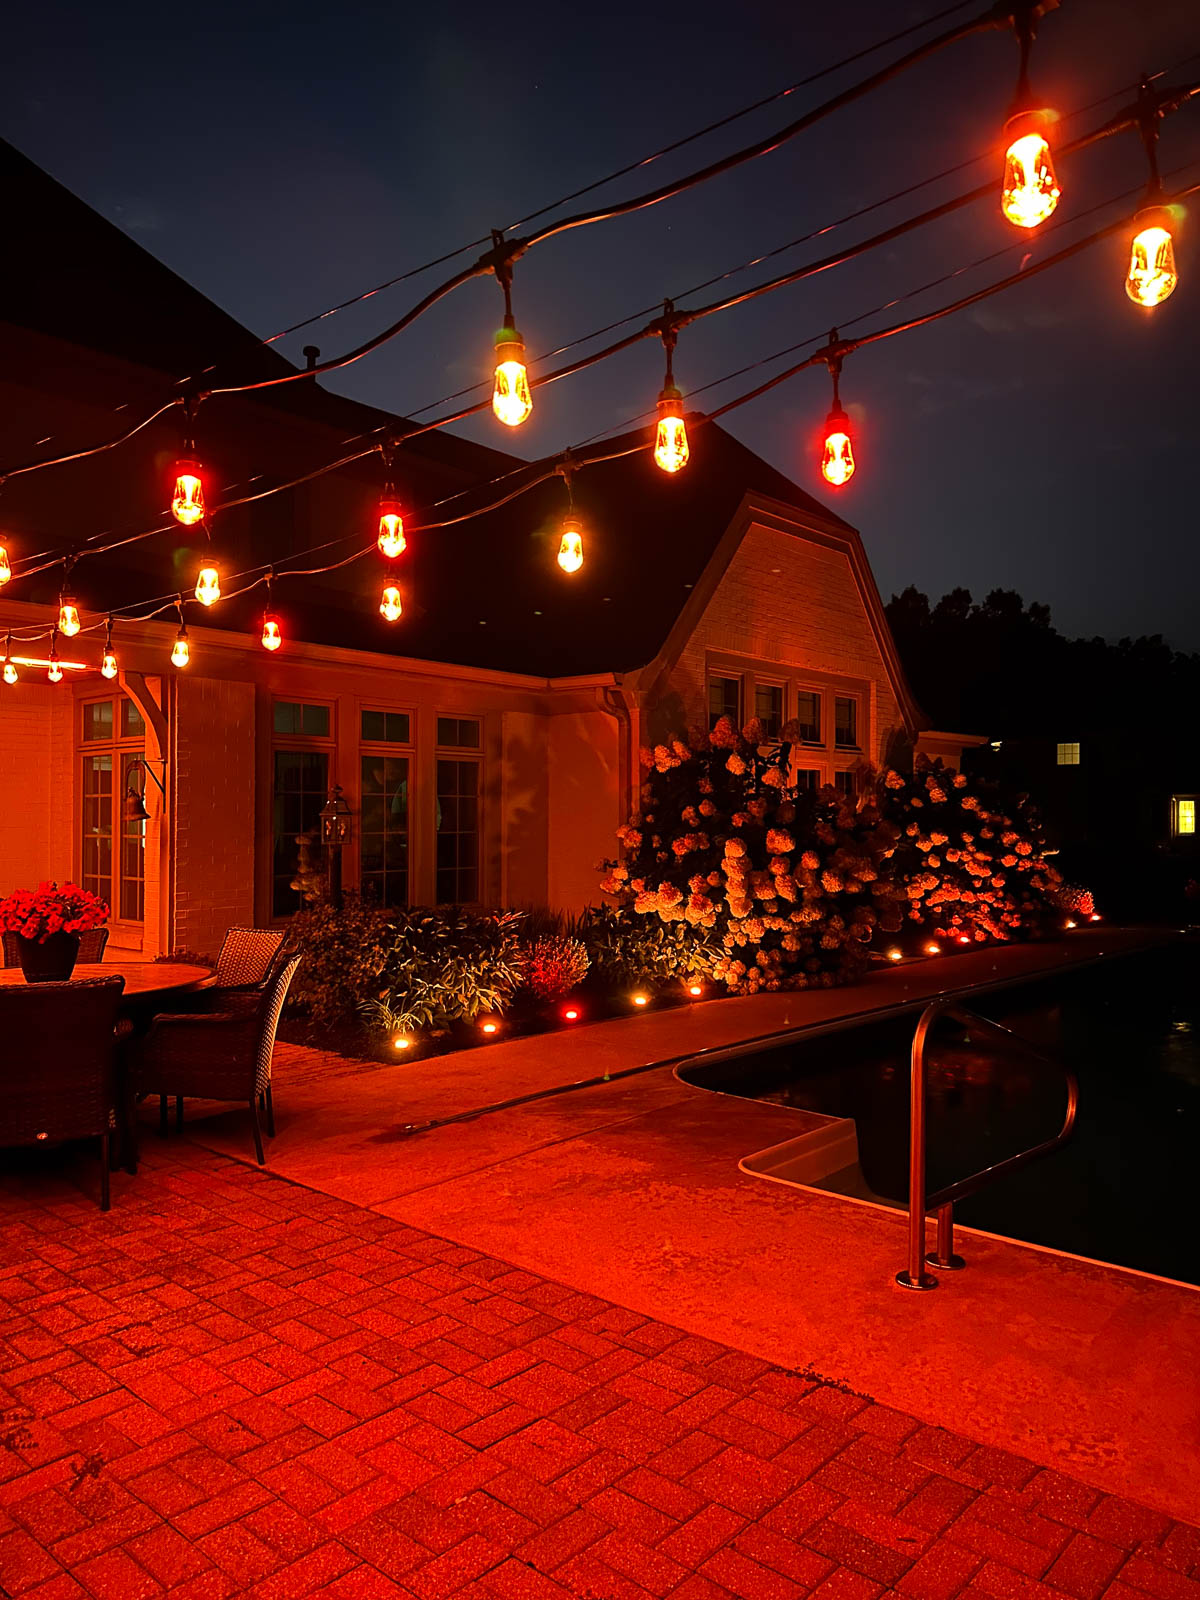
Or host a Halloween bash and make things a little creepy:
Or bring out the red, white, and blue for the 4th:
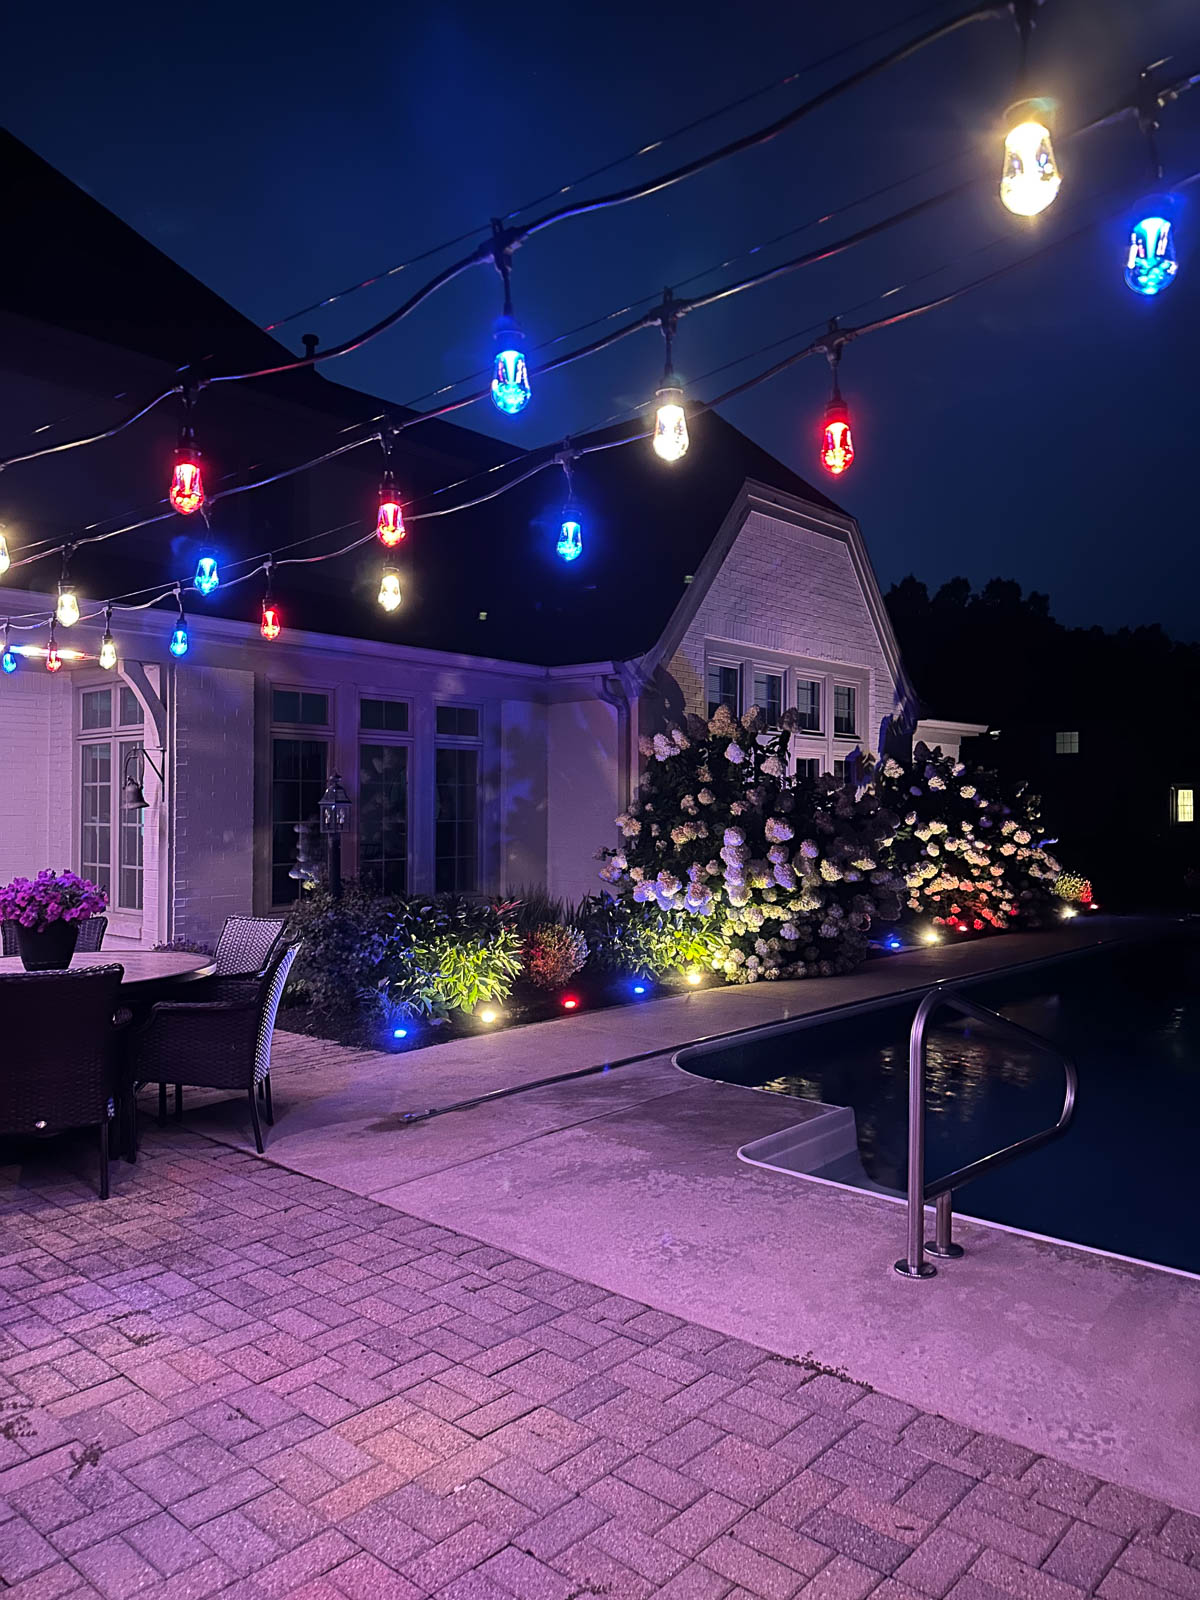
The color options are so fun, and you can even make them twinkle or slowly run through all the colors.
If you’re looking for outdoor lighting that is quality AND easy to install, you have found it! The Wi-Fi capabilities and color options are the icing on the cake!

Are you new to my blog? Go HERE to see my home tour and HERE to shop for items I use in our home.


 These commercial-grade lights can be out year-round.
 I used 36 feet of lights for my patio area.
 I love the ambiance the LED Café Lights add to our patio.
 The lights are really easy to hang since each bulb has a hook, and I hung most of my lights with screws on our covered patio. However, I also wanted the lights to stretch across our patio table, so I created a DIY planter light pole.


 I allowed the concrete to dry 24 hours and then I added holes for the flower pot drainage using a drill.
 I tried to evenly space them so they looked pretty and drilled them right above the concrete line.
 I added gravel to help with the drainage before adding my potting soil.

