Seasonal Decor

Simple Christmas Decor

I am excited to be a part of the Seasonal Simplicity Christmas home tour as we share Simple Christmas Decor ideas.  I had to miss the fall blog hop because we were in the middle of a DIY kitchen remodel (to see more on that journey, go HERE)!

If you are here from Making Home Base, welcome!

With all the craziness of the kitchen remodel, my Christmas decor is pretty simple this year.

One of the two Christmas trees is in the family room along with some greenery on the mantel, stockings and a wreath.

The tree is filled with metallic neutral ornaments and little DIY santa photo ornaments.

I absolutely adore putting up these handmade ornaments every year.

The navy walls are new to the space this years and have changed the look of my holiday decor simply by changing the backdrop of the room.

In the kitchen nook, the DIY open shelves are a recent add to the DIY shiplap wall.

The shelves are filled with my kids’ santa pics through the years.  It is pretty obvious how special these photos are to me – I love how you can see them grow from year to year.

Unfortunately now that my 12-year-old is bigger than santa, I’m not sure how much longer the tradition of the pictures with santa will last…

Right off the kitchen, is a cute little hot cocoa bar.

I am a huge fan of my friend Cara’s chalkboard art of Word for Word Chalk Art.

Our second tree is in our library/music room.

This room was my home office, but the piano lost its wall during the kitchen remodel. The $50 painted piano was moved, and I feel so fancy calling the space the music/library room.

The dining room was decorated earlier this fall with greenery that works well for Thanksgiving as well as Christmas (go here to see more on the tablescape and wreaths).

The chalkboard name plates are also a creation by my friend Cara.

Thanks so much for taking the time to tour my home all (simply) decked out for the holidays! Go see Just a Girl and Her Blog for more holiday inspiration!

Monday

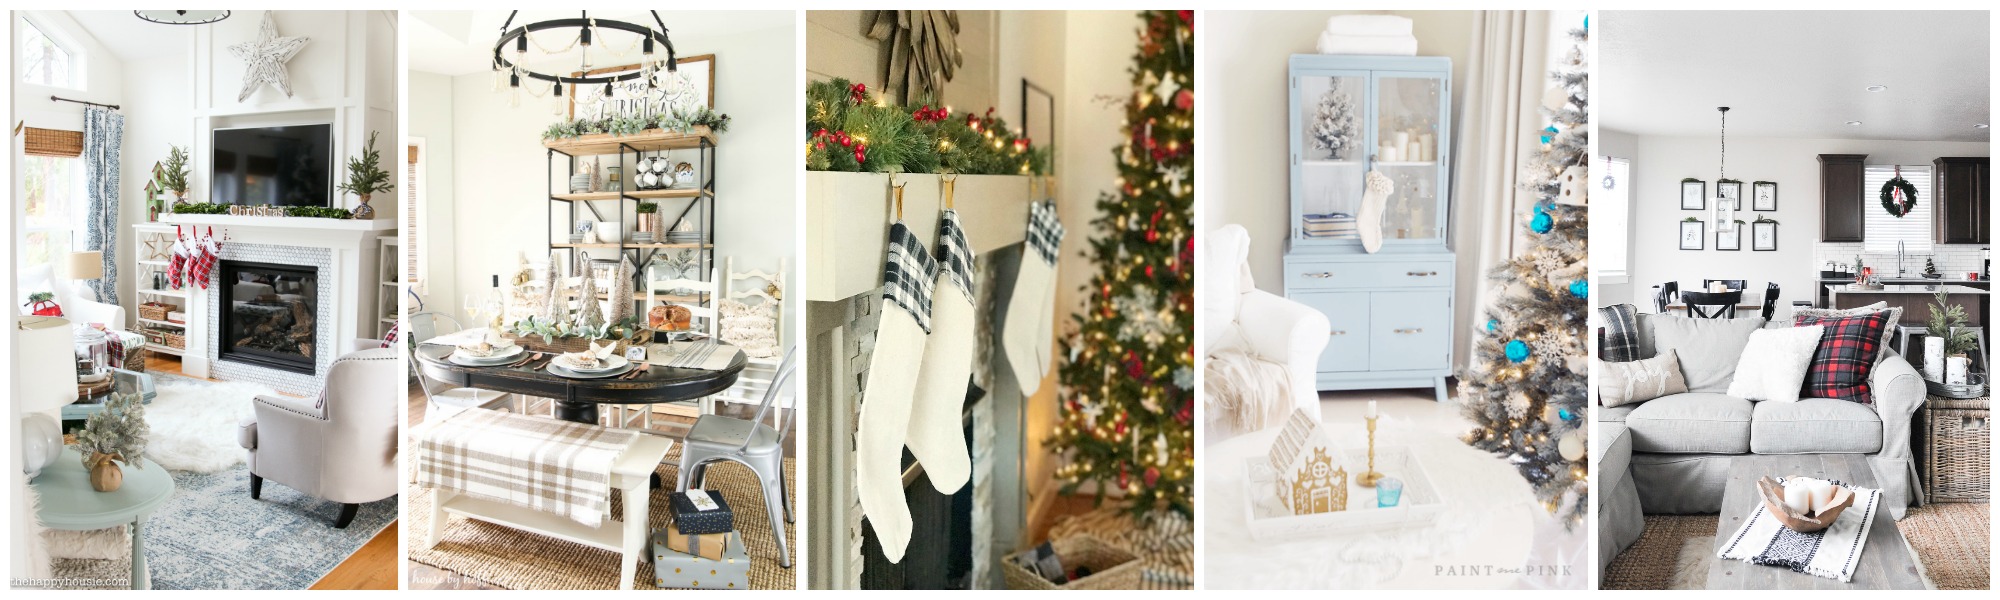
The Happy Housie / House by Hoff / at HOME with the barkers / Paint Me Pink / Cherished Bliss

Tuesday

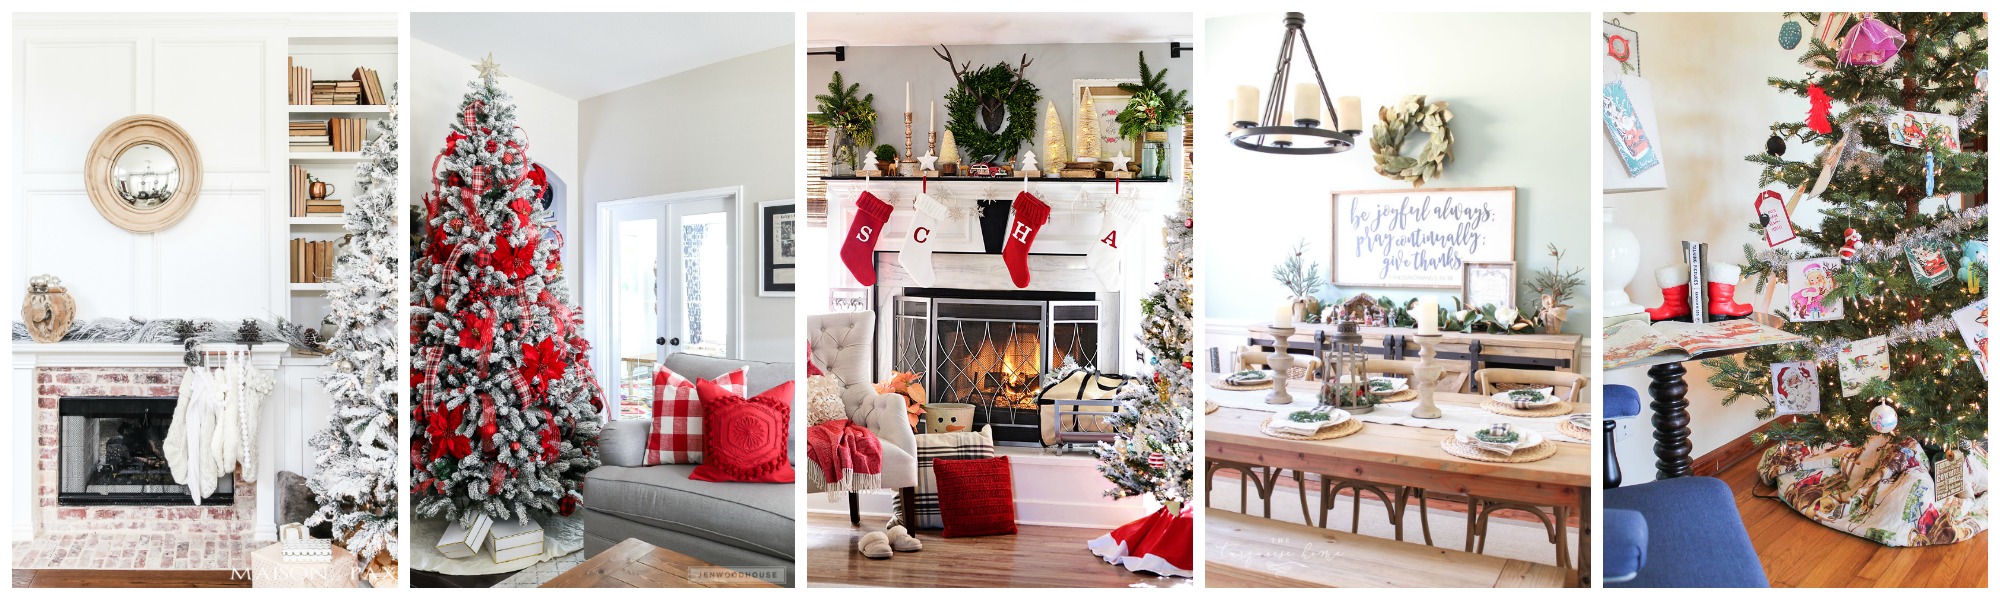
Maison de Pax / House of Wood / Tidy Mom / The Turquoise Home / Rain on a Tin Roof

Wednesday

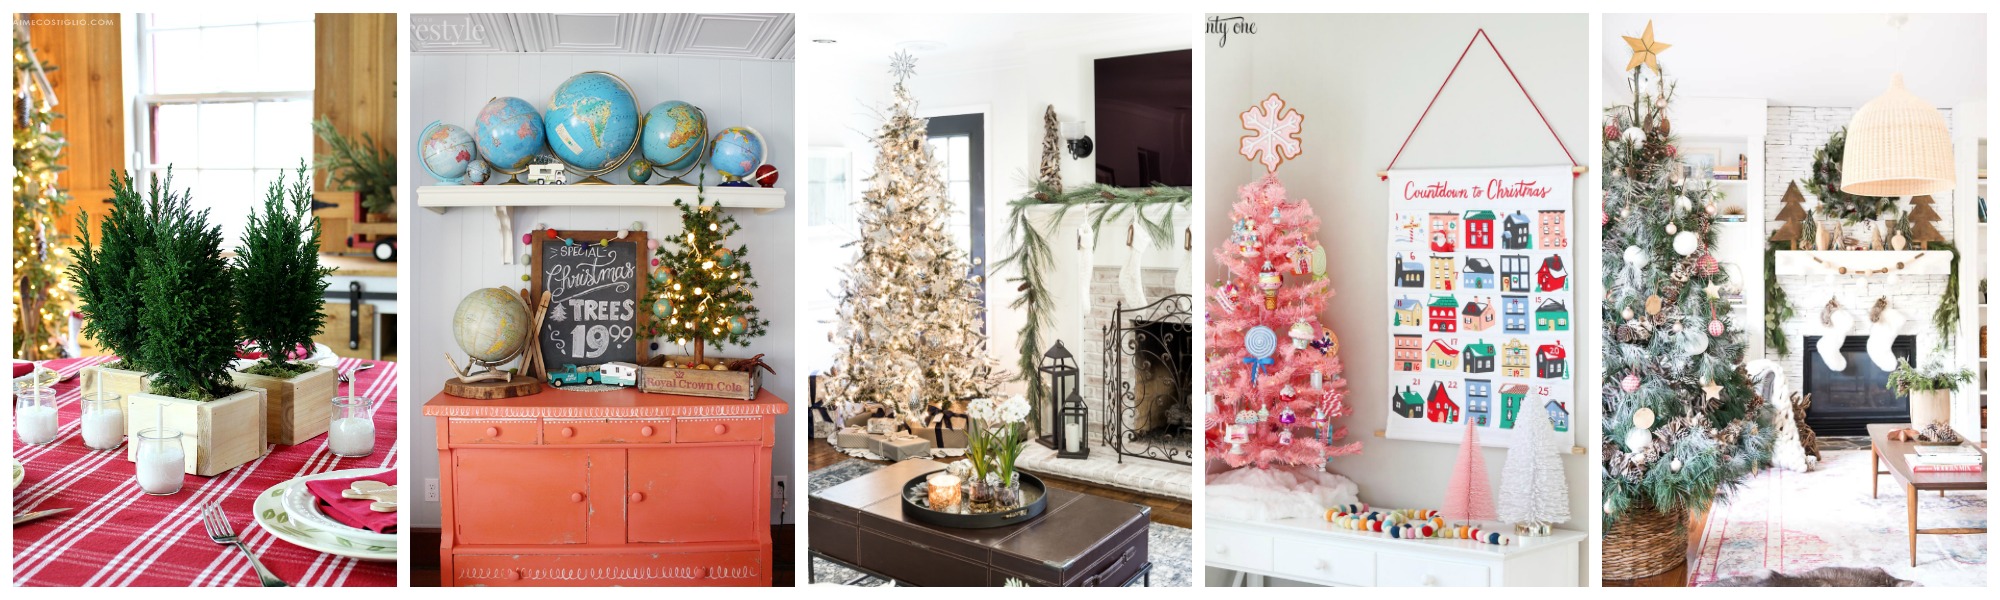
Jamie Costiglio / Robb Restyle / Bless’er House / Two Twenty One / Place of My Taste

Thursday

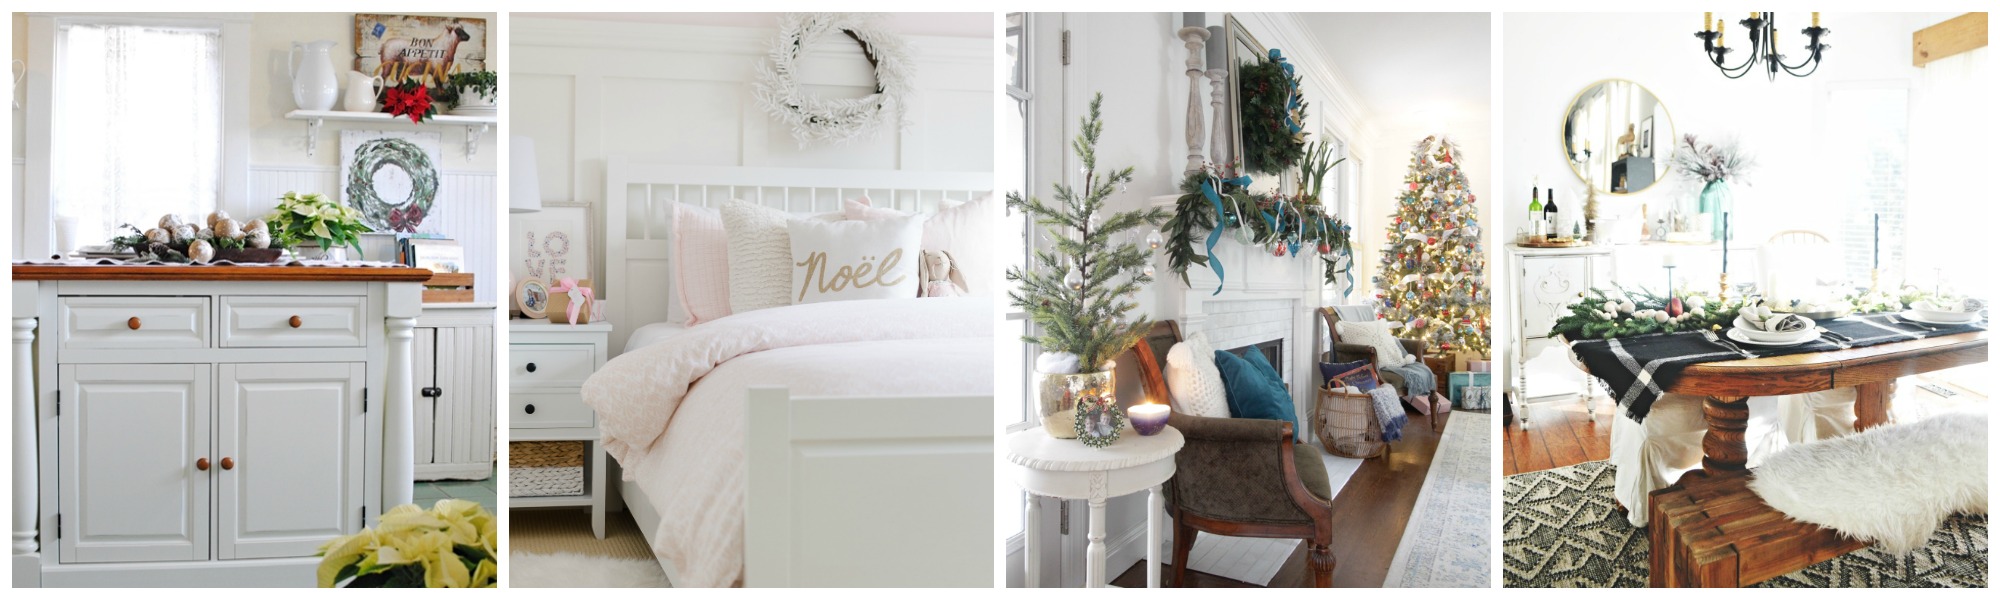
Town & Country Living / A Burst of Beautiful / Deeply Southern Home / My Fabuless Life

Friday

Erin Spain / Refresh Restyle / Nina Hendrick / The Wicker House

Making Home Base / Sincerely Sara D. / Just a Girl and Her Blog

Merry Christmas!

Go create something!

Are you new to my blog? Go HERE to see my home tour and HERE to shop for items I use in our home.


Seasonal Decor

Easy DIY Hoop Christmas Wreath

When do you start thinking about Christmas decor? Once the weather cools off, I start listening to Christmas music and begin thinking about holiday decor! Today I am sharing a REALLY simple DIY Hoop Christmas Wreath tutorial

that does not require much time (or money) but looks beautiful on your door or above your mantel!

I am loving all the simple hoop wreaths used in decor, so I partnered with Hobby Lobby and created this holiday version.

For this easy DIY Christmas hoop wreath you will need:

  • A large embroidery hoop
  • Some greenery
  • Some accent florals
  • Beaded garland
  • A glue gun

I bought the largest hoop I could find in the fabric section of Hobby Lobby, and it is two feet in diameter.

For the greenery, I used these simple fir branches with wire stems. I was able to wrap the wire stems around the hoop and secure them with hot glue.

These accent floral add texture and some color to the pine. I broke the branches apart and hot glued the small floral branches in between the pine branches.

I found this wooden garland and glued on some of the individual wooden beads to the wreath to add even more interest.

I also found this pretty pine garland with pinecones from Hobby Lobby and added it to the fireplace mantel to compliment the wreath.

Although the wreath is simple, the result is festive, pretty holiday decor!

I created a video tutorial for this project detailing how I created this wreath, and you can see it here:

See, I told you this project is easy! This wreath makes great decor for yourself AND a great gift for friends and family.

 The great thing about this wreath tutorial is that you can customize it to fit your decor style using whatever accent florals and accessories you choose! I don’t believe you can ever have too many wreaths.

Create one for your home! Go create something!

Are you new to my blog? Go HERE to see my home tour and HERE to shop for items I use in our home. This is a sponsored conversation written by me on behalf of Hobby Lobby. The opinions and text are all mine.


Seasonal Decor

DIY Wooden Wreath Sign

After hanging my Christmas wreath over my mantel, I felt like it was missing something.  My solution was this DIY wooden wreath sign!

DIY Wooden Wreath Sign For the sign, inexpensive plywood works well.  I found a piece that was 4′ x 4′ so I just needed to cut off a foot since I wanted my sign to be 3′ x 3′.

img_9385

Home Depot offers a free cutting service which made it so much easier (especially since the last time I used the table saw a piece went flying and hit my windshield).

img_9387

Once I had my plywood cut to size, I printed about my artwork.  It could be printed at a printshop on a large 3’x3′ paper (probably the easiest choice), but I tiled the artwork and printed it at home.

free-printable-diy-large-wooden-christmas-sign-tutorial

You can download the PDF file for the wreath here –> wreath-art-3×3

I painted my boards a slightly off-white color and gave them two coats of paint.

diy-large-wooden-christmas-sign The printout was cut and taped together.

free-christmas-printable The type was transferred using good, old-fashioned carbon paper.

using-carbon-paper-for-letter-transfer-tutorial

It really was less time-consuming than you would expect.

using-carbon-paper-for-letter-transfer

After all the words had been transferred using carbon paper, I painted the lettering with a small brush and black paint.

hand-painted-lettered-sign

Once my lettering was complete, I used the chop saw to cut down furring strips for the frame.

diy-large-wooden-christmas-sign-tutorial

I painted them black (with spray paint) and attached them to the frame with an air gun.

diy-christmas-wooden-sign

A small hook was added to hold the wreath.

diy-christmas-wooden-sign-tutorial

Once the hook is in place, hang the wreath and it is ready to be displayed!

christmas-decor-ideas-sincerely-sara-d-1-9

christmas-decor-ideas-sincerely-sara-d-1-13

Go create something!

Are you new to my blog? Go HERE to see my home tour and HERE to shop for items I use in our home.

Find me on Facebook | Instagram | Twitter Pinterest

  DIY Christmas Wood Wreath Sign