DIY

Easy DIY Open Shelving

If you’re looking for an easy project, try this Easy DIY Open Shelving.  It’s an afternoon project which results in lots of storage for any space!

Easy DIY Open Shelving Tutorial

When we hung pegboard in our laundry room, I really thought it would be the solution to keeping the laundry room organized.  However, it didn’t quite accomplish what we needed in terms of organization.  It looked nice, but it took up valuable shelf space that would serve better as shelving.  So, I asked my (sweet) husband to take it down…

We saved the pegboard and frame and will try to find a spot for it in our garage. After the frame was removed, there were tons of holes to fill…

Once the holes were filled and the room repainted, I began the process of adding open shelving to the laundry room.  I needed space for all our junk, and this was the perfect solution. Earlier this year, I added open shelving to our kitchen nook.  You can see the full tutorial for adding easy open shelving HERE. I followed the same method as before, only I used more modern brackets and 12-inch pine boards (instead of the 8-inch boards in our kitchen).

I planned accordingly and added brackets to studs.  I used a stud finder to find them and verified my stud finder with a nail.  I marked the wall where each of my brackets should go and used a level to be sure I put them in level. For this project, I used Crates & Pallet 12 in. Forged Steel Shelf Brackets found at The Home Depot.  I used six of them and spray painted them gold.  They are strong AND gorgeous!

Once all 6 brackets were in, I added my (primed and painted) pine 12-inch boards.  It really is so easy – so easy I did these shelves alone!

Want to see the rest of my laundry room makeover?  Click HERE!

Go create something!

Are you new to my blog? Go HERE to see my home tour and HERE to shop for items I use in our home.

*This post is a sponsored post by Crates & Pallet. I take pride in reviewing only products that fit my brand and will be beneficial to my readers. And while this post is sponsored, all the opinions are my own.

DIY

DIY Open Shelving

Our kitchen nook needed a little something, so I added elegant DIY open shelving.  It is an easy project – I did this solo one morning!

There is a large empty wall in the space, and I have struggled with decorating it since we first moved it.  I tried stenciling it (see more details on that stencil HERE) and eventually added shiplap (see that DIY tutorial HERE).

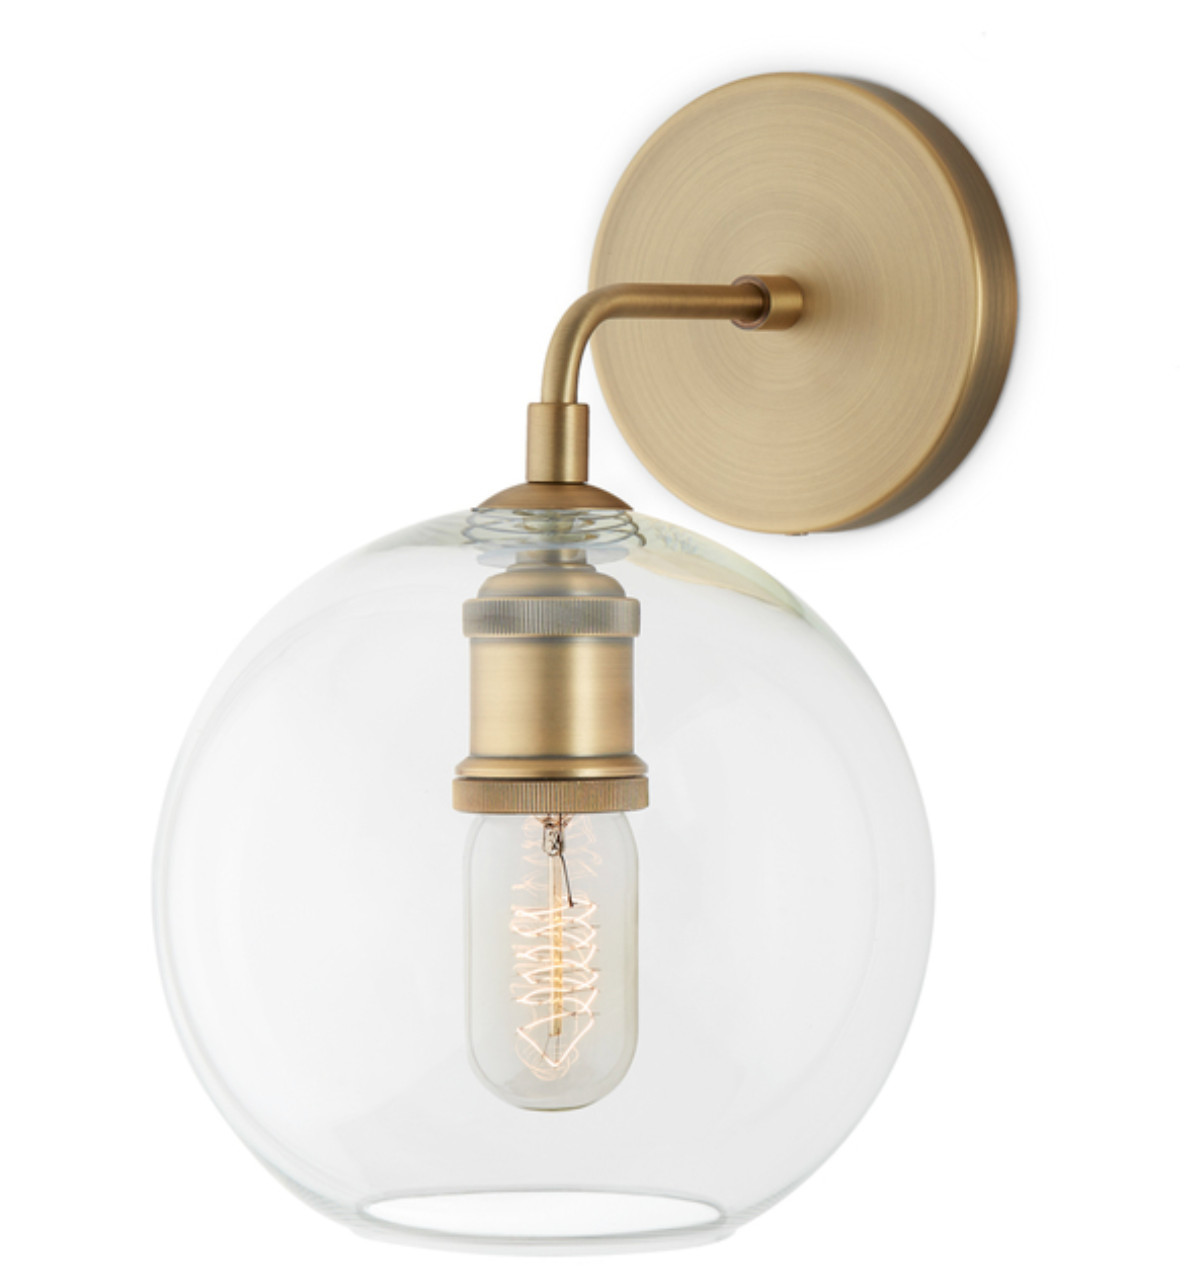
Although I loved the texture the shiplap brought to the space, I still struggled with what to put in the space.  I felt my bench and hutch looked cluttered in the space.  I dream about building a large built-in buffet, but we have other large projects that need to come first.  I decided to build some inexpensive open shelving. I began by taping out my plan for the shelves and added some faux lighting (I’ll talk more about this later) above the shelving.

This post contains some affiliate links for your convenience. Click here to read my full disclosure policy.

For this project, I used:

  • 2 10″ x 8′ boards
  • 6 brackets ( I bought these from Lowes)
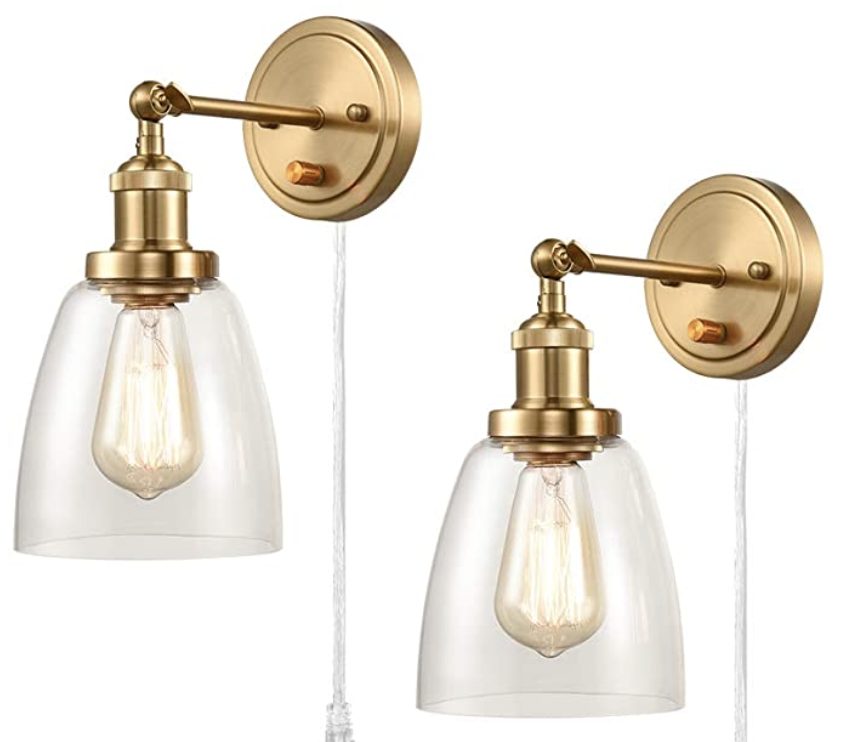
  • 3 wall lights (I found mine on Amazon)
  • gold spray paint
  • primer
  • paint
  • Electric sander
  • Drill

I began the project by sanding down/smoothing my boards.

I added a couple of coats of primer and a couple more coats of paint.

I “installed” my lighting.  I looked everywhere for battery-powered wall lamps without any luck.  I ended up finding some gorgeous wall lights on Amazon and decided to add them to my space.  I’m hoping my electrician (aka my dad) will help me install the lighting down the road, but it will probably prove to be a little tough since I added shiplap.  However, I love the look my (faux) lights add to the space!

After the lights were added, I installed the brackets for the shelving.  I spray-painted the brackets to match the finish of the lights.

I added my painted boards, and the open shelves were done!  The entire project only took me a few hours (solo) to install.

I styled the shelves with some plants and white dishes (click HERE for an inexpensive way to get the look).

I now love this wall!

Where could you use some open shelves in your home – if you don’t already have any?

Go create something!

Are you new to my blog? Go HERE to see my home tour and HERE to shop for items I use in our home.

Find me on Facebook | Instagram | Twitter Pinterest

Shop the Post