Painting bookshelves isn’t difficult if you have the right tools and paint. Today I am sharing tips and tricks for getting the job done.
This is a sponsored post written by me on behalf of Dutch Boy. All opinions are 100% mine.
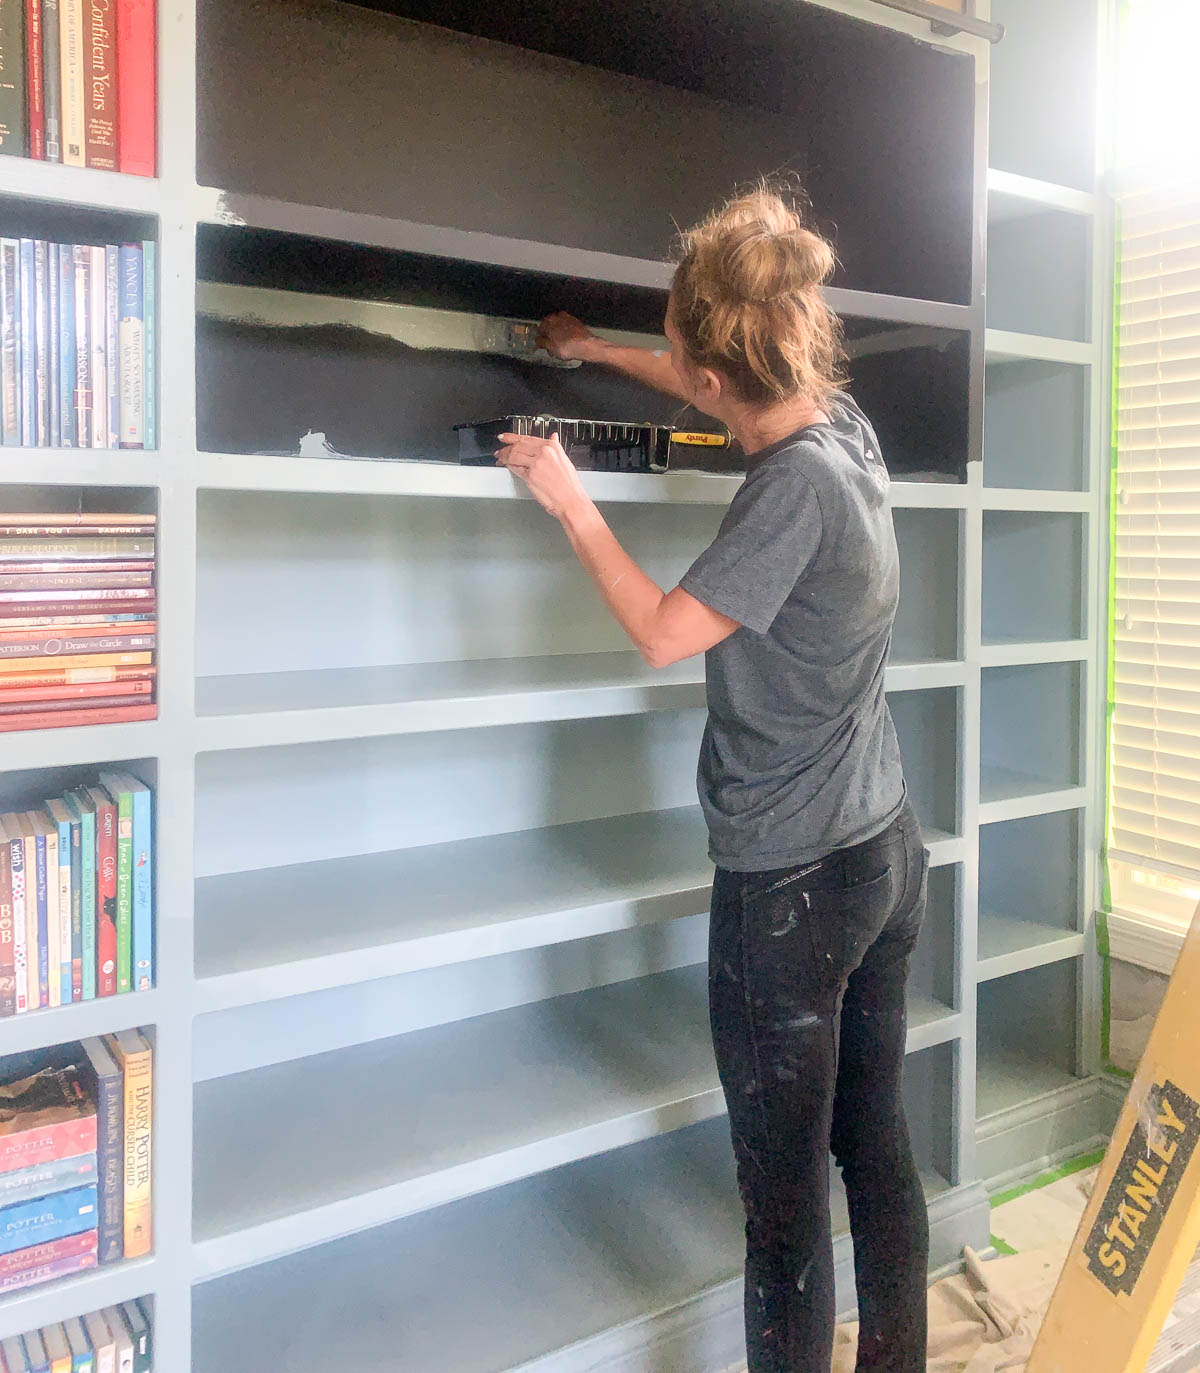
Several years ago, I painted our bookshelves black. The rest of the room is light, and although beautiful, the black always felt out of place.
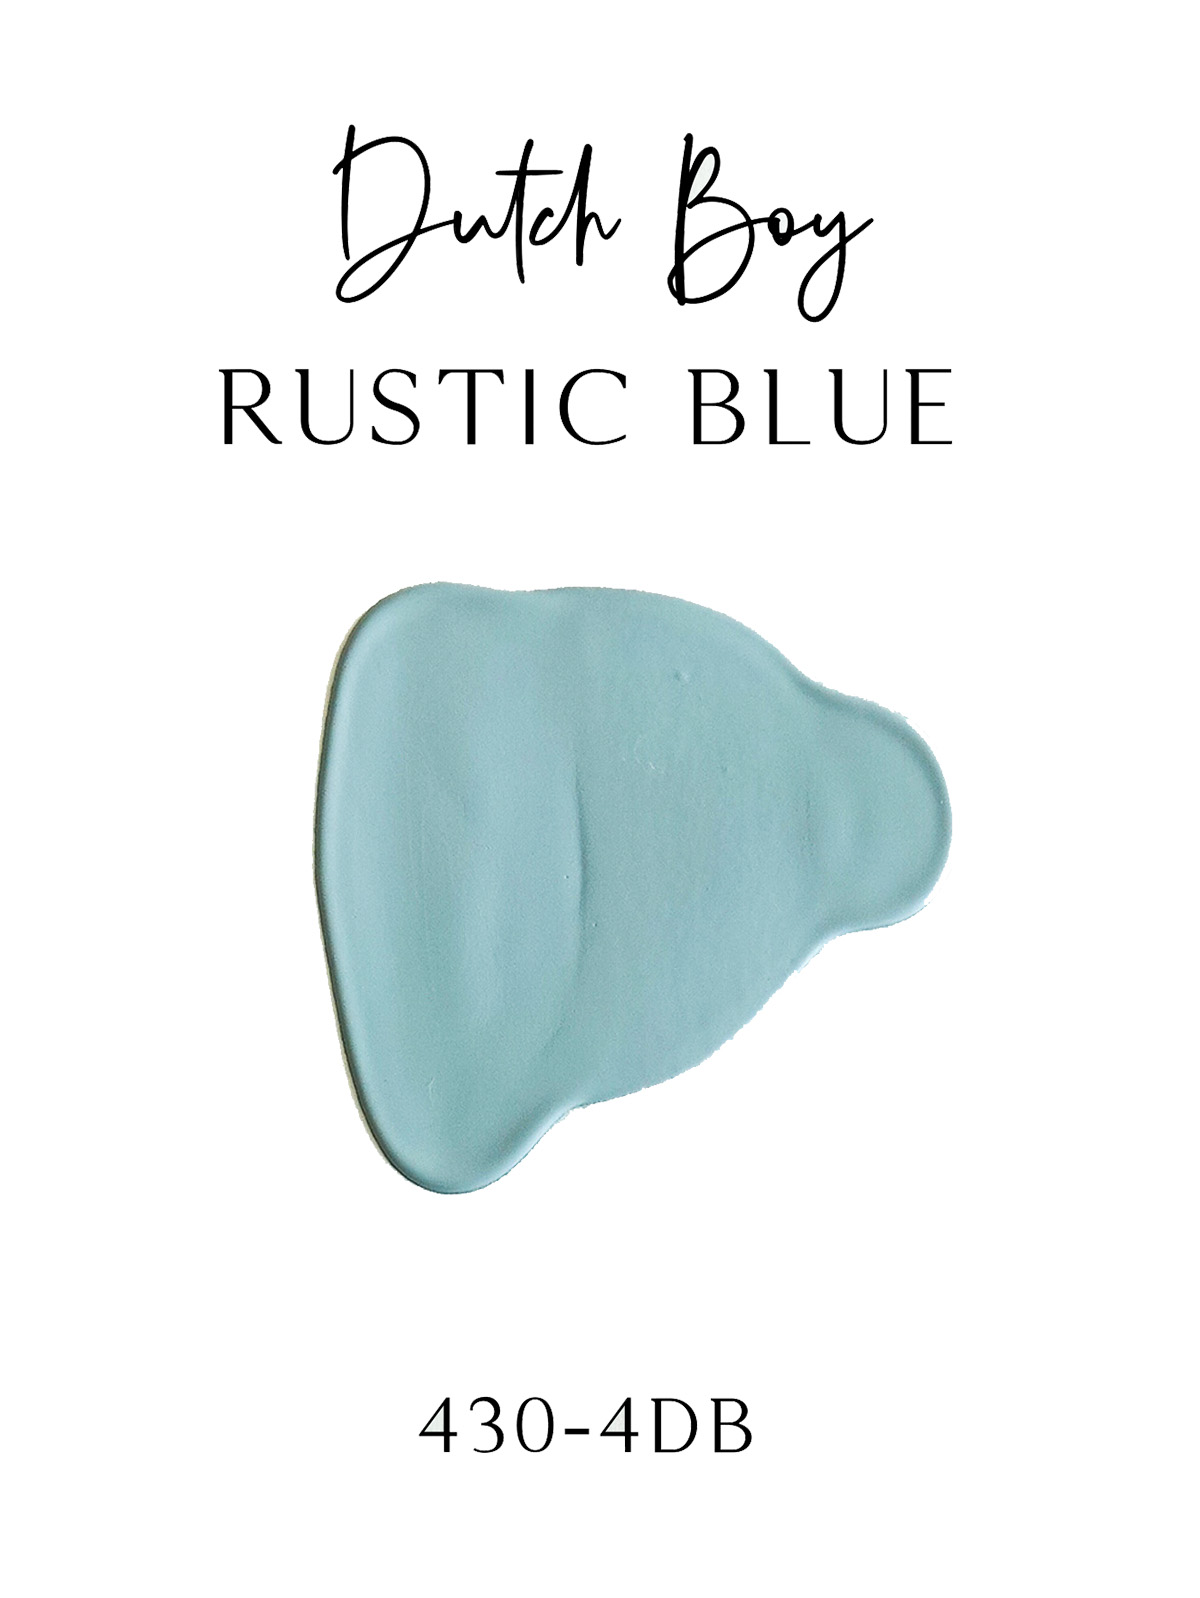
The exterior of our home is “French Chateau” in style. I have slowly been trying to transform the interior to also reflect that style. Since many of the period homes used monochromatic color schemes, I wanted to paint the bookshelves blue.
When I painted the bookshelves black, I used a paint sprayer. It was possibly a user error, but the sprayer did not provide a smooth finish. I also made the mistake of painting them with a matte finish and found it collected lots of dust.
This time around I painted them by hand, and it was very manageable as I broke the bookshelves into sections.
When painting the shelves, I worked in sections as I mentioned before. It is best to begin with the brush and paint all the corners, edges, and trim. Follow up with the roller for the larger surfaces. I allowed 24 hours of dry time before I returned the books to the shelves.
Platinum Plus Cabinet, Door & Trim Paint
This paint was fantastic to work with. I envisioned several coats since I was painting over black, but I was surprised that one coat covered most sections.
Today we’re discussing decorating red because it is such a powerful accent color. Red captures attention and is the color of extremes. It’s the color of passionate love, seduction, violence, danger, anger, and adventure. Our prehistoric ancestors saw red as the color of fire and blood – energy and primal life forces – and most of red’s symbolism today arises from its powerful associations in the past.
It is one of the most visible colors, second only to yellow – which explains why it is used on fire engines and stop signs to trigger alertness.
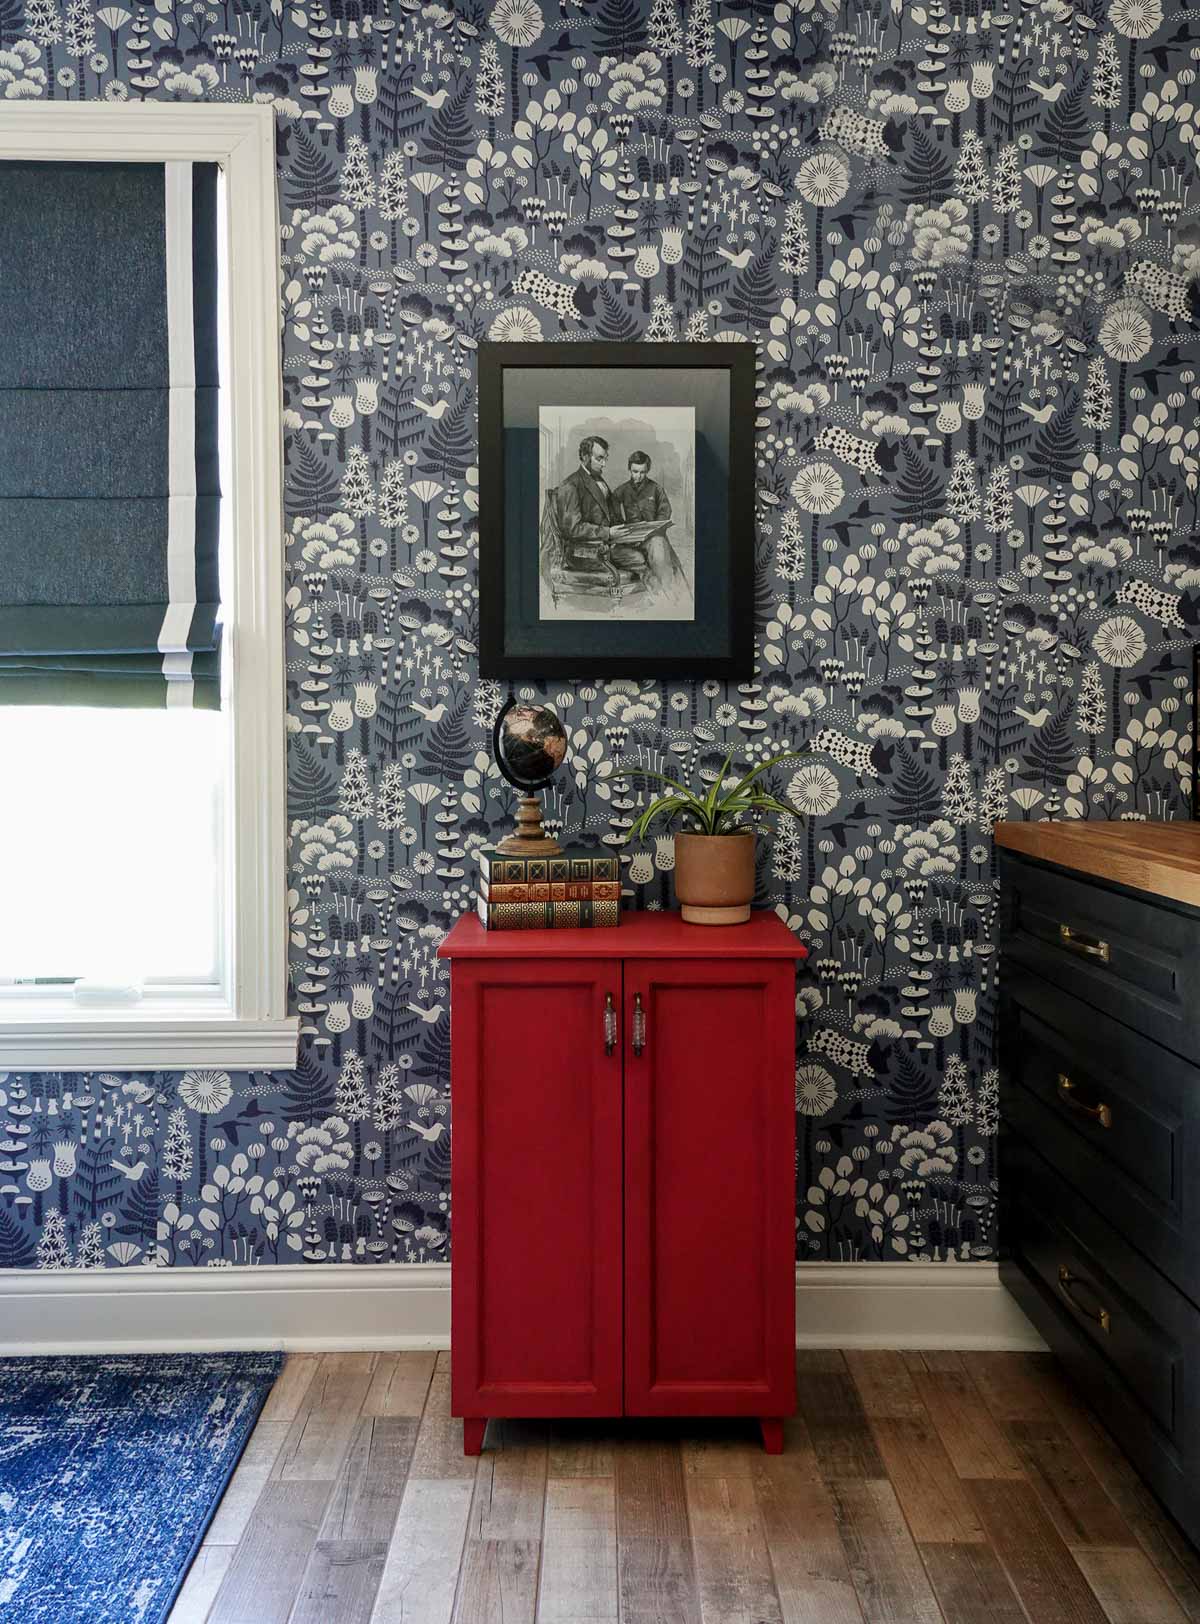
The cabinet I showed earlier is one I found at a roadside sale for $10. It’s amazing what some paint can do (and new hardware):
RED COLOR THEORY
On the color wheel, red is a warm, primary color and sits between blue and yellow. Primary colors are the 3 pigment colors that cannot be mixed or formed by any combination of other colors. All other colors are derived from these 3 hues.
The three secondary colors (colors created when primary colors are mixed) are green, orange, purple. And there are six tertiary colors, which are colors made from primary and secondary colors, such as blue-green or red-violet.
Warm colors include red, orange, and yellow (and variations of these three colors). Warm colors are the color of fire, fall leaves, sunsets and sunrises, and are generally energizing, passionate, and positive.
Generally speaking, the most complementary colors are those that stand opposite each other in the color wheel, such as red and green, blue and orange, purple and yellow.
Red has the longest wavelength of any color. It’s the first color babies can see, and it’s the very first color to vanish as the sunsets.
Red calls us to action, gets us motivated, and wearing red lets people know we feel confident. Red is associated with luxury – think about a red Ferrari.
Red also has negative connotations in that it can indicate anger and red is associated with financial loss.
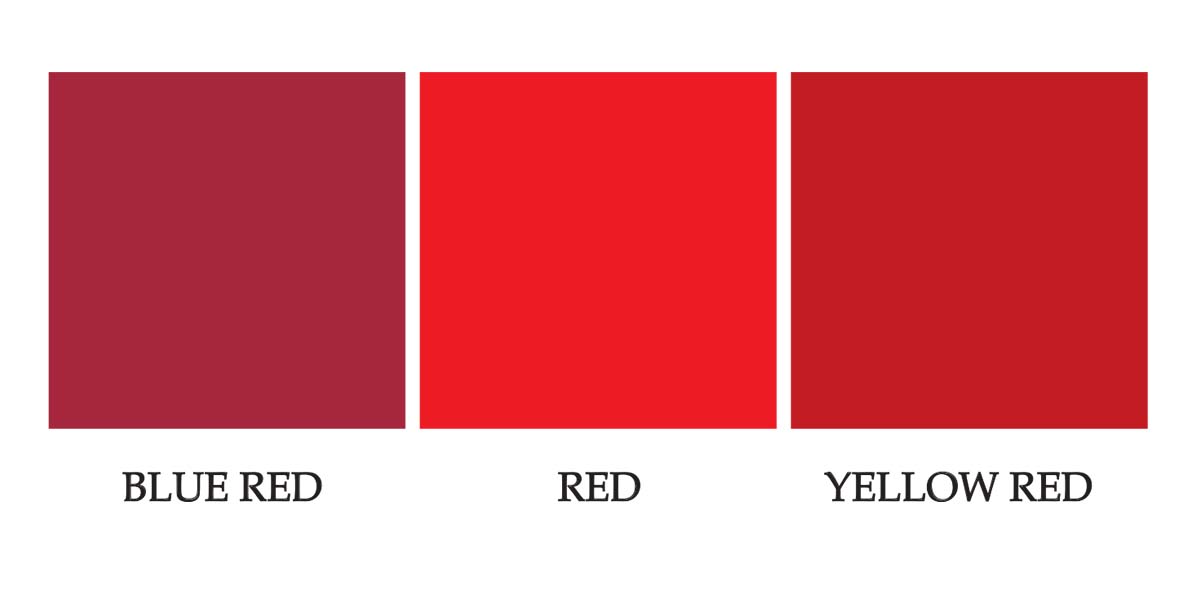
SHADES AND TINTS OF RED
Blue-based reds are berry reds.
Yellow-based reds are tomato reds.
Generally, females are more attracted to blue reds while males prefer yellow reds.
DECORATING WITH RED
In design, red can be a powerful accent color. It can have an overwhelming effect if it’s used too much in designs, especially in its purest form. It’s a great color to use when power or passion want to be portrayed in the design. Red can be very versatile, though, with brighter versions being more energetic and darker shades being more powerful and elegant.
LESS IS MORE WITH RED
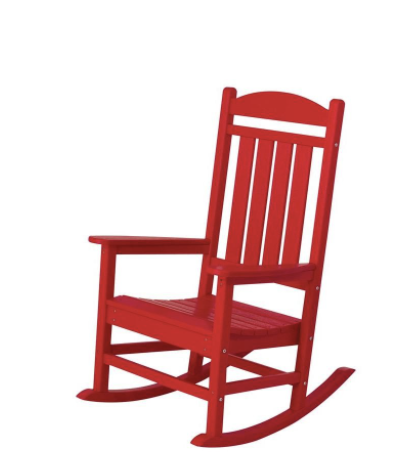
Red is the perfect way to add a splash of color to any space and is a beautiful accent color. Use it to enhance a room by painting a piece of furniture or adding it as a decorative piece (think artwork, vases, and throw pillows).
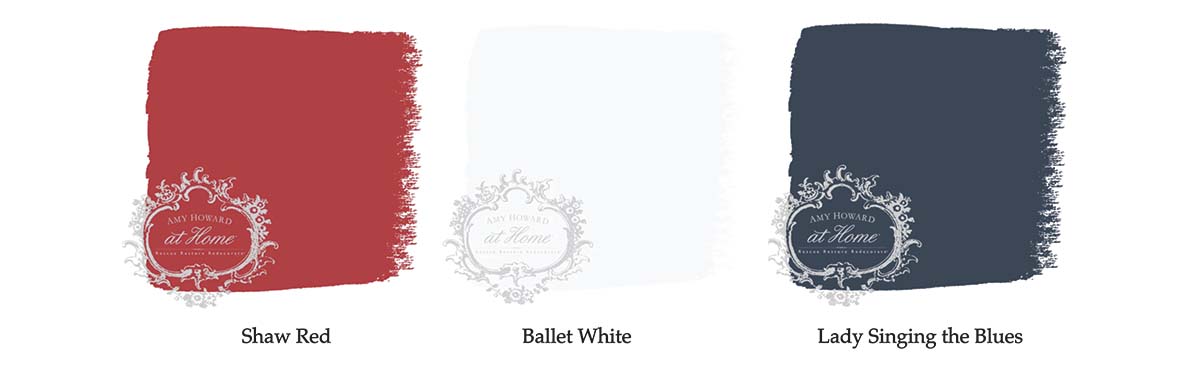
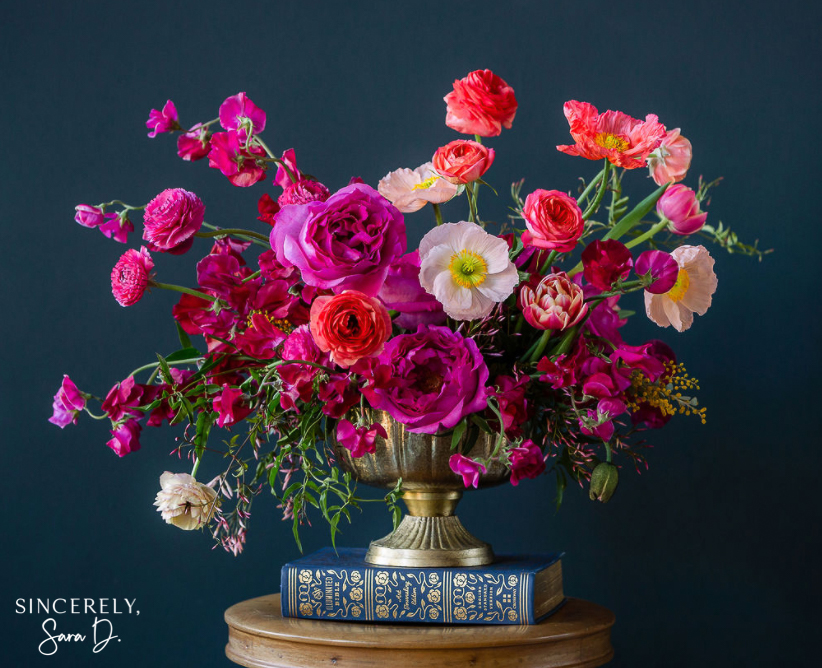
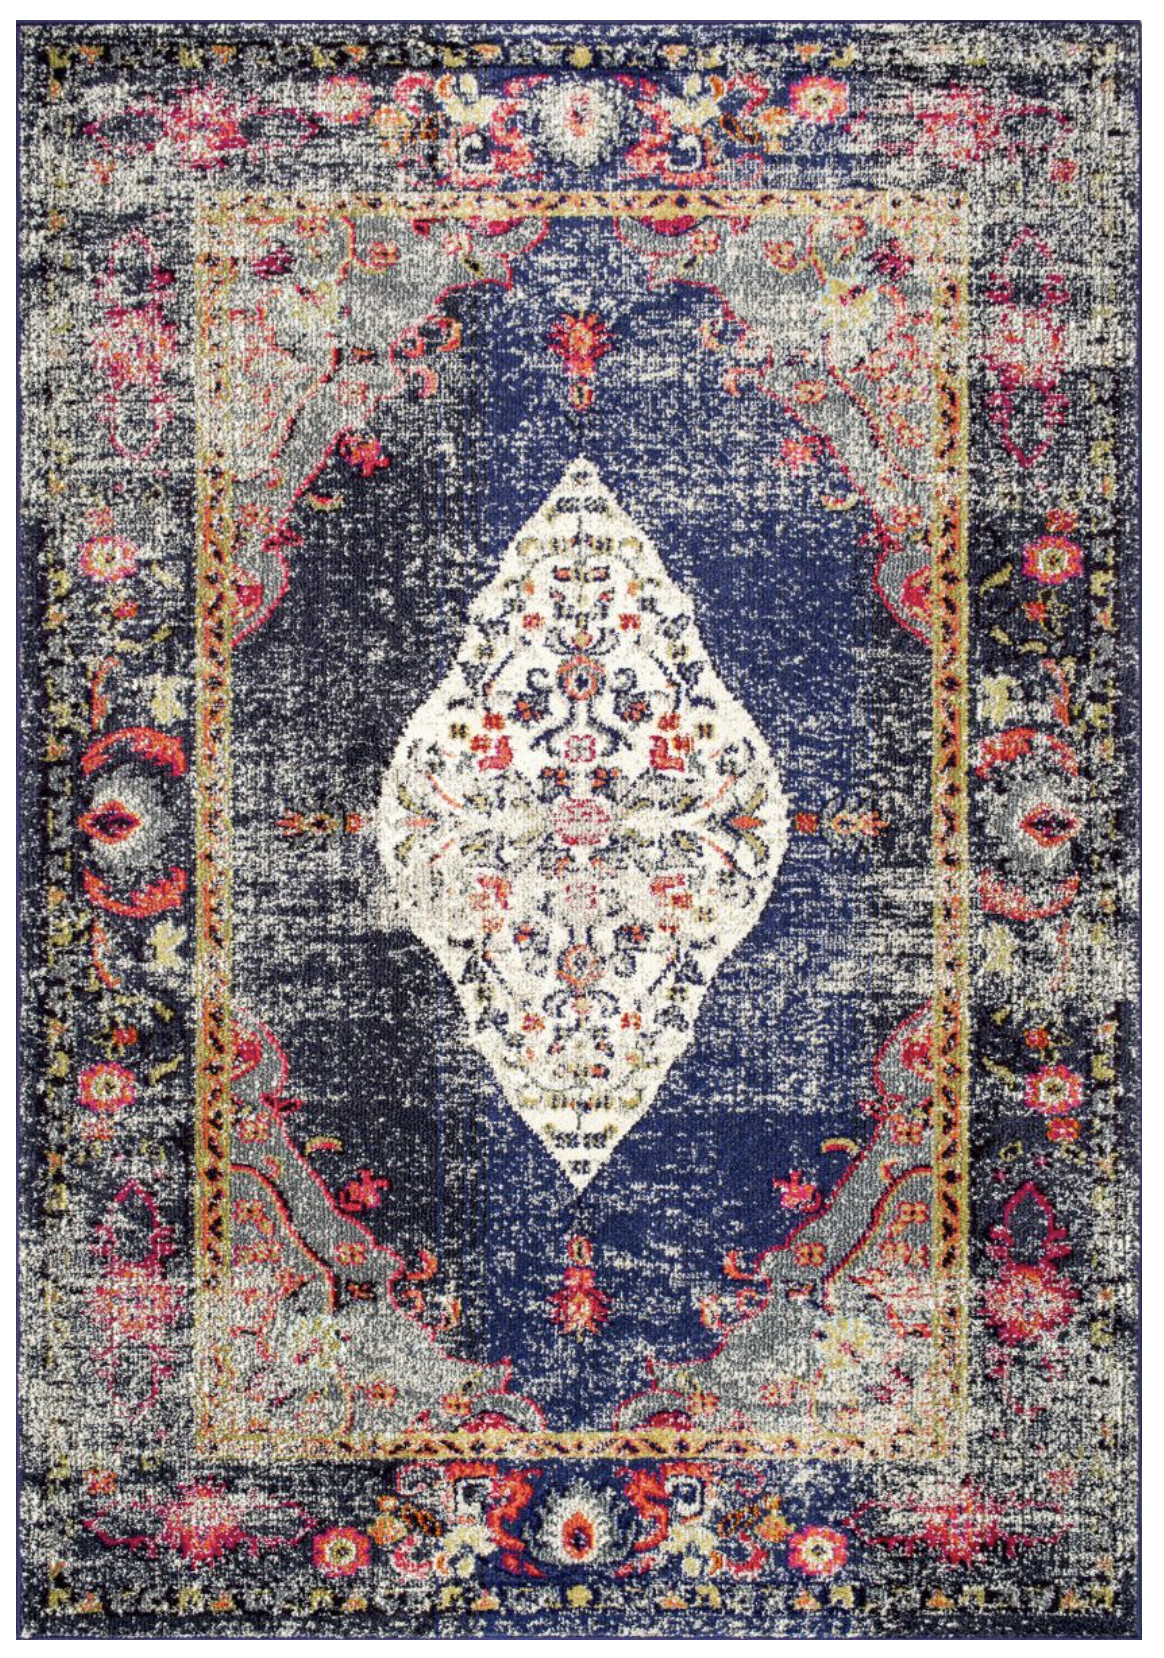
There’s a reason so many flags are red, white, and a deep, navy blue. Red, white, and blue is a classic combination, but because red and blue are both primary colors, the combination can be overwhelming. A more sophisticated combination is primary red and a deep navy blue.
Red and Turquoise
Red and turquoise the perfect combination for people who want bold decor. These two vibrant shades are loud on their own but somehow, they neutralize each other when styled together. Turquoise is an example of a tertiary, and they tend to work well with red.
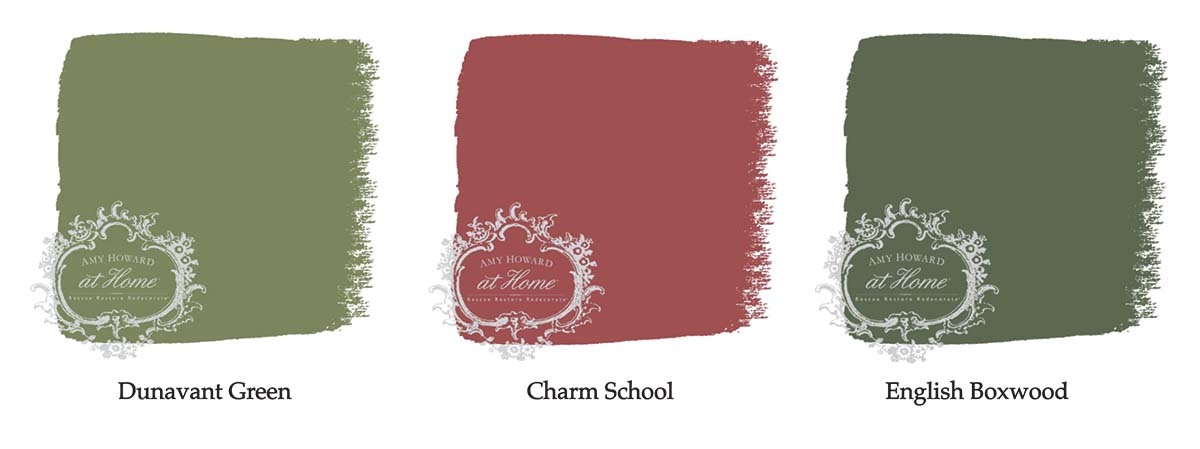
Red and Green
Since red and green are complementary colors, it’s only natural that they pair nicely in your home. The colors create levels of high contrast but be careful to not make your space look too jolly. Try mixing several different greens versus only the primary green.
Red and Orange
Try mixing colors with red on the same color spectrum – like orange. The result is warm and inviting.
Red, Black, and White: Retro Classic
Black, white, and red is a reliable color combination that results in a sweet, retro attitude. It is a classic approach to decor.
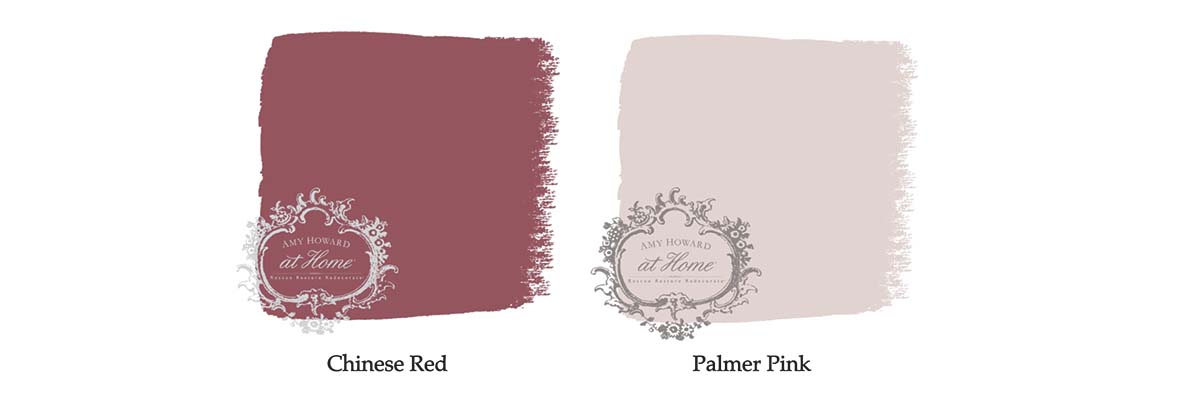
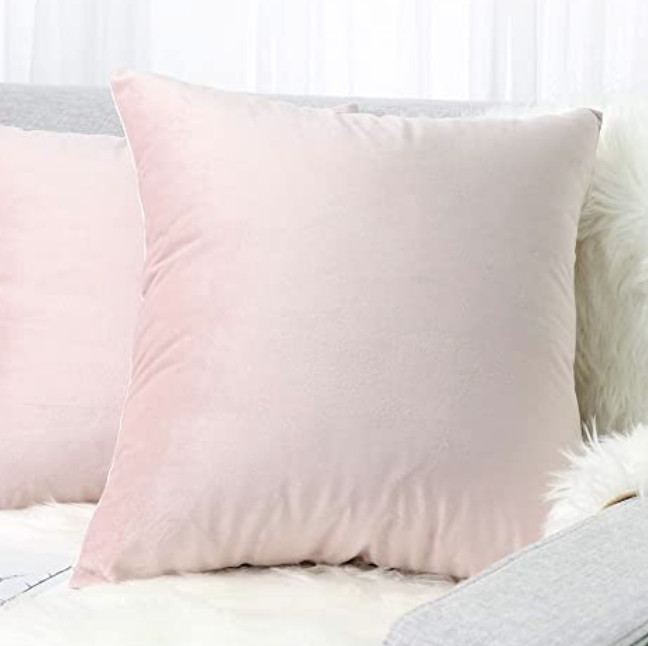
Red and Blush
If you want a modern decor look, try mixing red and a subtle blush. The blush acts as a neutral so the red stays the center of attention.
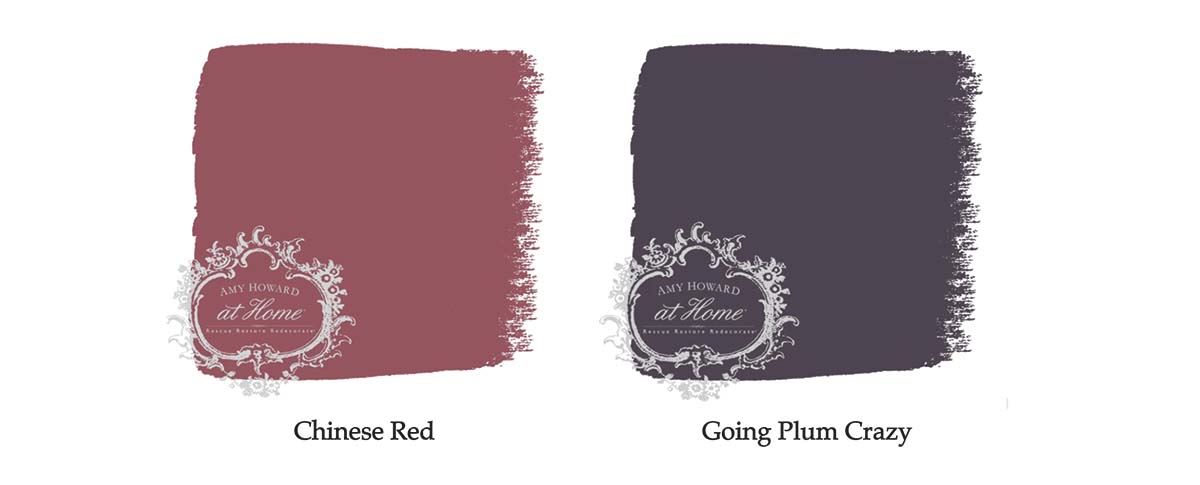
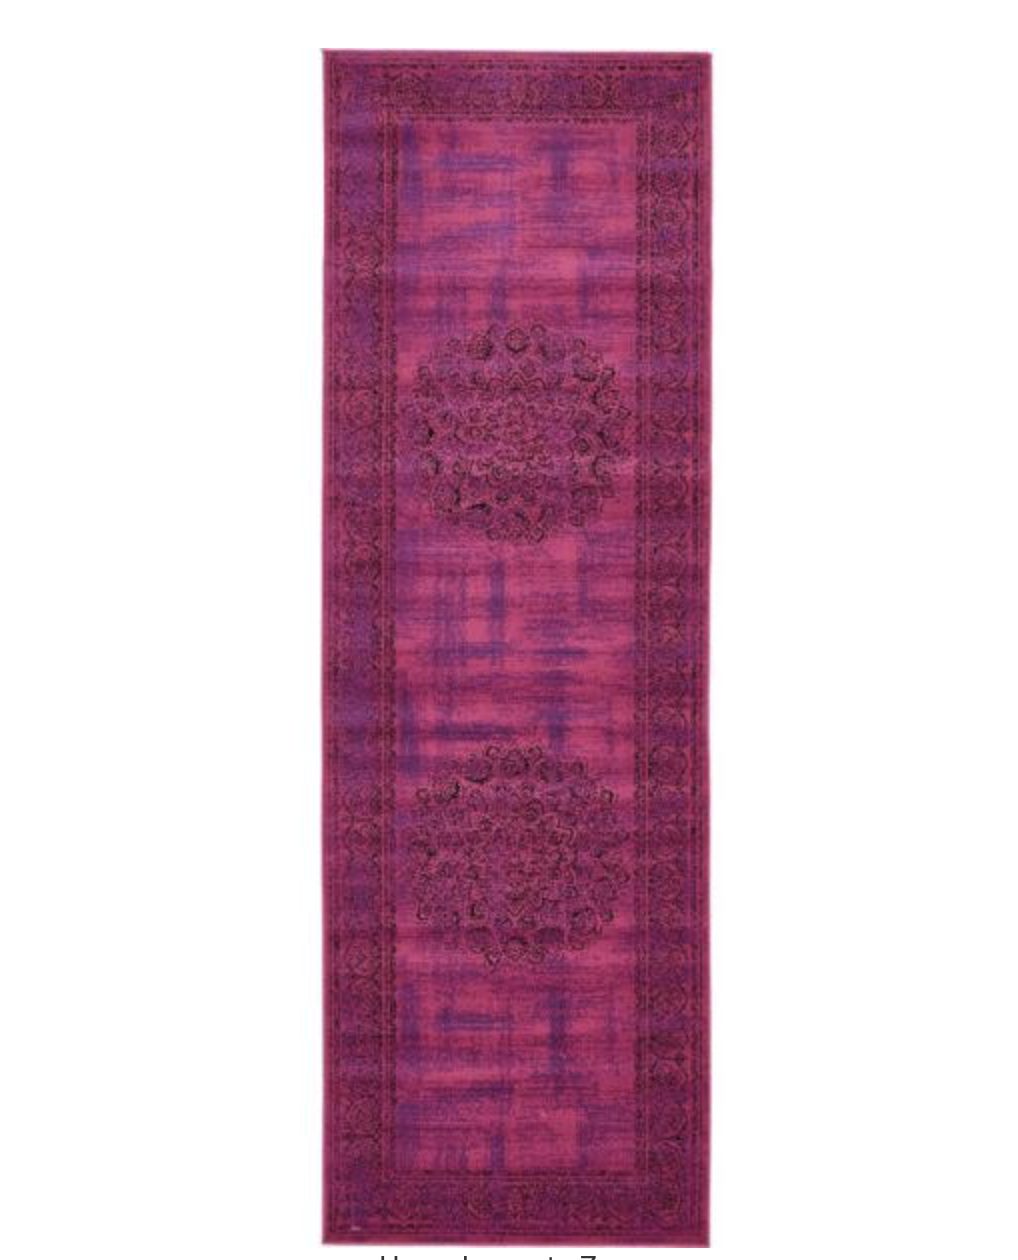
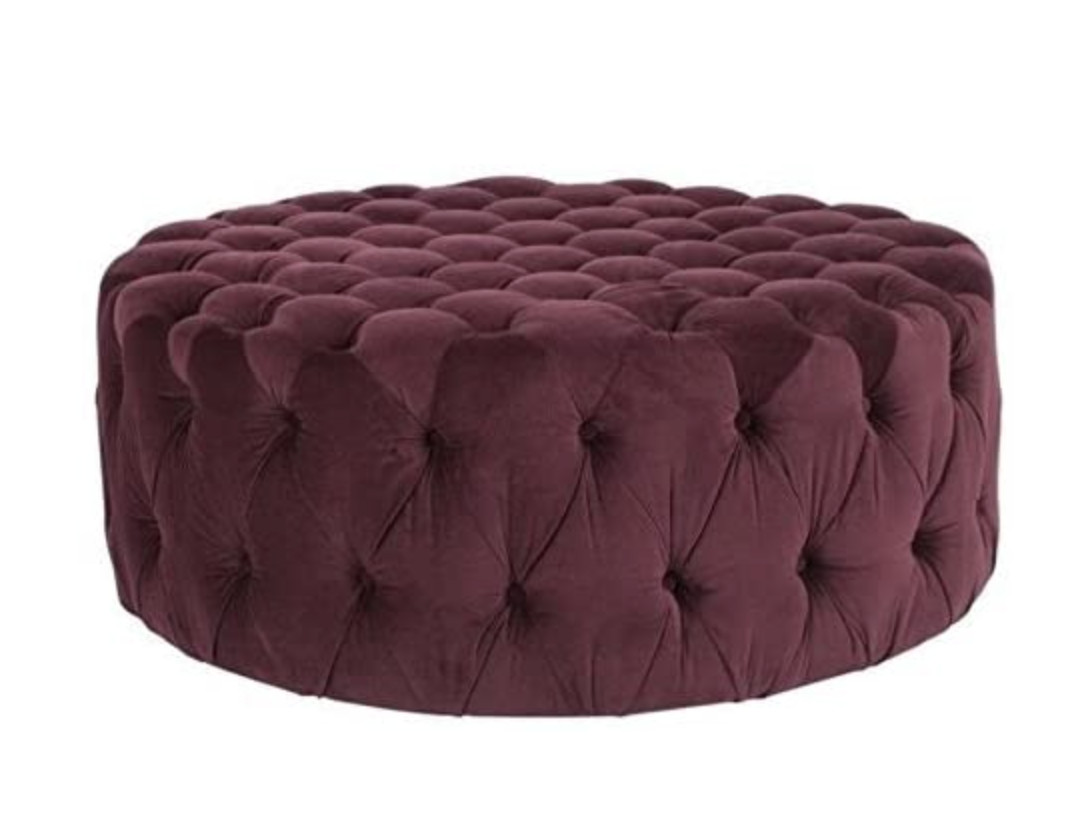
Red and Purple
Located on the opposite ends of the color spectrum, red and purple aren’t the first two colors you’d think to put together. This unlikely duo can really work but make sure the two colors are in the same tone range. If you select a red and purple with the same saturation, it will look balanced in the room.
What is your favorite combination with red? Want to learn more about the color of the month club or check out all of Amy Howard at Home’s
Go create something!
Are you new to my blog? Go HERE to see my home tour and HERE to shop for items I use in our home.
Have you ever wondered if you can paint a faucet? Our house was built in the ’90s. The ’90s = shiny brass. Unfortunately, we didn’t have the budget to replace the faucets, so I decided it was worth a try to paint them…
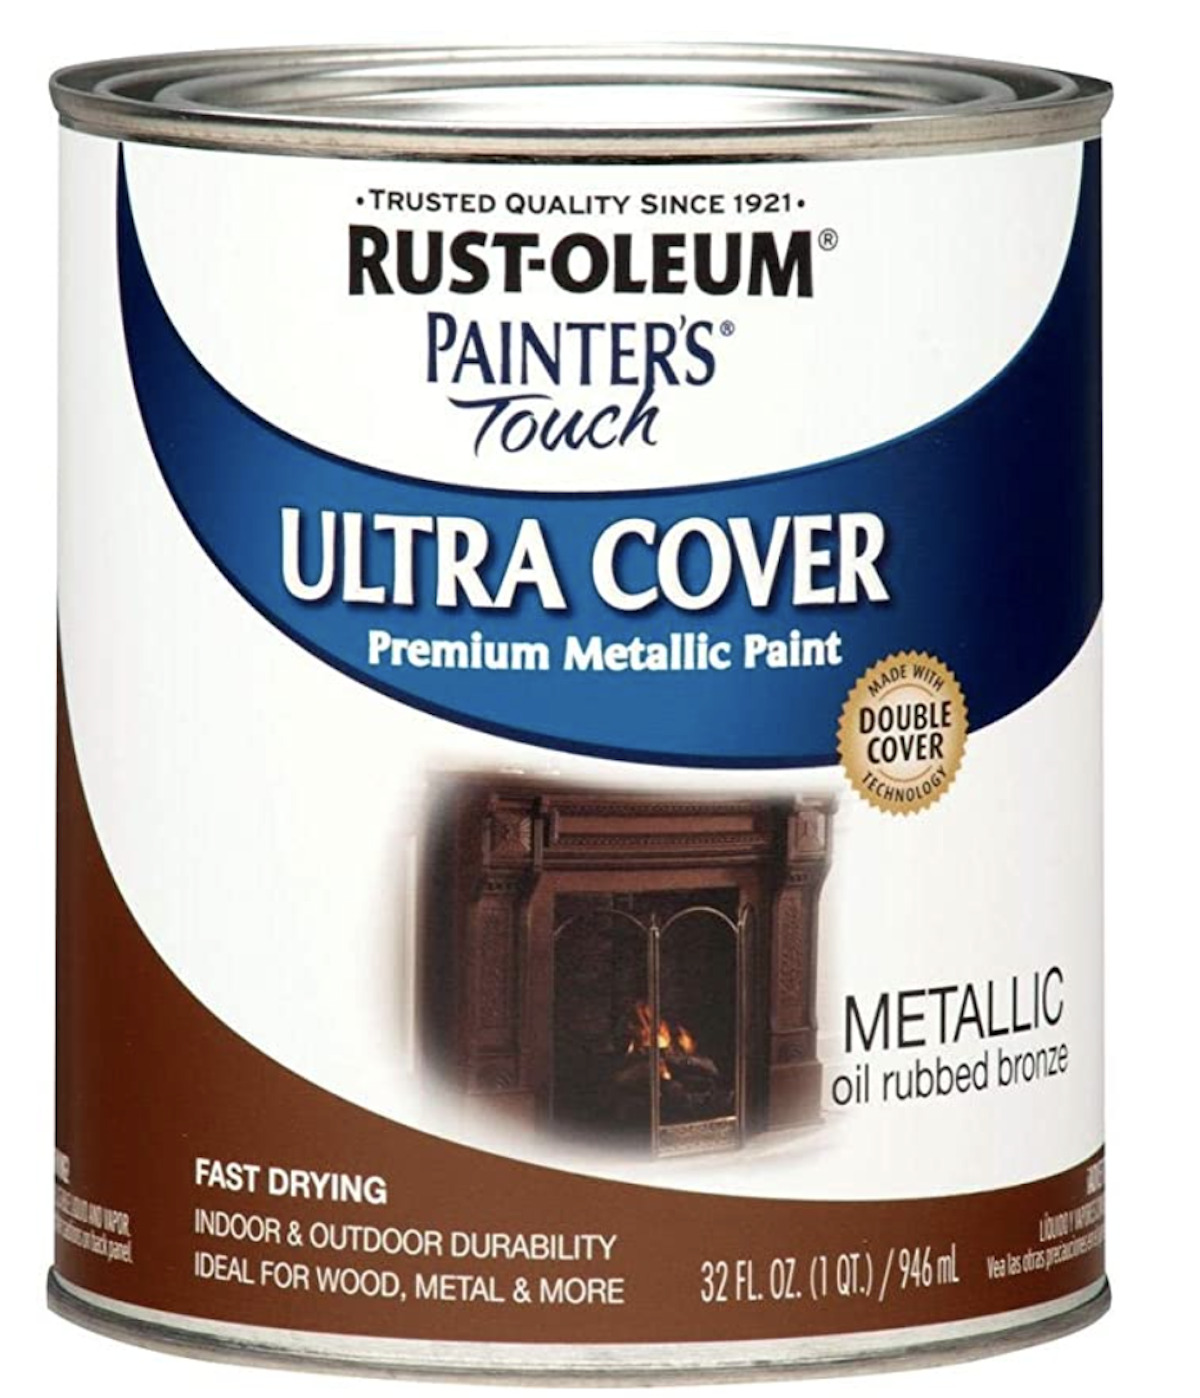
I used Rust0leum’s Painter’s Touch Ultra Cover paint in Metallic oil rubbed bronze, and this bathroom project barely put a dent in the can.
To begin, you will want to prep your faucet and/or fixtures. Make sure to clean the surface you will paint and rub it down with steel wool or 220-grit sandpaper. The steel wool and/or sandpaper will roughen the surface so the paint has something to stick to.
I realized after I had started to tape off my faucet that I didn’t have a primer. I was too excited to stop my project and run and get a top coat. Now, although I strongly recommend that you use a coat of primer, I didn’t. I will be the guinea pig for this little experiment, and we’ll see how the faucet holds up without a primer.
I figure it’s a win-win situation. If it holds up – great! I now have an oil bronze faucet instead of a brass faucet. If it doesn’t, I guess I will “have” to buy a new faucet for the sink. I know which scenario my husband is rooting for…
Now, it would have been SO much easier to spray paint the faucet (Rust-Oleum also offers the same product in spray paint as well as a spray primer), but I did not want to have to remove the faucet. So, I taped it off with painters tape and got to work.
The key to oil-based paint (canned and spray paint) is to avoid heavy coats. Too much paint will drip and take forever to dry. Also, make sure the first coat is dry before adding the second coat of paint.
It took around three light coats of paint and the drying process was VERY long. I painted the faucet and drain over a course of 2-3 days. I also had to pull out q-tips to paint some of the hard-to-reach crevices.
You can add a clear topcoat, but I opted not to.
I haven’t had much experience using oil-based paint, and it is a pain! It is SO hard to clean off anything – your hands, brushes, the sink. I went through a lot of mineral spirits.
When I pulled off the tape, the paint had seeped through some areas of the tape – especially at the base of the handles. I actually used the chiseled end of a wooden kabob stick to scrape the extra paint off (but a razor blade would work as well).
Overall, I think the project went okay. I’m not sure how it will hold up, but I do like the way it looks! It was MUCH more time-consuming than I had expected, but I know a can of paint and time is MUCH cheaper than a new bathroom faucet.
I’ll keep you posted on how it looks in a few months and may attempt painting our other brass bathroom faucets.
UPDATE:
In my experience, painting bathroom fixtures is a temporary fix. If you’re looking for a less expensive solution to switching out the faucet, this is a great way to buy some time until you’re ready.
To see how the faucet looks 3 months after the transformation, click HERE, and for an update 2.5 years later, click HERE.
Have you tried painting bathroom faucets?
Are you new to my blog? Go HERE to see my home tour and HERE to shop for items I use in our home.
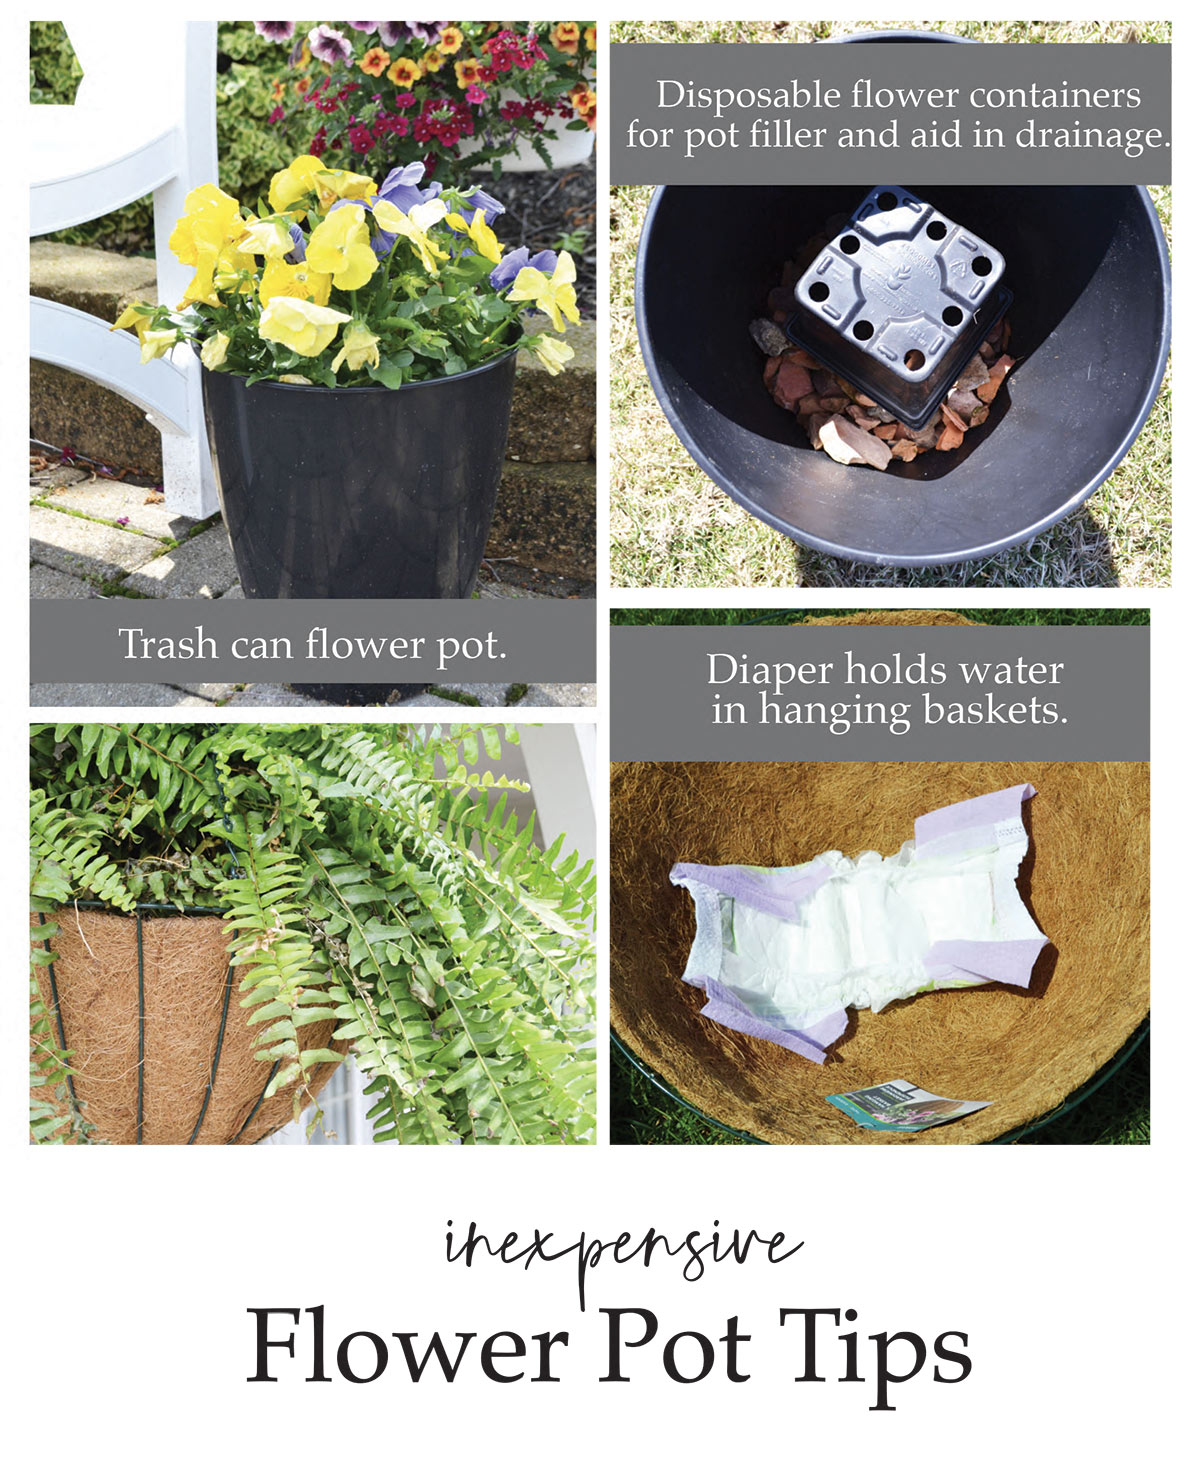
I found a few inexpensive flower pot tips on Pinterest and decided to test them out…
Trash cans as flower pots.
If you find inexpensive trash cans, they can make fantastic flower pots. This is a great option for those who enjoy vegetable and/or herb container gardening because flower pots and planters can get pricey.
I wanted to give this trash can flower pot thing a try, so I found a $3 black round trash can at Dollar General. It is not the most beautiful flower pot, but it is a great container for $3 (don’t forget to drill a few holes in the bottom of your trash can for drainage)!
Flower containers can be used for pot filler and help with drainage.
I filled the bottom of the container with rocks and gravel and used another Pinterest tip.
I found this photo on Pinterest, but unfortunately, it doesn’t link up to a specific blog post.
To help with drainage and to fill space (so you don’t waste potting soil), use the disposable flower containers that came with your flowers as filler. They will help with excess water, and are especially useful for indoor pots which don’t have drainage holes, and it keeps your planted pot lightweight while helping prevent root rot.
Use Diapers to keep hanging baskets moist.
The last tip I tried was adding diapers to hanging baskets.
Unfortunately, the picture I found on Pinterest didn’t link up to anything – not even a blog.
However, I decided to give it a try since I’ve accidentally washed a diaper or two (or lots) and know HOW MUCH water those things can hold.
Hopefully, I will be watering my hanging baskets a lot less this summer since they should retain moisture longer. This tip should be especially helpful for those full sun annuals.
Don’t forget to add fertilizer/nutrients and use potting mix instead of garden soil in your plant containers, and you’ll have a patio, porch, and/or deck full of beautiful potted plants.
If you want more helpful tips, read through the comments below.
Readers have left so many helpful tips in addition to the few I shared!
Twisted paper ornaments are a great homemade gift idea. You can create the perfect ornament to match any decor style.
This post is sponsored by BabbleBoxx on behalf of JoAnn.
This holiday season will look different, but that doesn’t mean we can’t celebrate. I have always been a fan of handmade gifts, and the twisted holiday ornaments are a fun and easy handmade gift idea. Create some to help spread some joy!
JoAnn has been inspiring creativity for almost 75 years, and they sent me this fun box full of all the supplies needed for the twisted paper ornaments.
I got right to work creating, and here’s what you’ll need to get started:
SUPPLIES:
Assorted paper (scrapbook paper works well)
Scissors
Hot glue gun/glue gun sticks
Spray bottle with water
Assorted plastic ornaments
DIRECTIONS:
Cut your paper/cardstock into 1″ strips (I drew pencil lines on the paper).
Using your spray bottle, slightly dampen your strips of paper, one at a time.
While the paper is soft and slightly damp, begin to fold and twist each strip. (Be careful not to twist too tight, you don’t want to rip or tear the strips.)
Once your strips are twisted, begin by hot gluing a twist to the top of the ornament. Work your way around gluing the twists on the ornament as tight as you can. You want to keep them close and tight, so you don’t see the ornament between.
Mix and match colors and patterns to create your own unique design.
Once the ornament has been covered, add some ribbon or string to hang.
And that’s it! You have a custom ornament perfect for gift-giving or hanging on your own tree.
JoAnn make crafting easy, and is your one-stop shop for project supplies. They have more than 800 stores across the US and also offer the convenience of online shopping as well.
Go create something!
Are you new to my blog? Go HERE to see my home tour and HERE to shop for items I use in our home.
The day after Thanksgiving, we starting a demo on our master bathroom (please pretend I have safety goggles in the picture above). Here is a before of the shower (problem) area:
And here is an after (demo) photo:
We were all pretty proud of ourselves for our demo work! As I mentioned before, we had a significant leak under our shower. So significant, we haven’t used our shower since we moved in three years ago. Here’s what the shower leak looked like once we removed the tile:
Near the wall, you can see the support beam is rotted.
Here is a closeup:
Seeing this confirmed why were remodeling that bathroom. My amazing dad came and helped us with the demo. He spent his birthday ripping out tile and toilets. The boys came in to inspect our work and kept safe with a nerf mask and handkerchief…
Overall, the demo went well. There were a few minor hangups like cutting a water line and the rented jackhammer not working. However, we charged through and are left with a bathroom ready to be remodeled. And then we waited…
Luckily we did not have to wait too long – two weeks after the demo, the contractor arrived!
He pulled out the rotted subfloor and fixed the support beam.
I am SO relieved to have that beam fixed. It was so bad, our master bedroom (on the other side of this wall), had a fairly large hole into the crawl space.
I used to imagine little mice crawling in while I slept…
Day two was spent rebuilding the subfloor and waterproofing the shower. The contractor was so kind to bring in my bathtub. We were a little concerned about it fitting. Luckily it does, but it will be a tight fit.
Thanks for coming along on Master Bath Remodel | Week One edition – More to come on our bathroom remodel!
Go create something!
Are you new to my blog? Go HERE to see my home tour and HERE to shop for items I use in our home.
Today I’m sharing a DIY kitchen sink organizer using thrift store finds and paint.
This is a sponsored post written by me on behalf of Kohler for IZEA. All opinions are 100% mine.
I was excited at the opportunity to work with Kohler and even more excited when I saw their Kohler Worth Kitchen Faucet in oil-rubbed bronze. I have always thought a darker faucet would be perfect in my kitchen since it would fit my vintage style and look better with our darker appliances.
We had a nickel faucet before and plenty of kitchen clutter next to the sink.
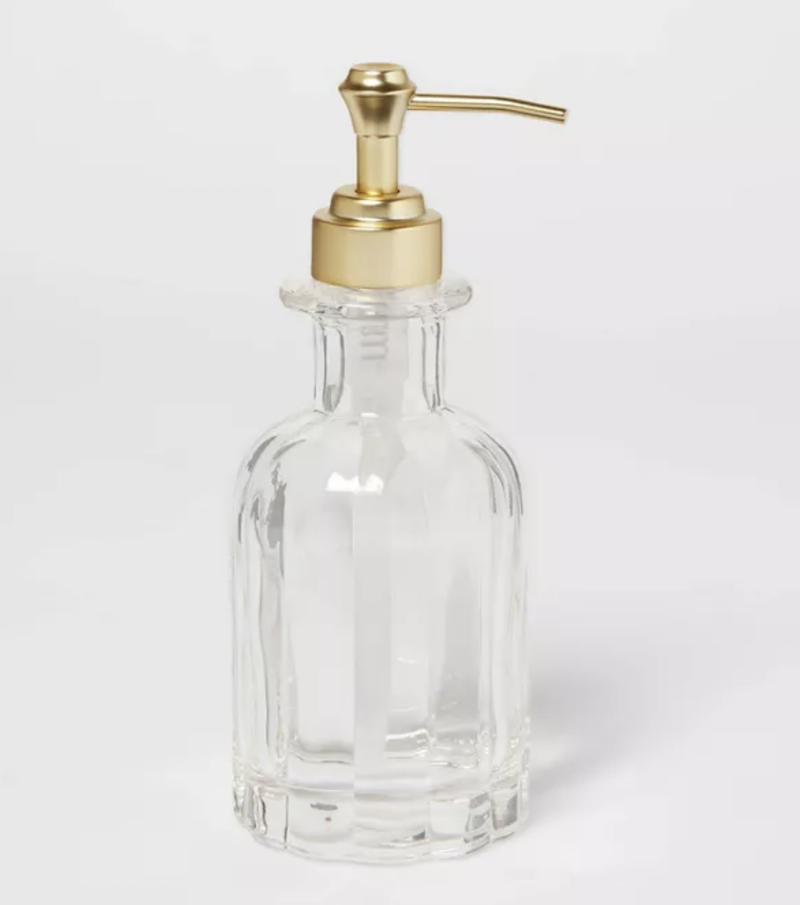
The new Worth kitchen sink has the handle on the faucet, so you can put a soap (or lotion) dispenser where the handle once was. Besides removing my soap containers, I also created a DIY kitchen organizer for my scrubber and dish soap. I love the more organized cleaner look!
It was easy to install, and we moved our old faucet and installed the new one in under one hour.
This faucet has so many great features including the 2-function spray head which features stream and sweep – a wide forceful spray that makes cleanup easier.
And the spray head stays in place through Kohler’s signature magnetic docking system.
I am a huge fan of the soap dispenser I mentioned earlier. Less clutter is always good!
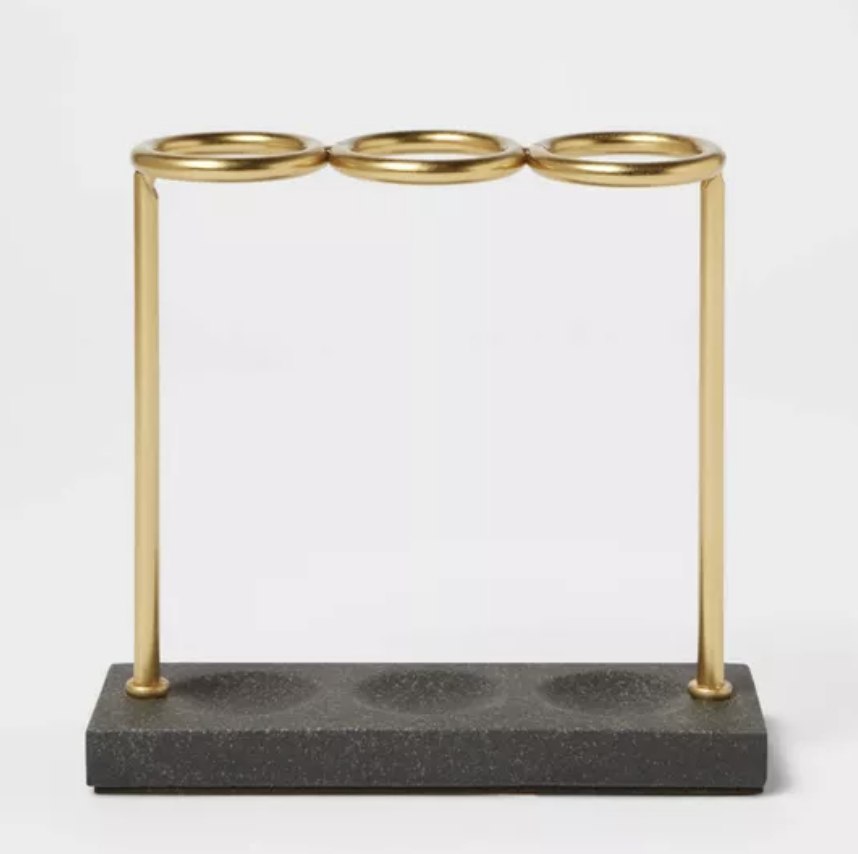
Besides loving our new faucet, I love the look and functionality of the raised dishes next to the kitchen sink. They look pretty and organize essentials.
I decided I could easily DIY my own kitchen sink organizer using old plates and candlestick holders.
Thrift stores and garage sales are full of random dishes. I found all of these at Goodwill for around $5.
To DIY your own kitchen sink organizer, find a plate (I used a smaller salad plate) and a candle holder. I decided I needed two – one for my kitchen and one for my bathroom!
Next, find a strong glue.
Add glue to the top of the candle holder.
Set the plate on top of the candle holder and glue.
Allow drying according to the glue’s instructions.
Once the glue is dry, you can paint.
And once your paint dries, you can use your pretty organizer(s)!
I have one in my kitchen:
And the other in my bathroom:
Go create something!
Are you new to my blog? Go HERE to see my home tour and HERE to shop for items I use in our home.
Today I’m talking all about painting furniture with chalk paint.
If you take a look around my blog, you’ll quickly realize I am a huge fan of any type of chalk-type paint (or miracle paint as I lovingly call it).
Chalk-type paint eliminates the prep work and doesn’t require stripping, sanding, or priming! It adheres to almost any surface, dries quickly, and cleans up easily with soap and water. It’s pretty close to the perfect paint.
If you’re new to painting furniture, go ahead and try chalk-type paint! I think it will help you gain confidence, and let you then branch out to other paint types – although you may not want to after you see how easy it is to use!
To begin, I usually just wipe down a piece to remove any dust or dirt. I personally have never used a primer with chalk-type paint, but I would suggest it if the piece has a really glossy finish.
Step 1: Paint
Paint the entire piece with paint. I usually use a brush (but a small roller could come in hand for some pieces such as cabinets). You’ll find that a little paint goes a long way, and I almost always use two coats of paint. Chalk-type paint dries really fast, but make sure the first coat is dry before applying the second.
Step 2: Wax (Clear)
After the paint is completely dry, apply two coats of wax on the piece using a wax brush. I don’t wait for the first coat of wax to dry before I apply the second coat. A tip when waxing, less is more! You are not limited to using wax, but wax does work well with chalk-type paint. However, I would recommend a water-based polycrylic for cabinets, table and desktops, floors, and outdoor furniture.
Step 3: Wax (Dark)
This step is optional. Dark wax is good if you want to bring out details and/or like the aged look. You must apply clear wax BEFORE you apply dark wax. Go easy on the dark wax. You won’t need much! Apply the dark wax with a brush over somewhat dry clear wax. Remove excess wax with a lint-free cloth.
Step 4: Buff Buff the wax using a lint-free cloth. It’s pretty easy to see where you missed the wax, so you can easily touch those places up with a brush or rubbing the wax in with your cloth. Buffing helps smooth out and remove extra wax.
Step 5: Sand I recommend sanding after you apply the wax because of the chalk nature of chalk-type paint. It will make a mess if you sand before waxing and then you risk waxing in the chalk paint particles. I usually sand the edges and places where normal wear and tear would occur.
And that’s it! This is by far my favorite paint to use on furniture. You can also see the more basic tutorials in my Painting Furniture Tutorial Series by clicking HERE. Still want more tutorials and information on painting furniture with chalk-type paint, milk paint, spray paint, latex paint, and oil-based paint? Then you need to check out my eBook, Painting Furniture. Receive your FREE copy by signing up for my newsletter.
Go create something!
Are you new to my blog? Go HERE to see my home tour and HERE to shop for items I use in our home.
I’m celebrating the release of my new eBook with this new series! I won’t go as in-depth as I do in my book, but I will provide you with the basic steps to painting a piece using five different paint types. Discover which paint works best for your next painting furniture project.
I am providing tutorials for these five different types of paints:
Click HERE for the Latex Paint Tutorial and learn about using water-based paint (wall paint) on your furniture.
Click HERE for the Chalk-Type Tutorial, and you will fall in love with not needing to sand or prime with this paint.
Click HERE for the Milk Paint Furniture Tutorial and learn how to use this paint that will surprise you every time.
Click HERE for the Spray Paint Furniture Tutorial if you want a very quick solution.
Click HERE for the Oil-Based Paint Furniture Tutorial if you want a finish that is a hard enamel.
If you want more detailed tutorials and information beyond this painting furniture series on painting furniture with chalk-type paint, milk paint, spray paint, latex paint, and oil-based paint, then you need to check out my eBook, Painting Furniture. You can receive a FREE copy by signing up for my newsletter.
Go paint something!
Are you new to my blog? Go HERE to see my home tour and HERE to shop for items I use in our home.
I’m excited to share the tutorial for this easy and inexpensive DIY fall leaf garland.
I wanted fall garland for my fireplace, and I made my own using leaves from the dollar store (I used two packages – a total of 100 leaves) and (thick) string. If you can’t find the leaves at your local dollar store, here is an Amazon (affiliate) link for the leaves:
Here’s what you’ll need:
Fake Leaves
String
Needle
Scissors
I forgot to add a needle in the supply shot, so pretend a needle is there.
I measure my mantel so I knew how long of a string I needed and knotted the end. Then I just began hand sewing the leaves together. Just one big stitch in each!
Before long, I had a colorful and festive fall garland!
This garland would also look cute strung up over a doorway. The options are endless! And here is a little behind-the-scenes shot. While I was making this garland, my daughter was having a blast playing with the leaves.
*UPDATE* I ended up spray painting my garland gold to fit the decor in my family room.
To see more inexpensive fall decor ideas, click HERE. Happy Fall!
Go create something!
Are you new to my blog? Go HERE to see my home tour and HERE to shop for items I use in our home.
I’m always painting things, but one of the more unique things I’ve painted is fabric. Today I’m sharing all the details of painting fabric with chalk paint.
It is Friday and time for another DIY video tutorial! Today I’m going to show you how to paint fabric using chalk paint.
My goal was to modernize and simplify. I spray-painted the base with gold paint and used Annie Sloan Pure White on the fabric.
And here is the after. Much more updated and simple – don’t you think?
You can see the full video tutorial HERE:
Want to see more of our DIY video tutorials? We have a bunch of them!
Happy 4th of July! We are finally seeing some blue skies here in the midwest after several weeks of rain, which is wonderful! Today’s video tutorial is an easy but fun one. I am showing you how to make photo plaques. These plaques are inexpensive and are a great way to showcase your favorites photos! Make some plaques for yourself and some as gifts for friends and/or family!
Watch the video here:
For these plaques you will need:
wooden plaque
Mod Podge
sponge brush
photo
Want to see more of our DIY video tutorials? We have a bunch of them!
Are there any specific tutorials you would like to see in a future video? We are always looking for ideas and would love to hear your suggestions! Just leave a comment below if you have any thoughts!
Go create something!
Are you new to my blog? Go HERE to see my home tour and HERE to shop for items I use in our home.


