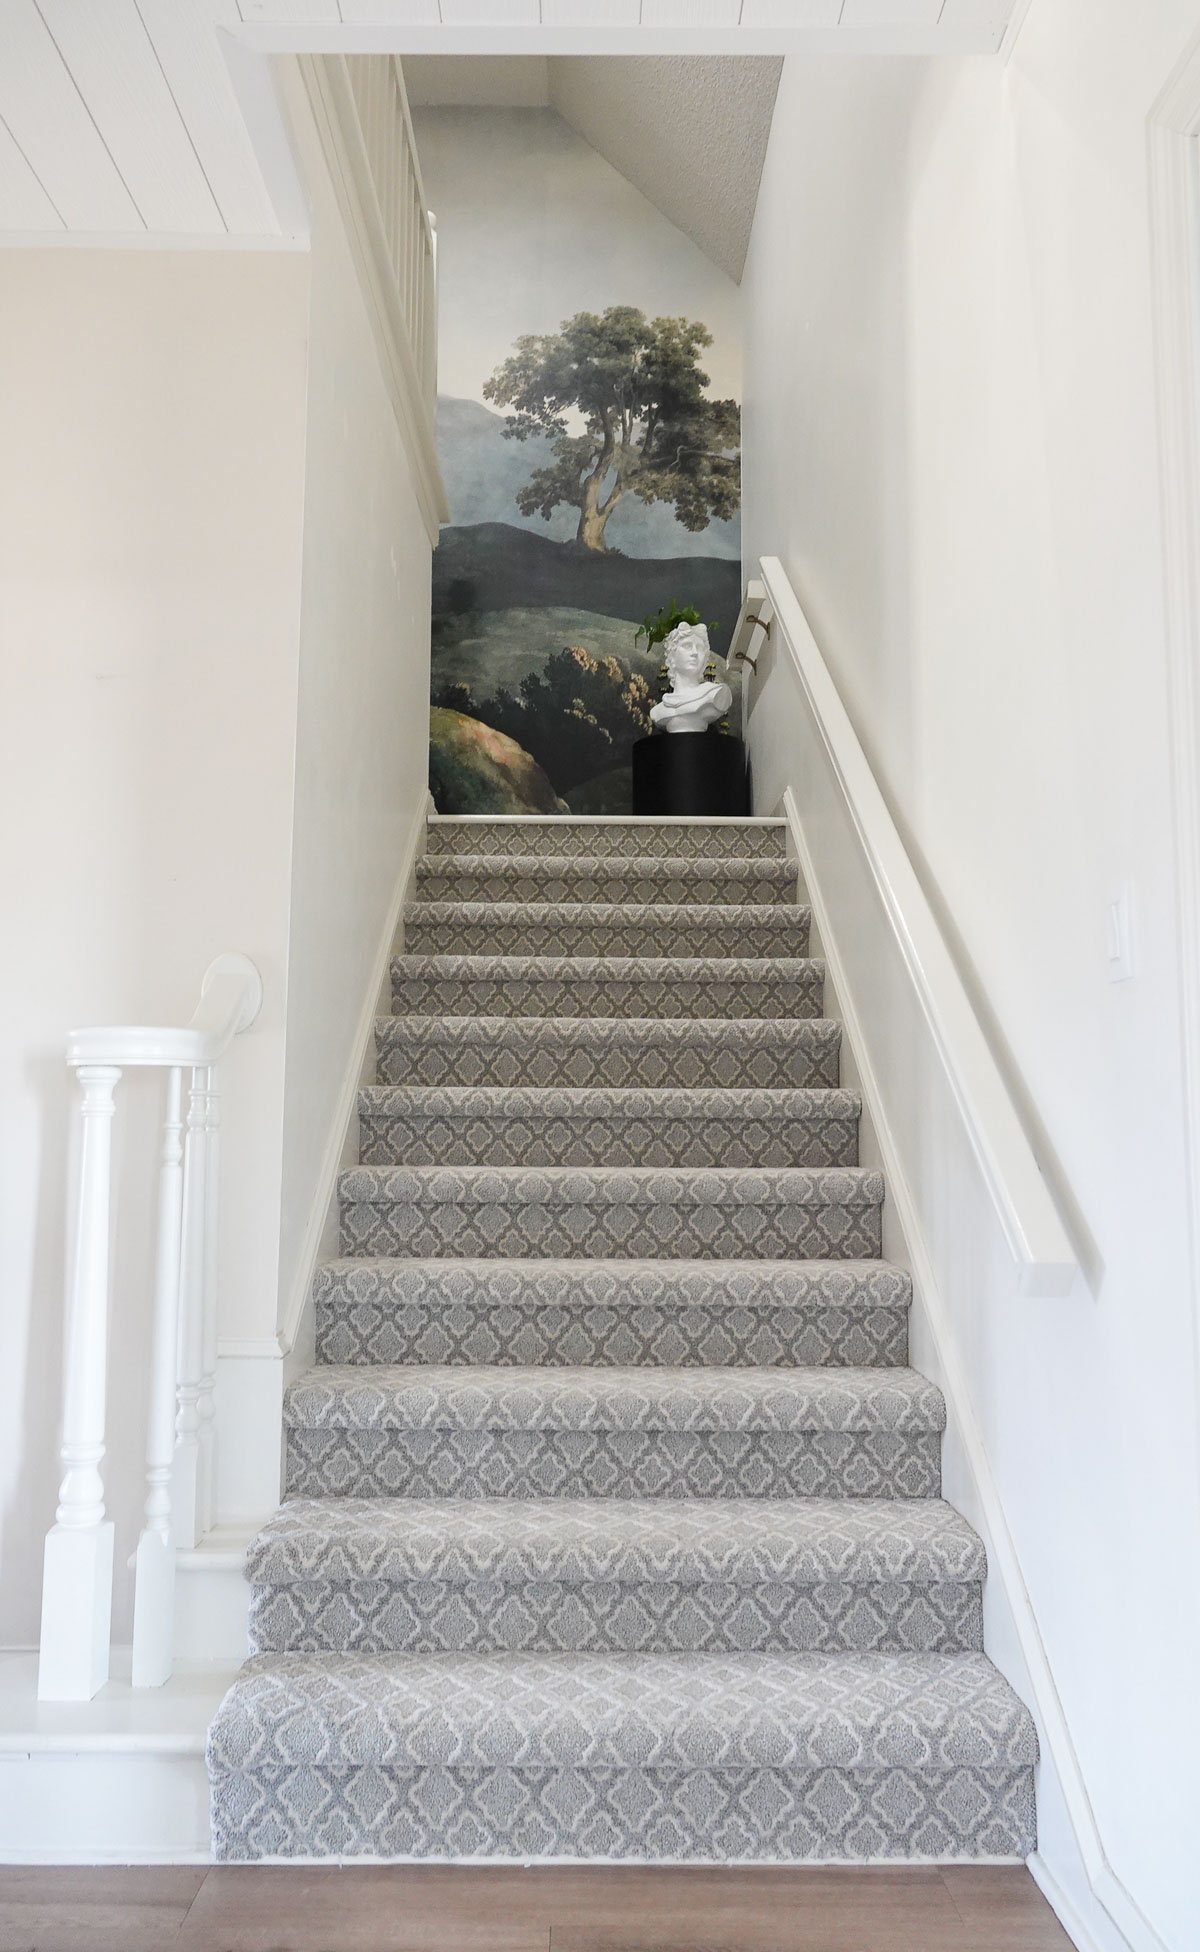
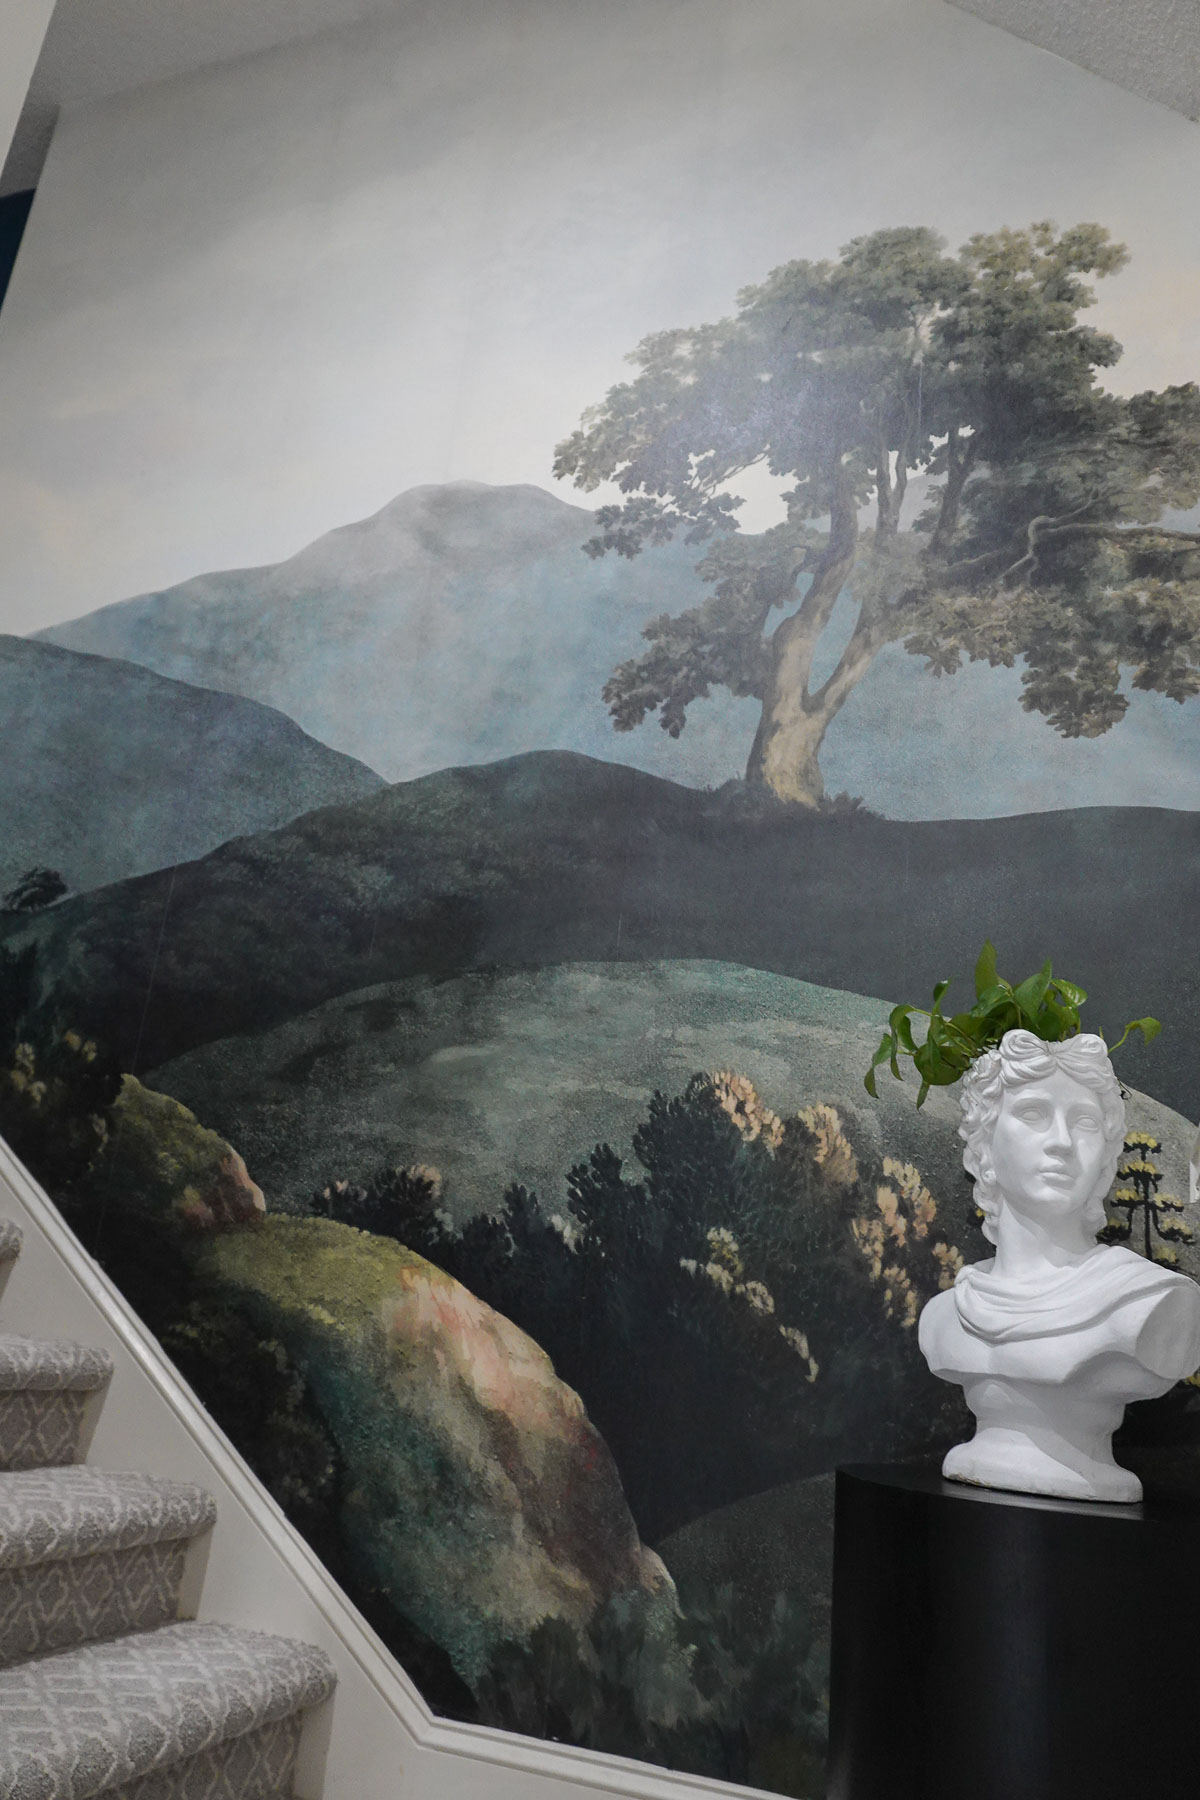
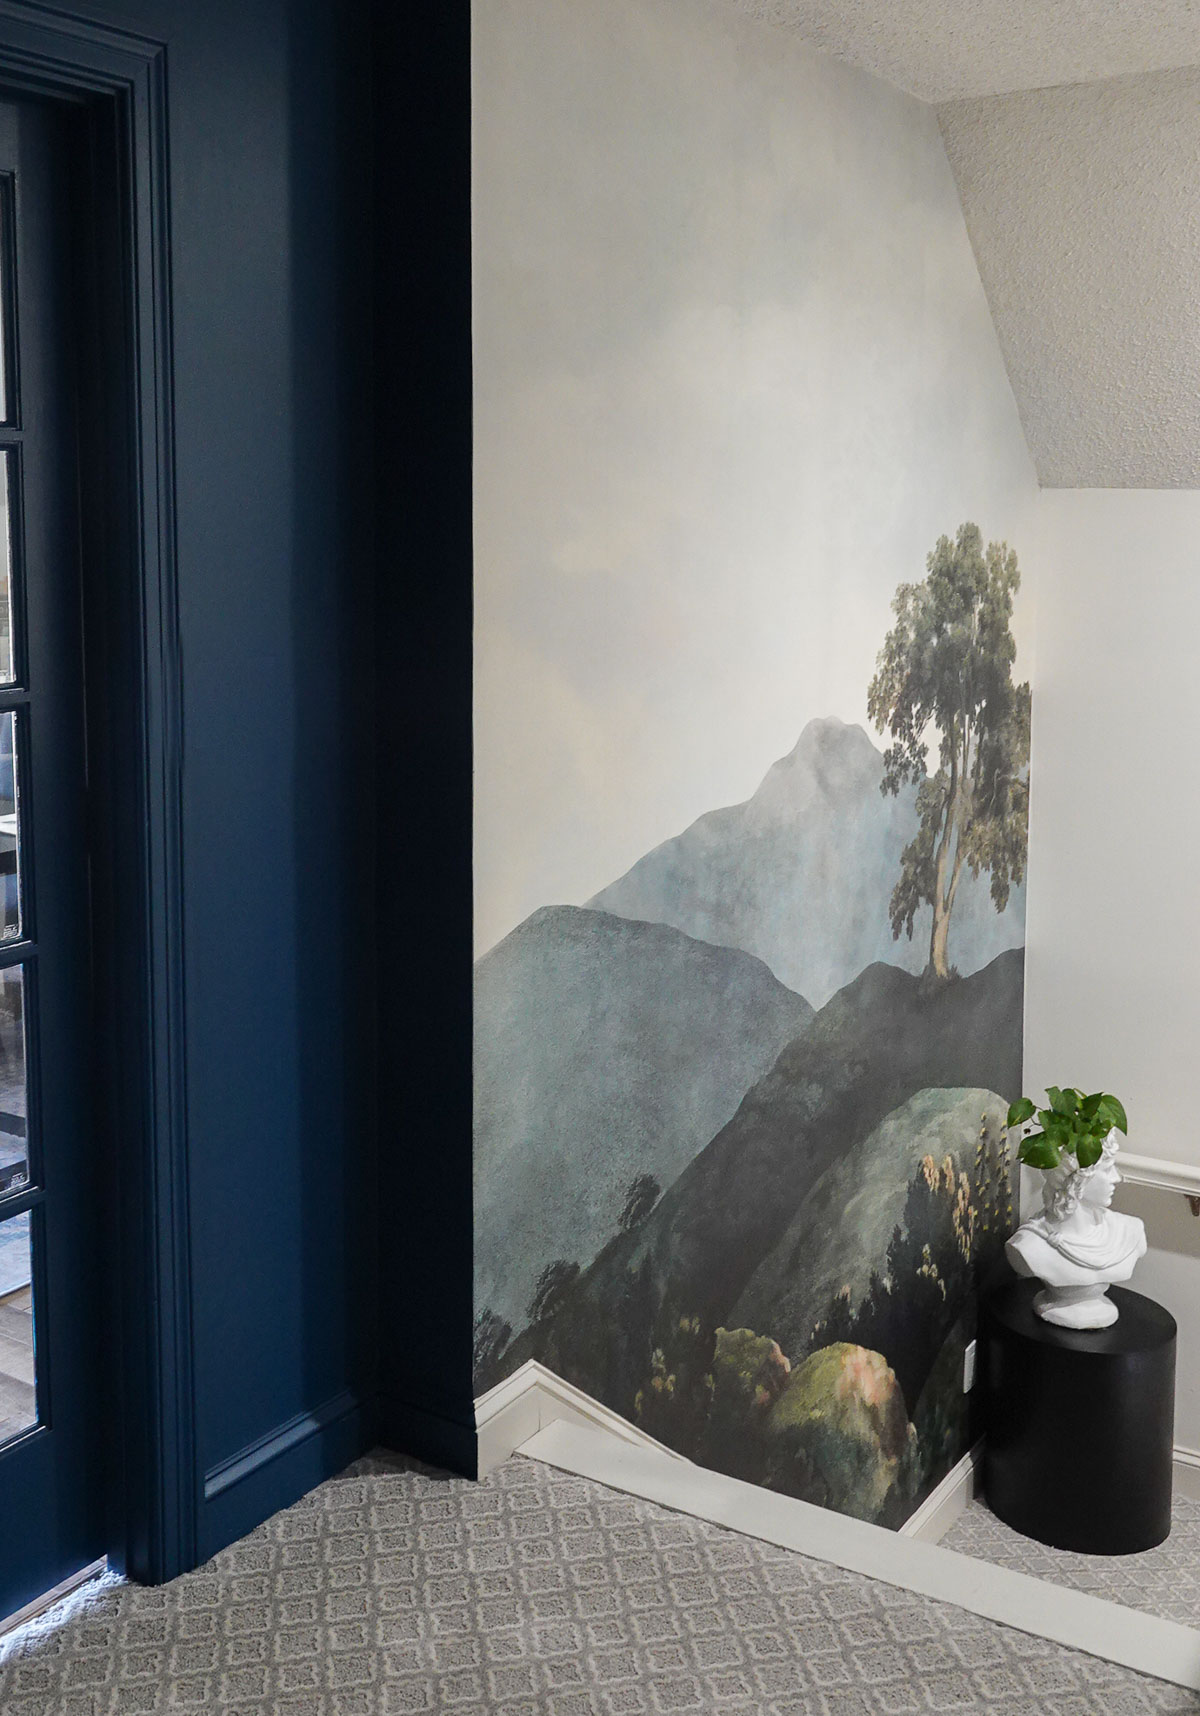
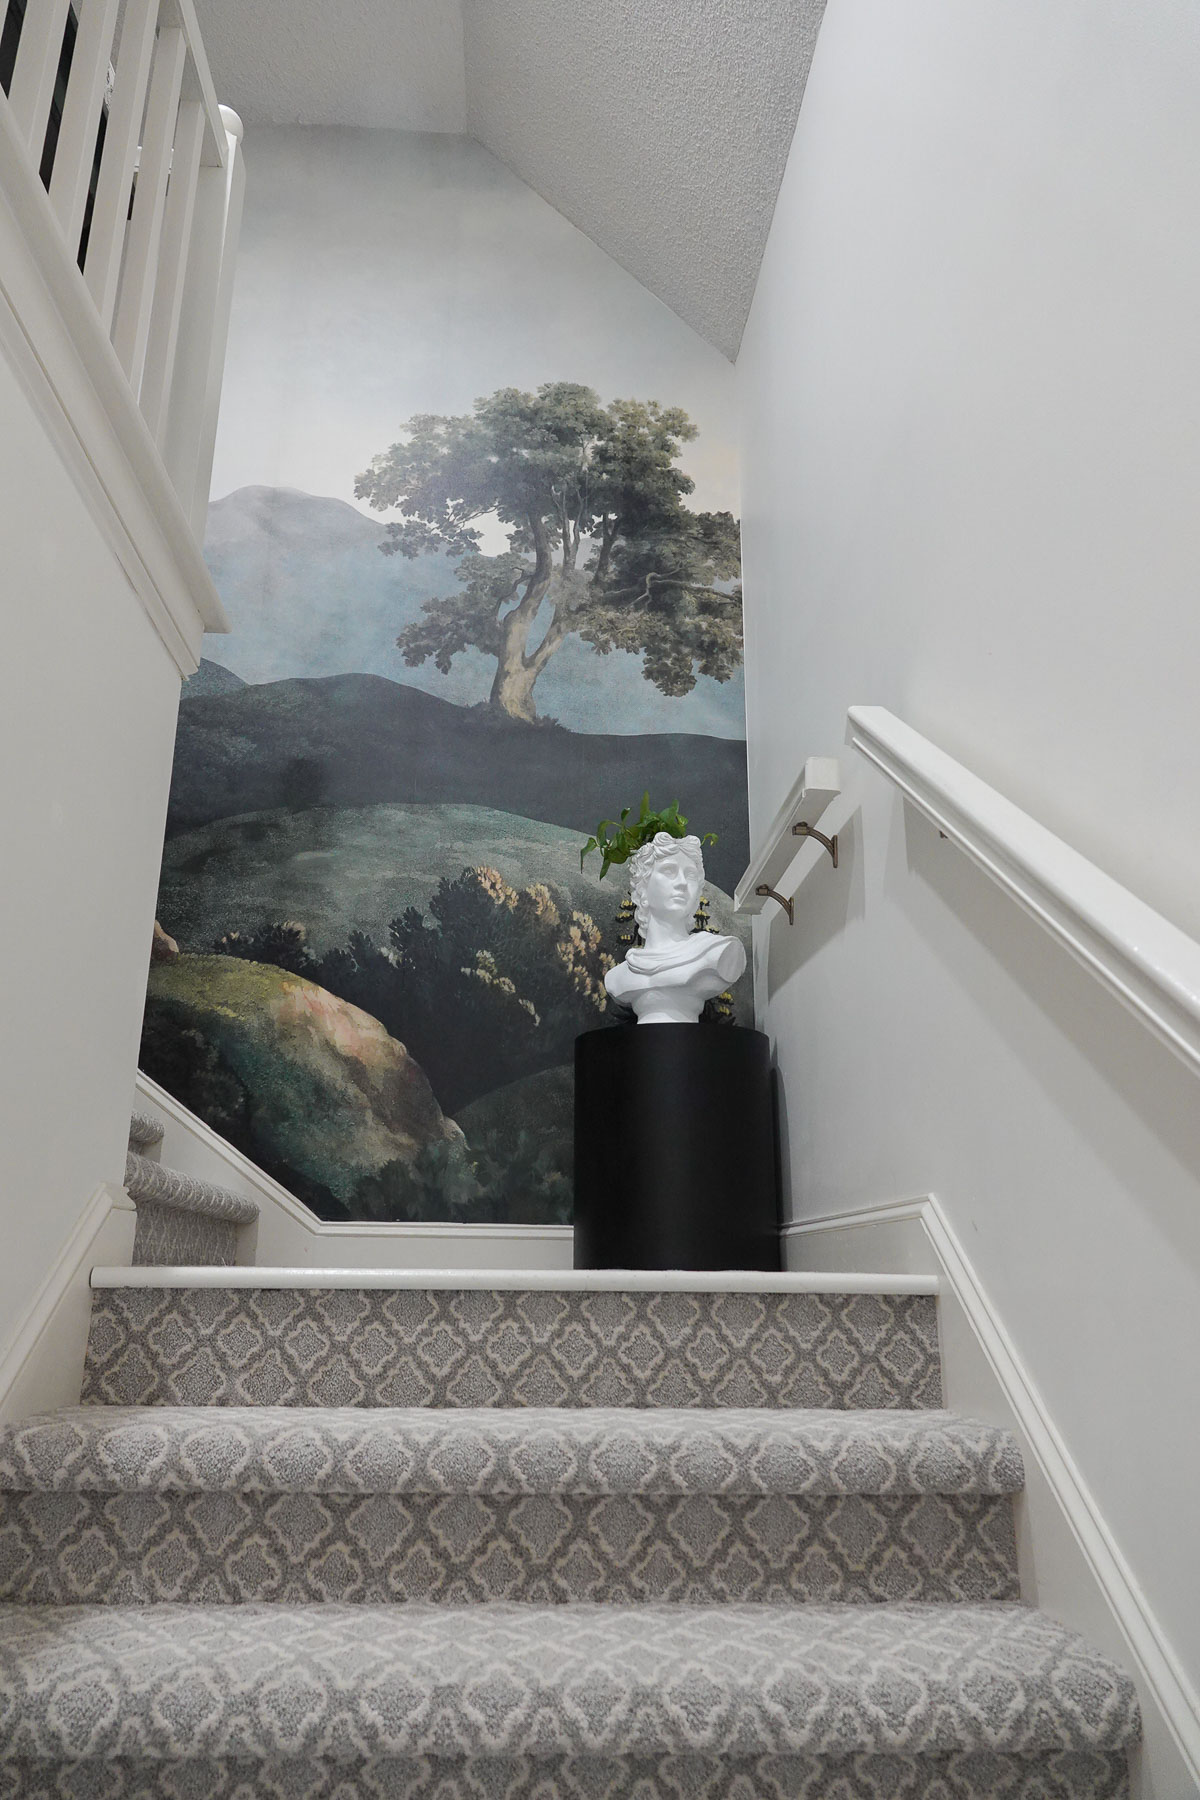
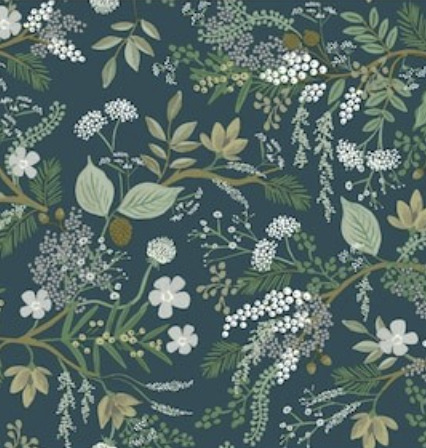
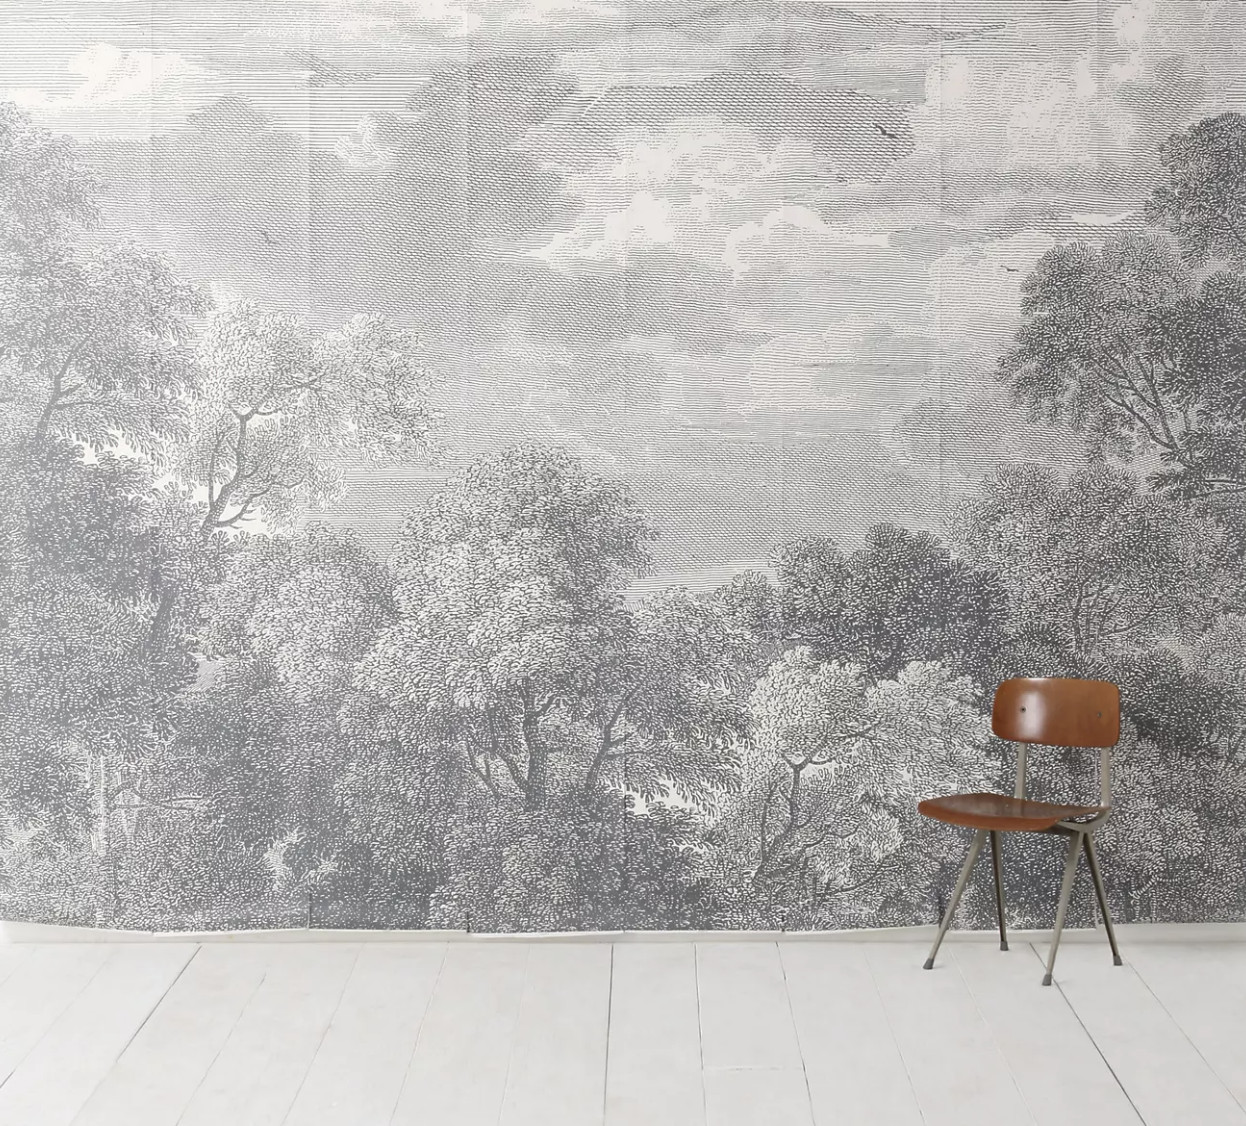
I recently installed the most beautiful landscape mural from Belarte Studio and wanted to share How to Hang a Mural.
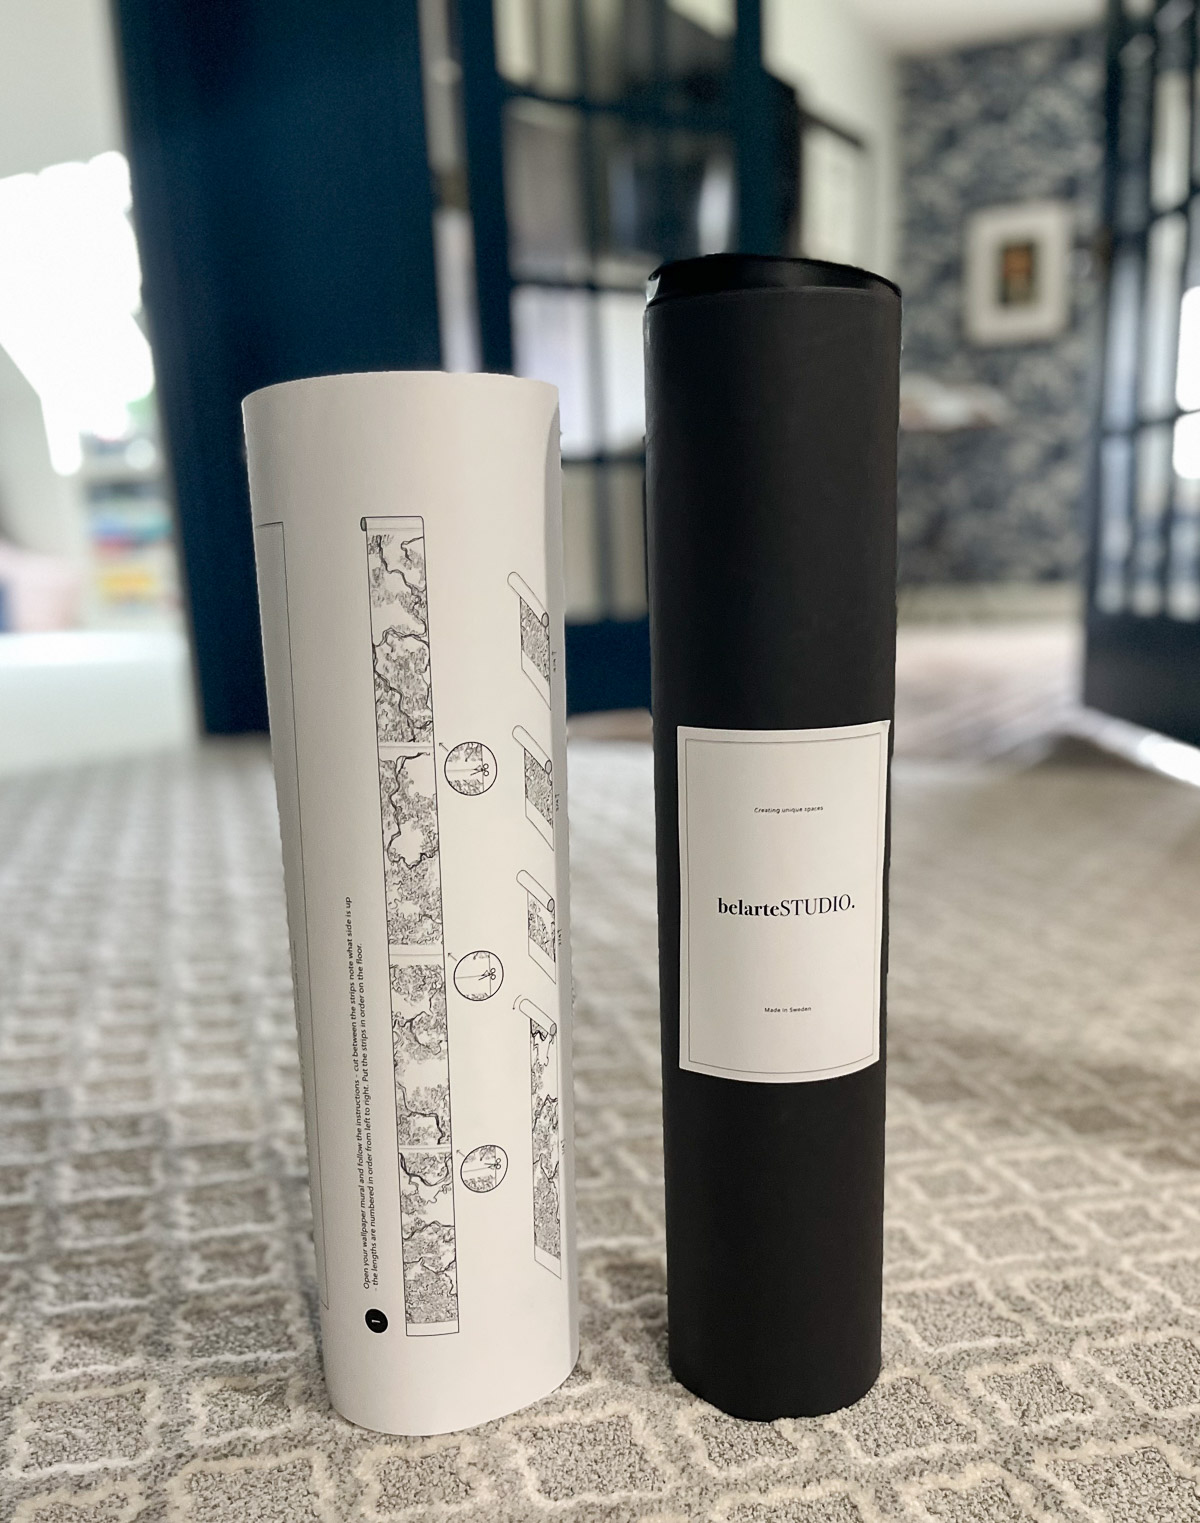
Belarte Studio brings life to unique art expressions through designed wall murals. They are based in Sweden and production is made on-demand (which means zero waste).
Belarte is the Italian word for beautiful art – which is exactly what this vintage landscape mural is.
This post is a sponsored post by Belarte Studio I take pride in reviewing only products that fit my brand and will be beneficial to my readers. And while this post is sponsored, all the opinions are my own.
How to Hang a Mural
Installation isn’t hard, but it does take some time and patience. Belarte Studio includes fantastic instructions for hanging with your mural.
Supplies
Before you begin, make sure you have the right tools for installation:
- Belarte Studio Wallpaper (and included instructions)
- Seam Roller
- Smoothing Brush or Tool
- Level
- Sponge & Water
- Razor Blade or Knife
- Straight Edge
- Pencil
- Scissors
- Brush/Roller for Paste
- Wallpaper Paste
*For easier removal, I would recommend sizing the wall and using a wallpaper paste that is easily strippable.

- Make sure the walls are clean and smooth. If you’ve done some repair work to the walls, be sure to have painted the patches.
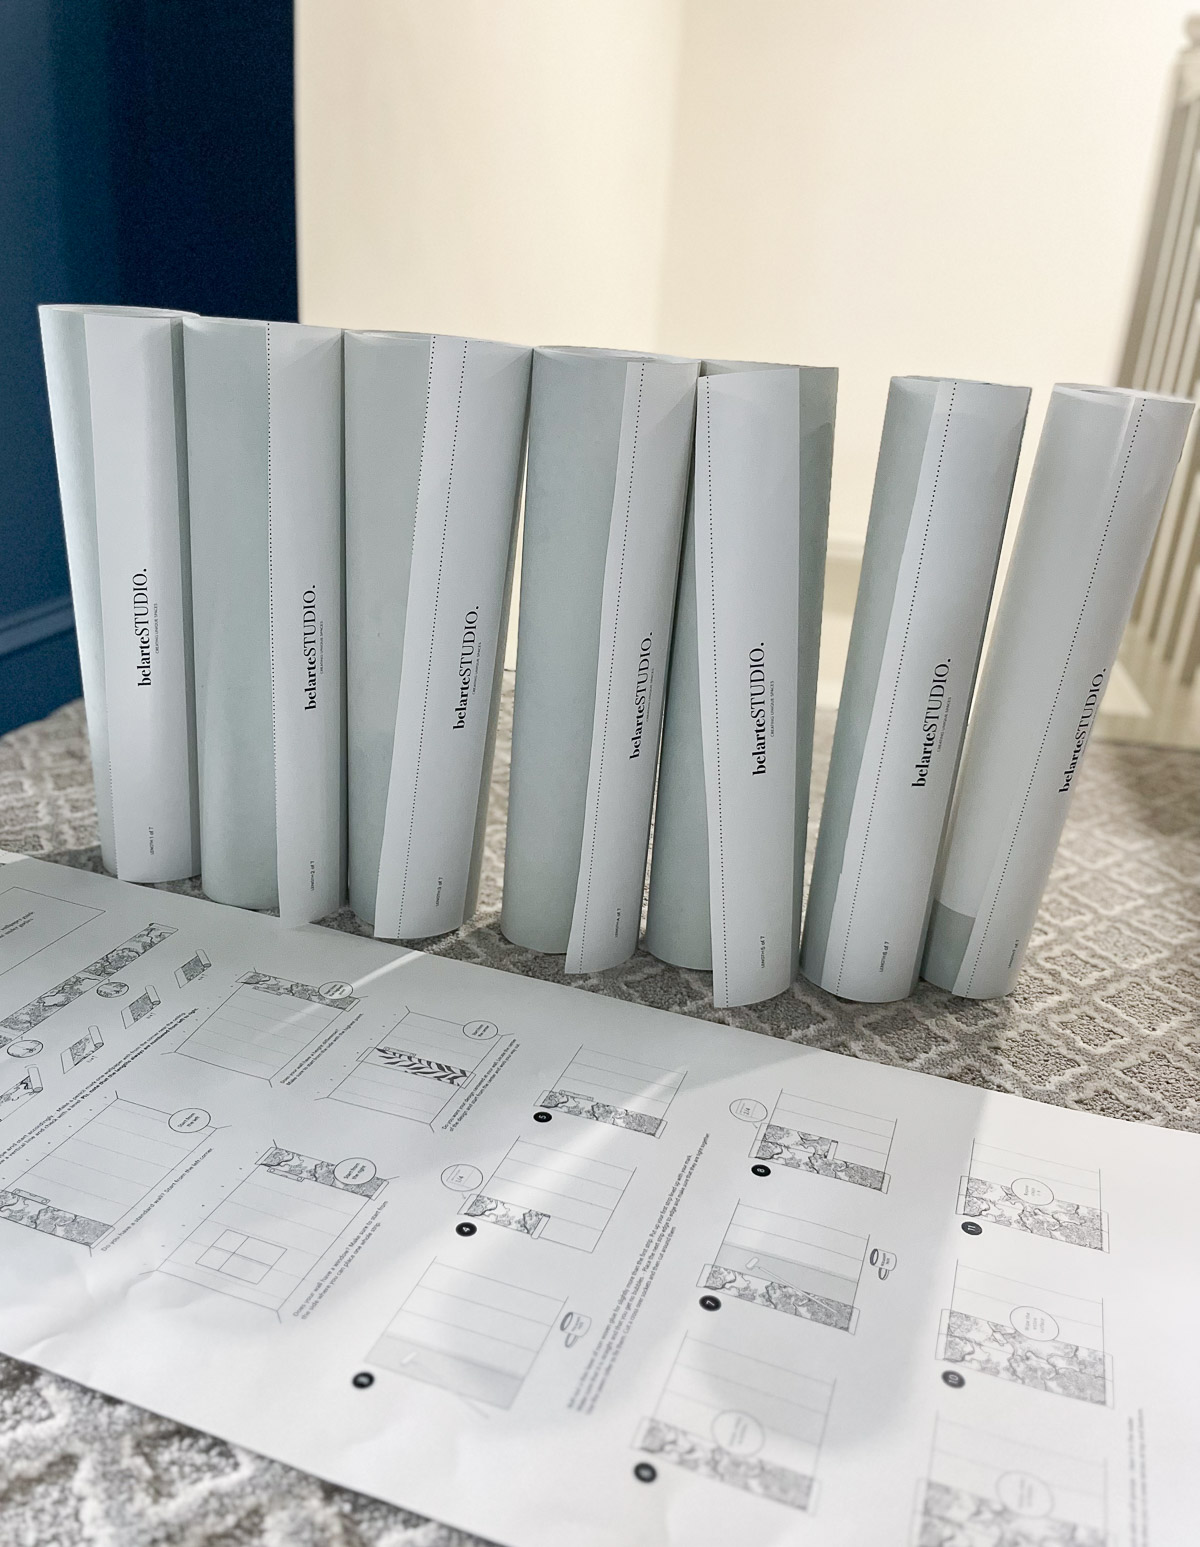
- Cut the mural into individual strips and place them in order.
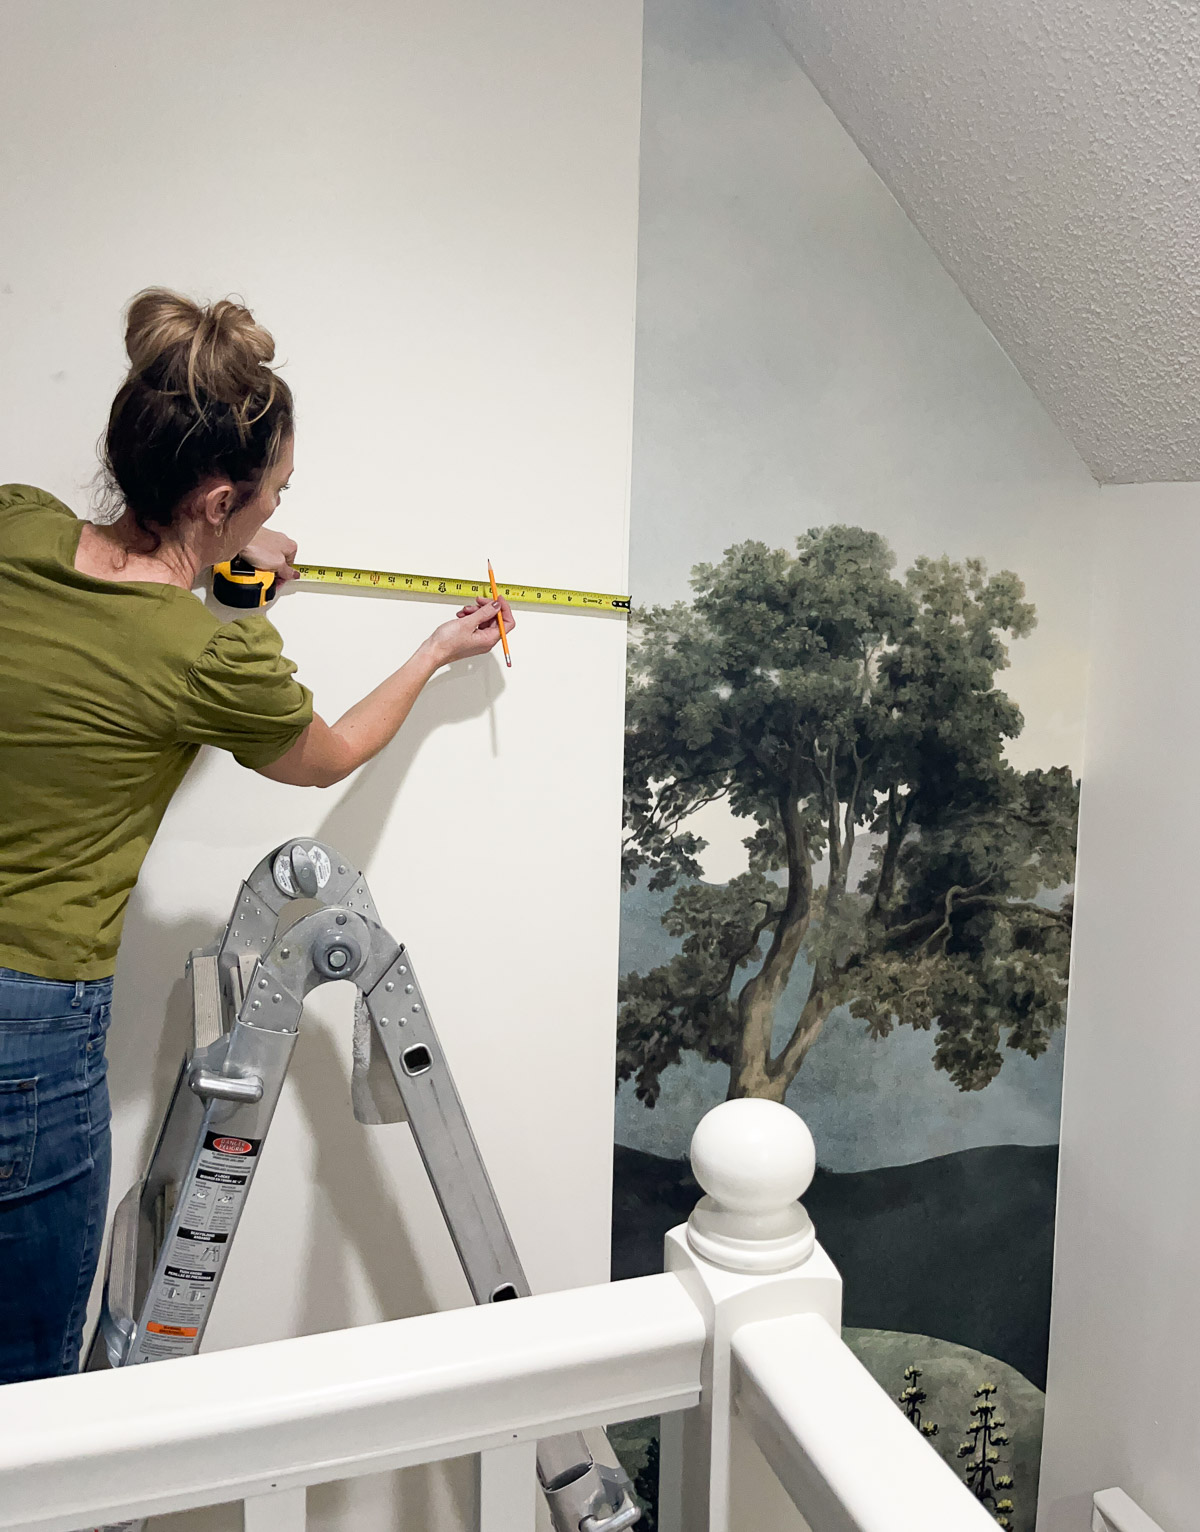
- Depending on the wall, you will need to decide where to start. Since my focal point was the top of the stairs (the left side), I began with my last panel.
- Using a ruler, mark off the first panel so you know where to *add the wallpaper paste (and it helps you hang the first strip straight.
- You will begin at the top of the strip and work down, removing any air bubbles along the way.
- Since my pattern was in the middle of my strips, from the second panel on, I matched the middle. It was tricky but luckily the wallpaper paste gives (but you do have to work fast since dry time is quick).
- Reat the process until the wall is complete and make sure to push out excess glue at the seams and use a seam roller to try and hide the seams.
*I use as little wallpaper paste as possible. I first applied with a paste brush and evenly smoothed the paste out with a roller.
And after an afternoon of installation, we now have a beautiful piece of art at the top of our stairway.
Need more wallpaper inspiration? Check out these posts:
- How to Wallpaper (Prepasted Wallpaper)
- How to Hang Removable Wallpaper (peel and stick)
- Where to Find the Best Wallpaper

Are you new to my blog? Go HERE to see my home tour and HERE to shop for items I use in our home.


