
We moved into our home over five years ago, and we have worked hard to update the interior of our home. Unfortunately the exterior was neglected – until now! I partnered with The Home Depot to share how to add curb appeal to your home.
Our landscaping was over 20 years old – like our home. We lived with it for awhile, and I even painted some of the bushes (I’m serious). Eventually the bushes were beyond the paint repair, and we slowly started removing them. We were left with a very boring front yard…

But thanks to The Home Depot, here is what it looks like now!

Here is another before…

…and after!

I have one more before and after. We have a large tree that sits by the road that looks neglected and is not the best first impression.

And the gorgeous after!

Our home was crying out for curb appeal, and we updated our exterior using the following three guidelines:
- Go Green
- Embrace Symmetry
- Add Details
Go Green

Add fresh plants or flowers to your yard. Our front was looking sad because we were slowly removing old landscaping only to be left with bare, ugly mulch beds

I began by removing any of the remaining 20-year-old landscaping. When removing old landscaping, I clip down as much as I can to make digging the roots as easy as possible.
However, there are times you will have to use something more powerful than hand clippers.

Since we live in Indiana, it becomes very brown during the winter months. I am determined to have color year-round, so I planted greenery that will last year-round.

Along our walk, I added new mulch beds and lined them with boxwoods which will stay green all year long. The Home Depot offers both a variety of species and sizes.

As the boxwoods grow, I will have the ability to shape them.

Around our house, I added several Arborvitae. It is a fast-growing and an easy-to-care evergreen that typically come in the rounded bush or the trees. I love both variety, so I planted them around our home.
EMBRACE SYMMETRY
Symmetry is pleasing to the eye and instantly adds curb appeal. It looks organized and makes your home look put together.

I added symmetry to our wall with the boxwoods and balanced plants around our home. Our two entryways are also symmetrical with potted plants.

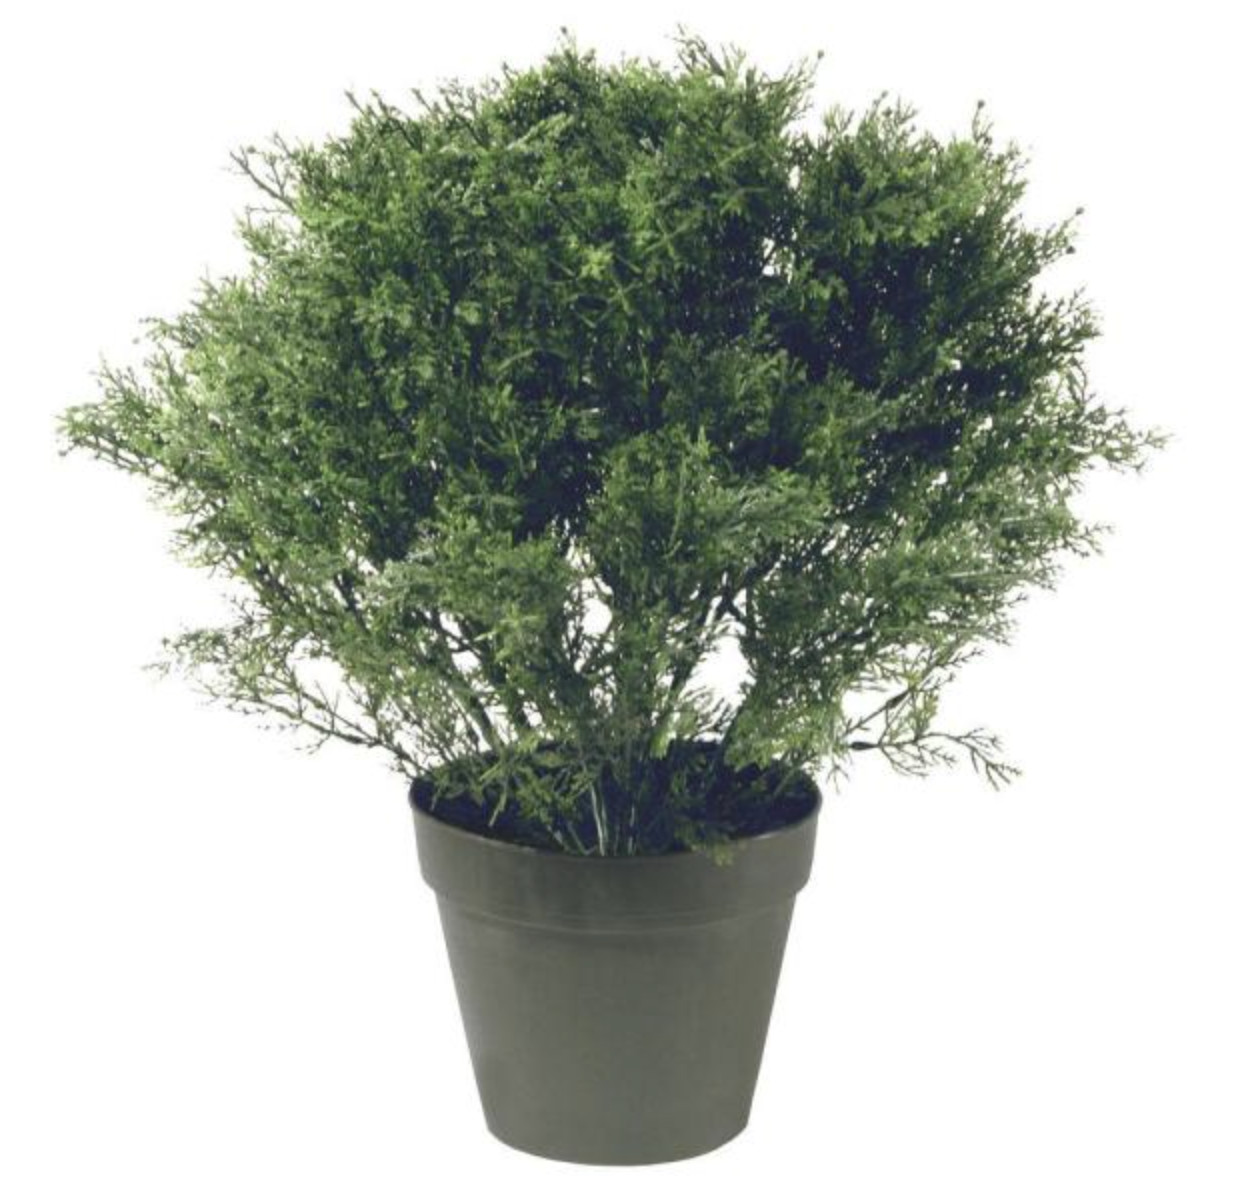
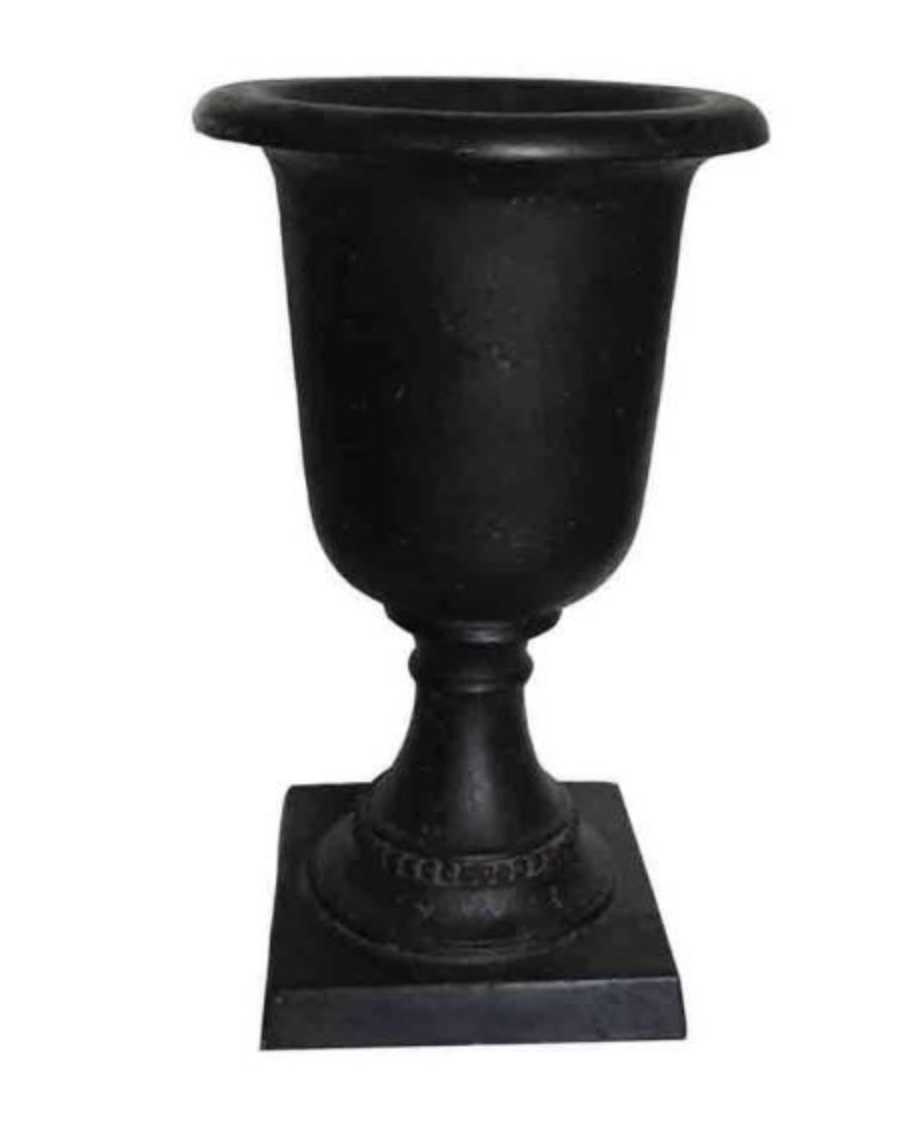
The front entry has a set of Fairfield Square Black Plastic Planter where I planted live Arborvitae. This urn sits outside, and the planter retains water so I rarely have to worry about watering the Arborvitae. The back of the front entry (under the overhang) has these Cast Stone Italian Urn in Aged Charcoal with National Tree Company 15 in. Juniper Bush . Once again, I’m sneaking in some faux greenery, but I don’t thing anyone will now. I “plant” the faux plant using mulch.

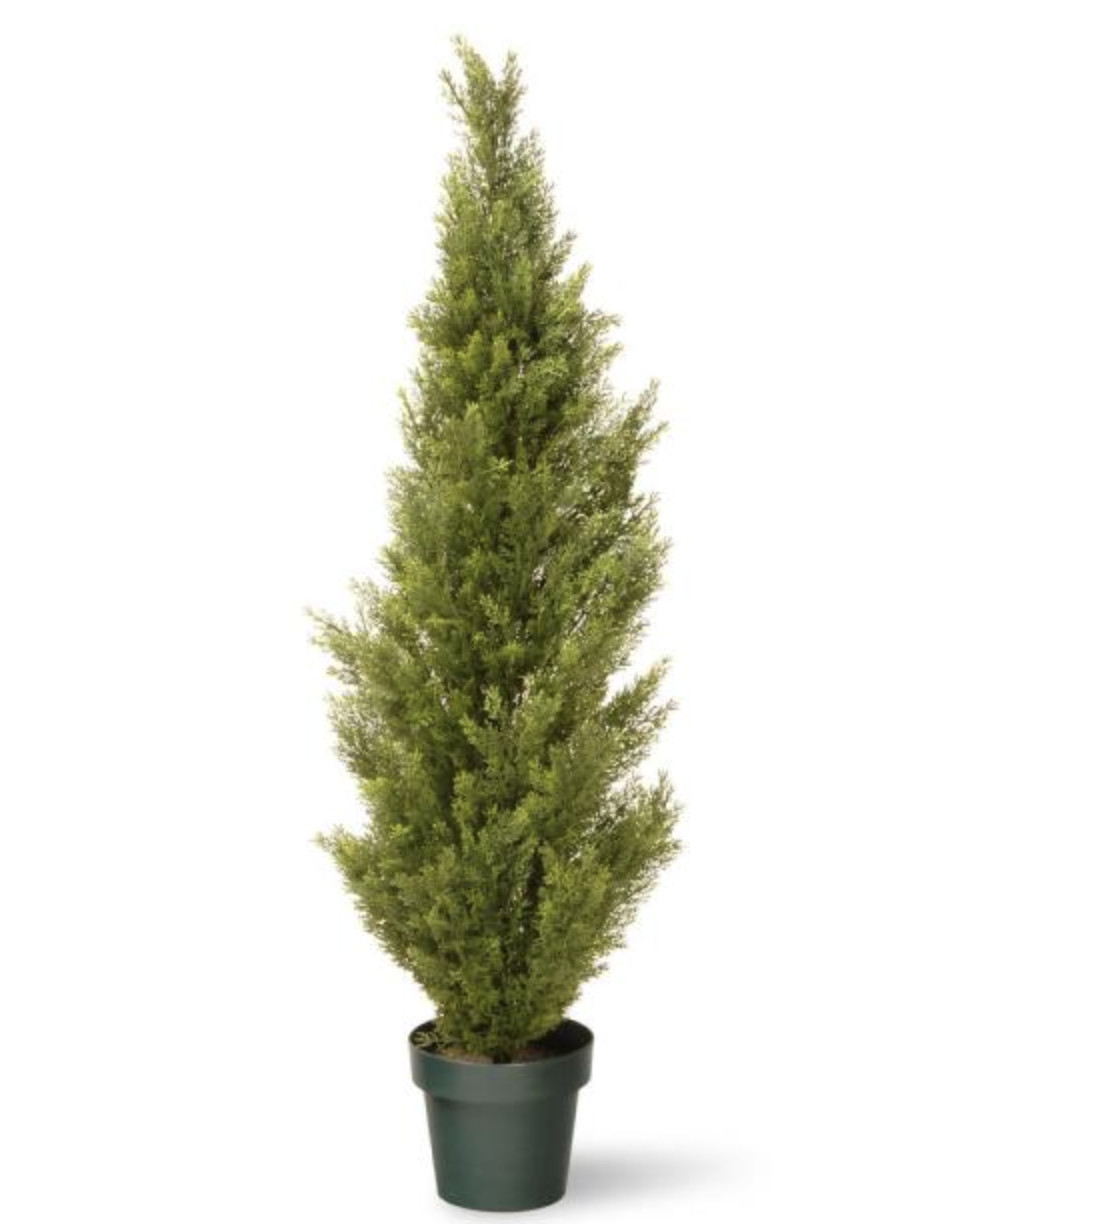
The side entry urns are from The Home Depot, and I “planted” a couple National Tree Company 48 in. Artificial Arborvitae Trees. I am not a huge fan of faux plants, but these trees are so realistic! I find that having plants under an overhang is rough and requires a lot of watering which is why I love this maintenance-free option that will last for years.
ADD DETAILS
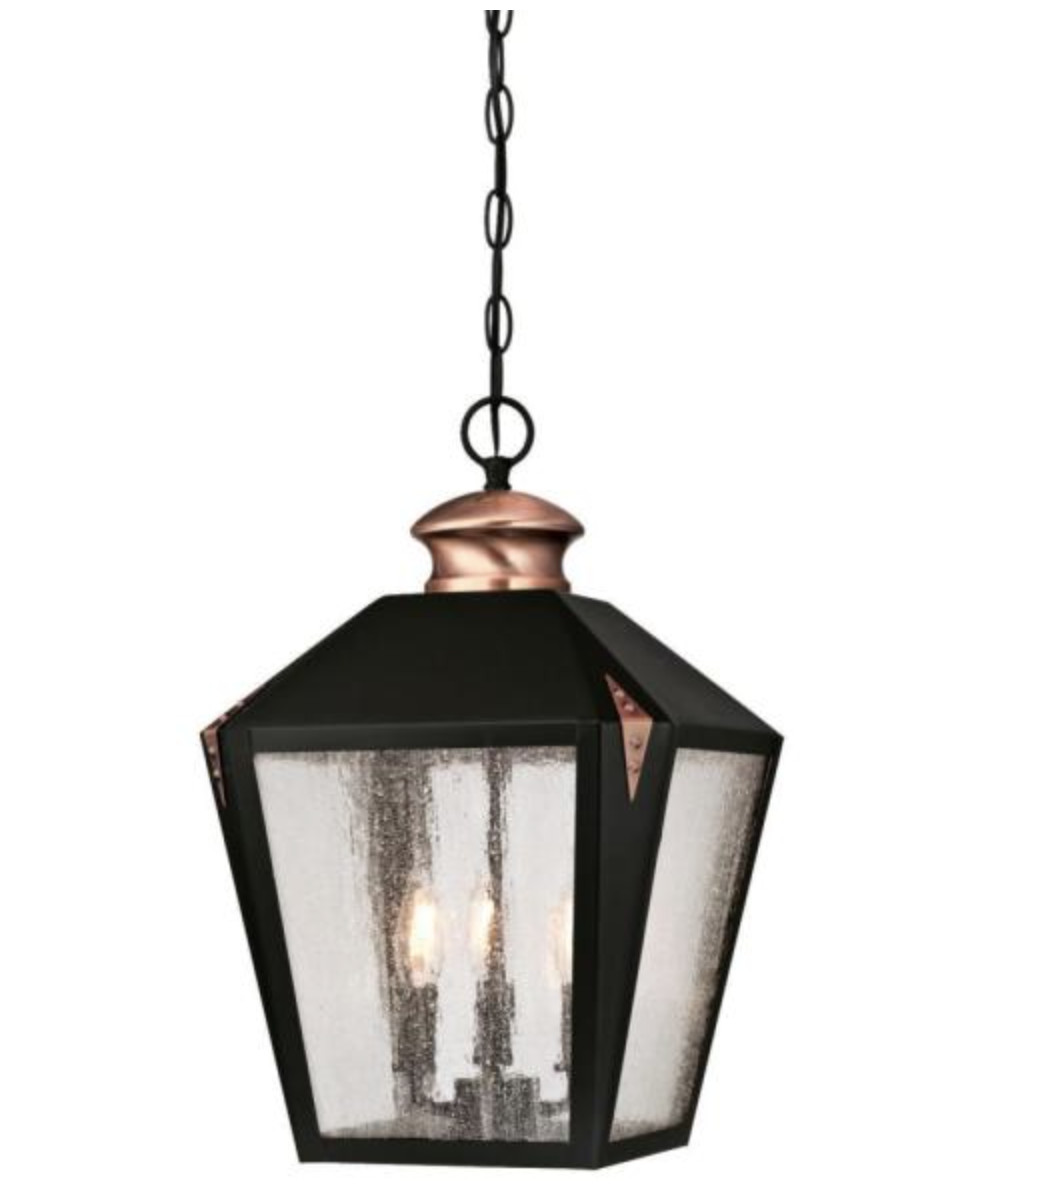
Adding details is where your home becomes you. We painted our doors black and replaced the cheap plastic recessed light with a hanging lantern – the The Valley Forge 3-Light Matte Black with Washed Copper Accents Outdoor Hanging Pendant.

We added our street numbers to the door for some charm (Hillman Group Brass Plated Numbers) and added seating in the front yard. I am in love with our POLYWOOD Outdoor Patio Adirondack Chairs. They are low maintenance, come in several colors, and are weather-resistant.

The tropical topiaries add a pop of color to our front landscaping. The hibiscus will provide blooms all summer long.

The tree by the road is the first thing guests see of our home, so we built a retaining wall using retaining wall bricks and filled it with boxwoods and flowers for a pretty entry to our home.

Here’s a video on the entire project:

I’ve linked up some of my favorite product from The Home Depot:


Thanks to The Home Depot and some sweat equity, we have a gorgeous front yard with some major curb appeal!
This is a sponsored post written by me on behalf of The Home Depot. All opinions are 100% mine.
Go create something!

Are you new to my blog? Go HERE to see my home tour and HERE to shop for items I use in our home.


