Paint

Painting Furniture with Milk Paint

Print

Today we’re continuing our Painting Furniture Tutorial Series with milk paint!

I have a love/hate relationship with milk paint. I love it for the fact that it does not require any prep work, and it provides a beautiful dimension.  Also, if you paint raw wood, milk paint will soak in and act more like a stain.  

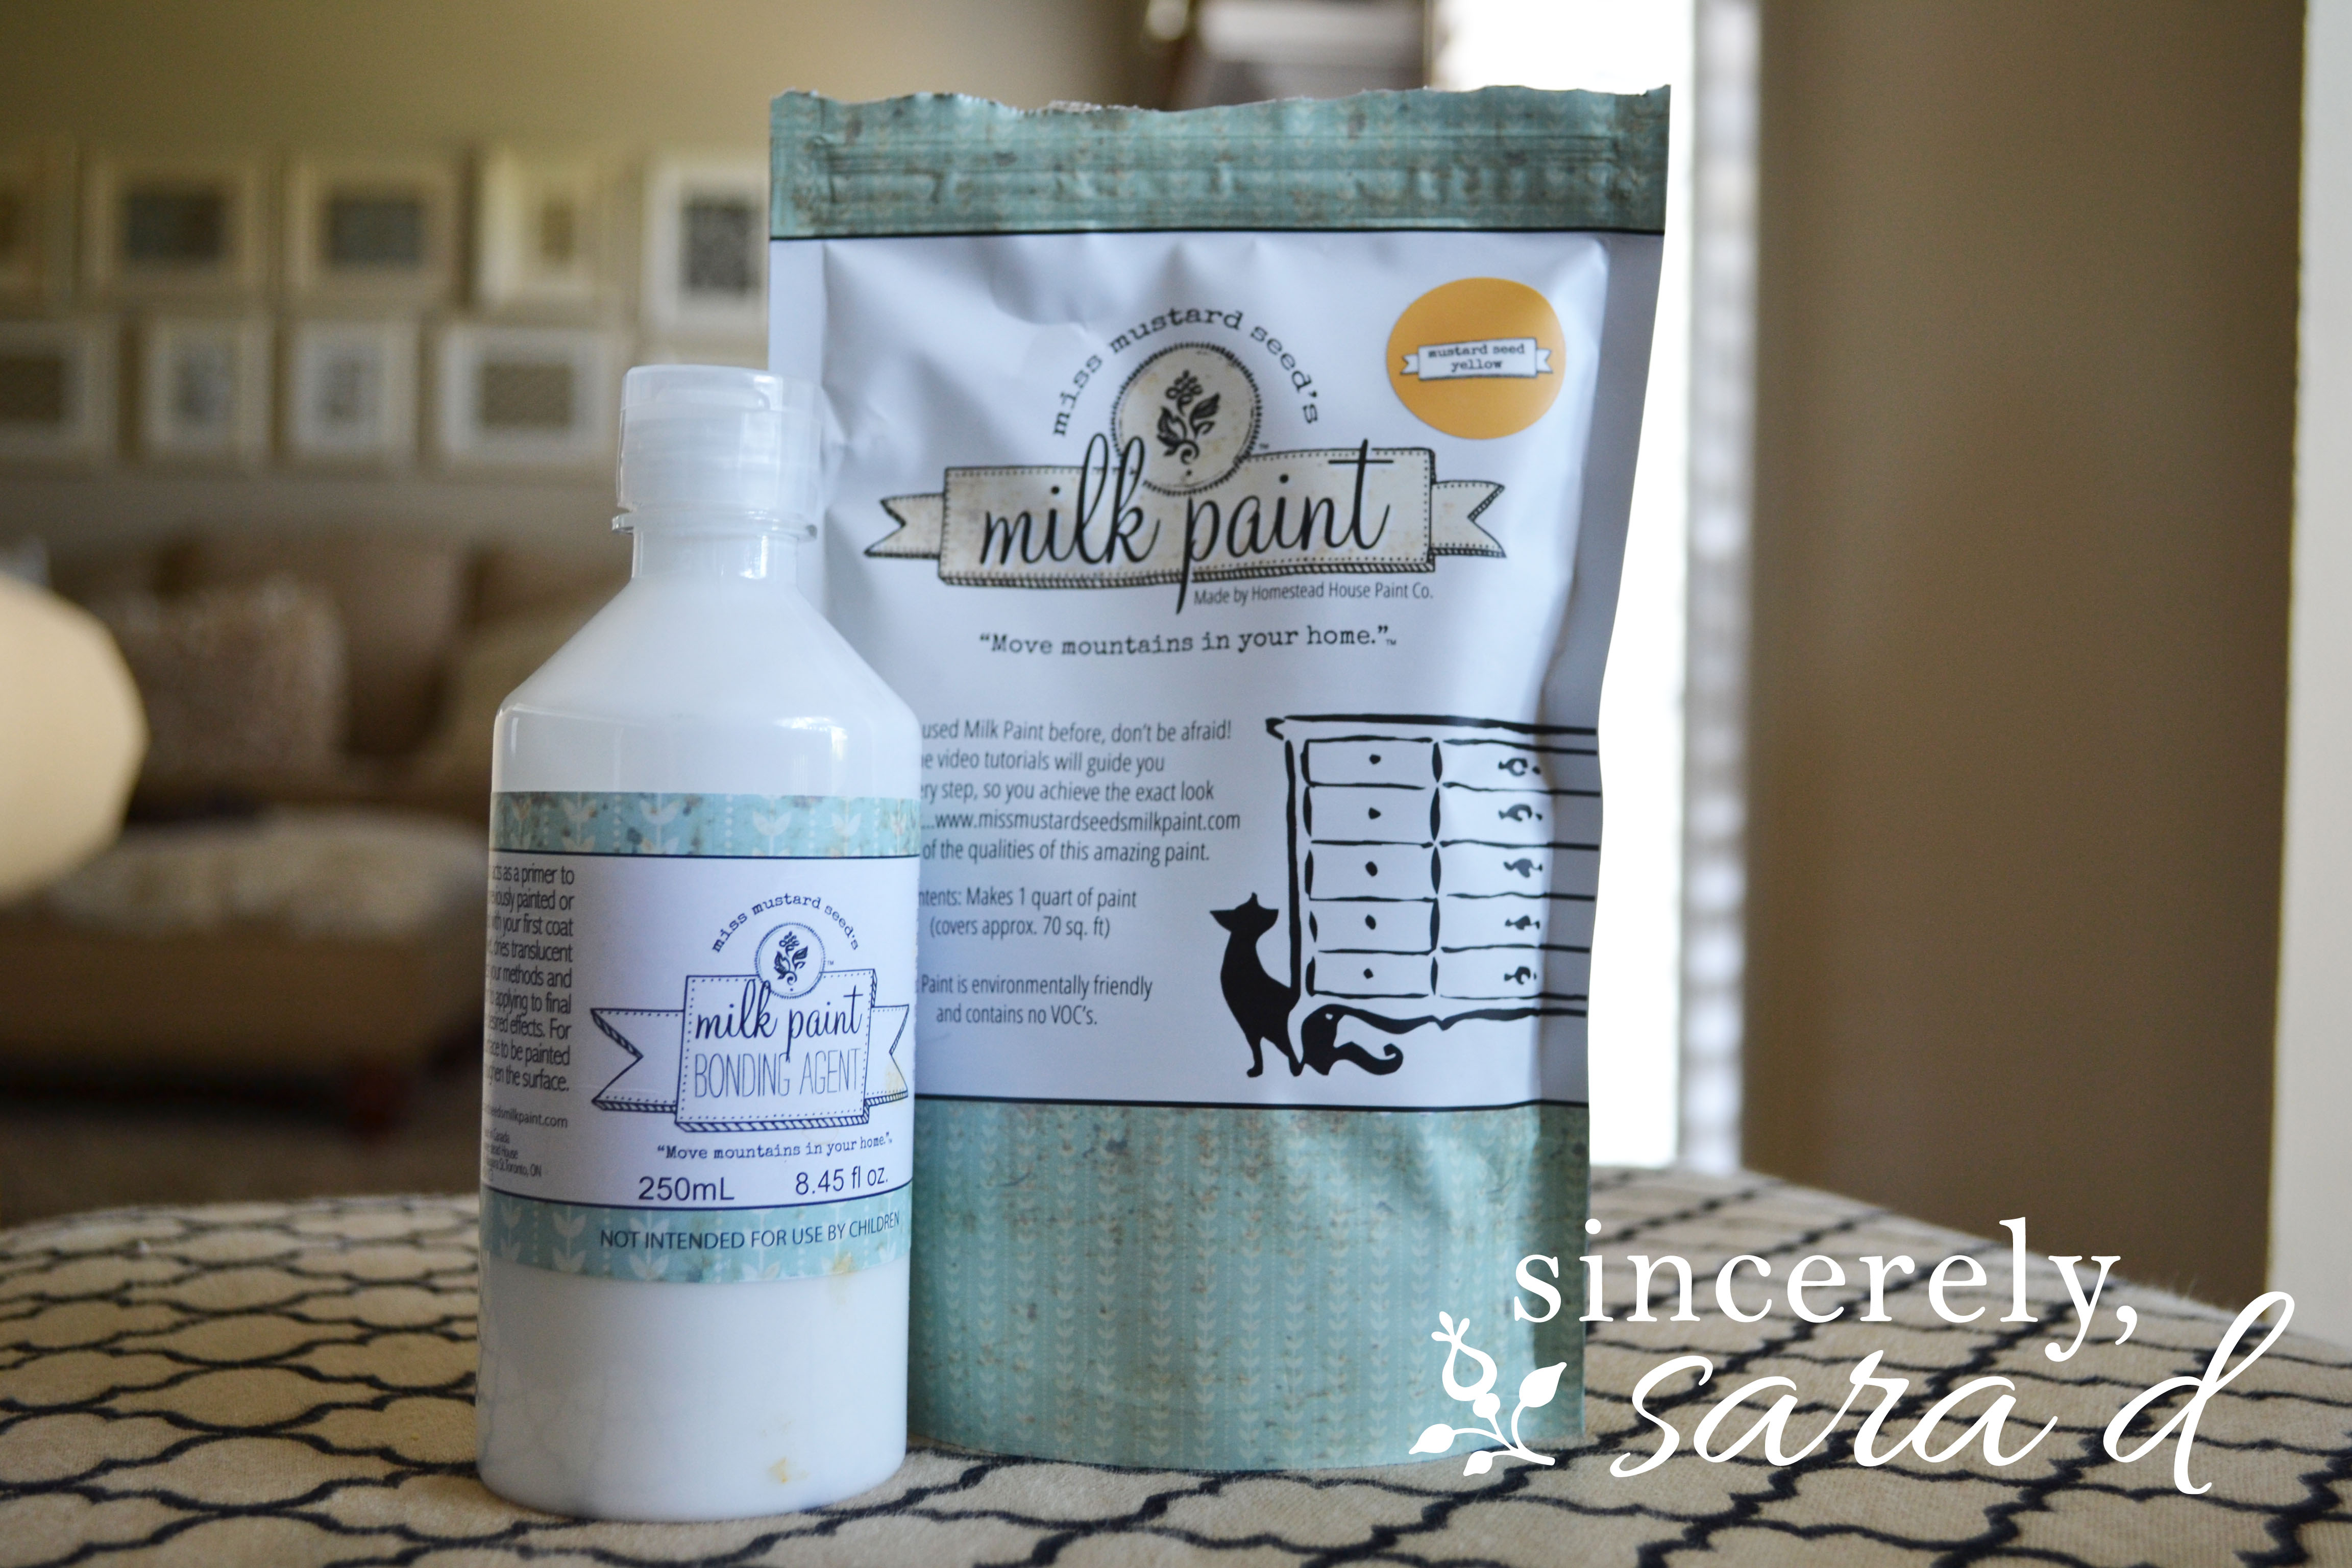
However, my control-freak self can’t handle how unpredictable it can be if you paint a piece that has an existing finish because it has the tendency to chip, and it is hard to control. Milk paint comes in powder form, and as I just mentioned, provides various beautiful results since it reacts to different surfaces in both color and adhesion.  Because it is made from natural pigments, milk paint has a beautiful dimension and can leave lighter and darker streaks.  Also, milk paint will soak into wood (which is why it’s so durable), but it will react completely differently to a piece that already has a finish.  If a finish exists on a piece and milk paint is added, there’s a good chance it will chip off. There is good news for all of us control freaks: If you don’t love the chippy look and are painting a piece with an existing finish, you can add a bonding agent.  A bonding agent is sold separately from chalk paint and usually added to paint.  Chipping can still occur with the bonding agent – but not to the same extent as it would without.

Step One: Mix

Milk paint requires mixing.  It comes in powder form which is great because it has an indefinite shelf life.  However, once mixed the paint needs to be used fairly quickly.  To mix, you add one part powder to one part paint.  You can add more powder (or water) to get the consistency you prefer.  Allow the paint to sit for a bit to allow the clumps to absorb water and help the bubbles to go away.  Keep in mind that you will need to occasionally mix the paint from time to time since the powder will try and settle at the bottom.

Mixing Milk Paint

Step Two: Paint

Milk Paint doesn’t require prep work before you paint – no sanding or priming!  Milk paint is thin and drips pretty easily.  Use quick strokes and try to stay on top of the drips.  Wait for the coats to dry before adding another.  I usually do 3 coats of milk paint.

Milk Paint

Step Three: Sand

After you’re done painting, you can sand the piece.  Sanding is great if you want to distress and smooth out the finish (you’ll notice some powder lumps).  If you have a lot of chipping, you’ll want to smooth out these areas.

Sanding Milk Paint

Step Four: Wax

I use wax on my milk-painted pieces, but you can also use a polycrylic or oil.  I would suggest a polycrylic for highly uses pieces such as cabinets or desks.  Hemp oil is great because it’s food-safe.

Waxing Milk Paint

Step Five: Buff

Buff the wax using a lint-free cloth.  It’s pretty easy to see where you missed with the wax, so you can touch up those places with the brush or cloth.  Buffing helps smooth out and remove extra wax.

Buffing Milk Paint

You can also see the more basic tutorials in my Painting Furniture Tutorial Series by clicking HERE.  

Still want more tutorials and information on painting furniture with chalk-type paint, milk paint, spray paint, latex paint, and oil-based paint?  Then you need to check out my eBook, Painting Furniture.  Sign up for my newsletter to receive your FREE copy.  

Go create something!

Are you new to my blog? Go HERE to see my home tour and HERE to shop for items I use in our home.

Find me on Facebook | Instagram | Twitter Pinterest

Paint

Painted Piano

A painted piano adds so much character to any home.

I painted a piano this week.

Painting a Piano

We’ve been talking about getting a piano for a little while since our oldest son is going to start lessons this fall. While on Facebook a couple of weeks ago, I ran across someone selling an upright for $50. I was excited because it obviously needed help. My husband would definitely be okay with me painting it, and it was so inexpensive that I couldn’t mess it up. Plus, how cool would a painted piano be?!

piano Now, I decided to use milk paint for the first time ever. Note to self: Don’t try a paint you’ve never used next time you paint a piano. I’ve heard a lot about milk paint because I follow Miss Mustard seed, and she has her own line of (Miss Mustard Seed) Milk Paint. Her stuff always looks so amazing.

piano3 What I didn’t think about was how unpredictable it can be. For someone like me, this isn’t really a good thing. I like plans and predictability. I like to be the one to distress where I want to distress. I’m not saying this is a good thing, but it’s how I work. So you can imagine my frustration when this started to happen: piano8 The charm of milk paint is that it does have a tendency to chip. However, to avoid this, you can mix a bonding agent with the first paint layer. I did – but I ran out of paint for the first batch and got a little lazy with my second batch and didn’t add the bonding agent. The areas I painted without the bonding agent (obviously) are where the major chipping occurred. Another thing about milk paint is that it comes in powder form. I didn’t love having to mix my own paint. I’m a pretty impatient person and mixing just added another layer in the process of painting. It’s not a huge deal to mix, but there’s something great about just popping a can of paint open… All that being said, milk paint does have its charm. If you like the (very) distressed look, this paint is for you. It comes in a bunch of BEAUTIFUL colors and it does have a unique look. It’s also a great paint for color washing pieces – you can easily water the paint down to achieve the washed look. So, after I painted the piano, I used (cream) chalk paint to accent some of the parts – and I also used the chalk paint on the areas that I hadn’t used the bonding agent in my first layer of paint. I wasn’t loving the extreme chipping happening in these areas and luckily my cream “accents” look intentional. piano11 After everything was painted, I took a sander to the entire piano. All the tutorials I watch show the people sanding by hand. Again, I don’t have patience for this. So, I used this big guy: piano7 At the end, I did wax the entire piece with both clear wax and a small amount of dark wax. I used Annie Sloan wax because I had it on hand. Overall, it’s a little more distressed than I had originally planned. However, I think I’m starting to like the piano more and more. It may be because we have a family pass to Conner Prairie and have been spending too much time there, but I think it will work well in my house. And, my son has a piano to practice on! piano14 piano13 piano10 piano9

Are you new to my blog? Go HERE to see my home tour and HERE to shop for items I use in our home. Find me on Facebook | Instagram | Twitter Pinterest

This error message is only visible to WordPress admins