Paint

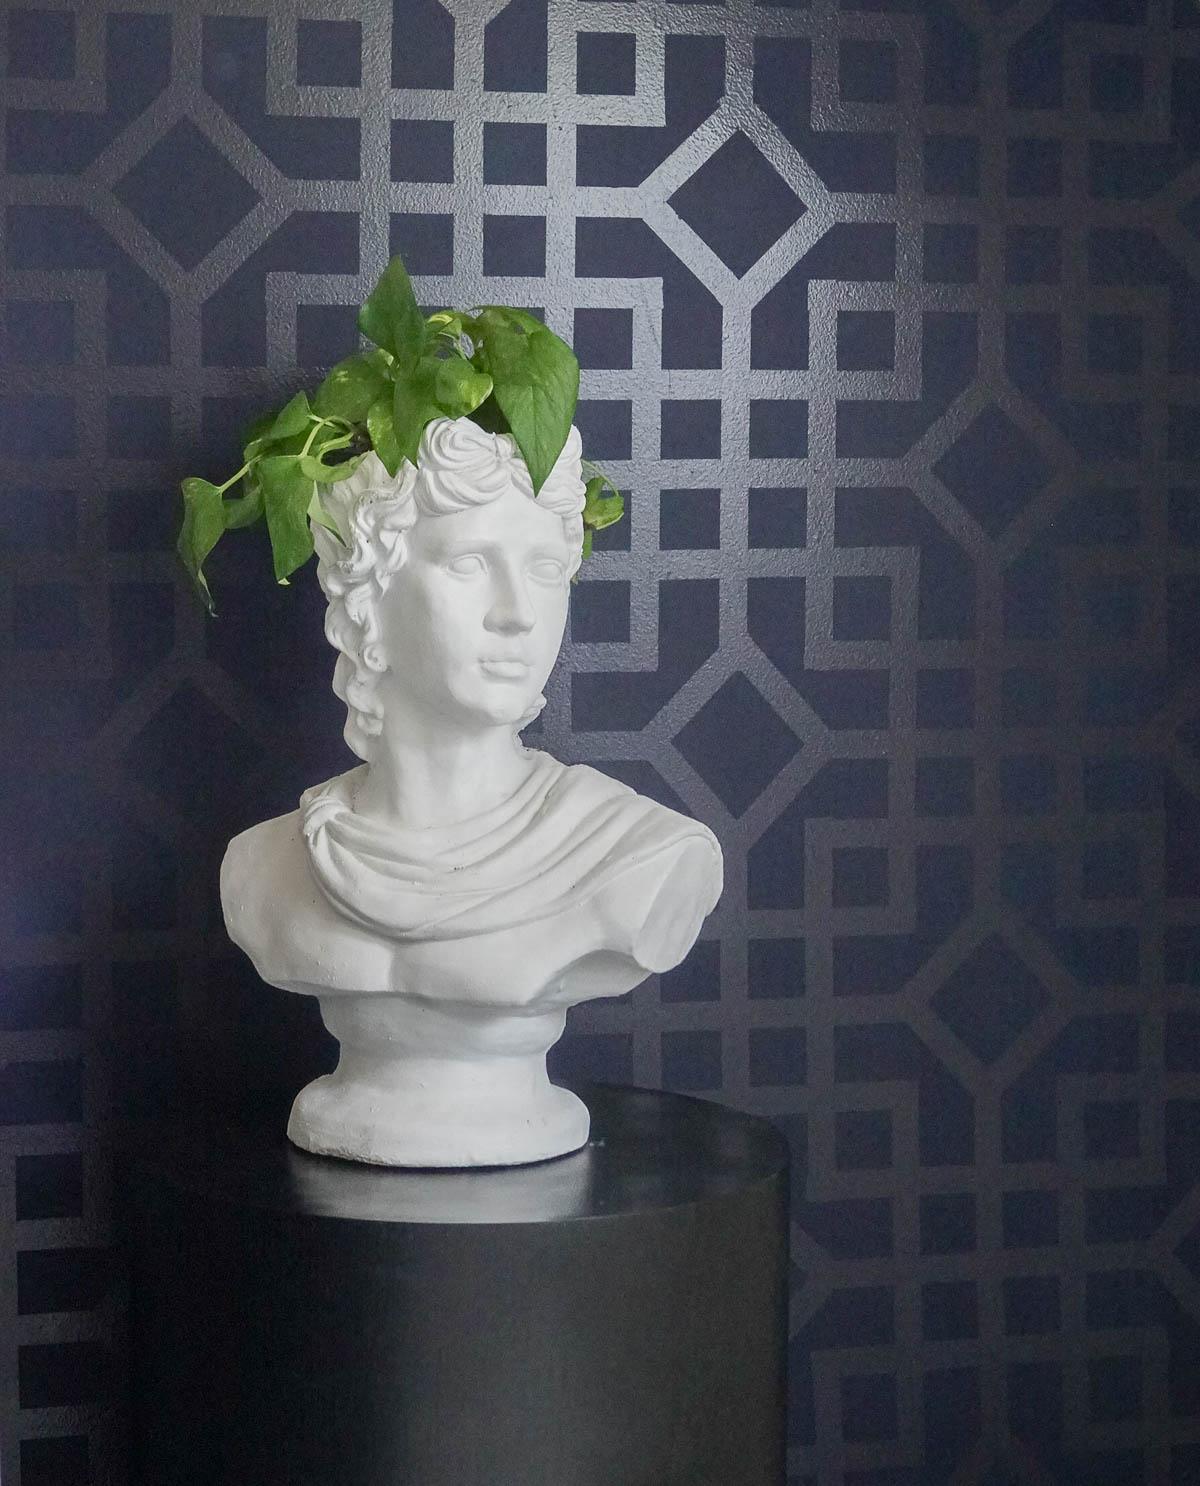
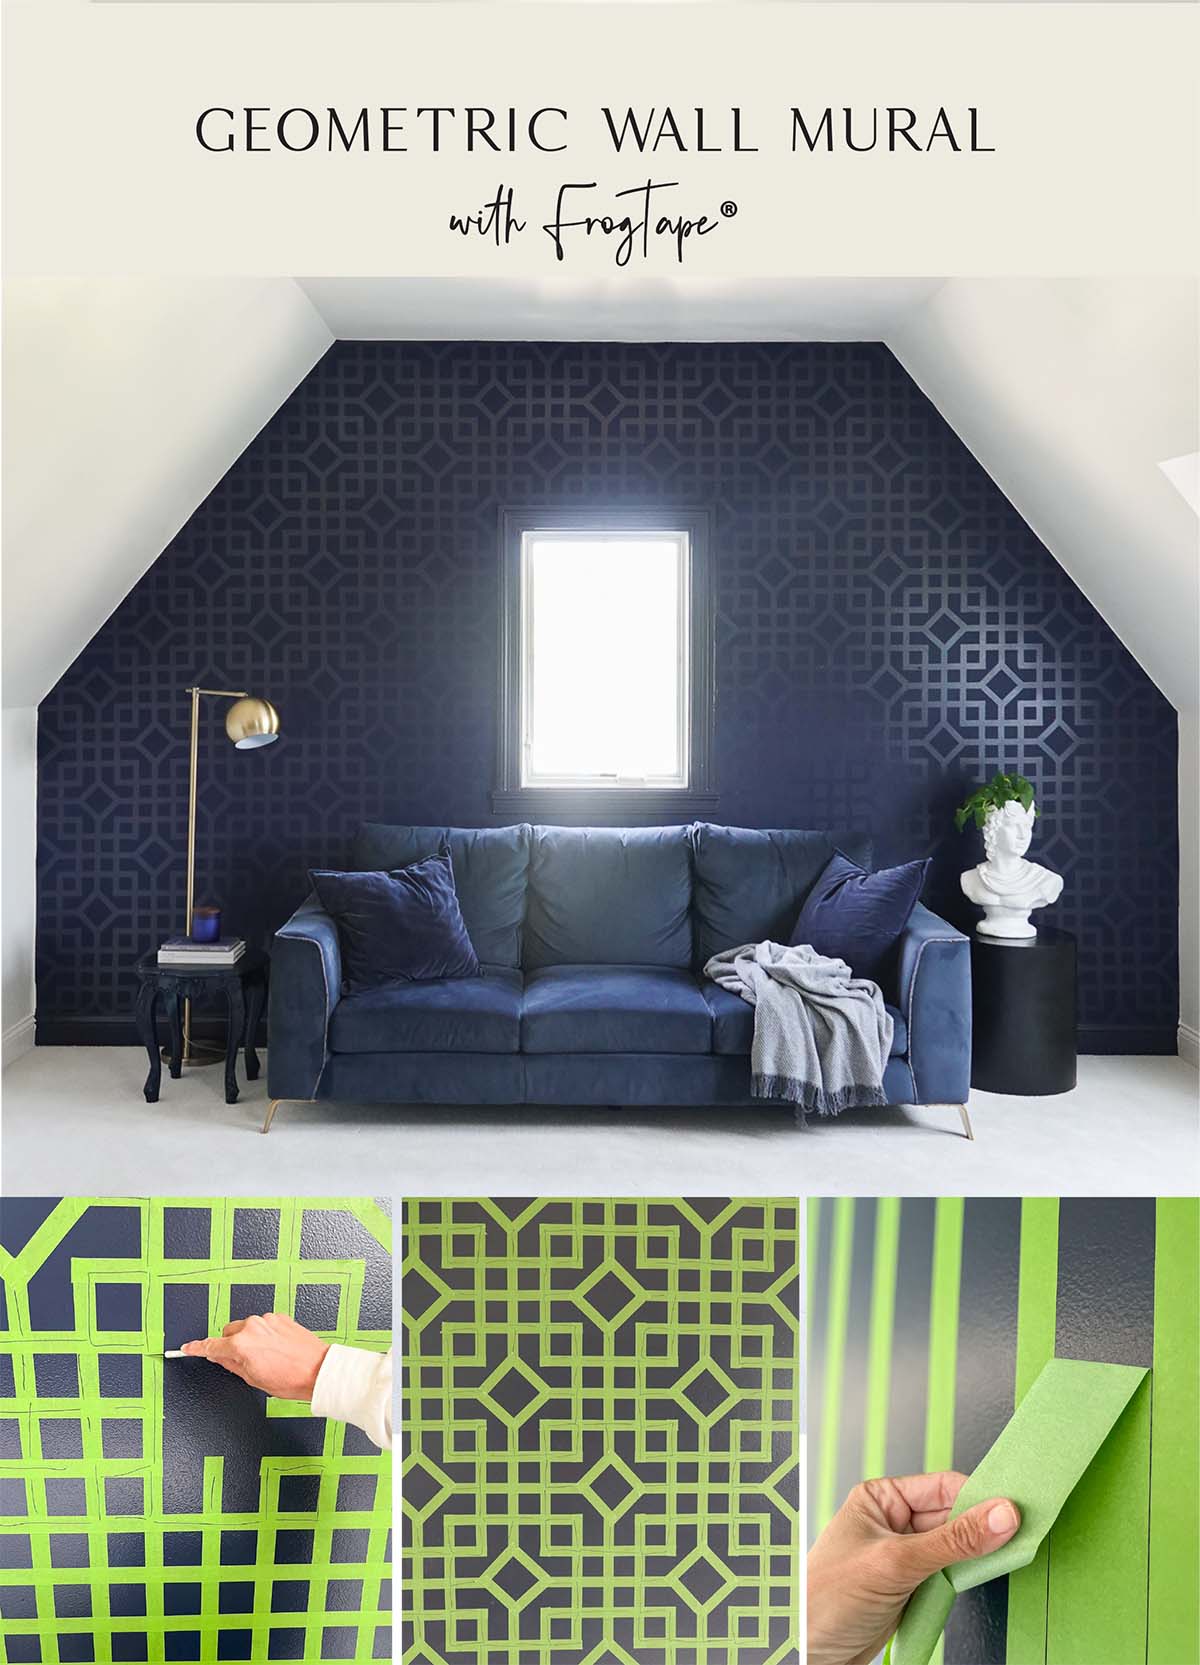
Geometric Wall Mural

I was inspired to create this Geometric Wall Mural after seeing the 2023 FrogTape® Design Trends. Travel is the trend for 2023 (we are all ready for some change of scenery), and here are the four design trends:

  • Redrock Renewal
  • Bohemian Bazaar
  • Nordic Nature
  • Midtown Modern

This is a sponsored post written by me on behalf of FrogTape® . All opinions are 100% mine.

You can see more details on these design trends HERE, and I chose to add the Midtown Modern design trend to our home.

The Midtown Modern trend is all about a “rich” urban lifestyle using saturated hues like black or navy. Accent with bright brass and use plush fabrics like velvet and satin.

I added the look to our home by creating a unique geometric wall mural. I painted the base coat in a high-gloss finish and l created a design using FrogTape® I painted over the wall with flat paint, removed the tape, and I had a unique and gorgeous accent wall.
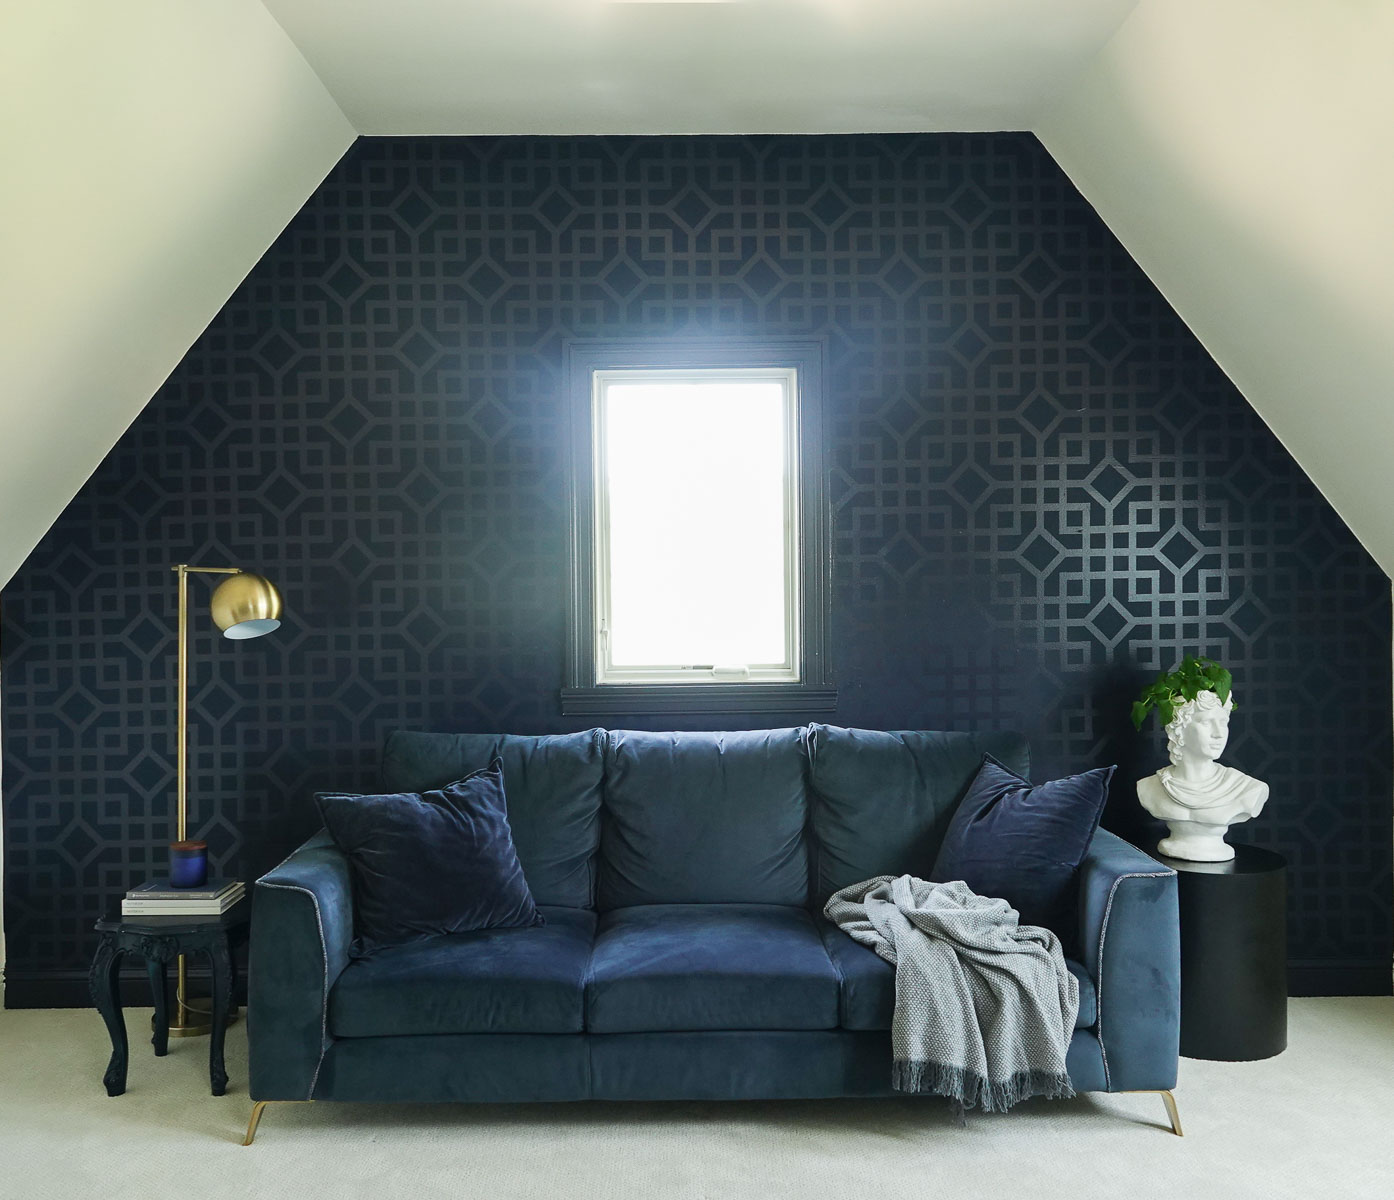
To create your own Geometric Wall Mural, here are the supplies you will need.

Supplies for Geometric Wall Mural:

  • 5 rolls of FrogTape® Multi-Surface Painter’s Tape – Green, 0.94 in. x 60 yd.
  • 2 rolls of FrogTape® Multi-Surface Painter’s Tape – Green, 1.88 in. x 60 yd.
  • Drop Cloth
  • 1 quart of high gloss finish paint
  • 1 quart of matte finish paint
  • Level
  • Paint Brush
  • Paint Roller
  • Paint Tray
  • Scissors
  • Exacto Knife

How to Create a Geometric Wall Mural

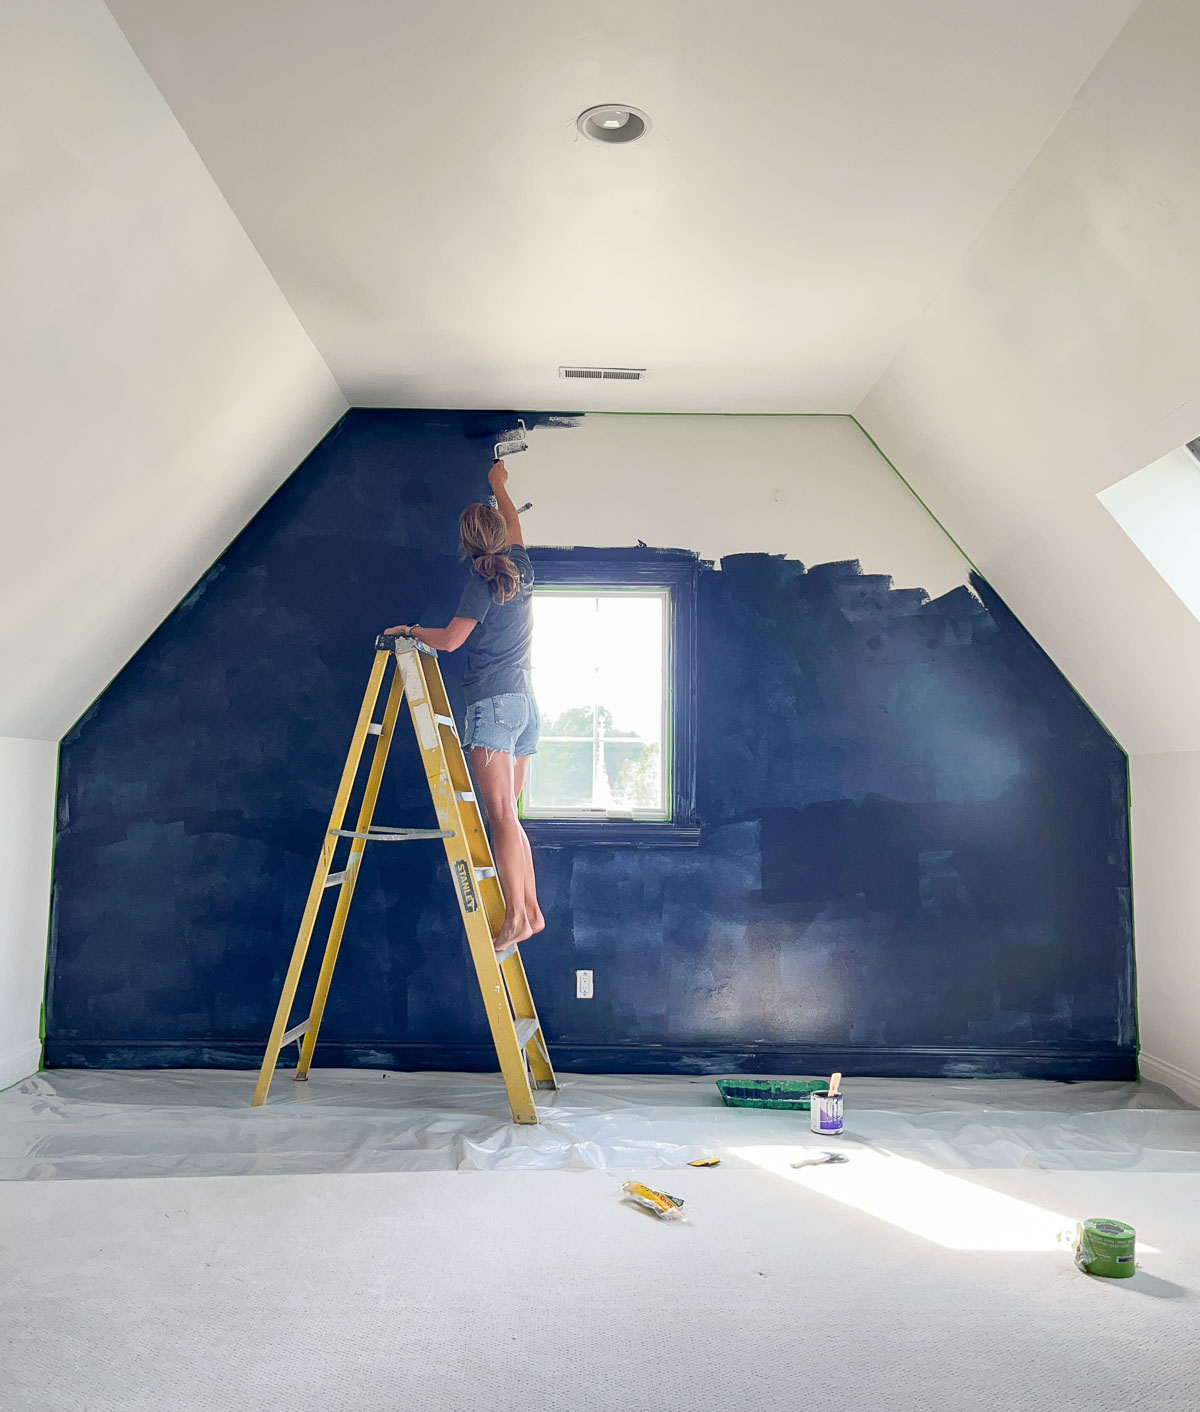
  • Paint the entire wall with a high-glossy finish paint.
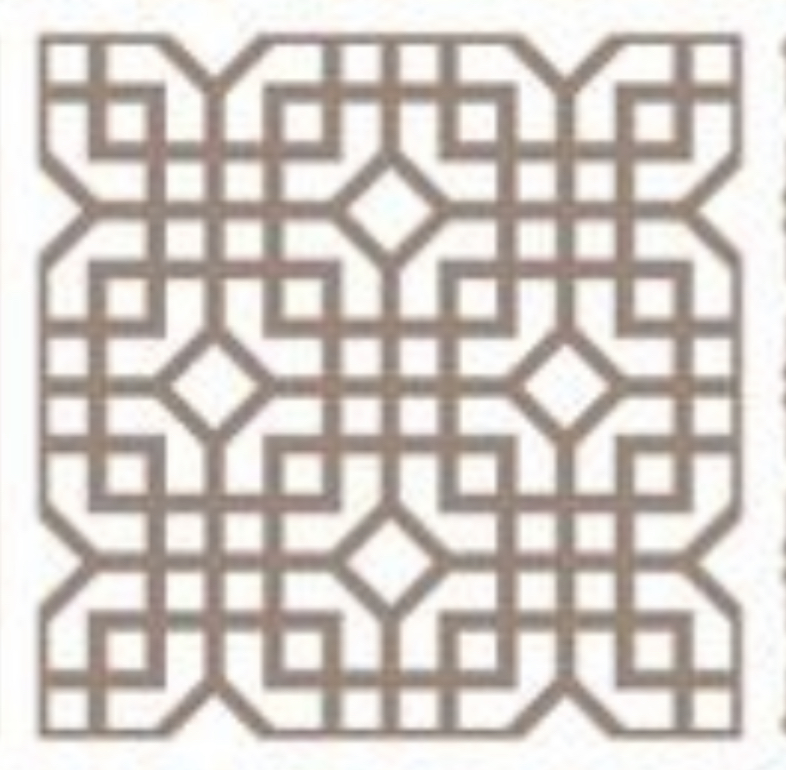
  • Plan your design. I found an image online and decided to begin with a grid pattern to create the geometric design.
  • To create the grid pattern, I used .94-inch tape for the lines and used 1.88-inch tape for the spaces. Begin at the center of the wall – use a level to make sure that the first line is straight. Continue to proceed across the wall.

If the wall was recently painted (less than a month), use FrogTape® Delicate Surface Painter’s Tape.
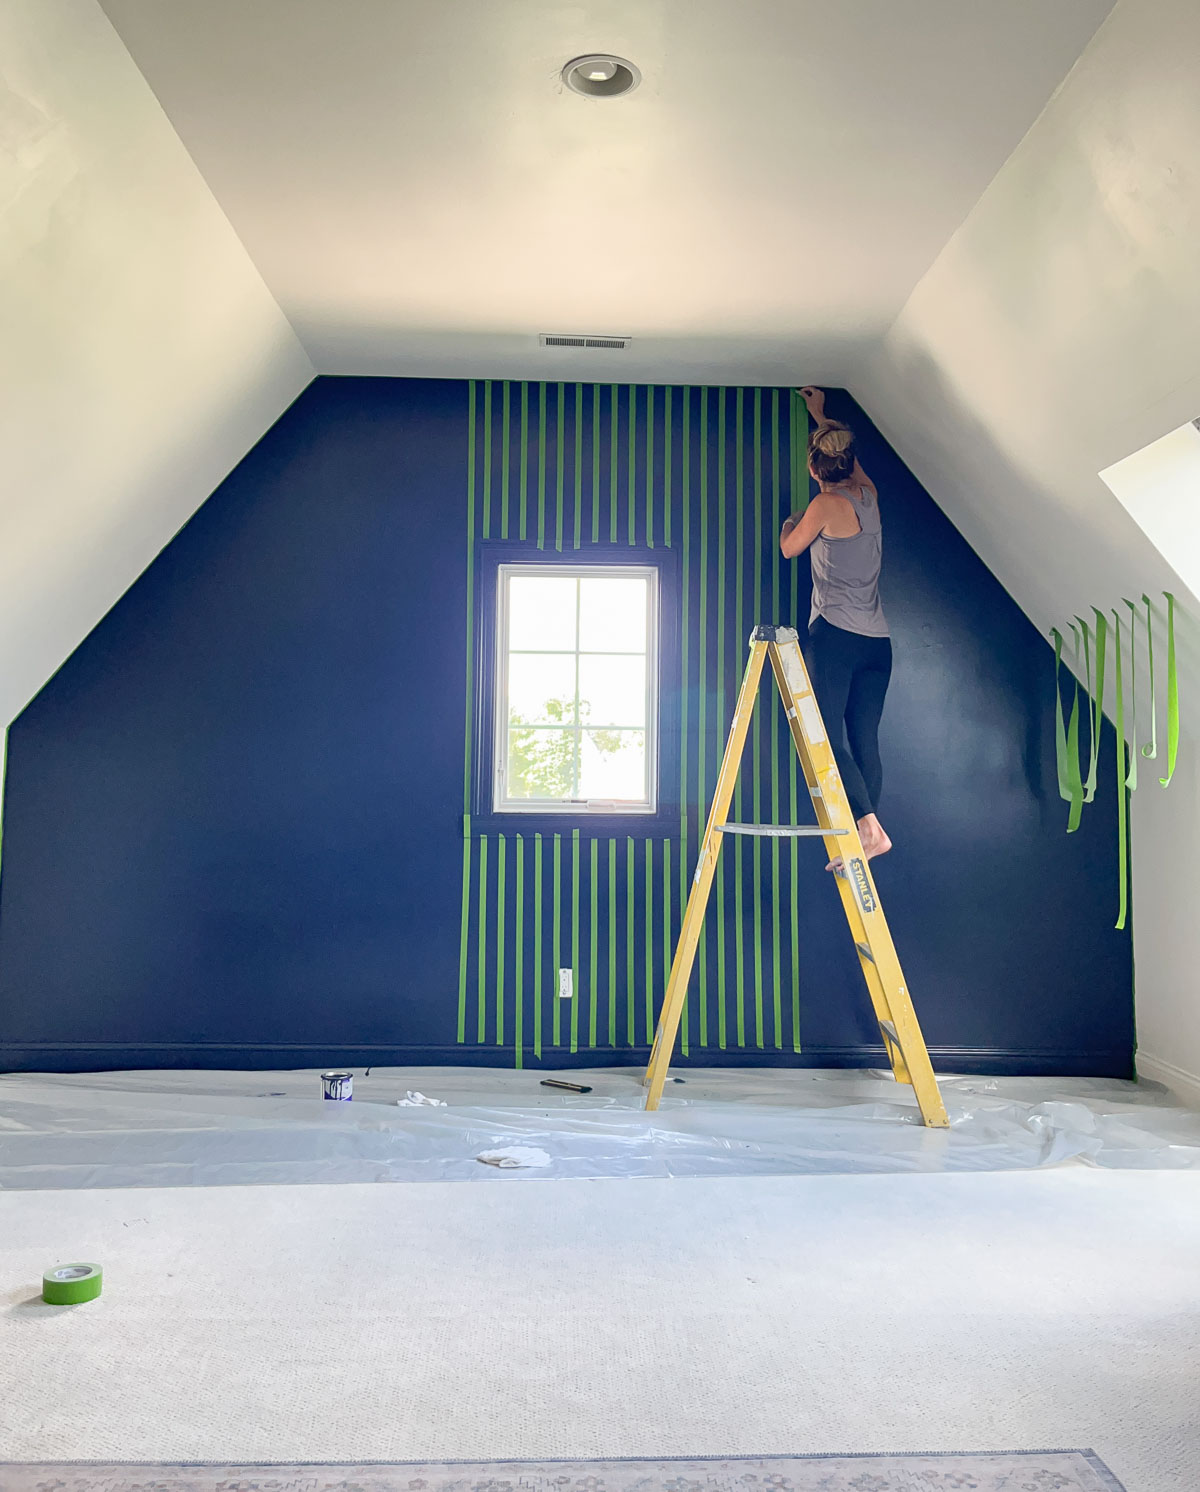
  • For the horizontal lines, begin at the top of the wall and continue down the wall repeating the taping pattern.
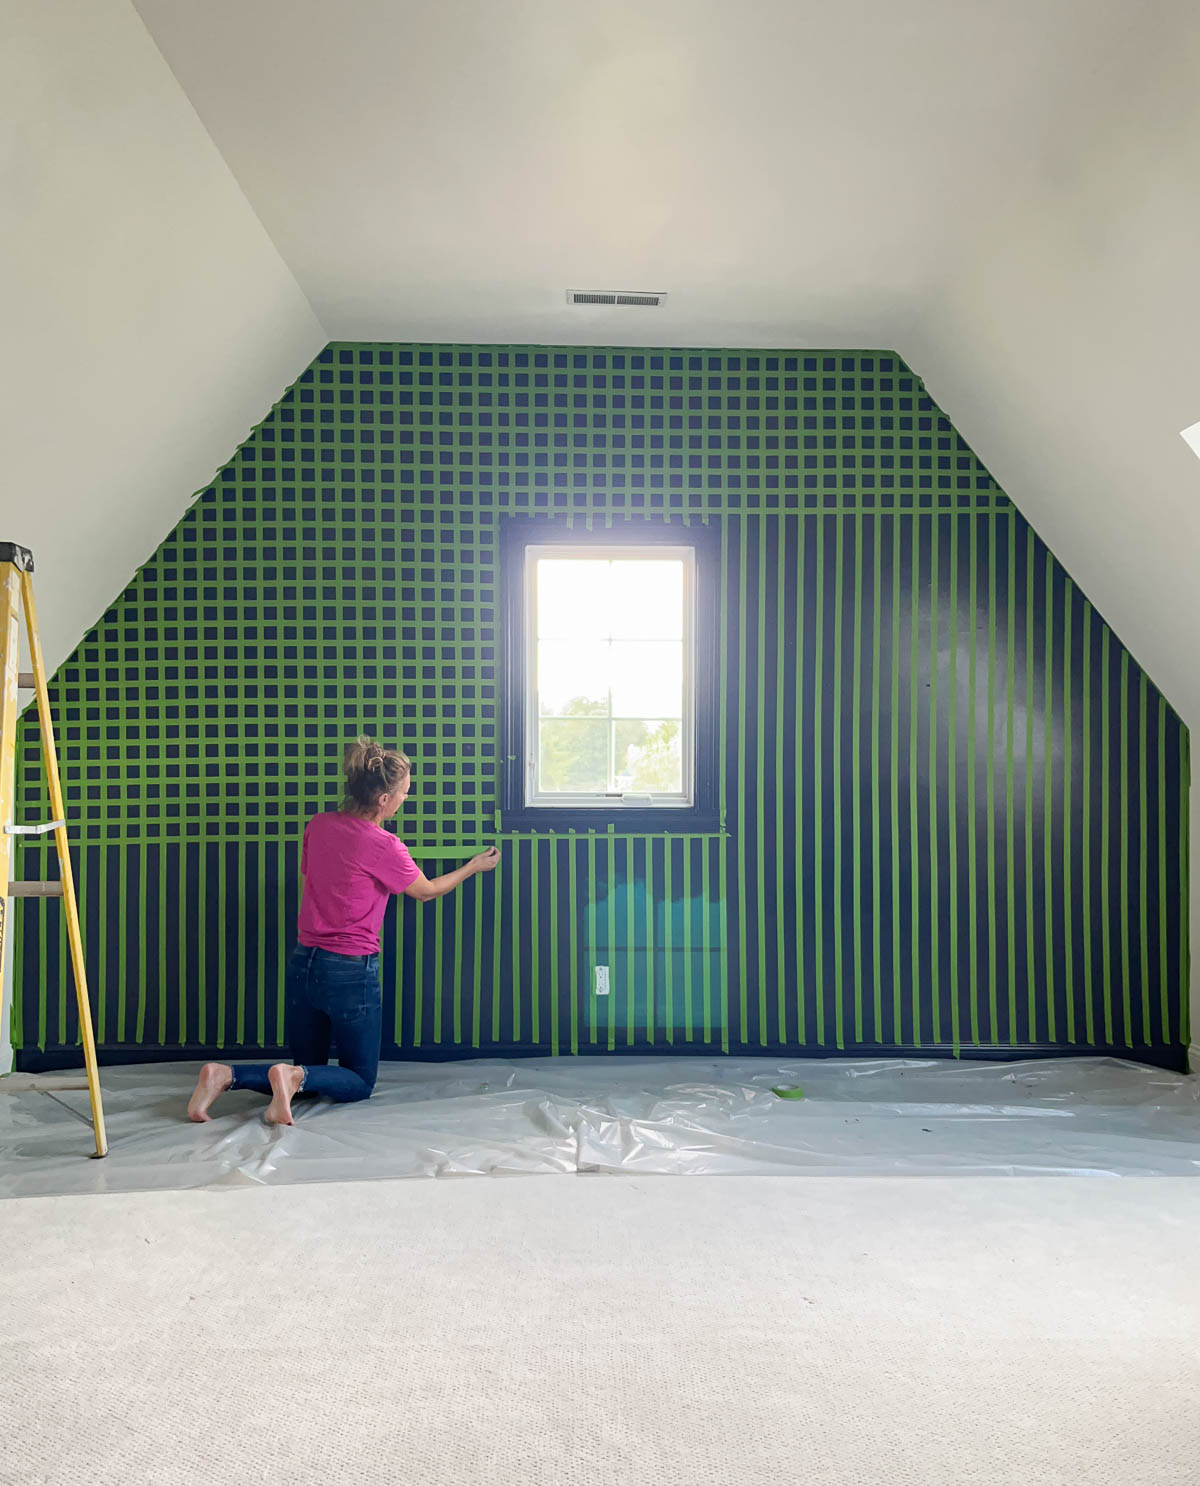
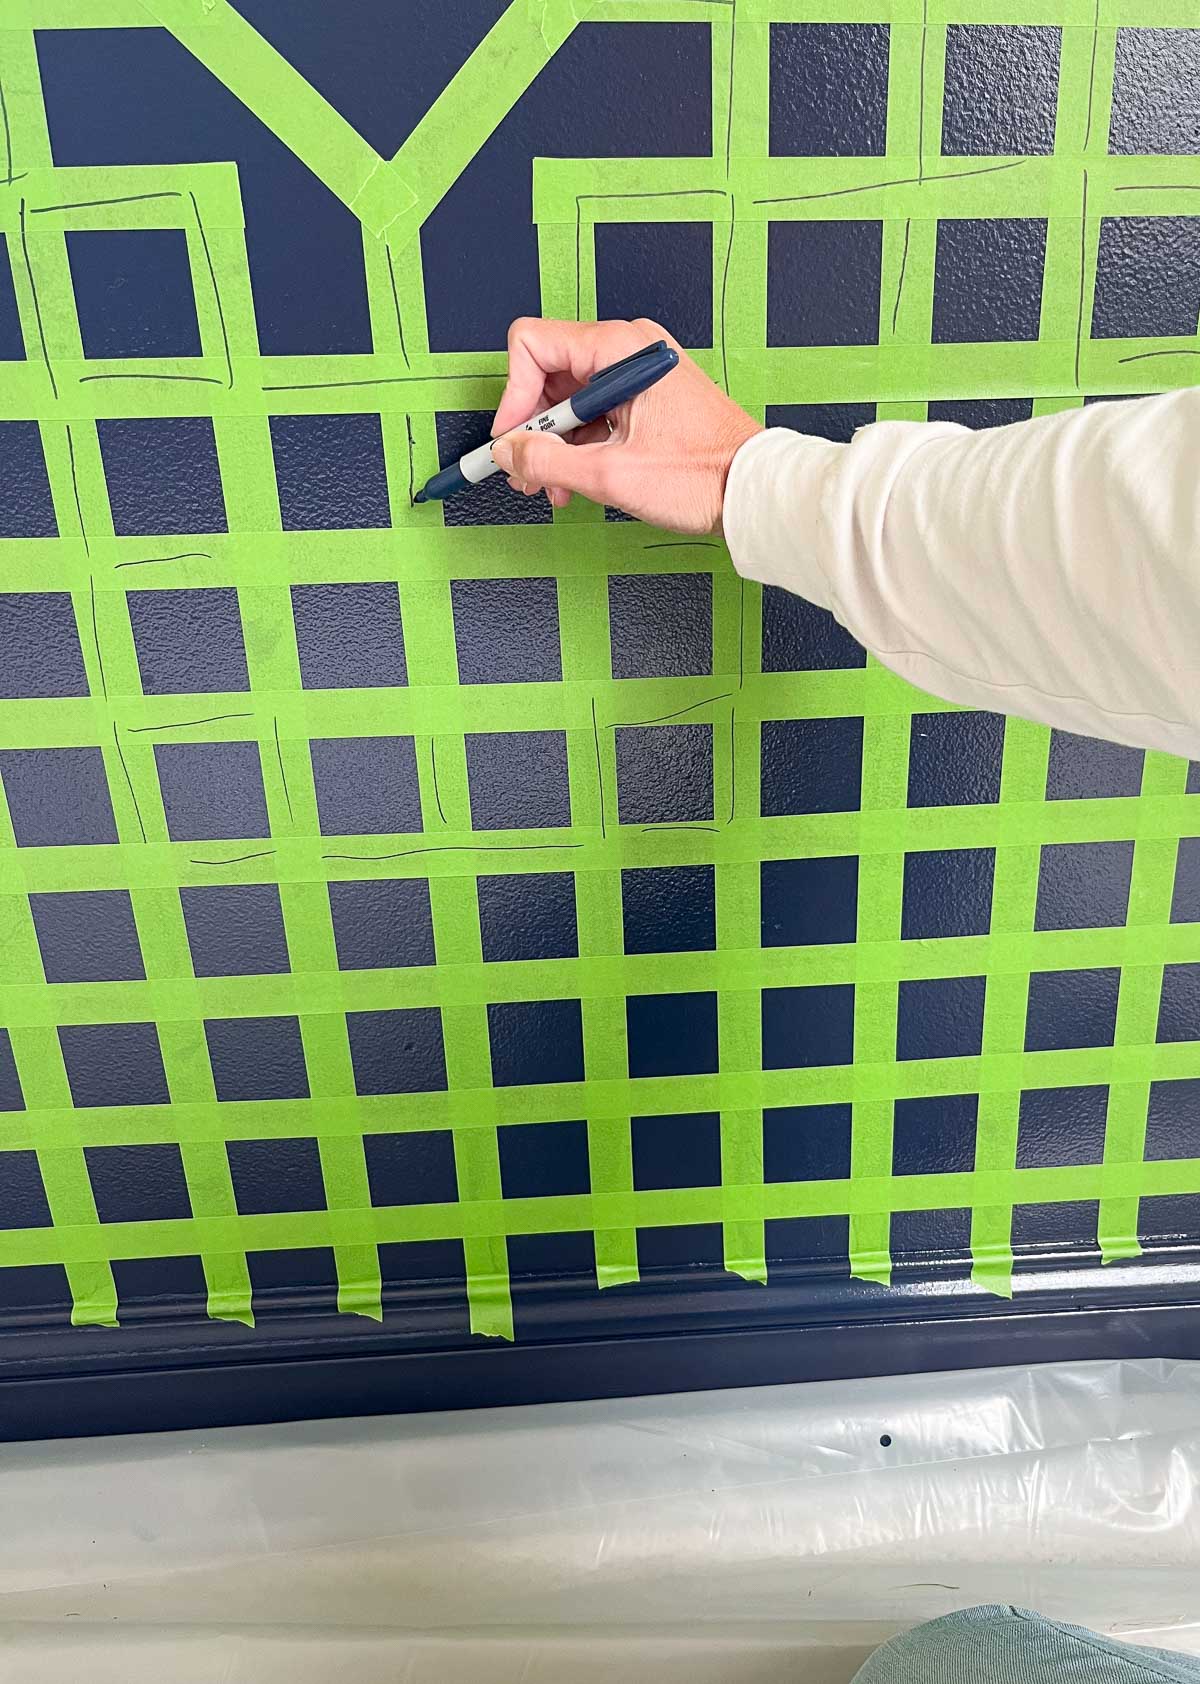
  • Once the wall is a large grid, begin to work on the details. Using the printout I found online, I drew out the pattern in sections.
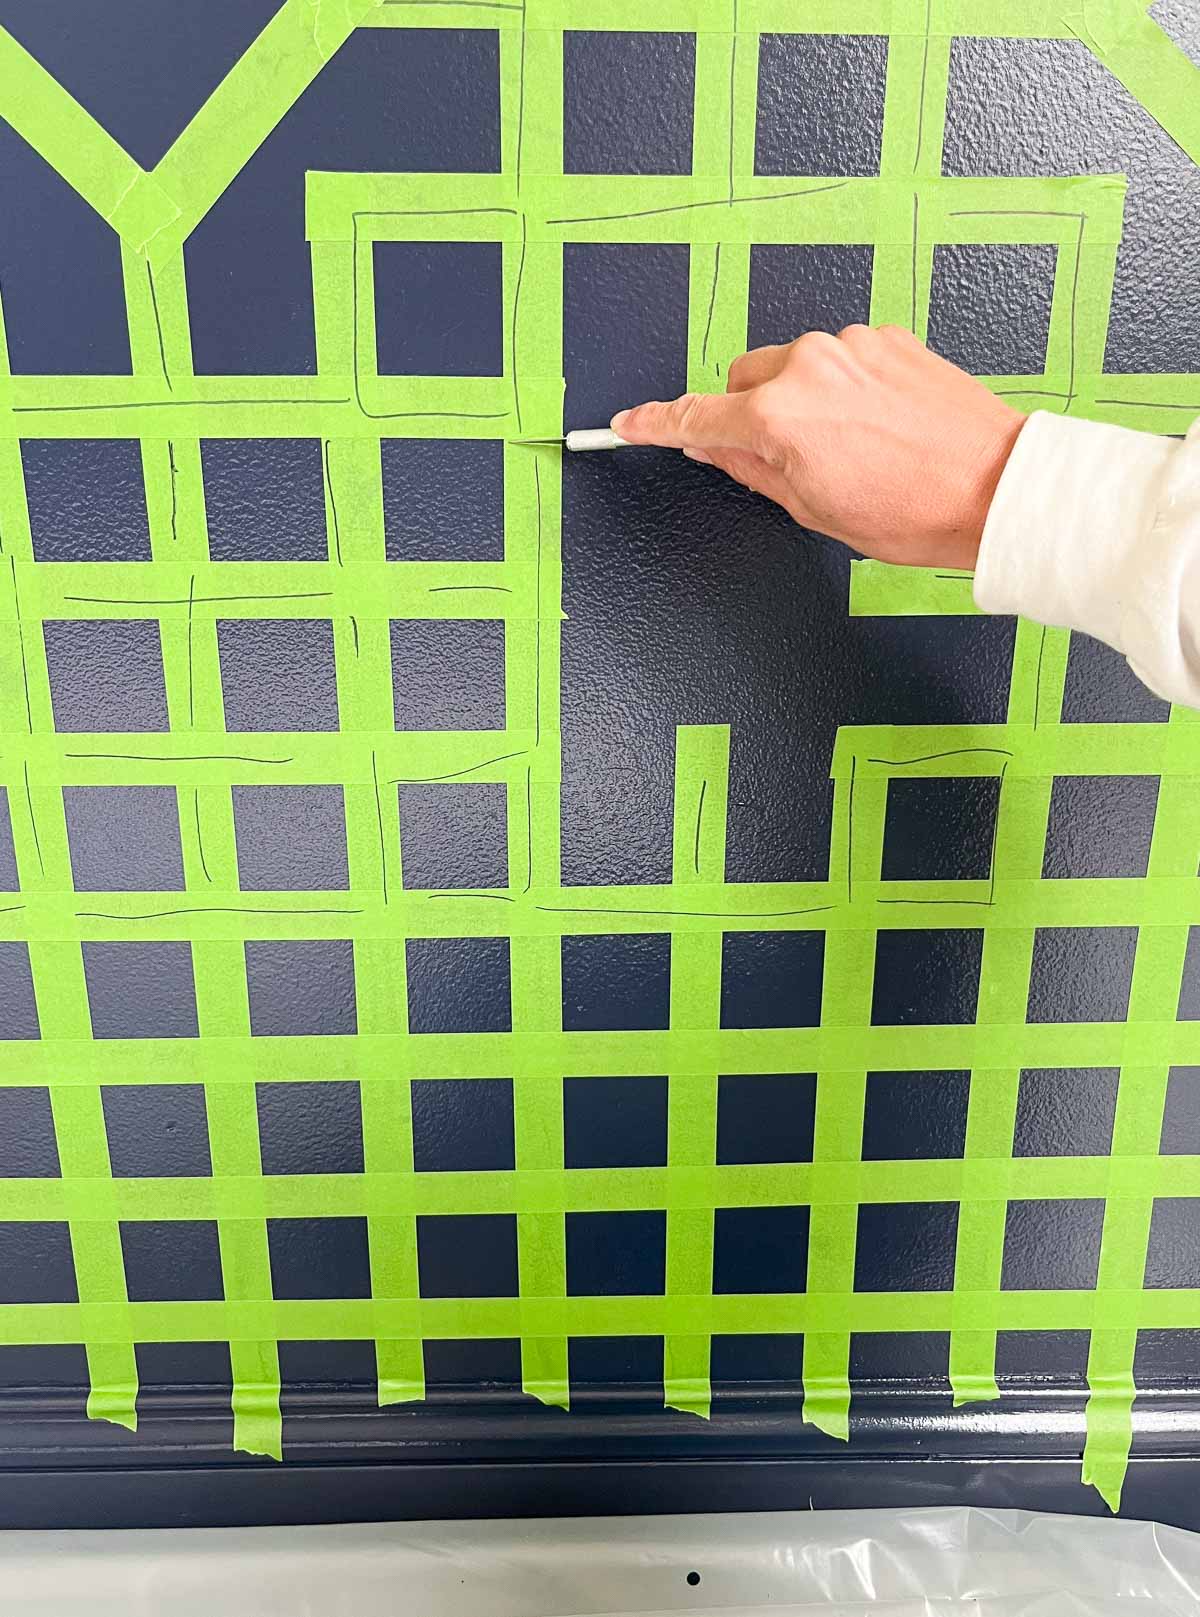
  • Once the pattern is drawn out, take the Exacto knife and cut away what isn’t needed. Be careful not to press too hard – you need just enough pressure to cut the tape and not damage the wall.
  • Next, create the diamond pattern using fresh tape and cut it with scissors.
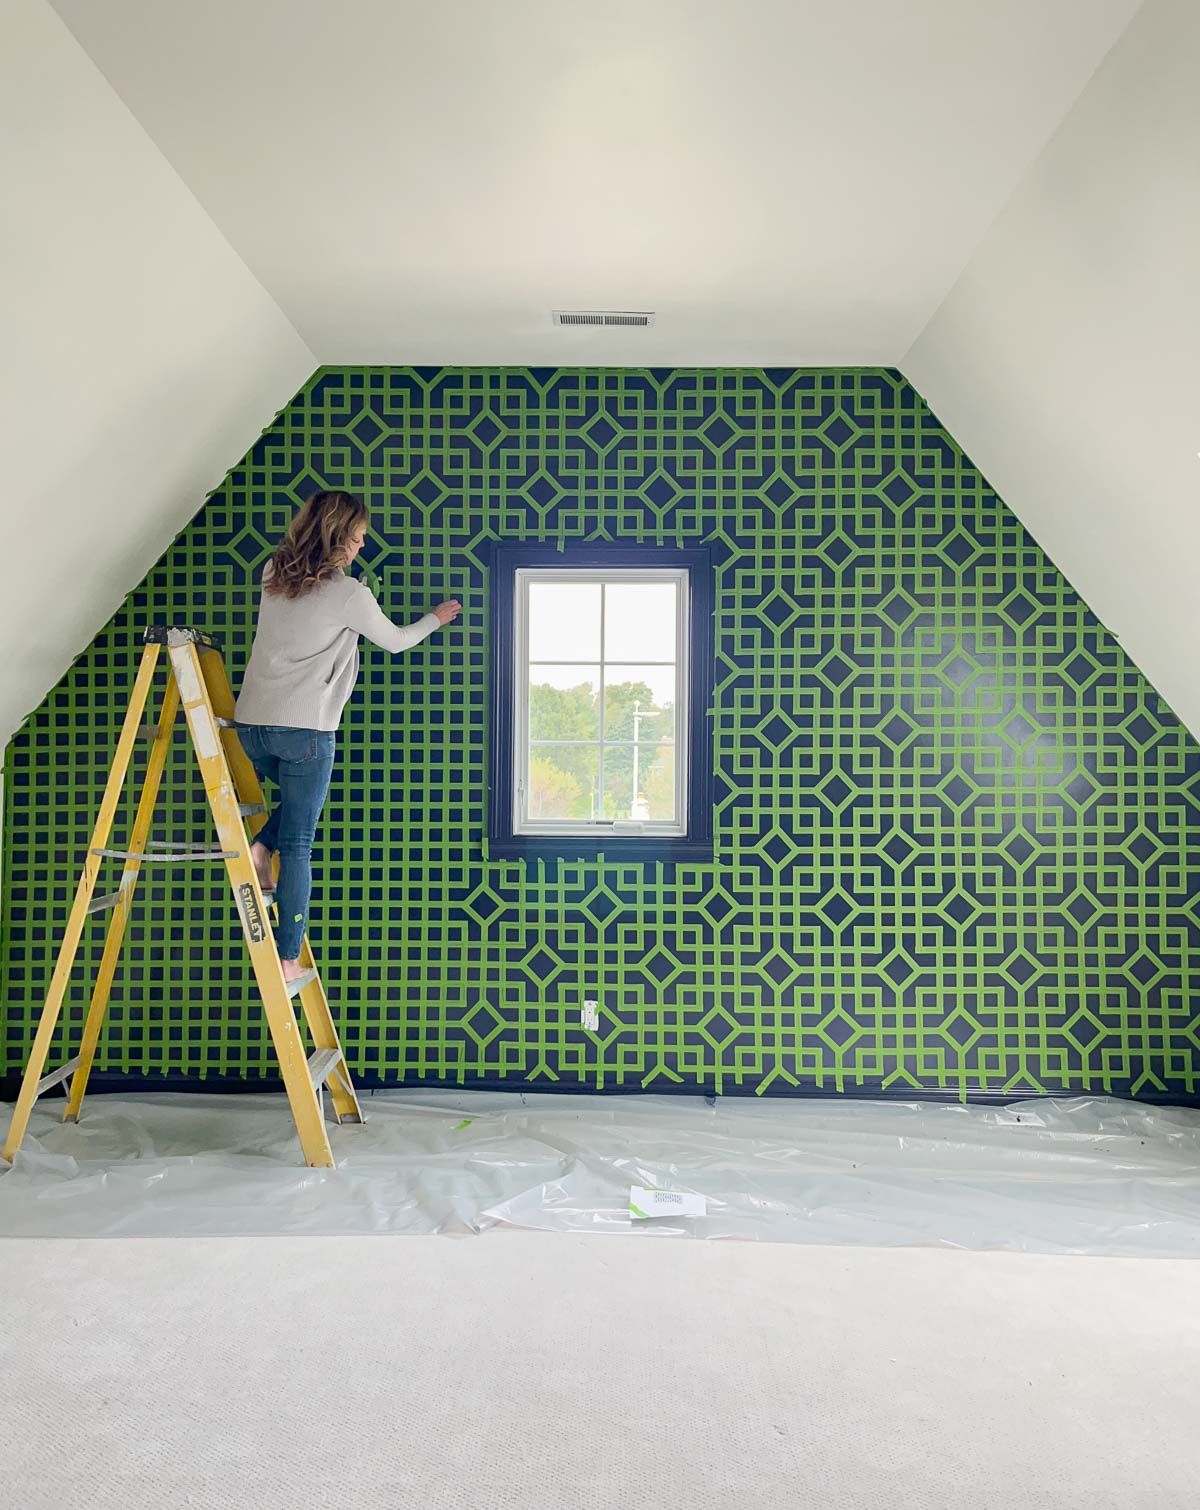
  • Once the pattern is complete, make sure the FrogTape adheres wall to the wall. I went over the entire wall with a dry paint roller.
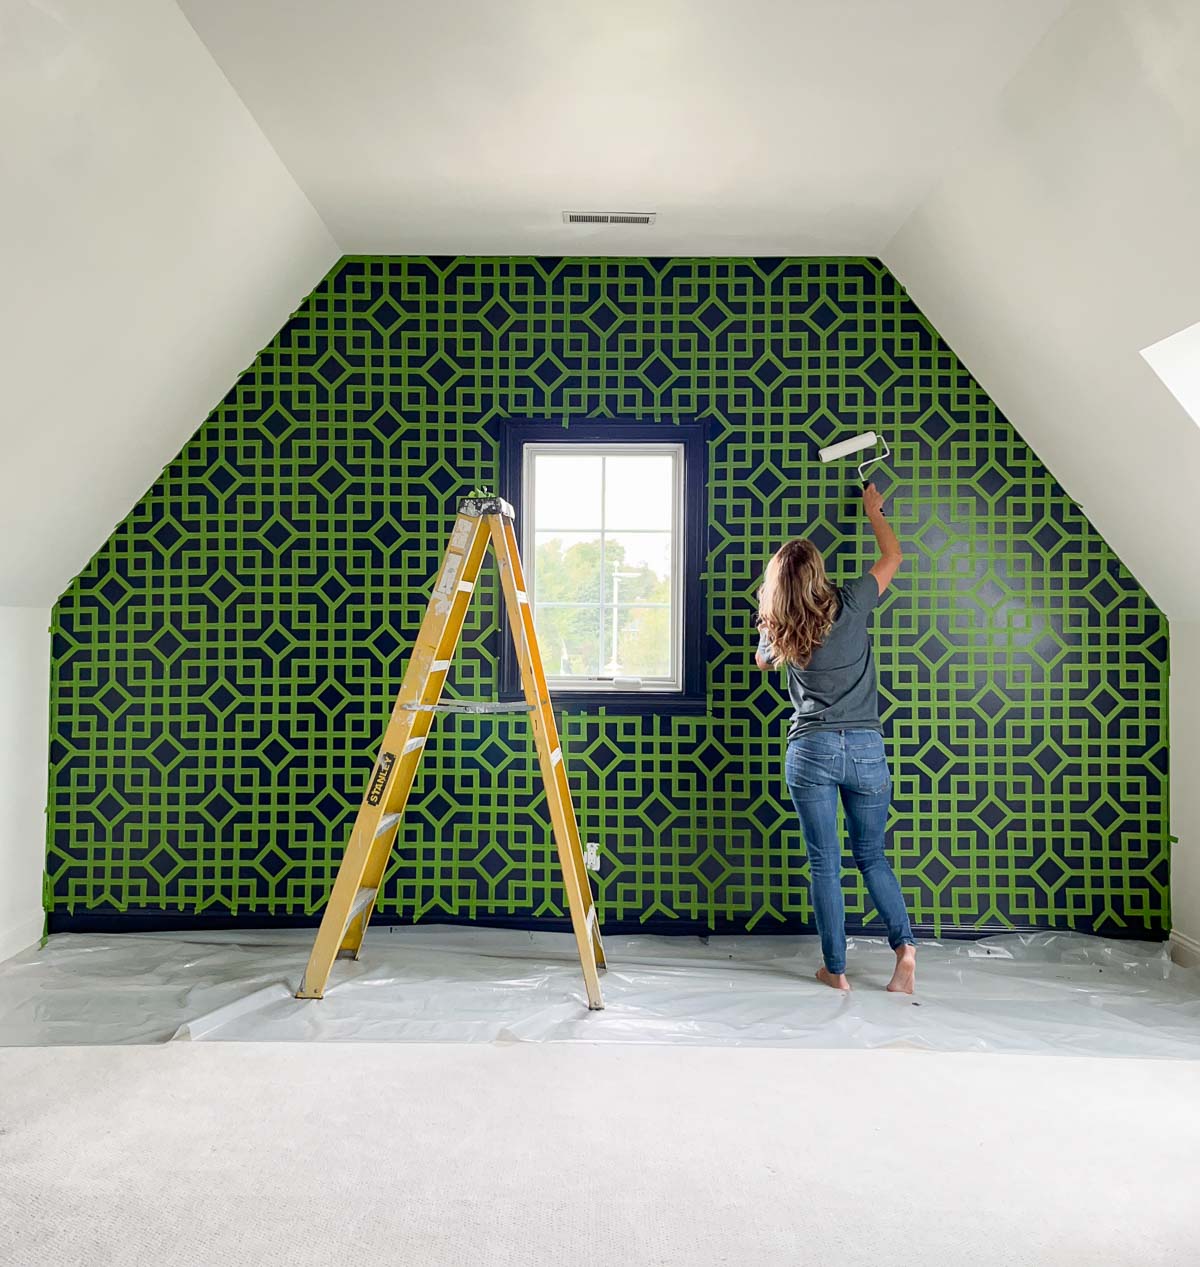
  • Finally, it is time to paint the matte finish paint.
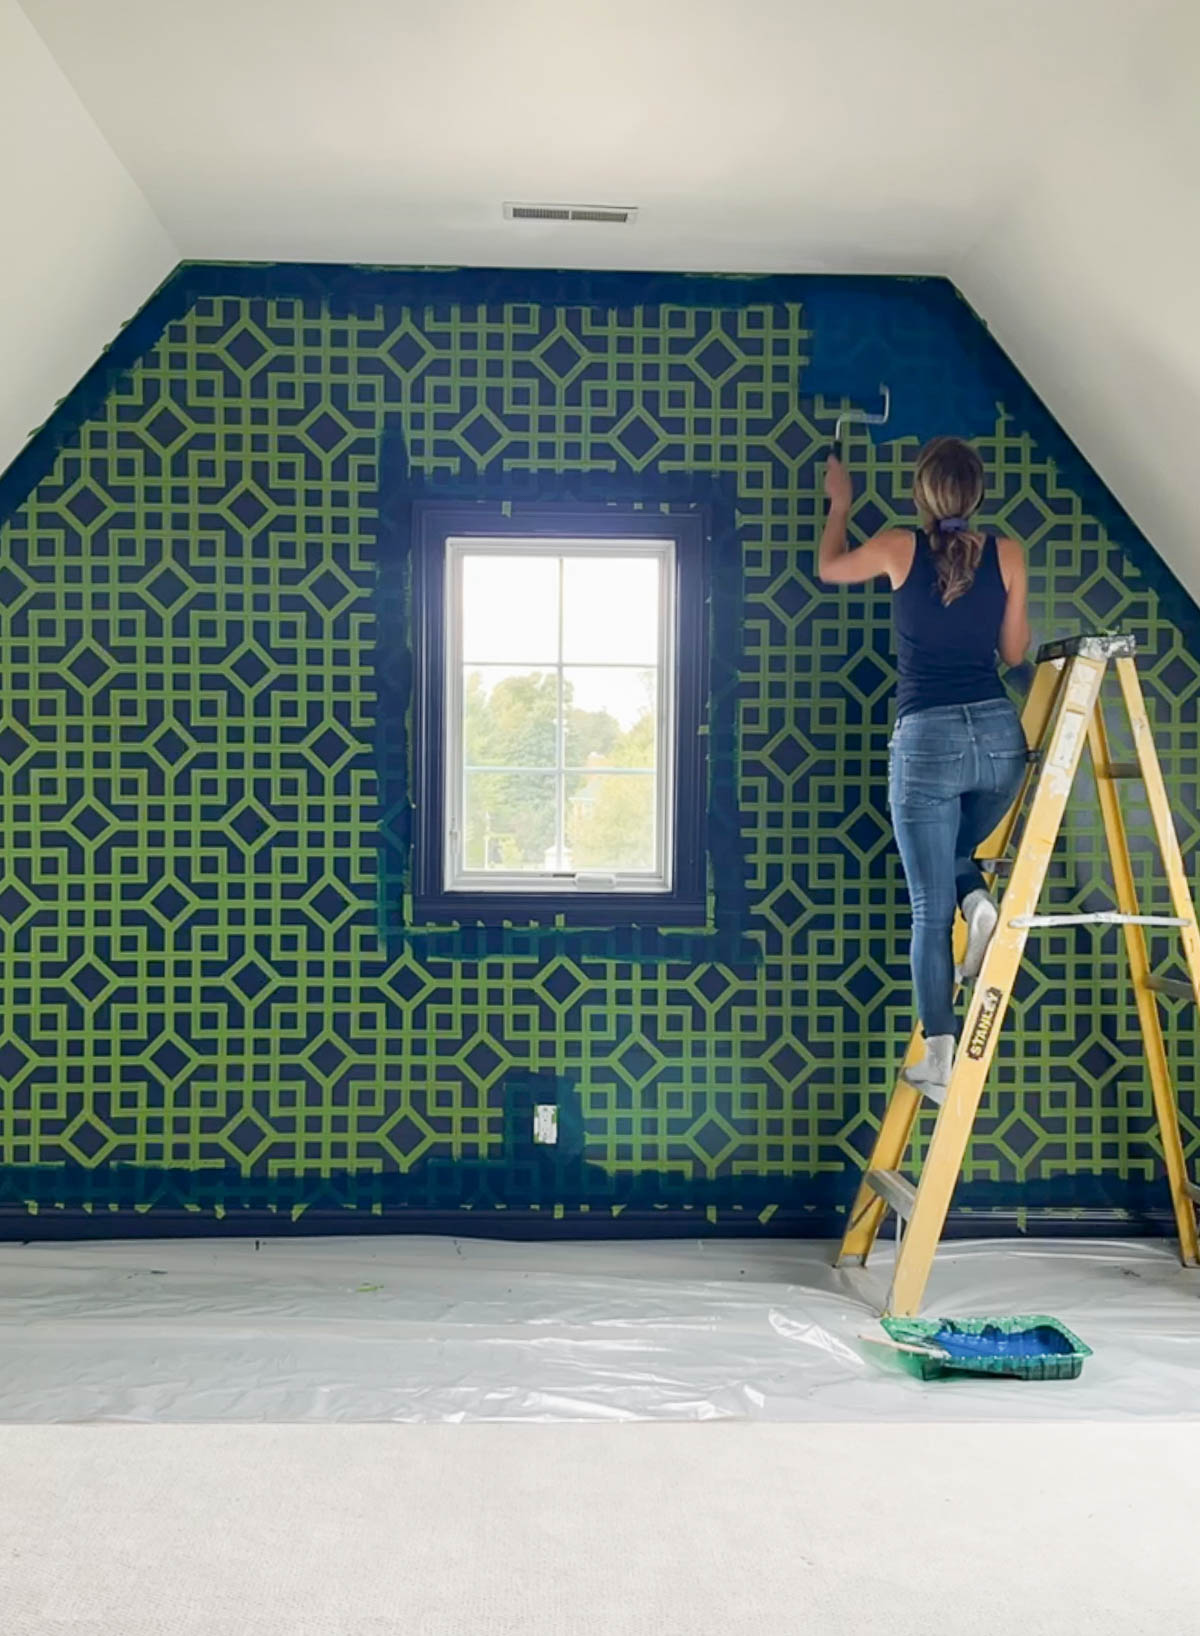
  • Once the paint is dry, carefully pull back the FrogTape.
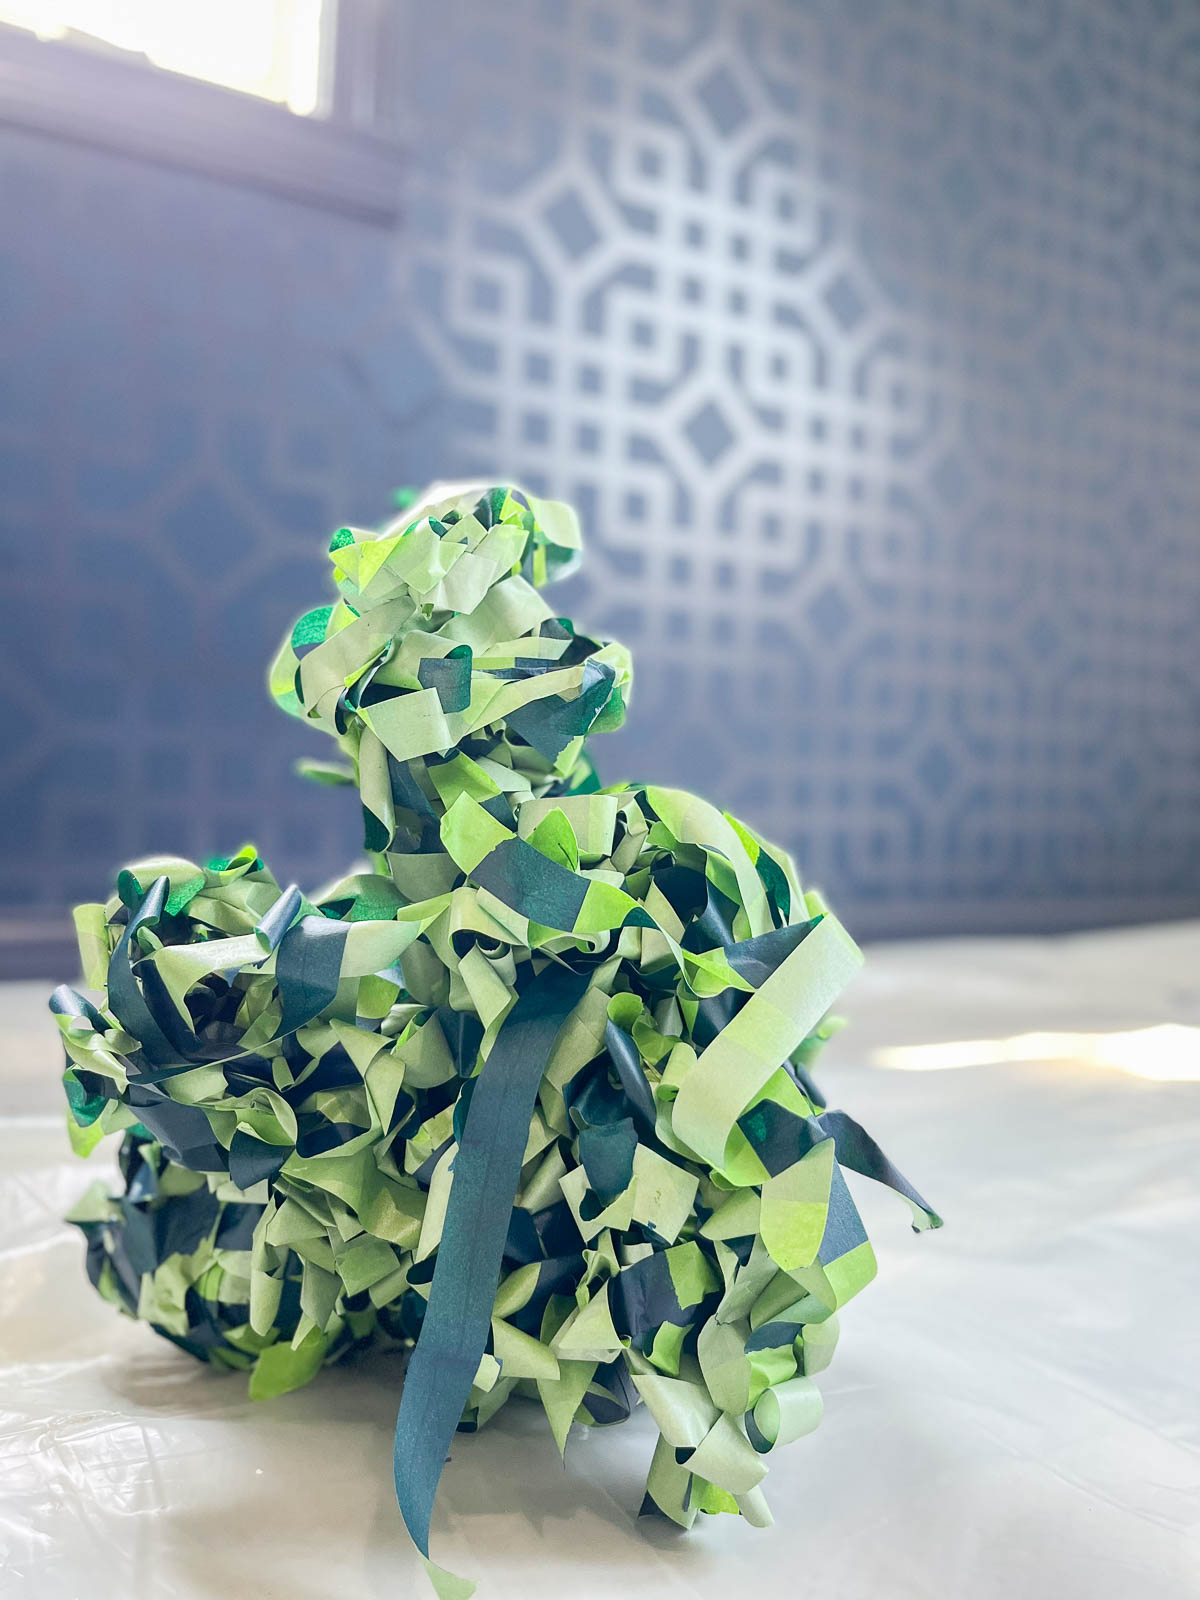
  • Enjoy your new accent wall!

Watch the entire process of creating the geometric wall mural here:
Are you new to my blog? Go HERE to see my home tour and HERE to shop for items I use in our home.

Find me on Facebook | Instagram | Twitter Pinterest

Paint

Painted Swiss Cross Pattern

Learn how to create this painted swiss cross pattern wall.  It’s a great alternative to wallpaper!

Swiss Cross Patterned Wall

Pattern Wall with Frog Tape

At the top of our stairs, there is a fairly large landing.  The wall just seemed to be screaming for some attention…

Before

I have been admiring all the swiss cross patterns I have seen in home decor lately, and I decided to paint swiss crosses as an accent wall.

Multi-Surface Frog Tape

I have painted several patterned walls with painters’ tape, and I always use FrogTape.  It really keeps the lines sharp!  

I began making my game plan, and I played around with FrogTape to see how large I wanted my swiss crosses to be (and how far apart I wanted them).

Practice with Frog Tape

 And then I measured the wall and sketched out my pattern.

Planning out the wall design

Now, you can definitely create the swiss crosses by taping them (like I did above) and painting over them.  However, I have a slight case of OCD, and I wanted my crosses to be the same size and spaced apart perfectly.

Using a Level

I used a level to created horizontal and vertical lines.  Then I taped them.

Frog Tape copy

I painted over the entire wall with Valspar’s Notre Dame.

Painting over Frog Tape

 Then I removed the vertical tape.

Using Frog Tape for Patterns

Painted Pattern Using Frog Tape

(Each step of the way, I discovered a cool wall pattern that I was almost tempted to keep.)

Then I removed the horizontal tape.

Removing Horizontal Tape

Pile of frog tape

Painted Squares

My daughter loved this “square pattern.”  Seriously?  Aren’t all these transformation fun?!

Once the tape was removed, I went through and crossed off every other intersection.

Marking off sections

Adding x's

After I had crossed off the intersections I wasn’t going to use, I got to work taping off the swiss crosses.

Measuring Swiss crossesI

I measured two inches on top and two inches on bottom for the top and bottom of the cross.  I then taped off each cross.  I painted around the crosses and painted over the intersections I didn’t want.

Paint over the x

Painting over the X's

Painting a patterned wall with delicate frog Tape

Since I painted my wall the night before and was dealing with (very) freshly painted walls, I used FrogTape for Delicate Surfaces.

Delicate Surface Frog Tape

I removed the tape from the top and bottom of the crosses.

Almost there

Seriously, every step resulted in another cool pattern!

Then I got to work measure the sides of the crosses and taping them off.

Swiss Cross Pattern with Frog Tape

Once again I painted from off the extra cross arms.  And the end result – a fun painted swiss cross pattern!

Painted Swiss Cross Pattern

Swiss Cross Patterned Wall After


To see a DIY tutorial for the chalkboard travel map, click HERE!

Go create something!

Are you new to my blog? Go HERE to see my home tour and HERE to shop for items I use in our home.

Find me on Facebook | Instagram | Twitter Pinterest

Paint

Argyle Painted Wall

Learn how to create a painted argyle wall with this tutorial.

Painted Argyle Wall

Recently an old friend contacted me to paint her nursery wall in an argyle pattern.  She’s expecting a boy, and since her husband is a golf pro, they wanted a vintage golf-themed nursery.

Argyle Wall 16

I asked for her wall dimensions beforehand, and I made a game plan.

Argyle Wall 3

The wall height and width helped determine the height and width of my diamonds.  Luckily it worked mathematically to have five diamonds running across and three diamonds running vertically. Argyle Wall 1

It was a little overwhelming when I walked into the room and saw the blank wall.  (My friend had painted it the color of the lighter diamond.)

Argyle Wall 7

We used Porter Paints for this wall in Ghost Writer and Hot Stone.

Argyle Wall 5

I used lots of rulers on this project – level ruler, “regular” ruler, and a tape measure.

Argyle Wall 2

I went across the wall and drew lines down the length of the wall – one (center) line for each of the five rows of diamonds. (This is where the level ruler comes in REALLY handy!) Argyle Wall 4

From there, I marked (with dots) the corners of all the diamonds.  Then, I connected my dots to draw the diamonds.

Argyle Wall 6

I had to paint the diamonds in sections.  I did every other diamond in my first round.

Argyle Wall 8

Then I went back through and painted the second batch of diamonds.

Argyle Wall 9

(After I saw the above picture, I immediately schedule an appointment with my hairdresser to fix the bleach-out bun.)

Argyle Wall 10

Once the diamonds are all painted and dried, you can start on the “stripes.”  Again, there was a lot of measure and dots involved.  I went through and found the center of each diamond and drew a diagonal line connecting them all before I started painting.

Argyle Wall 11

For each diagonal line, I used three pieces of tape.  I then removed the centerpiece since that is the one I’ll paint.

Argyle Wall 12 Argyle Wall 15

I then went through and repeated the diagonal lines going the other direction.

Argyle Wall 14

The amount of tape I went through was pretty impressive (3 rolls of Frog Tape.)  Although it’s expensive, Frog Tape is well worth your money.  It really helps prevent the seepage you see with some other painter’s tape. Argyle Wall 16

And that’s it!  An argyle painted wall.  Simple! No…not really. 🙂  However, it is doable.  I completed this wall in 6 kid-free hours. To see my friend’s reveal of the nursery, click HERE.

Are you new to my blog? Go HERE to see my home tour and HERE to shop for items I use in our home.

Find me on Facebook | Instagram | Twitter Pinterest