Have you ever wondered if you can paint a faucet? Our house was built in the ’90s. The ’90s = shiny brass. Unfortunately, we didn’t have the budget to replace the faucets, so I decided it was worth a try to paint them…

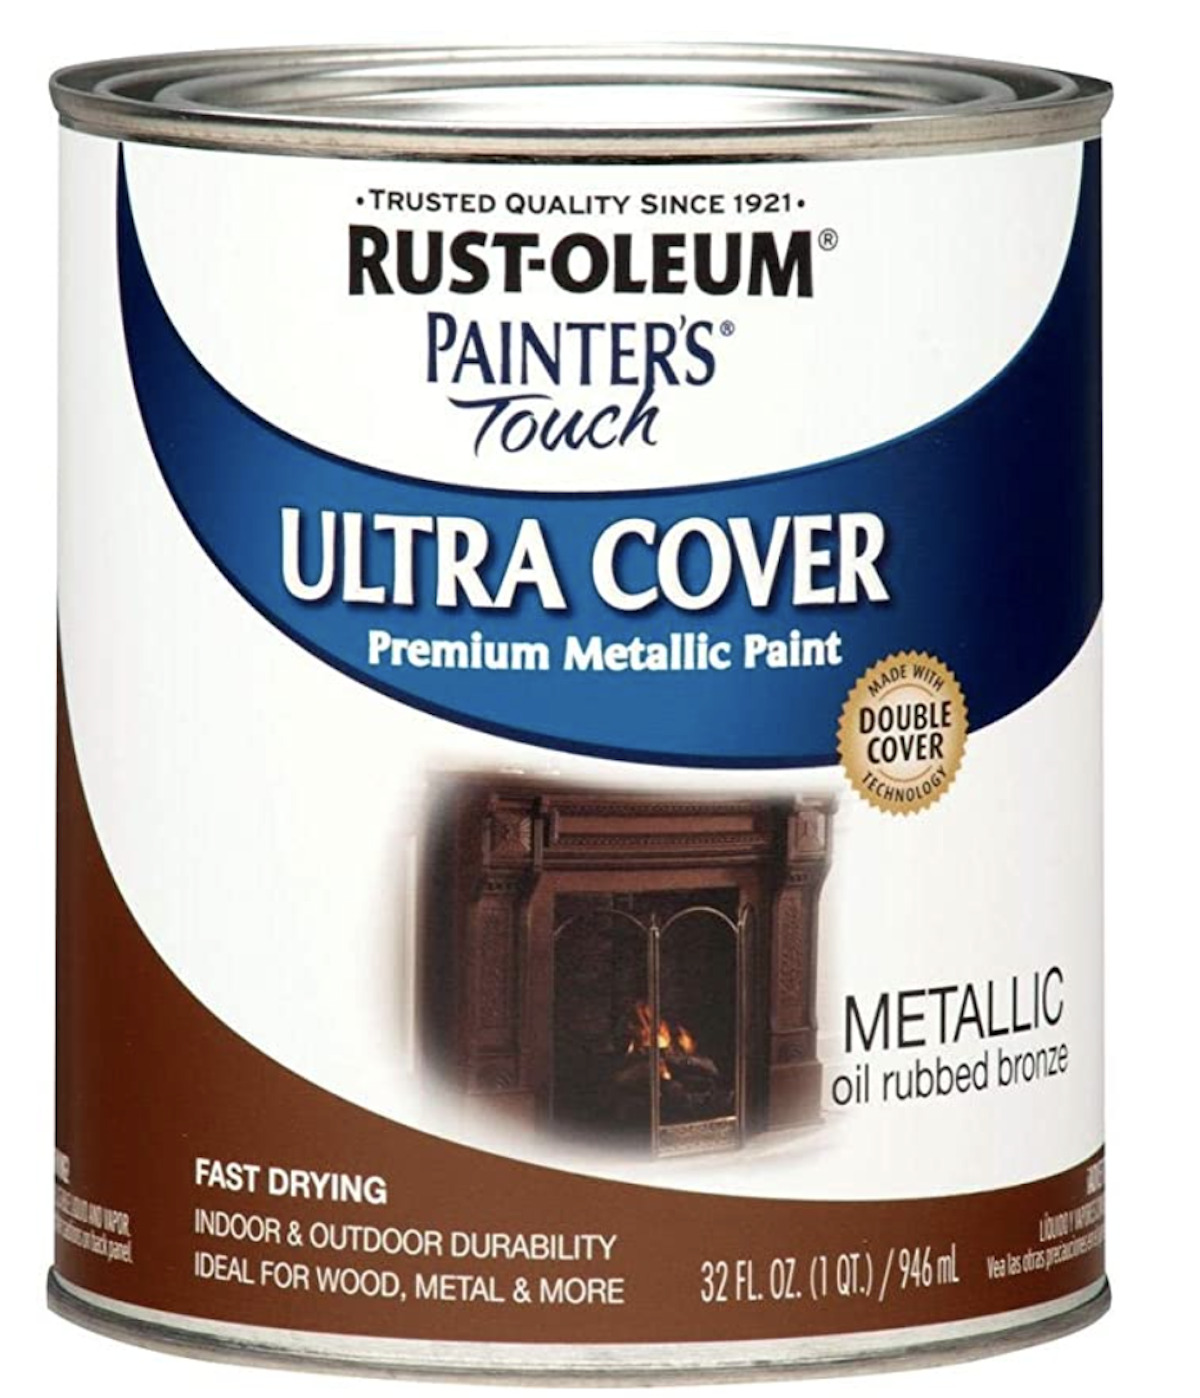
I used Rust0leum’s Painter’s Touch Ultra Cover paint in Metallic oil rubbed bronze, and this bathroom project barely put a dent in the can.
To begin, you will want to prep your faucet and/or fixtures. Make sure to clean the surface you will paint and rub it down with steel wool or 220-grit sandpaper. The steel wool and/or sandpaper will roughen the surface so the paint has something to stick to.
I realized after I had started to tape off my faucet that I didn’t have a primer. I was too excited to stop my project and run and get a top coat. Now, although I strongly recommend that you use a coat of primer, I didn’t. I will be the guinea pig for this little experiment, and we’ll see how the faucet holds up without a primer.
I figure it’s a win-win situation. If it holds up – great! I now have an oil bronze faucet instead of a brass faucet. If it doesn’t, I guess I will “have” to buy a new faucet for the sink. I know which scenario my husband is rooting for…
Now, it would have been SO much easier to spray paint the faucet (Rust-Oleum also offers the same product in spray paint as well as a spray primer), but I did not want to have to remove the faucet. So, I taped it off with painters tape and got to work.
The key to oil-based paint (canned and spray paint) is to avoid heavy coats. Too much paint will drip and take forever to dry. Also, make sure the first coat is dry before adding the second coat of paint.

It took around three light coats of paint and the drying process was VERY long. I painted the faucet and drain over a course of 2-3 days. I also had to pull out q-tips to paint some of the hard-to-reach crevices.
You can add a clear topcoat, but I opted not to.

I haven’t had much experience using oil-based paint, and it is a pain! It is SO hard to clean off anything – your hands, brushes, the sink. I went through a lot of mineral spirits.
When I pulled off the tape, the paint had seeped through some areas of the tape – especially at the base of the handles. I actually used the chiseled end of a wooden kabob stick to scrape the extra paint off (but a razor blade would work as well).
Overall, I think the project went okay. I’m not sure how it will hold up, but I do like the way it looks! It was MUCH more time-consuming than I had expected, but I know a can of paint and time is MUCH cheaper than a new bathroom faucet.

I’ll keep you posted on how it looks in a few months and may attempt painting our other brass bathroom faucets.
UPDATE:
In my experience, painting bathroom fixtures is a temporary fix. If you’re looking for a less expensive solution to switching out the faucet, this is a great way to buy some time until you’re ready.
To see how the faucet looks 3 months after the transformation, click HERE, and for an update 2.5 years later, click HERE.
Have you tried painting bathroom faucets?

Are you new to my blog? Go HERE to see my home tour and HERE to shop for items I use in our home.
Find me on Facebook | Instagram | Twitter | Pinterest


