Scroll down this post past the bathroom remodel week 4 updates to see HOW TO WALLPAPER.

It is Bathroom Remodel Week 4, and I have to admit that I am exhausted. This week was filled with a lot of not-so-fun projects that had to be done, but it is also the week that the wallpaper went up and the vanity was installed. I created a video for those of you who have never tried it but want to know how to wallpaper!
But first, all the non-exciting things that had to happen this week:
The trim was put back up (luckily we salvaged the majority of the trim which saved a lot of time), and it was painted. It was a creamy color, but it is now painted white to match our gorgeous newly installed Jeffrey Court tile. 
After all the trim was installed and painted, it was caulked using the RYOBI Caulk Gun. It saves a lot of time (and no more hand pain from the manual caulk guns). However, there are a couple tips I want to share when using this gun. Be sure to only use brand new caulk bottles when using this gun and note that some caulk brands have an inner foil that needs to be popped before using the gun (or you will have an explosion and caulk will be everywhere). 
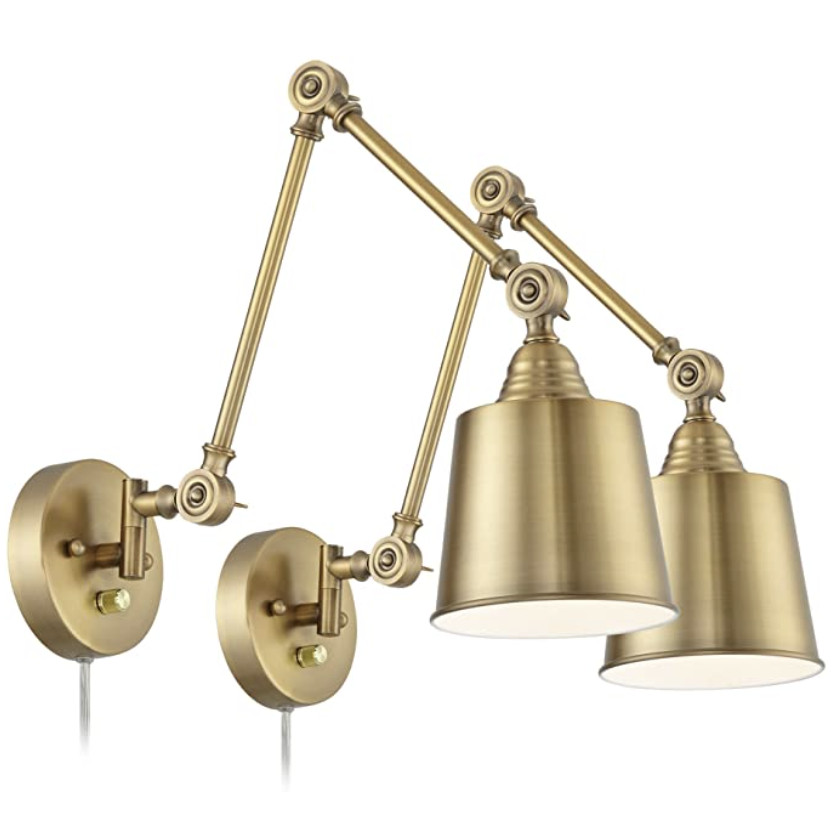
I shared in week one about my dad helping me add some electrical wires, and those were for my new vanity sconces. The pretty sconce pair was installed. 
I have removed enough tile to know you want to select tile you will love for a LONG time. The demo process is very hard and very messy, so much consideration went into the tile selection. I selected:
I have major commitment issues when it comes to design, so I wanted to select a wall tile that I would love for a long time. I chose the classic subway tile, but I changed things up and had fun with the pattern.
The white octagon tile for the floor is such a classic look, and I was in love with it at first sight. Now, I do love color, so I added color through wallpaper (and wallpaper is MUCH easier to change the tile)!
Want to know how to wallpaper? Watch the full video tutorial here:
SUPPLIES NEEDED TO WALLPAPER:
- Water tub/basin
- Wallpaper brush
- Rags
- Ruler
- Level
- Scissors
- Wallpaper
And although not pictured, I would recommend:
- Razor blade/utility knife
- Painter’s tape
 Before you begin, make a plan. I found the center of my room and wallpaper (the bird pattern), and began there.

From the center piece, wallpapered on to the right and then to the left. Ceilings are not always level, so be sure to check how level (or not level) your wallpaper is. 
I prefer to hang my paper with painter’s tape and cut rather than using a tape measure.

Create a strong fold line when you do cut the paper.

I always suggest using a pre-pasted wallpaper – it will save you time and your sanity. Some pre-pasted wallpaper suggests misting, but I prefer to use a basin and wet the entire paper. 
After you wet the wallpaper, be sure too book it (see video for more details) for a few minutes.

Don’t rush the job. Slow and steady wins the race!


Now that the wallpaper was up, it was time to install the vanity. My husband stepped in to help with the plumbing work, and he installed the sink before we moved the vanity because it was much easier than trying to crawl in the vanity once the piece was installed against the wall.

Our plumbing in the bath comes out through the floor, so we had to cut a hole in our new vanity…

My oldest son helped out, and the three of us moved the vanity into the space.

The vanity and plumbing are installed and working, and now we are on to the toilet. It is beginning to look like a bathroom again – only much prettier this time around! 
Our fall break is coming up, so I am actually rushing to get the bathroom finished a week early. I am hoping there are bonus points for finishing early. On to week 5!
Follow along on my 6-week DIY bathroom remodel journey:
- Week 1 – How to Demo a Bathroom
- Week 2 – Installing Cement Board
- Week 3 – How to Tile Floors & Walls
- Week 4 – How To Wallpaper
- Week 5 – Design Board
- Week 6 – Final Reveal
Go create something!

Are you new to my blog? Go HERE to see my home tour and HERE to shop for items I use in our home.
Find me on Facebook | Instagram | Twitter | Pinterest This post is sponsored by Jeffrey Court and RYOBI. All thoughts and opinions are my own. 


