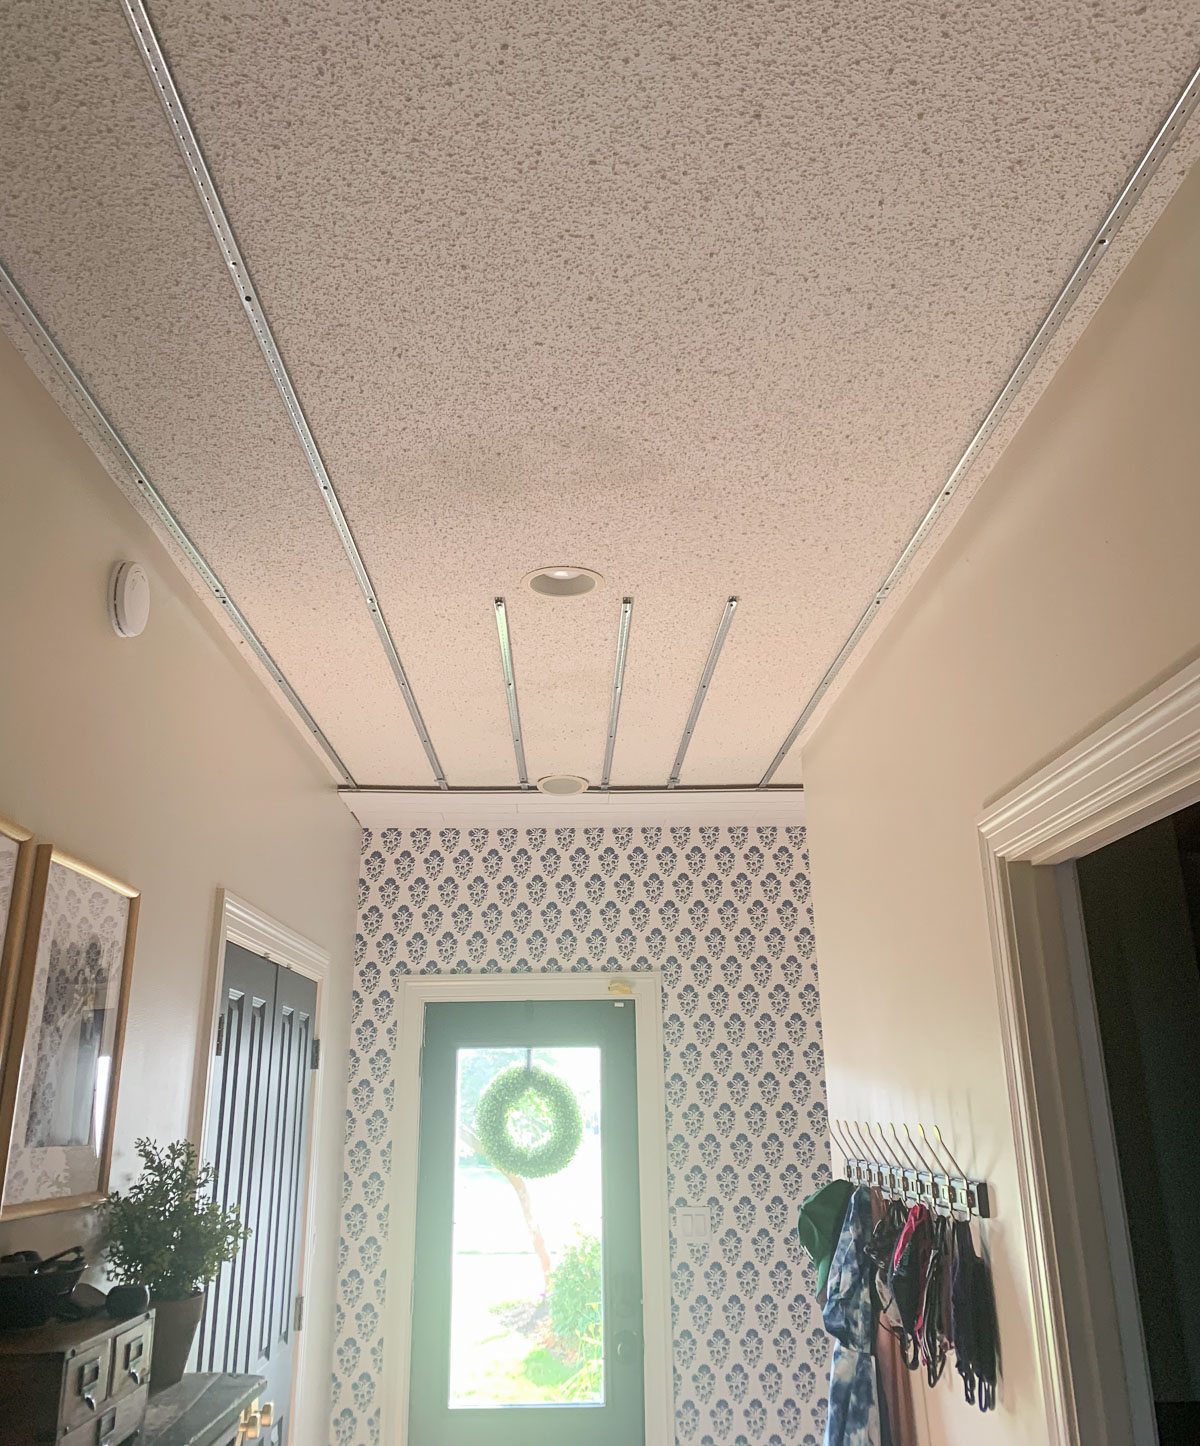
We have some popcorn ceilings in our home and have slowly been removing them as we can. Popcorn ceiling removal is such a pain, and it makes a huge mess. We began looking for other solutions for our popcorn texture ceiling, and we found a product that did not require hours and hours of scraping and lots of dust and was our popcorn ceiling fix!
This post is a sponsored post by Armstrong Ceilings. I take pride in reviewing only products that fit my brand and will be beneficial to my readers. And while this post is sponsored, all the opinions are my own.
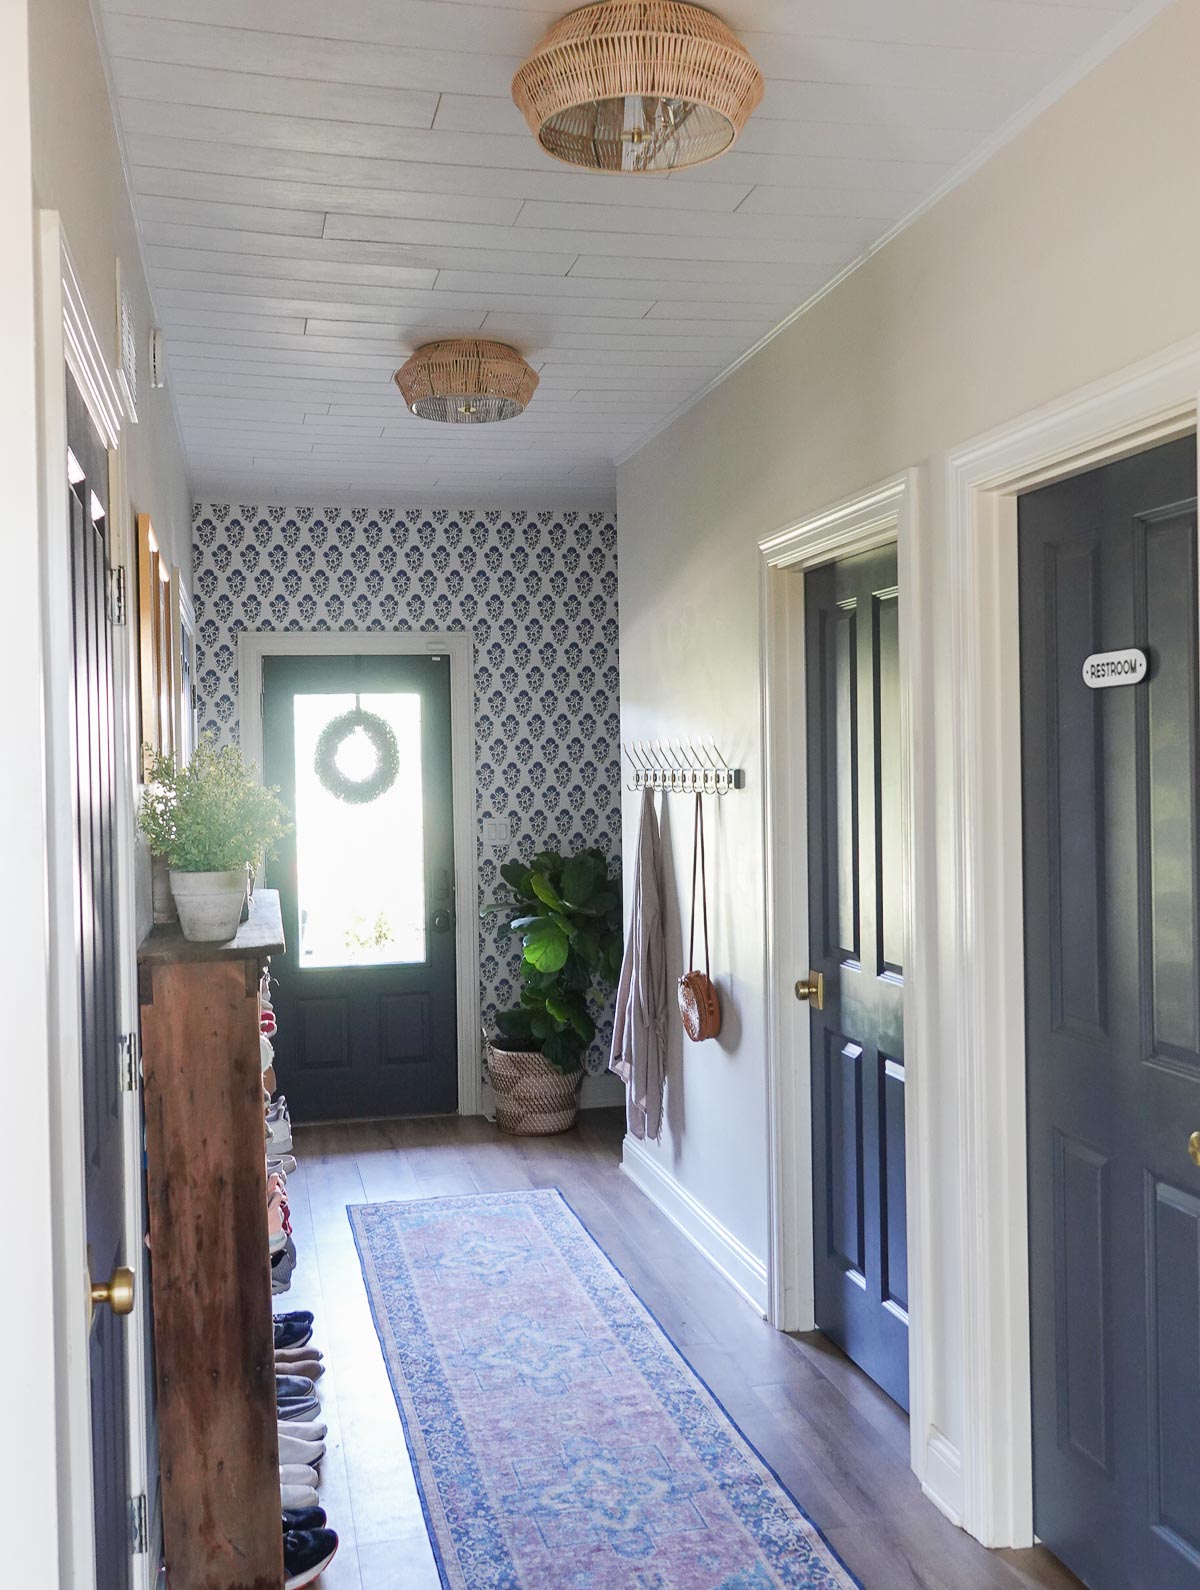
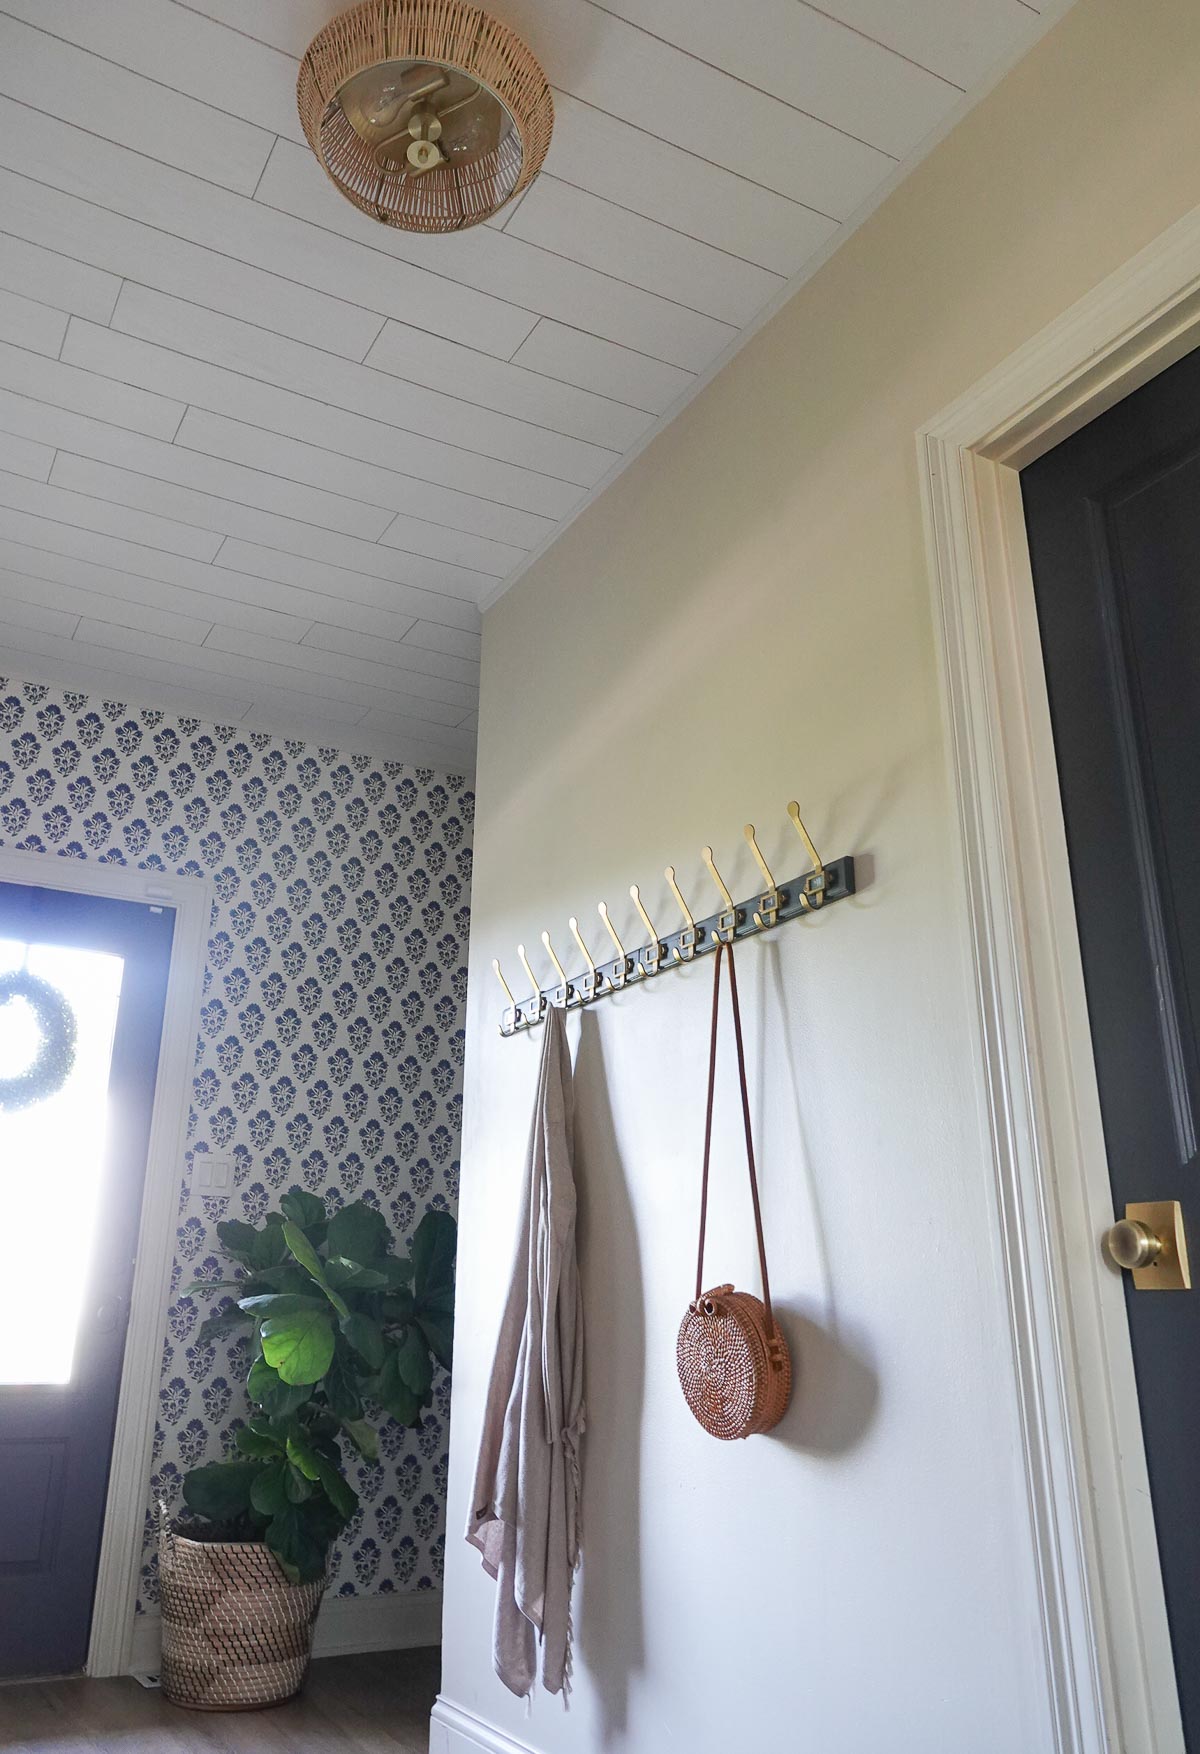
Amstrong Ceilings has a product that allows you to cover up the popcorn texture ceiling by installing a surface mount ceiling. We added the Country Classic Plank White to our home.
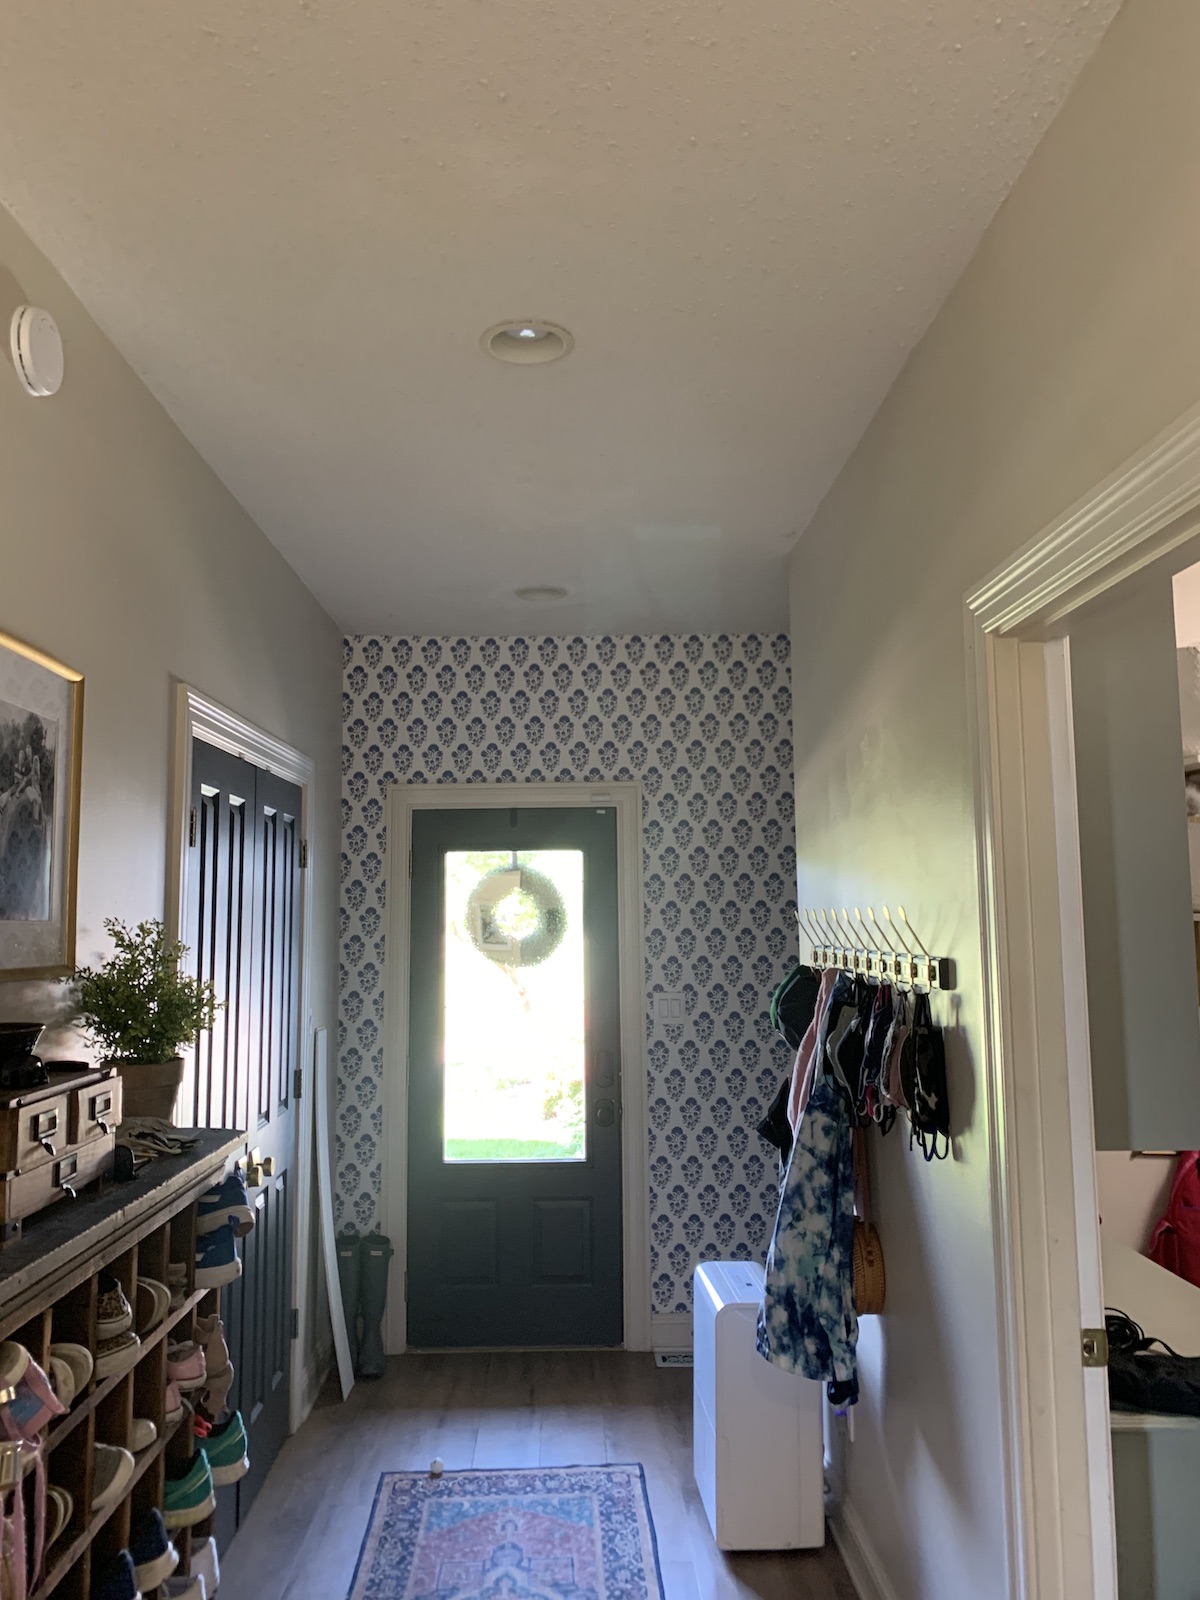
Here is a before and after of our back entry looking into our kitchen:


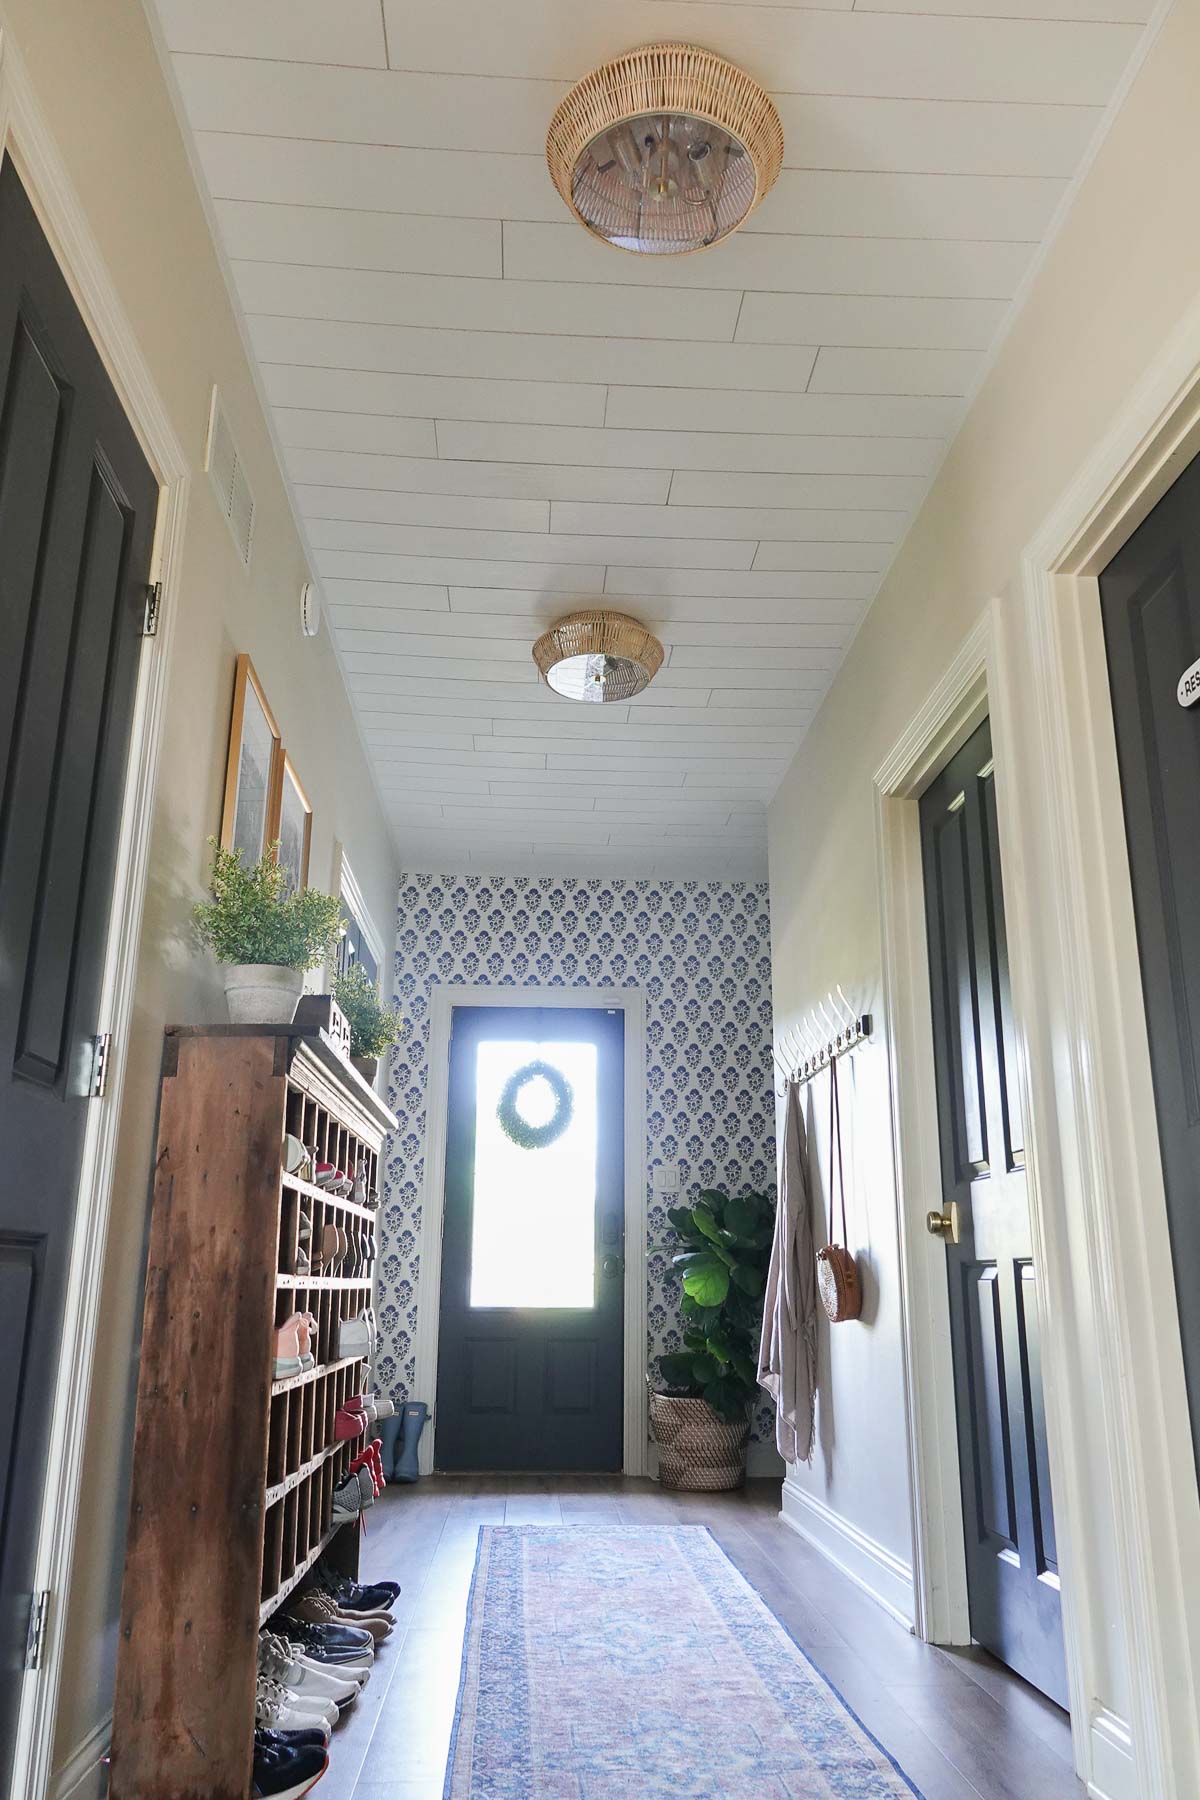
And here is another before and after of our ceiling:


Now, this was NOT an easy project, but am I happy with the end result? Absolutely!!
We began working on this early in the summer thinking it would take a week or so, but it has taken us until the start of fall to complete this project.
This crazy long timeline is not the fault of the product, but of our schedules and the space we selected. We were in the middle of a ridiculously busy time with our three kids, so we spent a lot of time dividing and conquering this past summer.
We found this project required more than one set of hands for installation, so it was hard to find a time where we both were around to work on it together.
We also ran into bizarre issues – issues that most rooms would not have. This space gave us every obstacle possible. But despite all our problems, we found solutions. And I’m going to share everything we learned from this project.
Popcorn Ceiling Fix
How to Install the Surface Mount Ceiling:
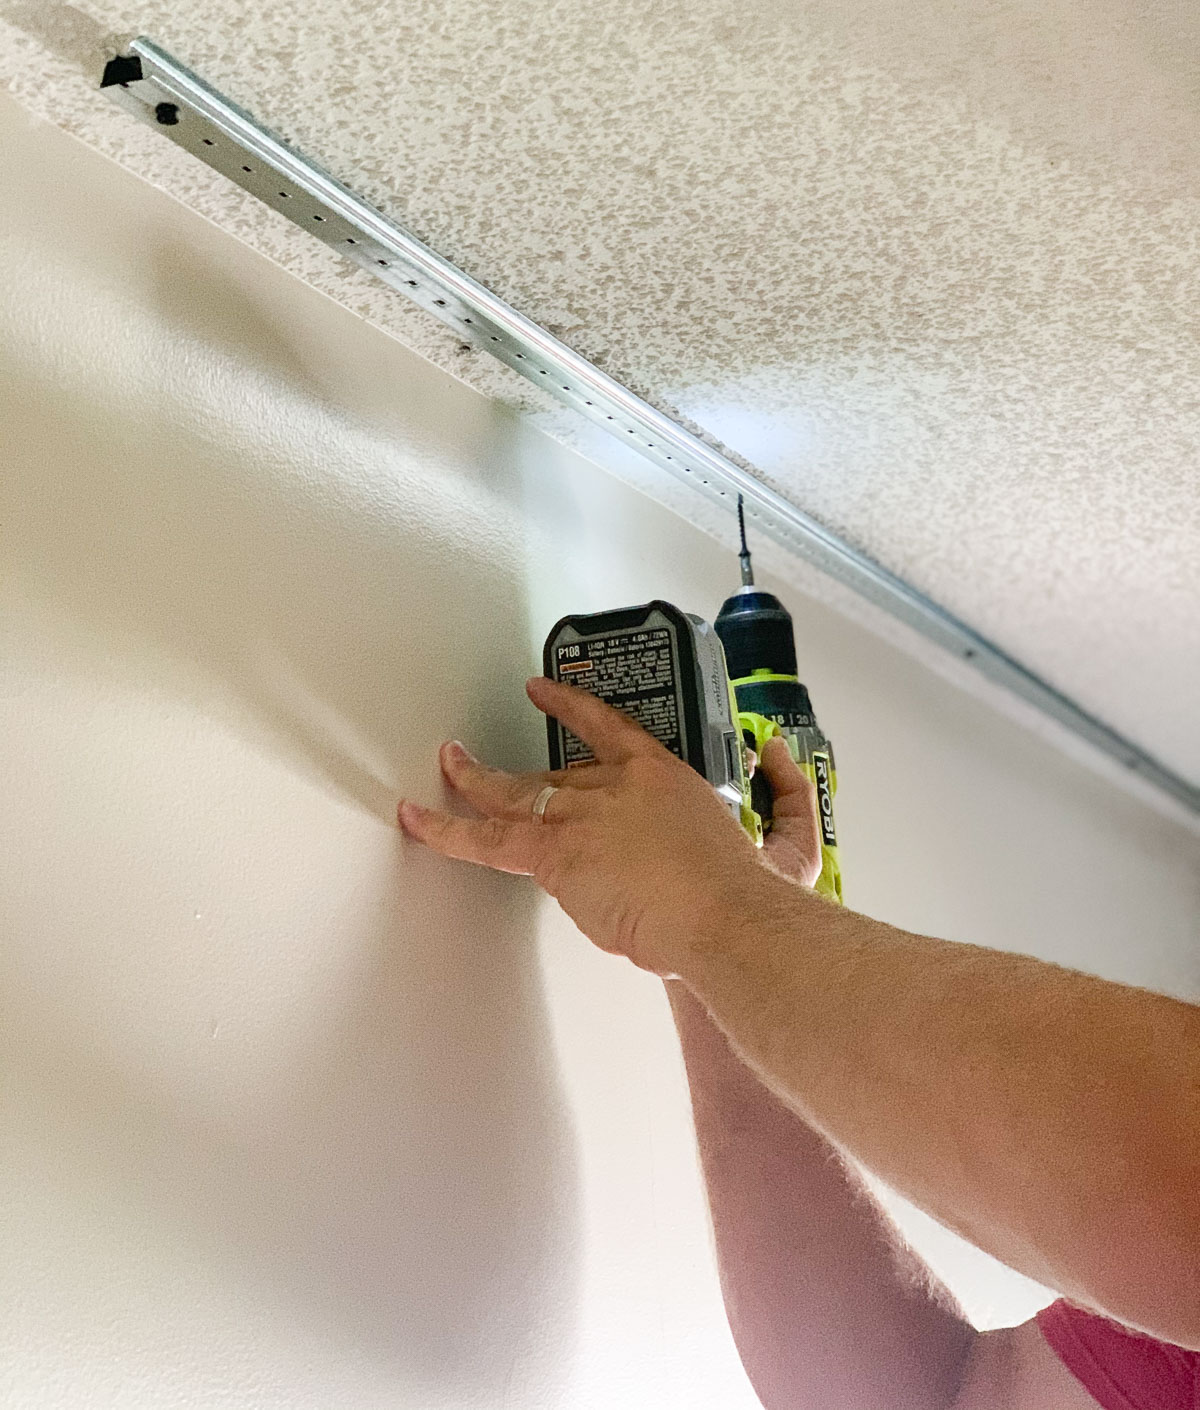
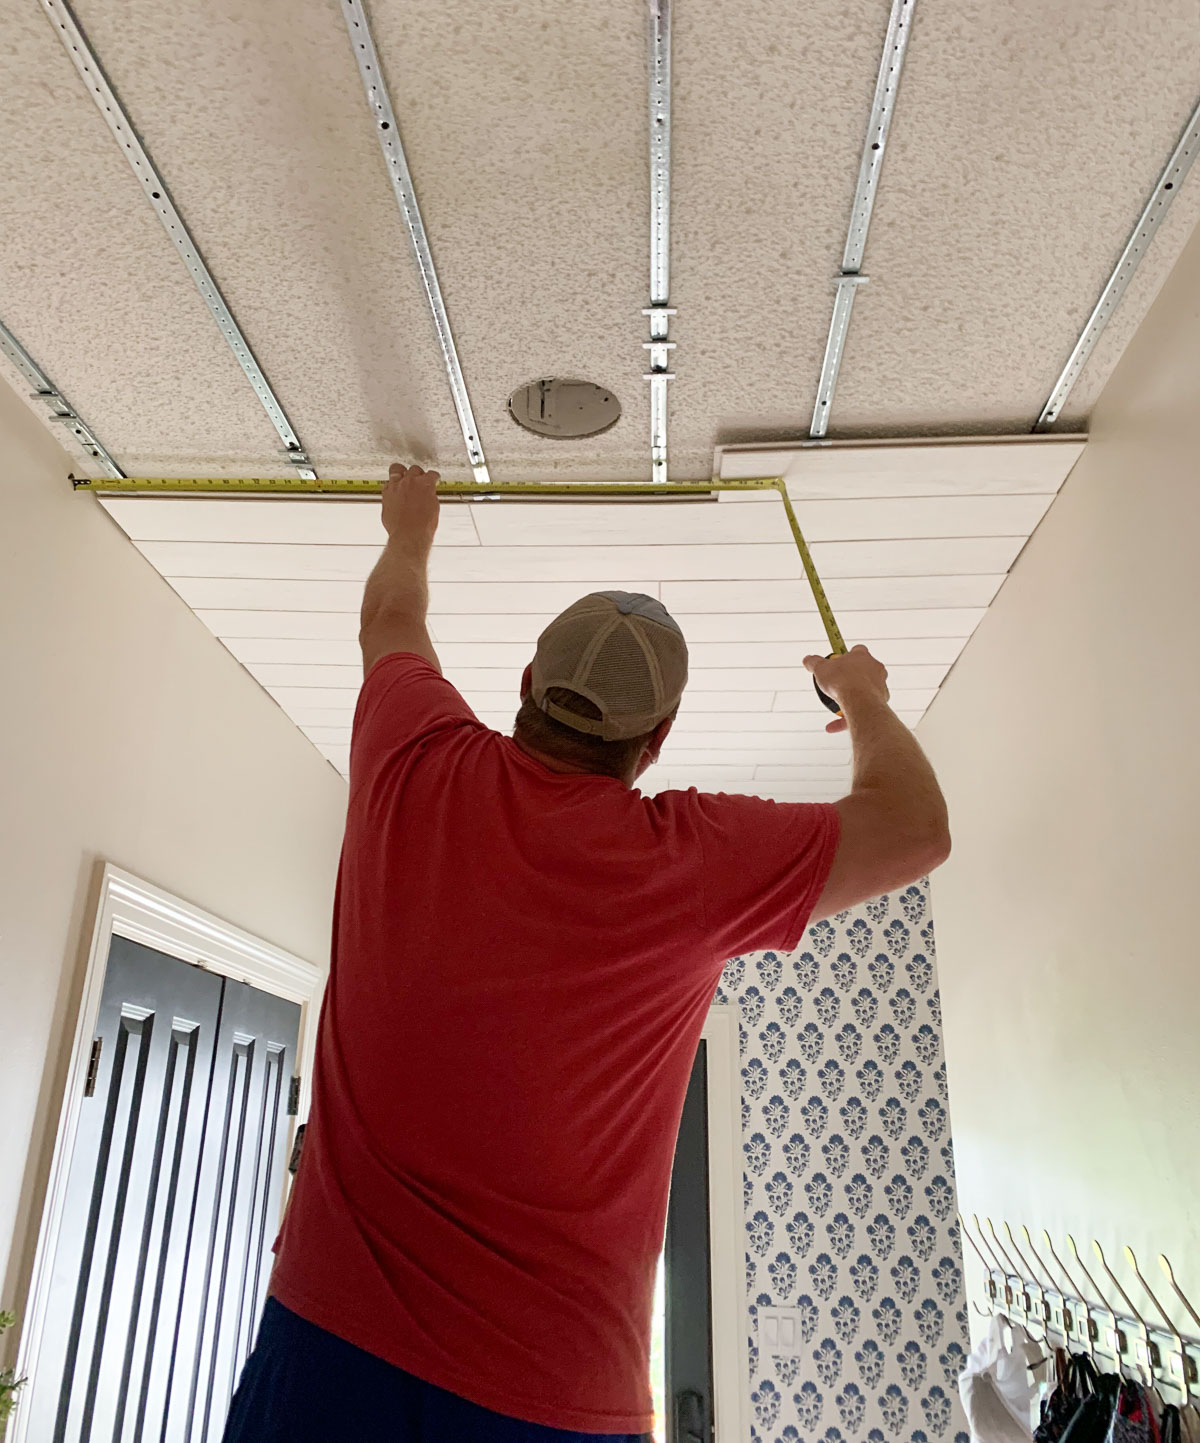
Locate Ceiling Joists
In order to install the track for the surface mount ceiling, you’ll want to find the joist so you can attach the tracks to it. With our long space, we definitely need the ceiling planks to go across the short end. Unfortunately, our tracks ran in the same direction we needed our tracks to go.
We went ahead and installed the tracks the way we needed them to go and hit as many joists as possible.
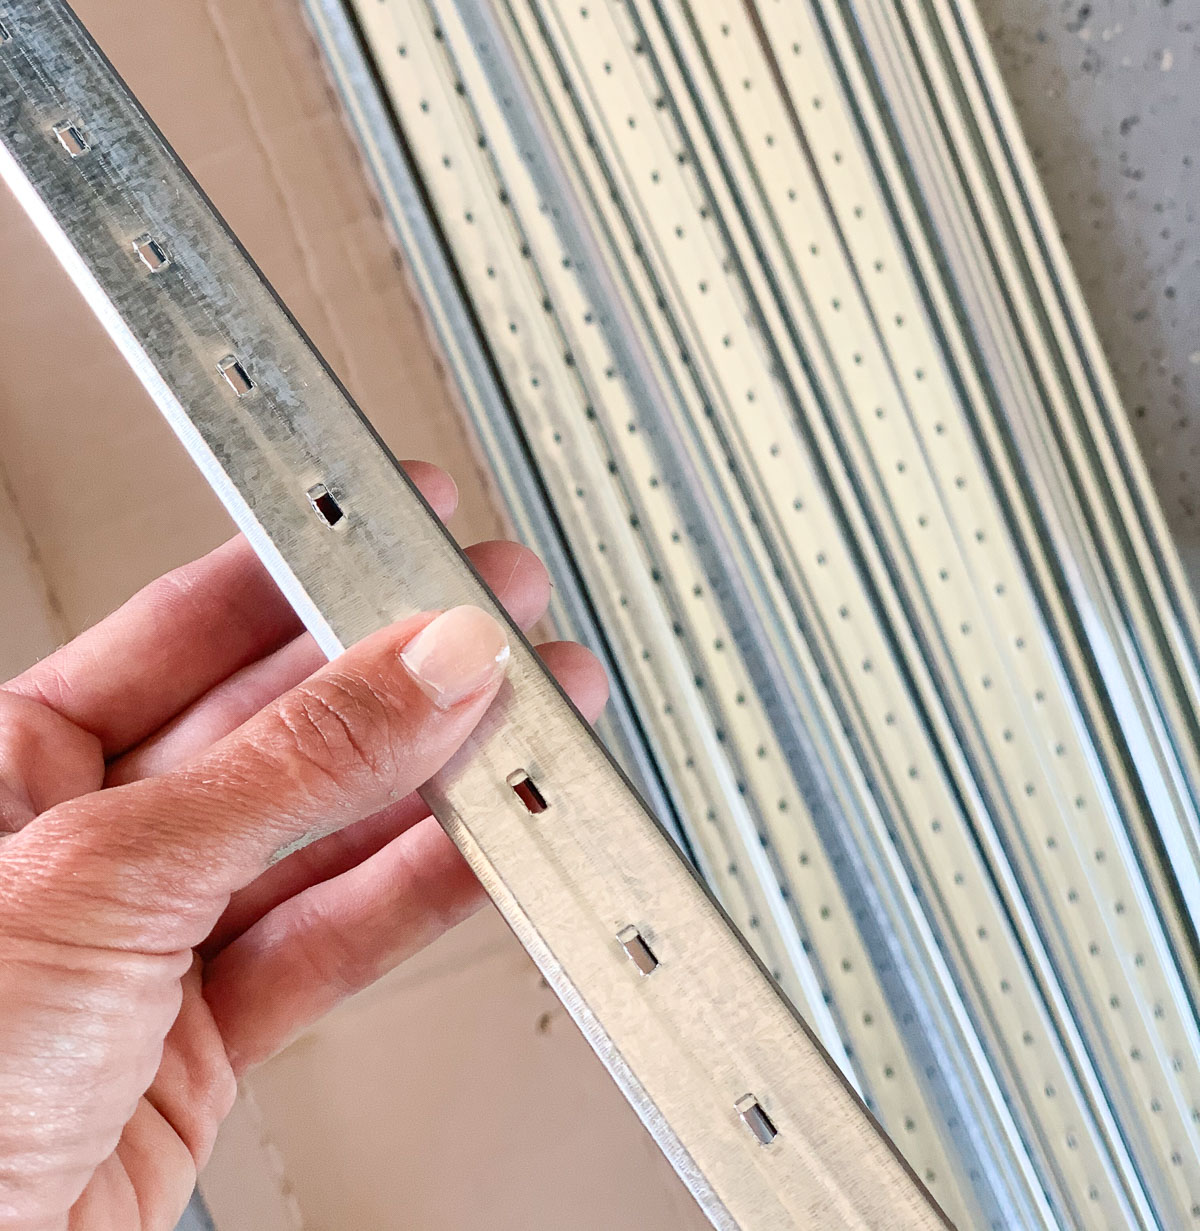
Install Track
Installing the tracks isn’t hard, but it was helpful to have two sets of hands. To install, you screw the first to of track 2″ from the sidewall and the other tracks about a foot apart.

We found cutting the tracks to be a problem. Tin snips or a hand saw were suggested, but we found it impossible to not bend the tracks in the process of cutting. The tracks are pretty flimsy (which is fine because the ceiling tiles are SO light). However, keep in mind the tracks will bend out of shape and require some maneuvering.
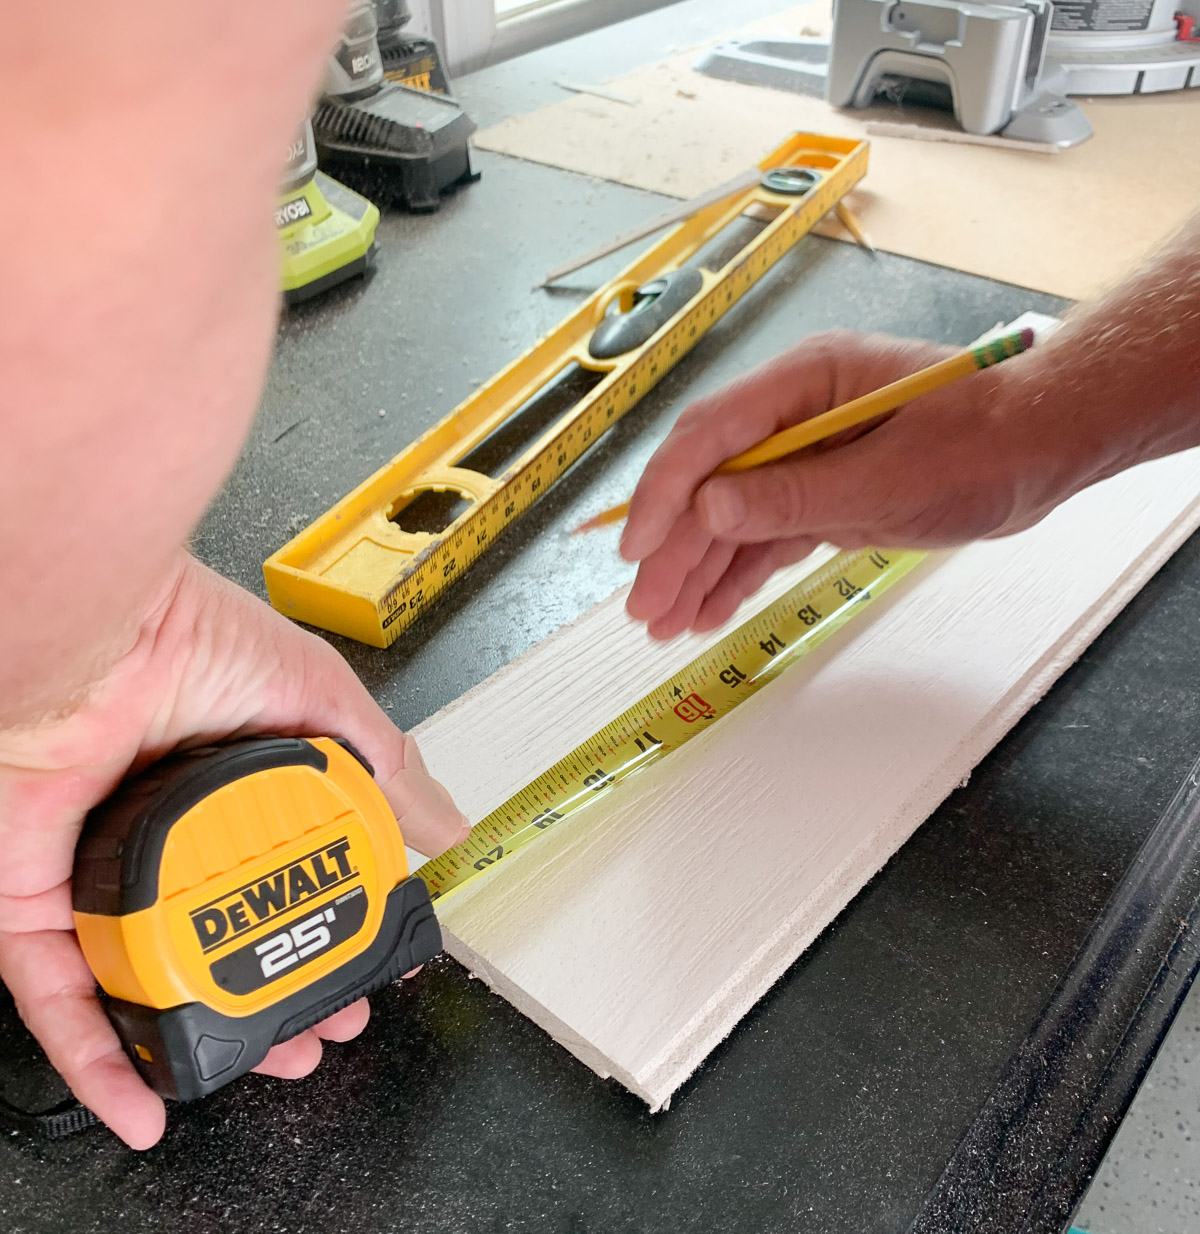
Install Planks
Installation of the planks isn’t hard, but there is a lot of cutting involved. We wanted our planks to look random so we cut the planks at different lengths so no seams were the same.

Each row of planks is held up with a clip which makes that part of the installation very easy.
You do have to familiarize yourself with the plank edges because they will have to go the same way throughout the entire installation.

The product is very light and since they are mineral fiber planks, cutting will make a mess (we used a chop saw).
Add Trim
You will need to add trim around the ceiling. Originally I had wanted a thick crown molding, but we soon realized that would not work since crown molding require nailing in the ceiling.
We could not nail into the mineral fiber planks for fear of damaging them, and they would obviously not hold the molding.
Instead, we opted for a thin molding that does the job.


You can see in the above left photo the damaged area caused by water damage. I unsuccessfully attempted a popcorn ceiling patch. The spray didn’t match, and the brighter white was almost more visible than the water leak stain.
The above right photo shows how much more beautiful our ceiling looks now!
Problems We Encountered:
Joists Went the Wrong Direction
As I mentioned earlier we decided to install the track opposite of how the directions suggested (instead of with the joists). Although it wasn’t ideal, our tracks are firm and in place.
Mineral Fiber Planks are Delicate
Cutting the planks is messy, and I am concerned about how delicate the planks are. I worry about damaging some planks (like if one of my kids throws a ball up into the ceiling). Luckily there are ways to replace a single damaged plank without taking down the entire ceiling, and Armstrong has a video detailing how to do this.
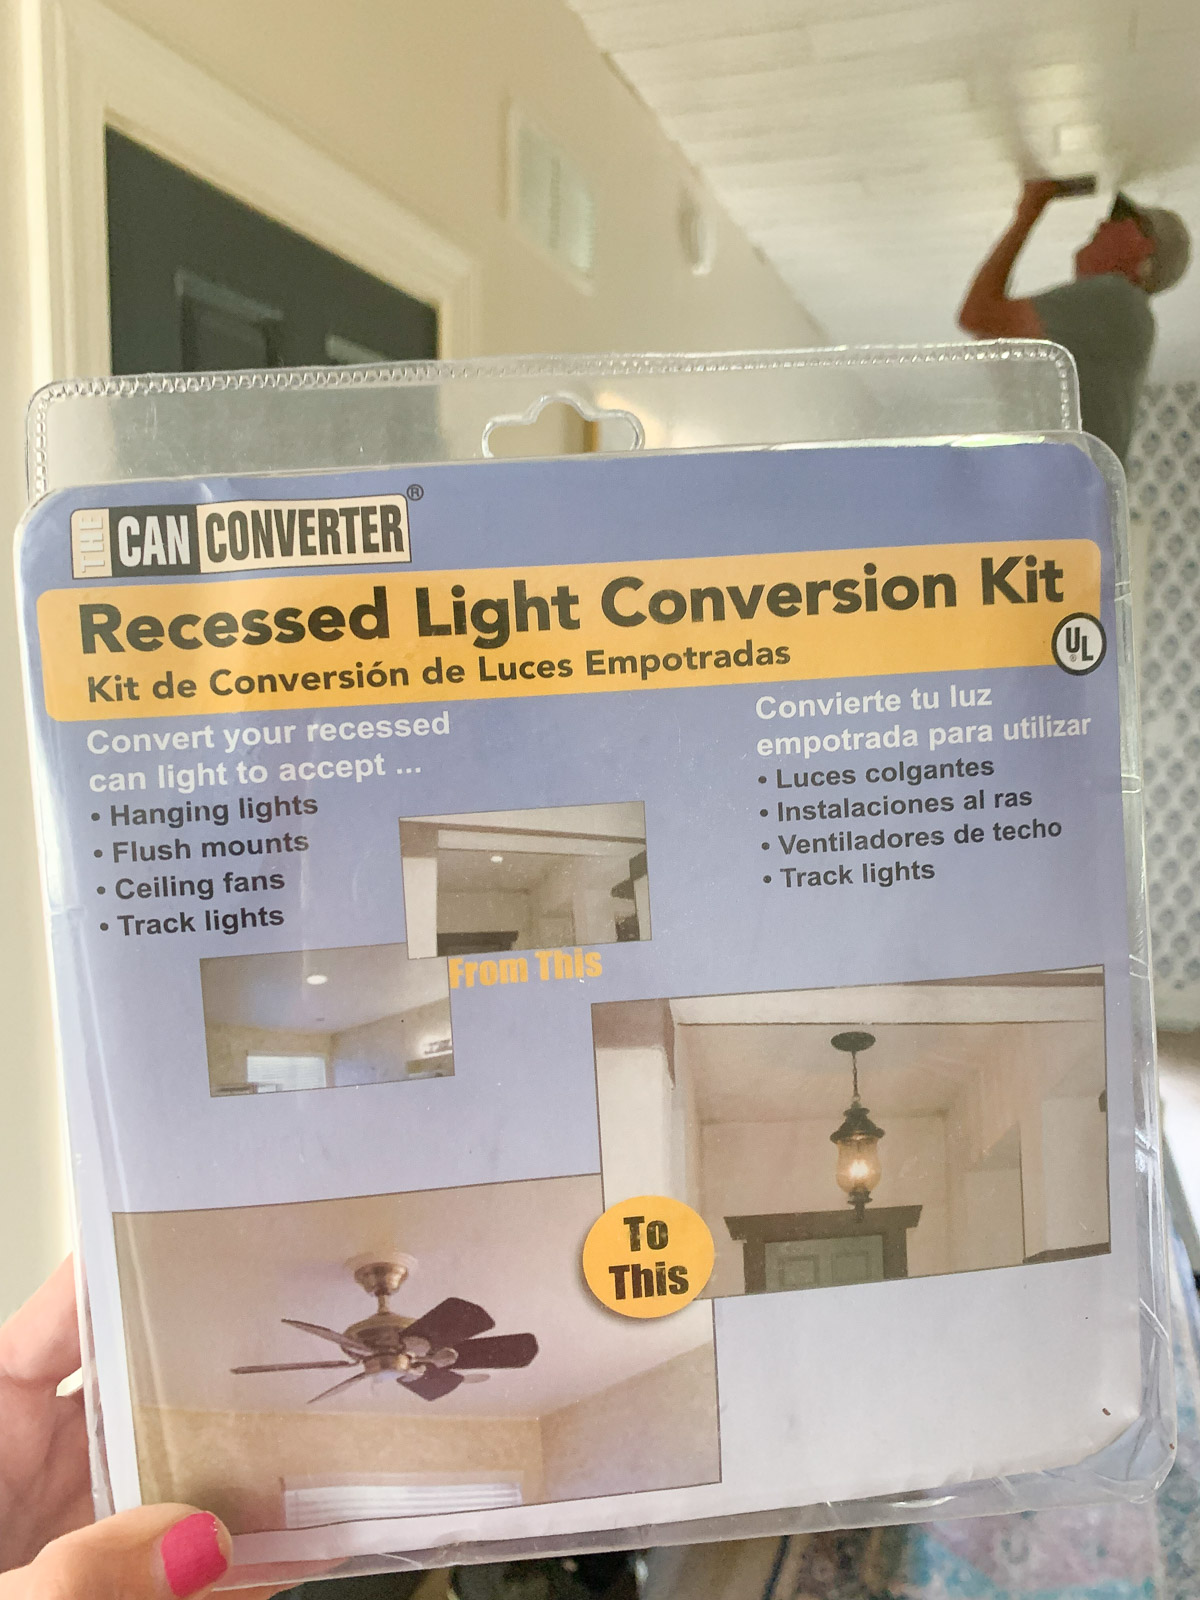
Recessed Lights
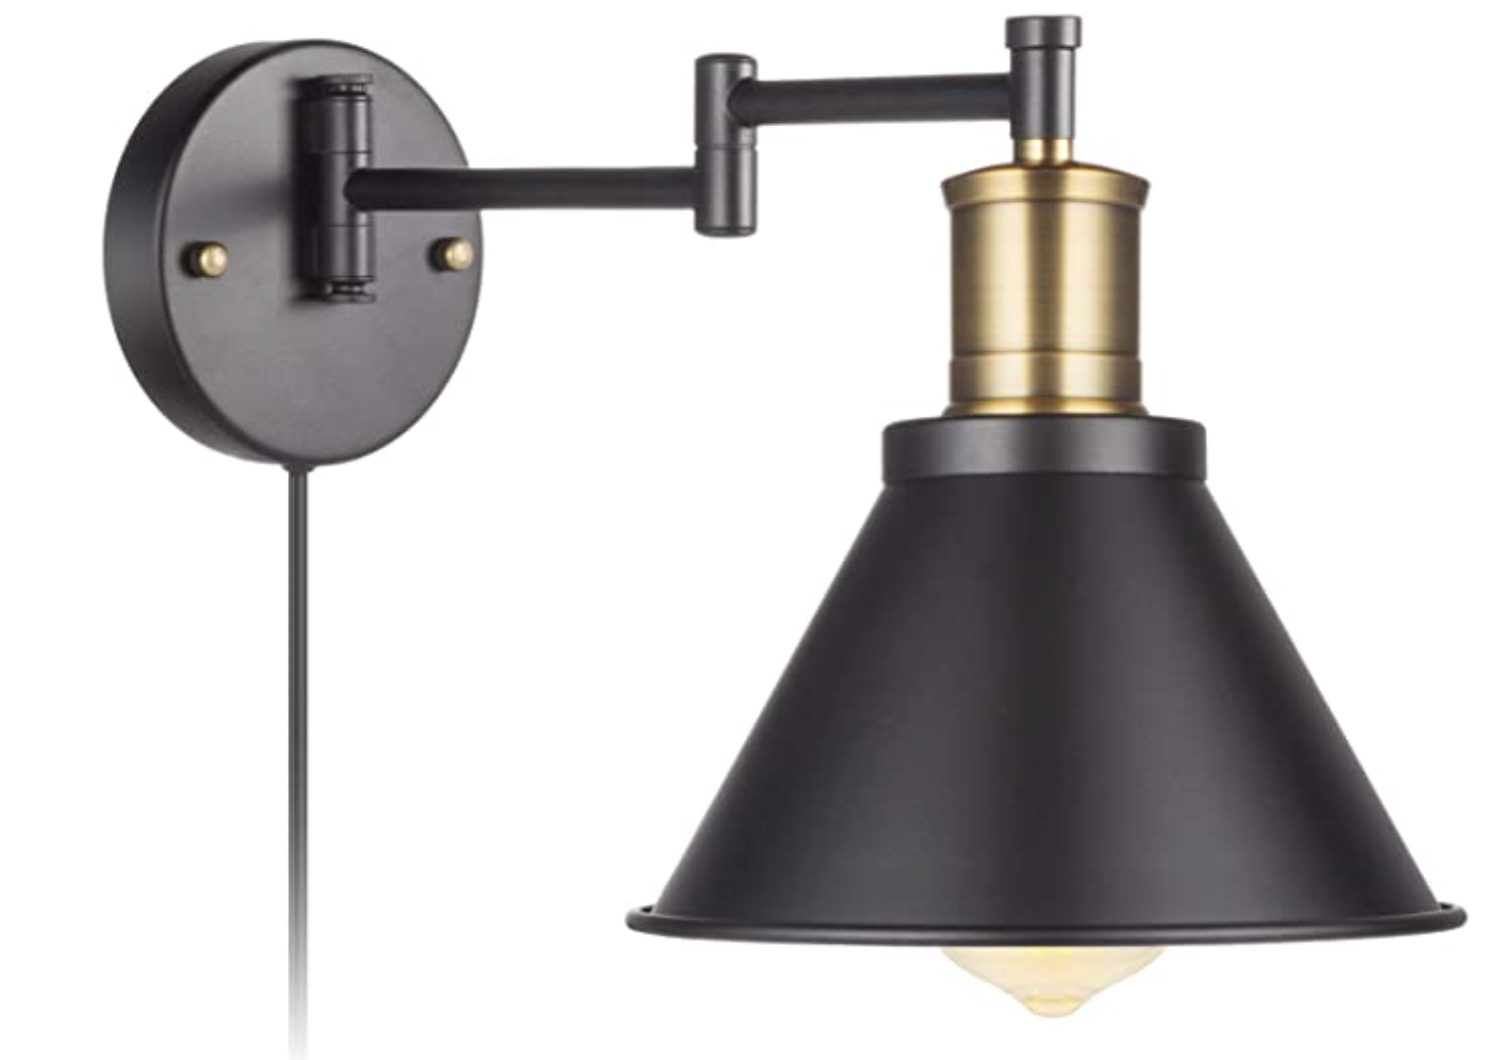
We had four recessed lights, and the surface mount ceiling mean we had to either purchase new recessed lighting that would fit the new height or buy a completely different lighting solution. I used this as an opportunity to replace two recessed lights with two flush-mounted lights (this was done fairly easily with a lighting convert kit). I decided to cap off the other two since we did not need additional lighting since the flush-mounted lights provided plenty for the space.
Ceiling Met Stairway
At the opposite end of this entryway is our stairway. This complicated installation because we needed to find a large L-shaped trim piece to complete both sides. This piece took us months to find, but I finally found a solution meant for tile, but it worked! It has a 2-inch lip and a 3-inch lip, and you can find it HERE.


So, while this was a difficult project for us, I do think our lack of time and crazy obstacles are not the norm. This ceiling would be a fantastic solution for an unfinished basement (such a great way to add a pretty ceiling).
Also, I was worried about bringing the ceiling down a bit, but it is not noticeable AND now the ceiling is SO MUCH PRETTIER!
Thanks to Armstrong Ceilings for donating the product and for their patience with us!
Go create something!

Are you new to my blog? Go HERE to see my home tour and HERE to shop for items I use in our home.


