Decor

Printable Cleaning Schedule

I’m excited to share this FREE printable cleaning schedule with you today.

 Free printable cleaning schedule

Keeping a clean house is just hard.  Life is busy, and there are all kinds of hoops to jump through to get a clean house: jobs, kids, pets, sports, lessons, school, and the list goes on!  As a mom of three and a DIYer, I’m always working on a project which means I have a constant mess somewhere.  

However, I’ve found a method that helps provide me with some sanity and a clean house! I don’t enjoy spending a lot of time cleaning, so I break my home into five zones.  I clean one zone a day for however long I have that day.  Maybe I only have 15 minutes.  It’s amazing what you can accomplish when you’re focused in on one zone.  I like to do the zones during the week and take the weekend off. If you have extra time (or a schedule that doesn’t work to spread out your cleaning schedule), you can knock out a few zones in one day.  Or, there are days where I have guests coming, then I’ll knock out all five zones (the entire house) in one day.  

However, I prefer to break it up for my sanity.  It’s less overwhelming than cleaning an entire house, and I find that I’m more willing to clean if I break it up.  You can do this cleaning method weekly or biweekly. I created a printable to keep your zones in check.  I realize all our living spaces are different, but hopefully, this printout covers yours:

Cleaning Schedule

Zone 1: Bathroom(s).  I start here because it’s my least favorite zone to clean.  I suggest cleaning the mirrors, sinks, scrubbing the floors, tub, shower, and toilet.

Zone 2: The kitchen and dining room.  Clean the floors (sweep, mop, or vacuum), scrub the sink, clean the appliances and counters, and dust if needed.

Zone 3: The entryway(s), stairs, and office.  Clean the floors (sweep, mop, or vacuum), dust furniture, and pick up if needed.

Zone 4: Living Spaces.  These can be the family room, rec room, and /or basement.  Pick up, clean the floors, and dust.

Zone 5: Bedrooms.  Pick up, clean floors, dust, and wash sheets.

Download your PDF here —> Cleaning Schedule

Once you’ve cleaned all these zones, you should have a clean house!  Cleaning your house seems less daunting when you break it down into five zones. Also, there are certain tasks that are helpful to do daily so you can stay on top of the mess.

  • a load of laundry
  • sort mail
  • take out trash
  • pick up the house
  • clean counters (put away dishes & wipe off counters)
  • make beds

I hung my cleaning schedule inside my closet where I store all my cleaning supplies

Cleaning Closet

As a blogger, I’m always sharing photos of beautifully staged photos.  In real life, my home is used for living.  However, my job is to share inspiring ideas for pretty spaces.  To make them Pinterest-worthy, I need to keep a clean house.  An organized cleaning schedule and a great vacuum help me prep the space for these photos.  I hope I’ve given you some tips for maintaining some order and cleanliness in your home!  By creating a plan to stay on top of your cleaning, you’ll find that you’ll want to clean since it will be less overwhelming!

I hope this Printable Cleaning Schedule is helpful.

Go create something!

Are you new to my blog? Go HERE to see my home tour and HERE to shop for items I use in our home.

Find me on Facebook | Instagram | Twitter Pinterest

Decor

Wax Paper Transfer Tutorial

It’s Friday which means it is video tutorial time! My friend Angela from Unexpected Elegance is sharing her most popular post ever: Wax Paper Transfer Tutorial. Wax Paper Transfer Video Tutorial

You can view the video tutorial here: 

It’s a great tutorial for making an art piece or plaque, adding images or lettering to furniture, and many other endless options!

Wax Paper Transfer Video Tutorial

Thanks to Angela for sharing this fun wax paper transfer tutorial with us!  And if you want to see her original blog post for this tutorial, click HERE. Have a great Memorial Day Weekend.  Thanks so much to all of you who have served or are serving our country!

Go create something!

Are you new to my blog? Go HERE to see my home tour and HERE to shop for items I use in our home.

Find me on Facebook | Instagram | Twitter Pinterest

Want to see more of our video tutorials?

Decor

Age Wood with Latex Paint

Happy Friday!  It is time for another video tutorial.  Today we are sharing how to age wood with latex paint.

Video Tutorial: Age Wood with Latex Paint

Today on Episode 9, we share how to achieve a weathered wood finish easily on new wood using paint.  This is a technique anyone can do – I promise!  Watch the video below to see the full tutorial and painting technique: 

If you love the look of old wood but are creating something from new wood, this technique is for you!  It is fast and easy – so it is a win-win!  You basically stain the wood using latex paint.  Latex paint is wall paint, and I’m willing to bet you have some cans of leftover paint just waiting for a project like this. I prefer to using gray-colored paint with a beige undertone to achieve this look.

Watered Down Paint

Age wood with latex paint

What do you think – are you going to try and age wood with latex paint?  Is this a painting technique you would like to try (or have done before)?

What other tutorials would you like for us to create?  We are always looking for ideas for new tutorials and would love to hear your thoughts and suggestions!

Go create something!

Are you new to my blog? Go HERE to see my home tour and HERE to shop for items I use in our home.

Find me on Facebook | Instagram | Twitter Pinterest Want to see more of our video tutorials?

DIY

Fun Ways to Decorate Envelopes

If you’re looking for fun ways to decorate envelopes, then you’ve come to the right place!

 Decorating-Envelopes

Today I’m sharing how to decorate envelopes and make them extra special.  Not only are the ideas easy, but they’re really inexpensive!

Crafting-with-Hallmark

I love greeting cards.  (Before I had kids, I worked at a Hallmark subsidiary designing cards.)

 Hallmark Card Aisle


Hallmark Cards

And, it’s a bonus if they have colored envelopes!

Hallmark Envelopes

This is where I like to make my cards a little extra special and give them my DIY touch.  And I promise these envelope decorating ideas are easy!

One way to decorate these envelopes is with washi tape.  I found my rolls for around $1 in the craft department at Walmart.  Washi tapes come in endless patterns and are really easy to work with since it can be removed if you mess up.

Decorating with Washi

See how much fun this tape is?

I love buntings.  Buntings just scream celebration.  All you need to do to create your own washi tape bunting is draw a line on your envelope.  If you’re sending the card, keep in mind the return address and stamp placement.

Washi Tape Fun*

Next, cut small pieces of the tape and draw triangles along the bottom.

Washi Tape Banner

Once the triangles are cut out, place your little “flags” along the line you drew.  That’s all you need to do to make an adorable bunting.

Washi Tape

I also lined the envelope flap with tape.

Washi Tape - Envelopes

And I created a bunting using triangles I cut from the washi tape.

Washi Tape Fun

Here’s another little envelope craft that cost me nothing since I already had the supplies on hand.  All you need is an unused pencil eraser and an ink pad.

Pencil-Eraser-Stamping

Eraser Stamp

The pencil eraser becomes your stamp.  Just keep the eraser flat, and you’ll have perfect little dots.

Eraser Stamping

It’s so easy!

Pencil-Eraser-Stamp

Decorating-Envelopes

Crafting-with-Hallmark

I’m now stocked up and ready for all my nieces’ and nephews’ birthdays for the next year. 

What other fun ways to decorate envelopes do you know of?

Go create something!

Are you new to my blog? Go HERE to see my home tour and HERE to shop for items I use in our home.

Find me on Facebook | Instagram | Twitter Pinterest

Decor

Saw Safety Tips

Today’s video is all about saw safety tips.

 Saw Safety Tips Video

Happy Friday!  Angela from Unexpected Elegance is sharing saw safety tips in today’s video tutorial.  Angela is the queen of power tools, so this is perfect if you are new to using a chop saw.  She gives lots of helpful safety tips for first-timers so you can be ready to start some DIY projects on your own.  It is amazing how much more you can create once you know how to safely cut wood and trim with a saw.

You can watch the video here: 

Angela knows her power tools, and I hope she’s helped provide you with some helpful tips!

Go create something!

Are you new to my blog? Go HERE to see my home tour and HERE to shop for items I use in our home.

Find me on Facebook | Instagram | Twitter Pinterest   Want to see more of our video tutorials?

DIY

Chalkboard US Travel Map

Today I’m sharing how to make this a chalkboard US travel map.

Chalkboard Travel Map

Now that my youngest is four, family vacations are more exciting and road trips seem less daunting.  I want to explore with my kids.  Some of my fondest memories from my childhood are the family road trips my parents planned for us. I created this map, and we’re only allowed to pin locations when we are all five on the trip together.  We have a lot of territories to cover! I made this chalkboard from a corkboard.  This is a very large board you can find at Hobby Lobby.  It retails for $20, but you can always use a 40% off coupon.

Cork Board

My friend Angela from Unexpected Elegance also created a pretty cool piece using one of these corkboards.  You can see more of it by clicking on the photo below:

Black-and-White-Bulletin-Board

I painted my frame using Valspar’s gold spray paint (from Lowes):

Gold Spray Paint

And then I painted the cork with chalkboard paint.

Chalkboard Paint

Since I had a projector, I printed out a US map on transparency paper and projected it onto my chalkboard, and traced the image.

Projector

Print

CLICK HERE –> US Map

to download your own (PDF) file for the US map. Since I’m aware we’re in the 21st century, I realize most normal people don’t own (or have access to) overhead projectors.  Click HERE to find out how you can easily trace images and lettering onto your chalkboard.  (If you’re creating a piece this large scale, you can send the PDF file above to an office store to have it printed large scale.) I freehanded the lettering, but you can easily print out something and transfer it to your map.

Chalkboard Travel Map

Below are Amazon (affiliate) links for the china marker I used in this tutorial (and chalk pen which is also a great option):

I bought some colorful oversized push pins and painted them gold.  Since it’s a corkboard, I was easily able to mark our travels with the push pins.

Pattern Wall with Frog Tape

Now it’s time for us to start road tripping!

This chalkboard US travel map also makes a great gift idea.

Want to know more about my swiss cross patterned wall?  Click HERE.

Go create something!

Are you new to my blog? Go HERE to see my home tour and HERE to shop for items I use in our home.

Find me on Facebook | Instagram | Twitter Pinterest

Paint

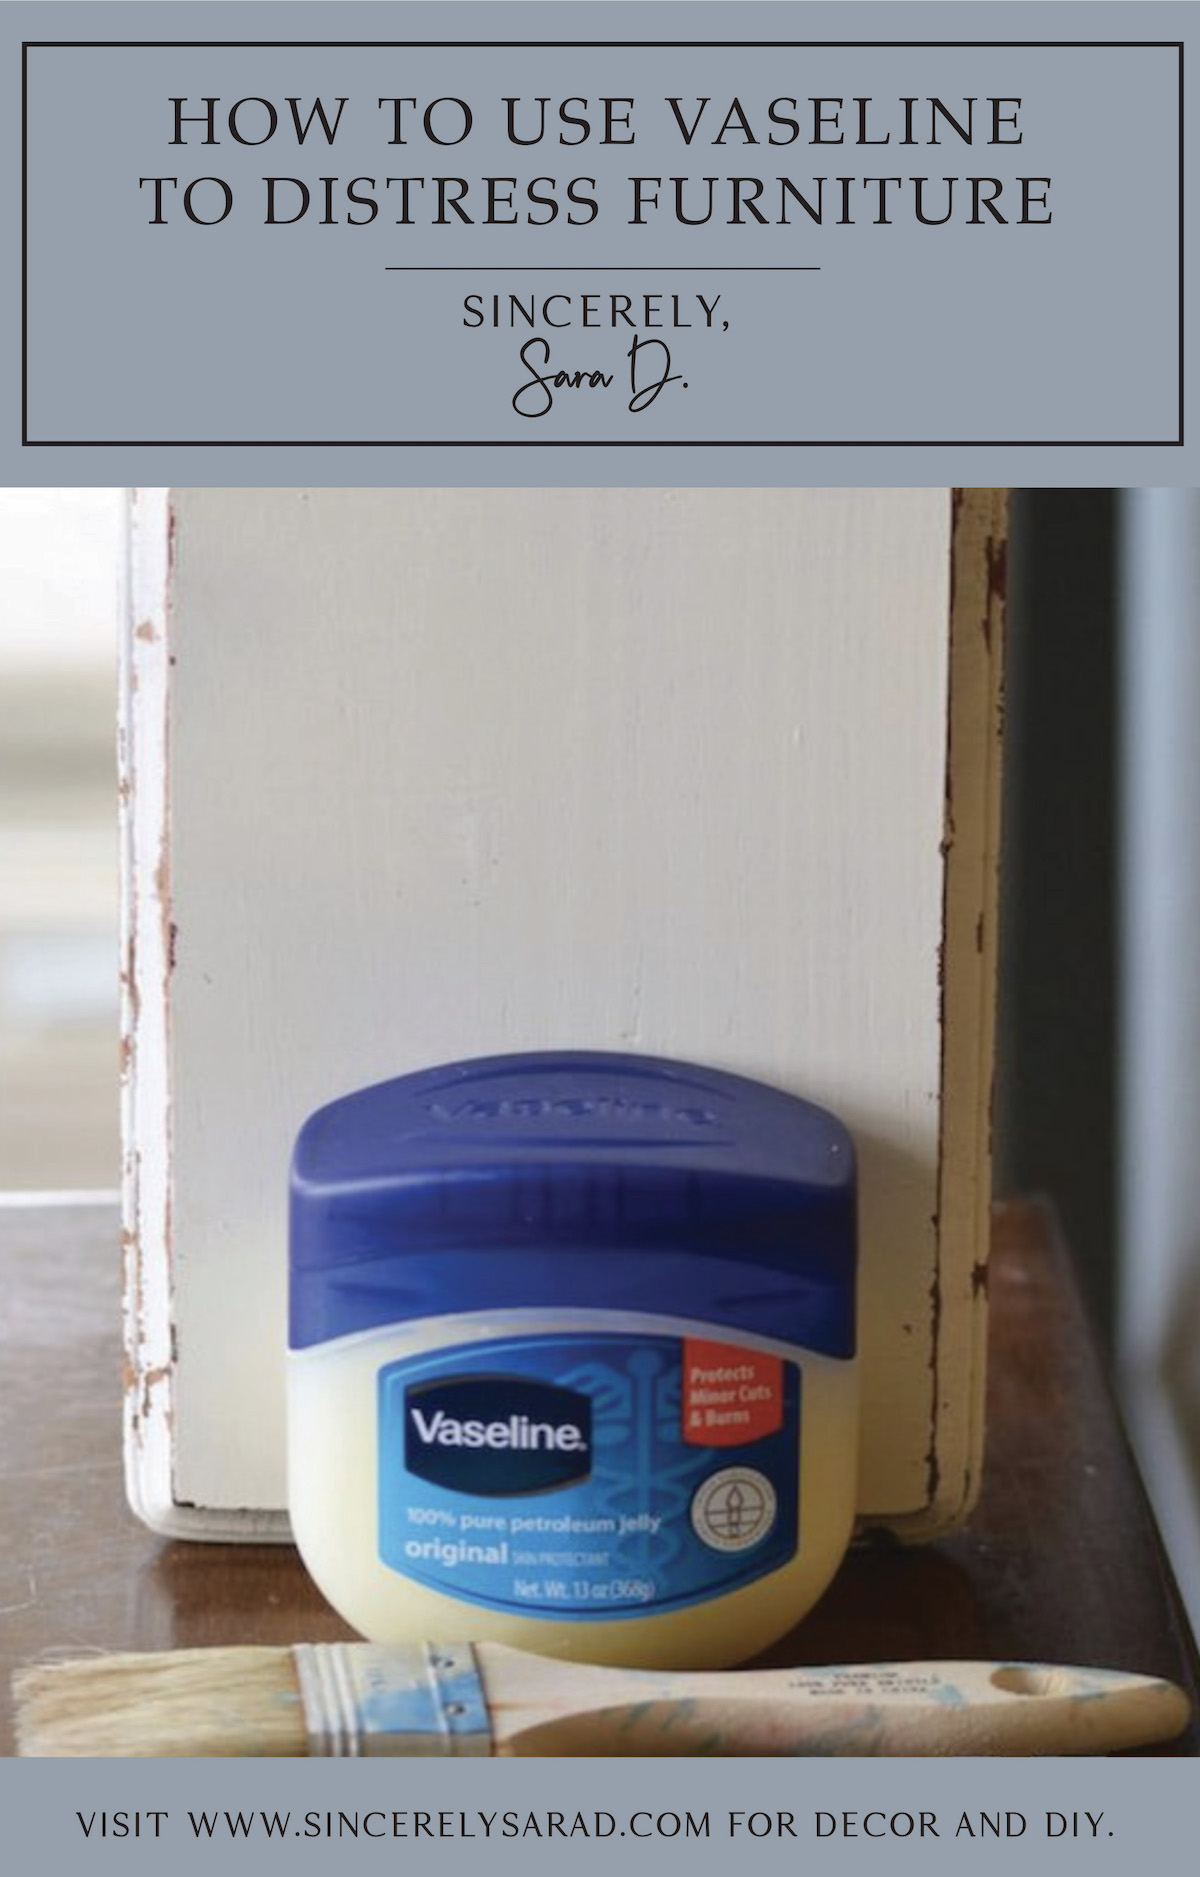
Using Vaseline to Distress Furniture

If you are looking for an easy paint technique to make a piece look old or distressed, well, you have come to the right place! I am sharing an easy tutorial for using Vaseline to distress furniture.

If you want a very rustic vintage vibe to your furniture, then this is the trick for you.  It’s easy, inexpensive, and can be used with all different types of paint.

I created a video to share this easy tutorial for using Vaseline to distress furniture.

Although I use spray paint in the video, you are not limited to any particular type of paint or sheen.  The great thing is that since you are trying to achieve the imperfect, chippy paint look, you can’t mess this up!

 Distressing with Vaseline Tutorial

Watch the video tutorial here:

Go create something!

Are you new to my blog? Go HERE to see my home tour and HERE to shop for items I use in our home.

Find me on Facebook | Instagram | Twitter Pinterest

Want to see more of our video tutorials?

Tutorial for Using Vaseline to Distress Furniture

Shop the Post
Decor

Design Mom’s New Book

I’m pretty excited to have a little feature in Design Mom’s new book.

It’s just a teeny-tiny part of Design Mom‘s New Book: How to Live with Kids: A Room by Room Guide, but I’ll take it!  I can say I’ve been published – well, my shoe cubby has been.

Design Mom Book

As a mom of six, Gabrielle Blair (the author) has some experience with living with kids, and she has discovered how to design kid-friendly spaces that don’t compromise good design.  It is possible to have a well-designed home and a family!

Design Mom New Book*

The book filled with wonderful ideas, beautiful photos, and conversational writing. It is for those of us who live with kids but still appreciate (and desire) a beautiful space.  The book is bright and fun and makes the perfect conversation piece on your coffee table.

Design Mom New Book

I love that the book is organized by living spaces.

Design Mom - Entryway

And if you turn to The Entryway section…

Design Mom - Mud Room

You can see my mailbox turn shoe cubby! You can read more about my shoe and mudroom here.  

You can find Design Mom’s book on Amazon:

Design Mom New Book*

I found my shoe cubby at a local antique shop.  It was originally an old mail sorter, but I knew I loved it and thought outside the box for how to repurpose it and make it useful. Go create something!

Are you new to my blog? Go HERE to see my home tour and HERE to shop for items I use in our home.

Find me on Facebook | Instagram | Twitter Pinterest

DIY

Mason Jar Herb Garden

Mason Jar Herb Garden

Planting in Mason Jars

I love decorating with plants, and I have been wanting Mason jar herb garden for my kitchen.

Mason Jars

I created my herb garden using mason jars.

Chalk Paint

I used chalk paint to paint the outside of the mason jars.

Chalk Painted Jars

Once the chalk paint was dry, I added a thin coat of polycrylic. Once the polycrylic dried, I taped off the bottom and spray painted it gold.

Gold Dipped

I wanted the jars to look like I had dipped them in gold.  I also lightly sanding over the raised “ball” lettering to give it a slightly distressed look. To label the herbs, I used these adorable wooden tags from Loew Cornell’s Transform Mason line.  They come in all different shapes and sizes.  I painted them with Transform Mason chalkboard paint.

Mason Chalkboard Paint

You can buy both the tags and chalkboard paint on Amazon.

Herb Tags

You can use chalk, but I didn’t want the tags easily wiping away.  I used a china marker to mark the tags.  It has the appearance of chalk but is permanent.

Herbs

I bought several herb plants, but you can start with seeds if you have more patience than I do.

Gold Dipped Mason Jar

I painted the jar ring the same color as the bottom and added this adorable handle from the Transform Mason line.  Not only does it look fun, but you can actually hang the jars.  

These are also on Amazon:

Mason Jar Herbs

I added small rocks to the bottom of each jar for drainage.   Since rocks are the only drainage (obviously the jars don’t have holes at the bottom) you don’t want to overwater the plants. If you’re thinking about creating your own Mason jar herb garden, I hope you found this blog post to be helpful!

Tagged Herbs

Mason Jar Garden

Mason Jar Transformation

Kitchen Herbs  

Go create something!

Are you new to my blog? Go HERE to see my home tour and HERE to shop for items I use in our home.

Find me on Facebook | Instagram | Twitter Pinterest  


Decor

Dry Brush Paint Tutorial

In today’s dry brush paint tutorial you’ll learn how to easily create a farmhouse feel using paint you already have at home!

Dry Brush Painting Tutorial

Hi guys!  It is Friday which means it is time for another video tutorial.  Today, Angela from Unexpected Elegance is going to share a quick and easy painting technique called dry brushing.

Simple way to give a distressed look using the dry brush paint technique.-1-5 copy

It a fun way to easily add a little color and interest to a piece, and it is SO easy!  If you are looking for a simple painting technique for furniture then this is it!  This technique can make any piece look like it has had a history – it adds charm and age instantly!

Check out the video tutorial here:


You can add layers of colors for more dimensions.  I have used this painting technique throughout my home so many times!  Also, you can use it to make a piece look whitewashed – if you love that look.

Simple way to give a distressed look using the dry brush paint technique.-1-4  

What other video tutorials would you love to see?  We are always looking for ideas and tutorials to add to this series.  Please leave us a comment and let us know!  

Go create something!

Are you new to my blog? Go HERE to see my home tour and HERE to shop for items I use in our home.

Find me on Facebook | Instagram | Twitter Pinterest  

Want to see more of our video tutorials?

Paint

Painted Swiss Cross Pattern

Learn how to create this painted swiss cross pattern wall.  It’s a great alternative to wallpaper!

Swiss Cross Patterned Wall

Pattern Wall with Frog Tape

At the top of our stairs, there is a fairly large landing.  The wall just seemed to be screaming for some attention…

Before

I have been admiring all the swiss cross patterns I have seen in home decor lately, and I decided to paint swiss crosses as an accent wall.

Multi-Surface Frog Tape

I have painted several patterned walls with painters’ tape, and I always use FrogTape.  It really keeps the lines sharp!  

I began making my game plan, and I played around with FrogTape to see how large I wanted my swiss crosses to be (and how far apart I wanted them).

Practice with Frog Tape

 And then I measured the wall and sketched out my pattern.

Planning out the wall design

Now, you can definitely create the swiss crosses by taping them (like I did above) and painting over them.  However, I have a slight case of OCD, and I wanted my crosses to be the same size and spaced apart perfectly.

Using a Level

I used a level to created horizontal and vertical lines.  Then I taped them.

Frog Tape copy

I painted over the entire wall with Valspar’s Notre Dame.

Painting over Frog Tape

 Then I removed the vertical tape.

Using Frog Tape for Patterns

Painted Pattern Using Frog Tape

(Each step of the way, I discovered a cool wall pattern that I was almost tempted to keep.)

Then I removed the horizontal tape.

Removing Horizontal Tape

Pile of frog tape

Painted Squares

My daughter loved this “square pattern.”  Seriously?  Aren’t all these transformation fun?!

Once the tape was removed, I went through and crossed off every other intersection.

Marking off sections

Adding x's

After I had crossed off the intersections I wasn’t going to use, I got to work taping off the swiss crosses.

Measuring Swiss crossesI

I measured two inches on top and two inches on bottom for the top and bottom of the cross.  I then taped off each cross.  I painted around the crosses and painted over the intersections I didn’t want.

Paint over the x

Painting over the X's

Painting a patterned wall with delicate frog Tape

Since I painted my wall the night before and was dealing with (very) freshly painted walls, I used FrogTape for Delicate Surfaces.

Delicate Surface Frog Tape

I removed the tape from the top and bottom of the crosses.

Almost there

Seriously, every step resulted in another cool pattern!

Then I got to work measure the sides of the crosses and taping them off.

Swiss Cross Pattern with Frog Tape

Once again I painted from off the extra cross arms.  And the end result – a fun painted swiss cross pattern!

Painted Swiss Cross Pattern

Swiss Cross Patterned Wall After


To see a DIY tutorial for the chalkboard travel map, click HERE!

Go create something!

Are you new to my blog? Go HERE to see my home tour and HERE to shop for items I use in our home.

Find me on Facebook | Instagram | Twitter Pinterest

Paint

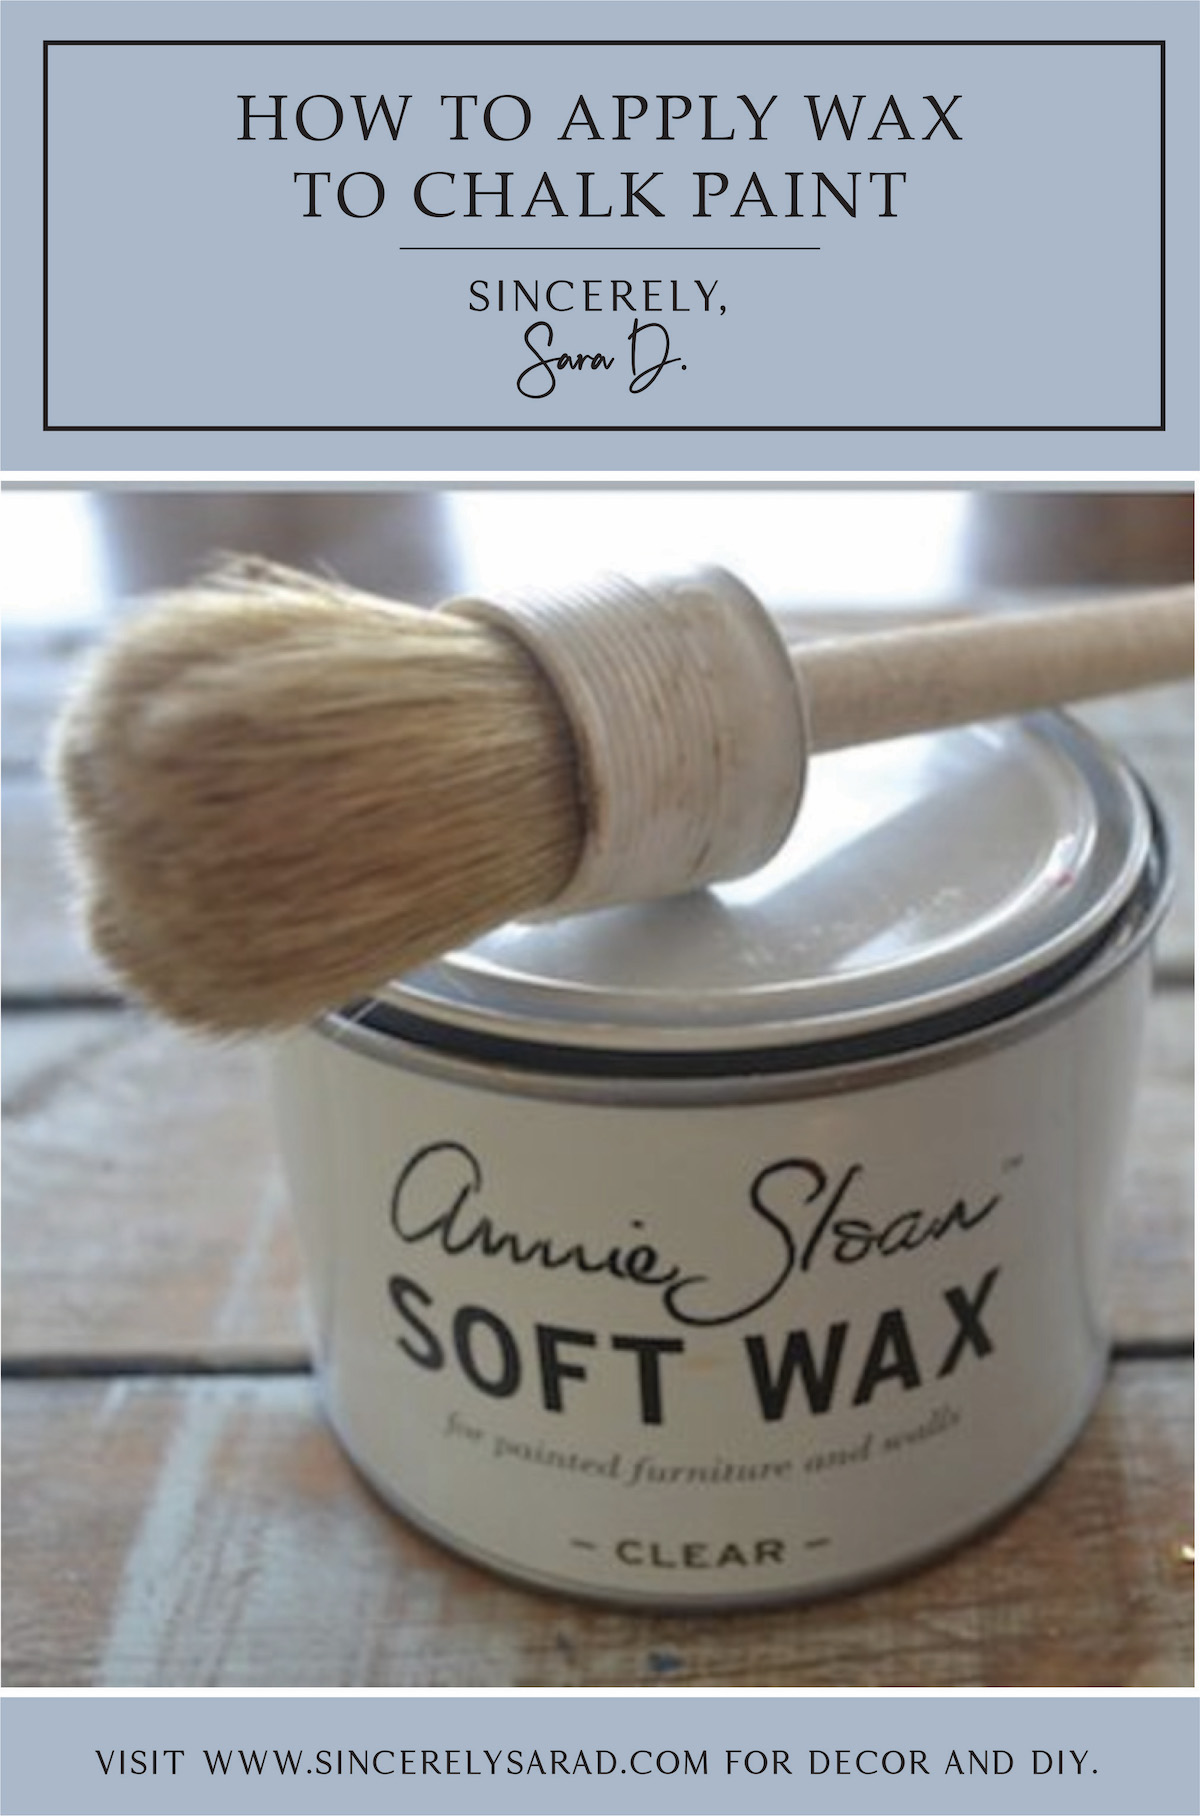
How to Apply Wax to Chalk Paint

How to Apply Wax to Chalk Paint

Happy Friday! 

If you haven’t seen our previous videos, I teamed up with Angela from Unexpected Elegance, and we created several video tutorials.  Our first series is all about chalk paint. 

You can see our welcome video HERE.


Today I am showing how to apply wax to chalk paint.  I would not recommend wax as a sealer on a desk or tabletop or cabinets (go here to see what happened when I used wax on my cabinets).  However, it works well on most furniture!

But first, we have some other video tutorials on chalk paint.  If you want to see more on chalk paint, click HERE to see how to mix colors.  Or if you want to know how to prepare a piece for chalk paint and using chalk paint, click HERE.

And finally (to see what you are probably here for), watch the video below for the tutorial on using wax on chalk paint:

As I said earlier, I have successfully used wax over chalk paint for several furniture pieces.  However, I would strongly urge you to NOT use wax on kitchen cabinets.  

GO HERE to see why I had to repaint my chalk paint cabinets.

If there are any specific video tutorials you’d like to see us create, please let us know!  We are always looking for tutorial ideas.


Go create something!

Are you new to my blog? Go HERE to see my home tour and HERE to shop for items I use in our home.

Find me on Facebook | Instagram | Twitter Pinterest

How to Apply Wax to Chalk Paint


Shop the Post