Want an inexpensive way to add interest to your space? Try this Board & Batten Tutorial!

My boys’ room recently had a major makeover, and you can see all the furniture details by going here. I wanted a statement wall in the space, so I created this board and batten wall. I built it solo one afternoon, and (since I had everything other than the MDF board) this project cost me less than $100!
This post contains some affiliate links for your convenience. Click here to read my full disclosure policy.
Supplies for this project:
- (9) 5 1/2″ x 8″ primed MDF board
- (6) 2 1/2″ x 8″ primed MDF board
- (2) 3 1/2″ x 8″ primed MDF board
- Sandpaper
- Caulk
- Wood filler
- Nail gun
- Chop saw
I began by lightly sanding the stripes (most likely you will not have to do this step unless you happen to have stripes on your walls).

Add 3 1/2″ x 8″ primed MDF board to the base.

Once the baseboard is up, lay out the 5 1/2″ x 8″ boards and figure out how far to space the pieces.

The top piece is a 2 1/2″ x 8″ board. Once that is in place (use a level to be sure everything is straight), add the larger (5 1/2″ x 8″) boards. Begin in the center and then centered a piece between the center of the wall and the corner on the right side. Do the same with the left side.

Continue the process until all the vertical boards are up.


Add another 2 1/2″ piece was added to the top (or you can use a thicker board instead of the two smaller boards – I was working with what I had on hand).

To finish off the wall, add a piece of the 2 1/2″ x 8″ board. I flipped it to create a finished edge (or ledge). A nail gun was used to adhere the boards to the wall.

Fill the nail holes with wood filler.

Fill the gaps with caulk. 
Once everything is dry, sand the wood filler and *paint the board and batten. *I did not prime my boards since they were pre-primed.

After two coats of paint (to see more on this gorgeous paint color, go here), the wall will be complete!


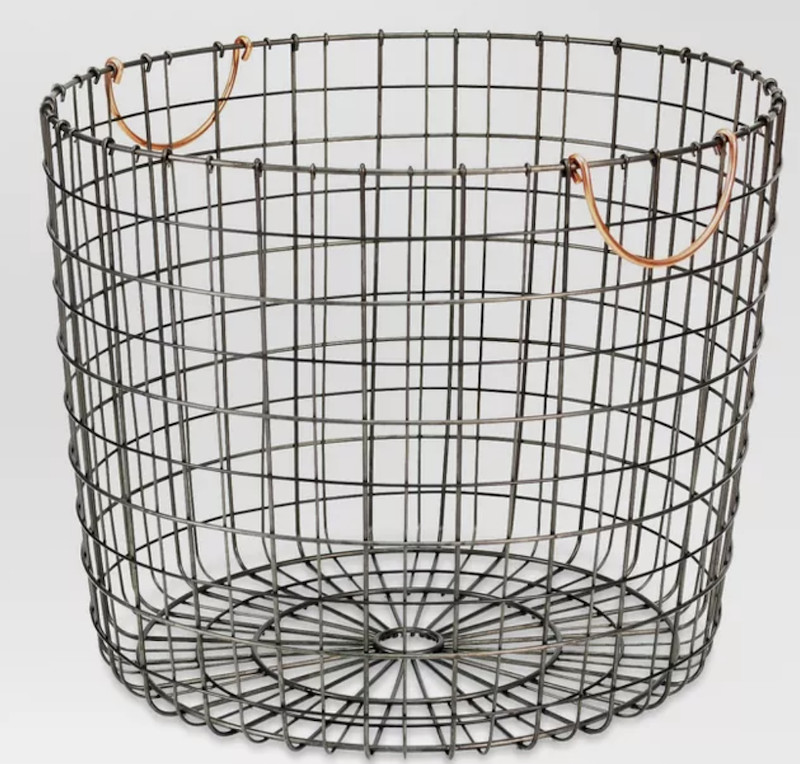
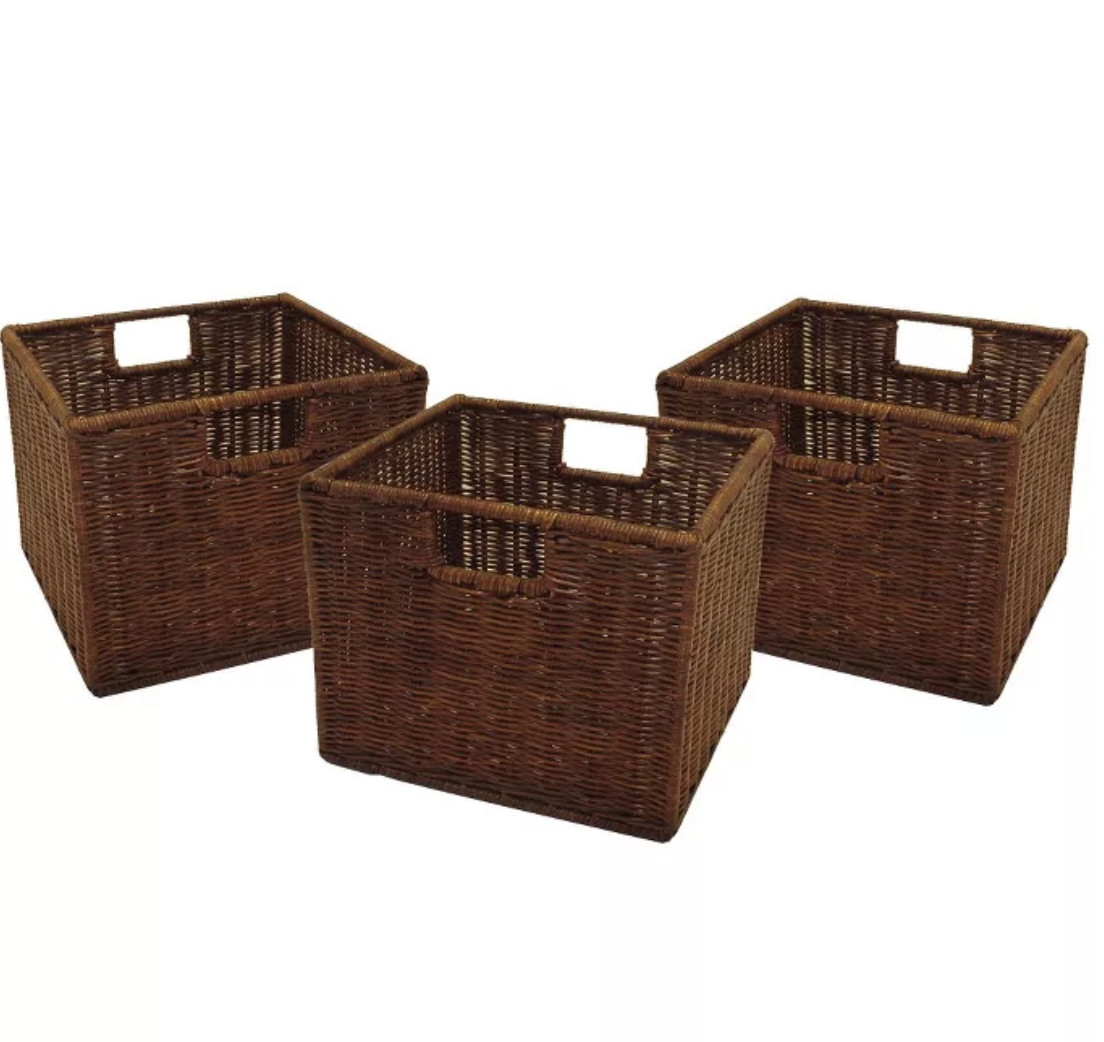
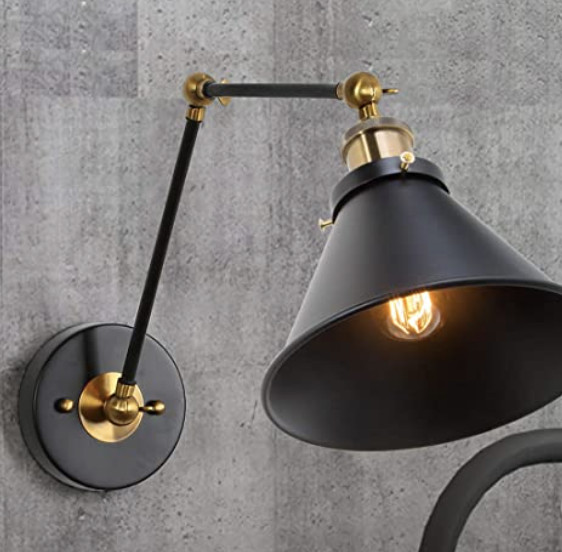
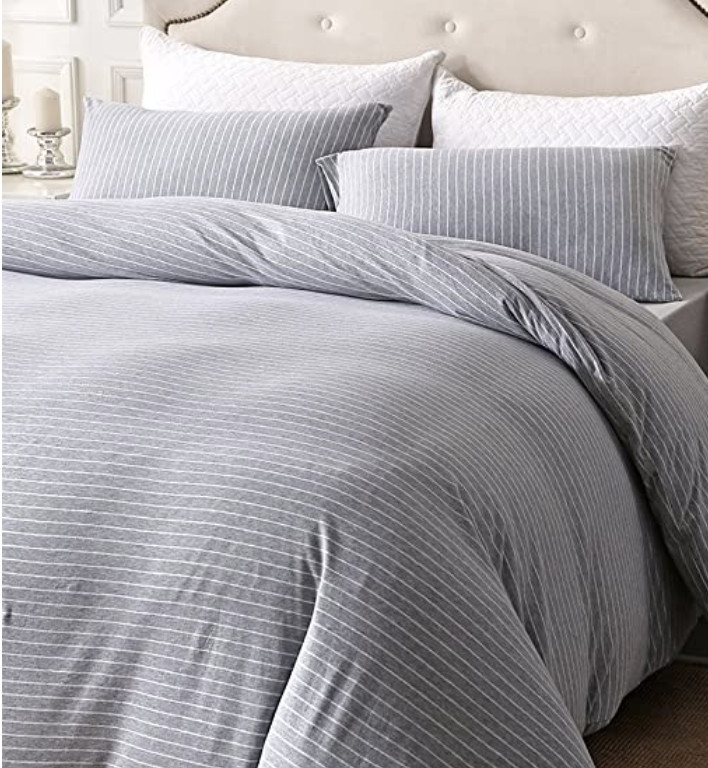
I linked up to many of the decor items used in this space – just click on the image you want to know more about!
The wallpaper from Wallpaper Boulevard, and I used Common Thread from Magnolia Home. It ties in perfectly with the rest of the space and will grow with my boys.

If you noticed, I painted the baseboards the same color as the board and batten.
Want an easy way to paint baseboards without painting your carpet? GO HERE to see the easy technique! It is one of my favorite painting tips.
Go create something!

Are you new to my blog? Go HERE to see my home tour and HERE to shop for items I use in our home.
*This post has been sponsored by Wallpaper Boulevard. All thoughts and opinions are my own.


Love the wainscoting you did on your boy’s bedroom wall. Great tutorial (written and photos) very easy to understand resulting in a very stunning accent wall. I designed a hall tree type bench in our mudroom back entrance (to cover the dryer vent pipe) with a similar type of paneling and after seeing what you did, I think I will continue the same treatment on the remaining walls. The ceilings are 9′ high, so I can play around with the height, then probably use the SW “a new grey” that I used in the bath. on the top part above the white bench and paneling. Thanks for the inspiration.
Your project sounds amazing, and I bet your mudroom will be gorgeous! I’m glad I could help!
Gorgeous Outcome! Love EVERYTHING about this. You did an awesome job. I love the Rug. I have been searching and haven’t been able to find the ‘one’. Would you mind sharing info. on where you purchased it? That size and color would be perfect for my living room. Thank you so much!
Thank you! Here’s a post where I talk all about rugs: https://sincerelysarad.com/best-rugs-for-decorating/
Sara, what a great step by step tutorial! The room, and your board and batten looks perfect! I am getting ready to take on our little guest cottage and will be putting up board and batten on the walls, I am sure I will be checking back….and I need to go buy a nail gun!
Thanks Chloe! And yes, you need to buy a nail gun. I use mine ALL the time, and it’s such a time saver. Good luck on your guest cottage – I can’t wait to see it!
Gorgeous room.!! What dimensions were your boards? .75 thickness? If so, did they protrude past the baseboards?