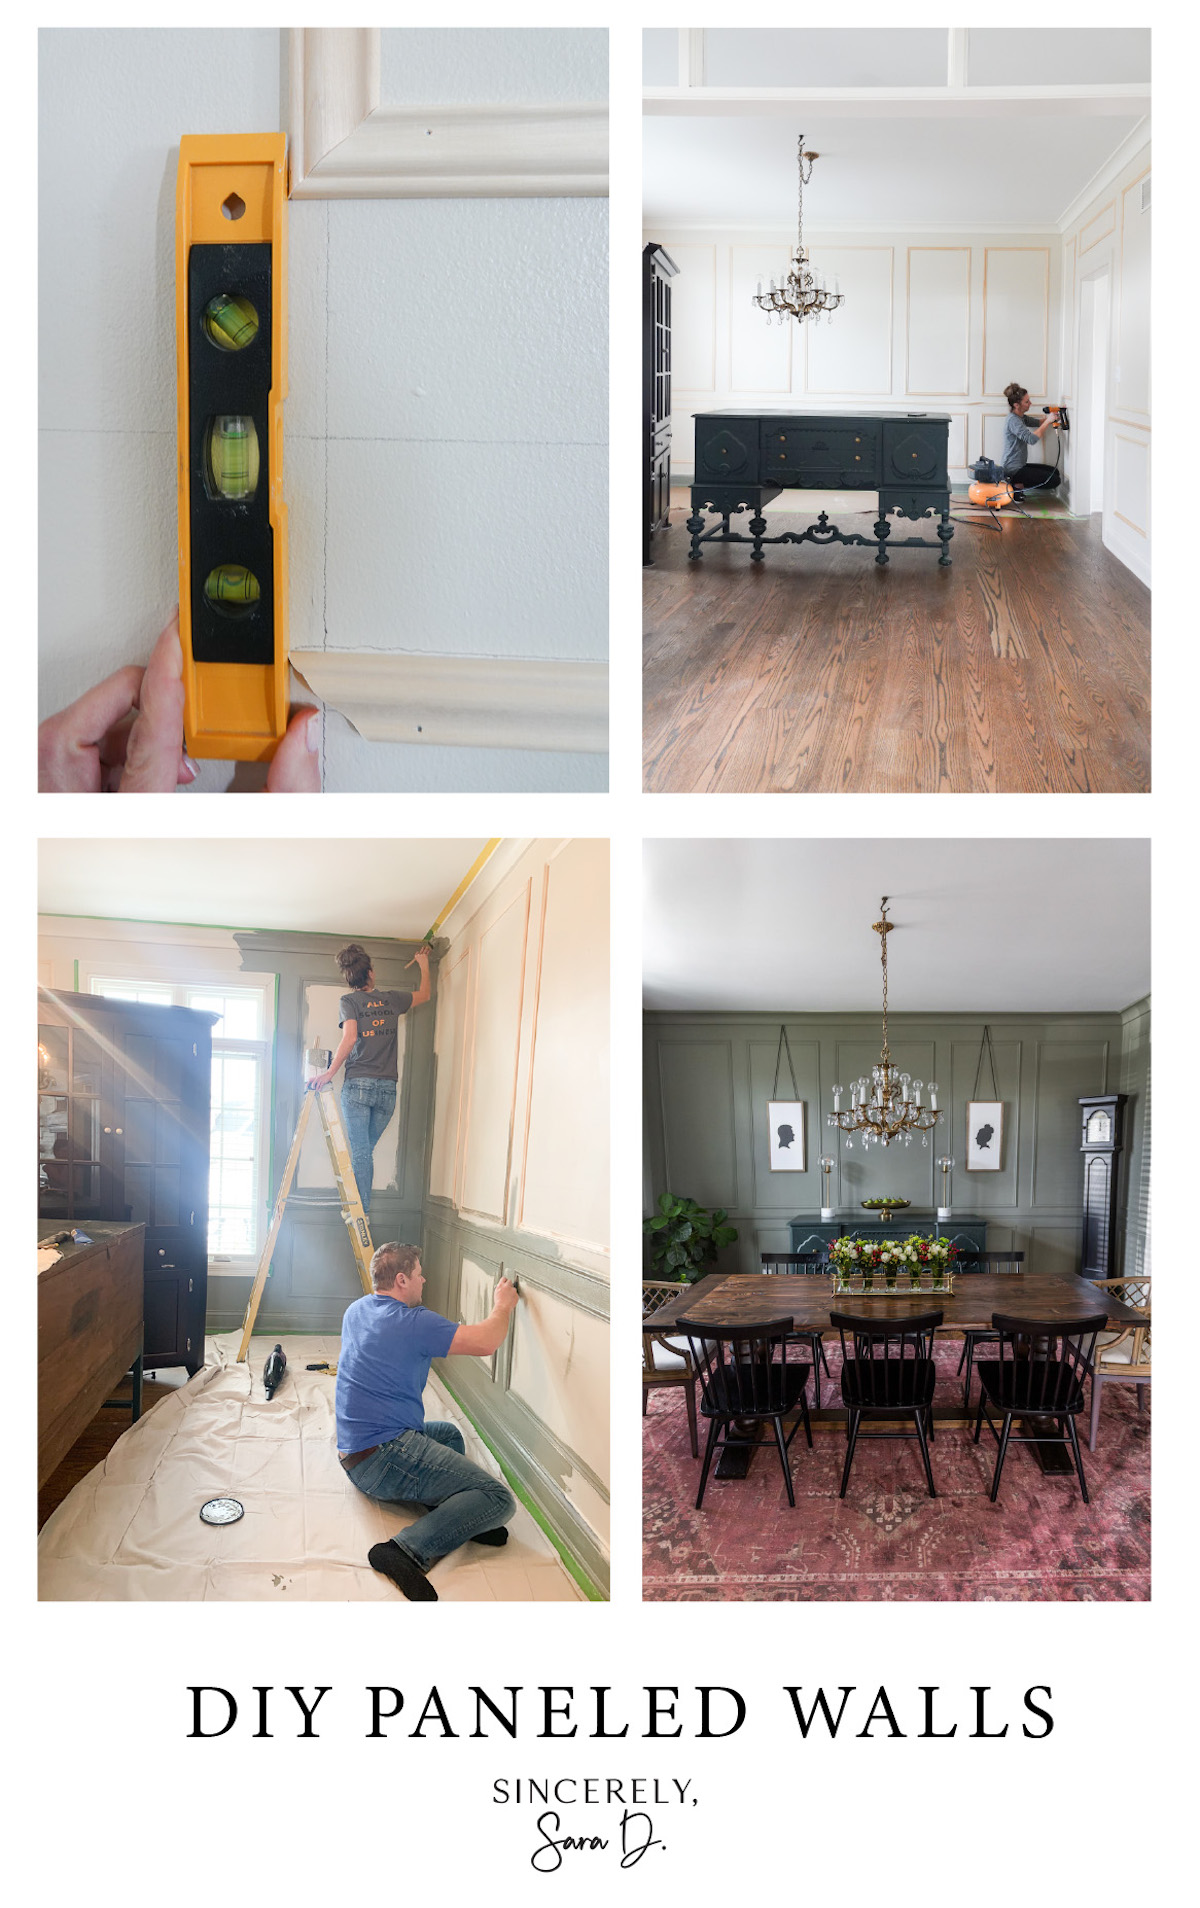
Before I share how to DIY paneled walls, I wanted to show the prep work we had to do first – which is most likely not something you will need to do.
One of our first projects in our home was a square paneled wall. When I designed the wall, I never considered it going beyond the back wall. As time went on, I really wished the wall treatment continued throughout the entire room. There really wasn’t a way to extend it since the square sizes wouldn’t work on the other walls. So, Steve and I decided to start over, and I wanted to create a less heavy paneled wall that was truer to the design aesthetics of our “French Chateau” in central Indiana.
We removed all the old wall treatment and was left with a wall that required quite a bit of repair work. However, once the wall was fixed, it was go time!

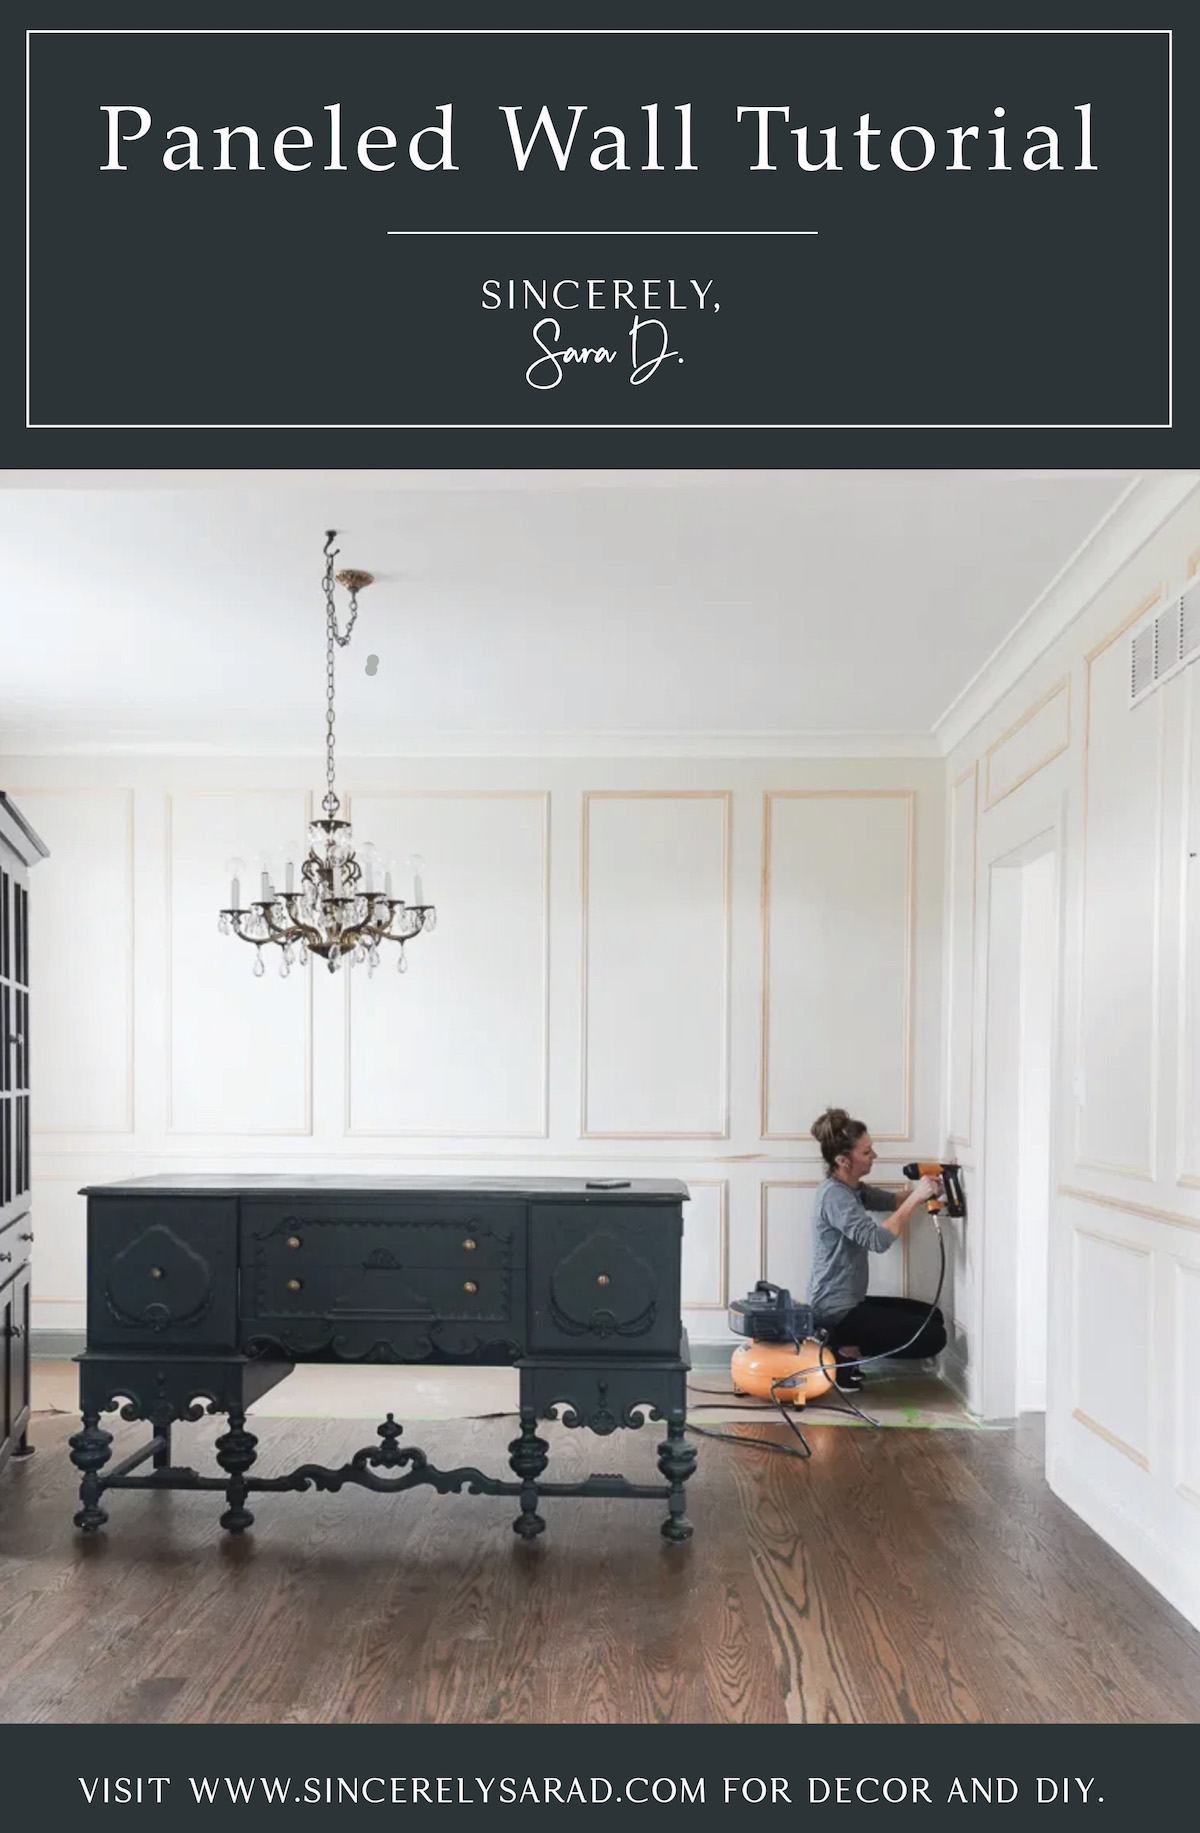
DIY Paneled Walls Tutorial
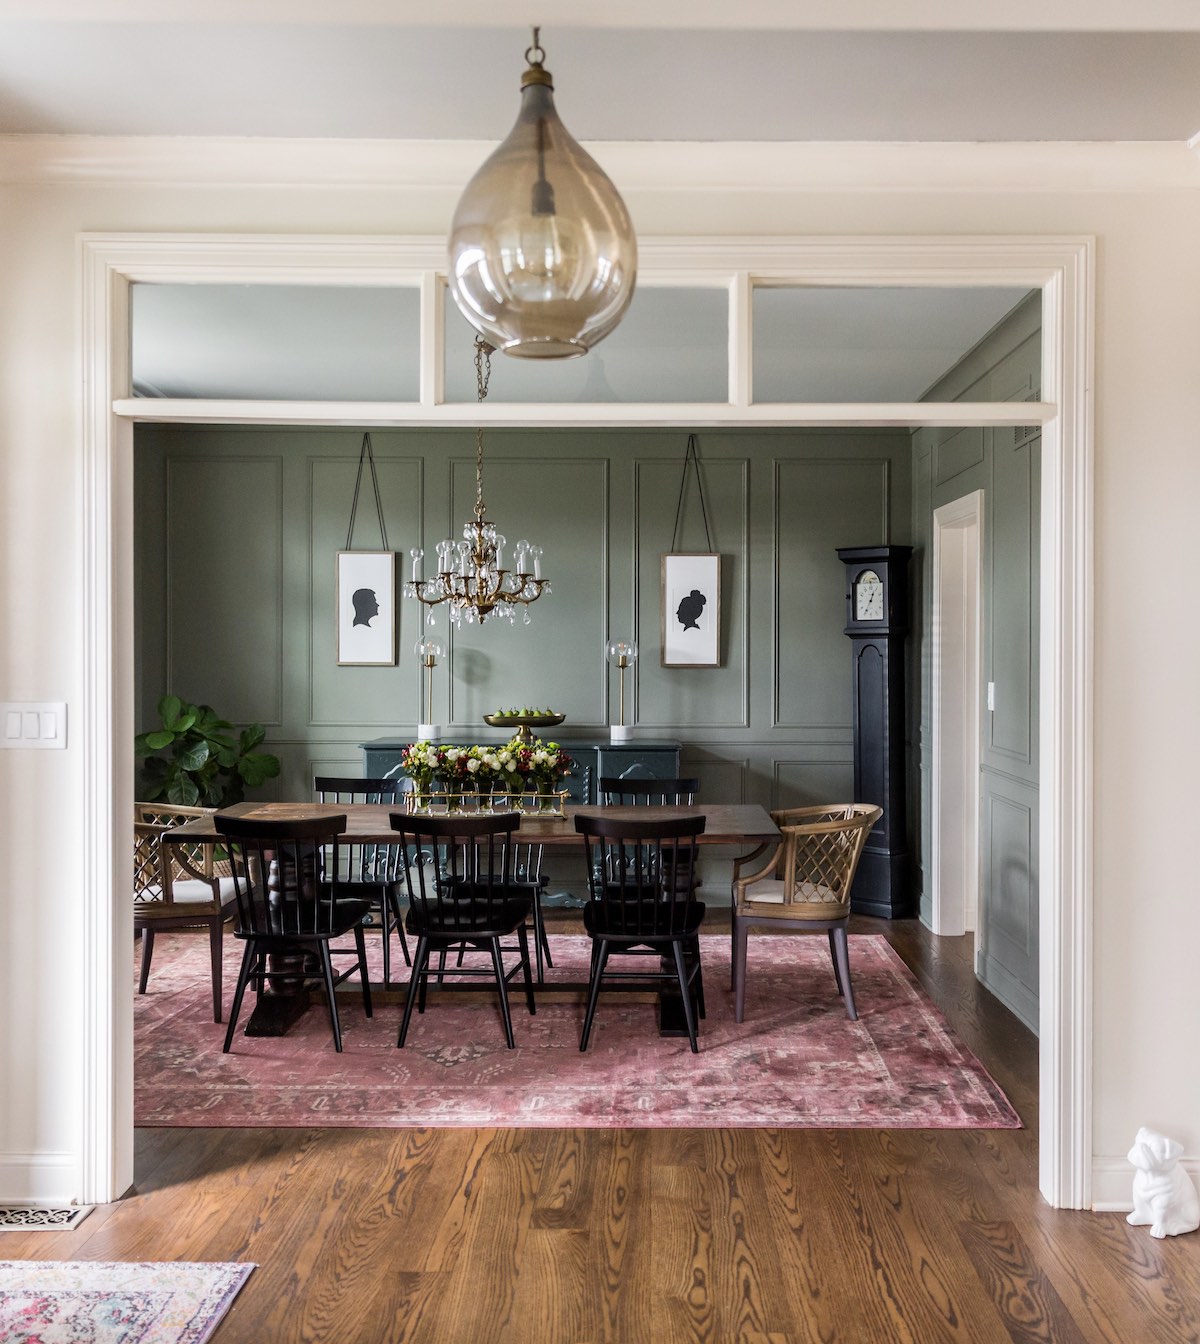
Supplies for Paneled Walls:
- 1-1/4-in x 8-ft White Hard Unfinished Chair Rail Moulding
- Compound Miter Saw
- Finish Nailer and nails
- Level
- Pencil
- Wood Filler
- Tapping Block
To begin, drawing out a plan is key. I used graph paper, and I found it very helpful. Start with the chair rail between 30-36 inches high (from the floor) and go from there.

I drew the entire plan on my walls which proved to be very helpful. I ended up tweaking the design in that I originally had 6 inches between the panels and sides, but I ended up enlarging the panels and created 5 inch gaps.

I used painters tape (over my pencil lines) so I could better visualize the space.

It may seem like overkill, but I also wrote the dimensions for the panels on the walls. This helped cut down on the time since we were able to cut the panels in batches knowing the sizes of all the panels, but I’ll talk more about that in a minute.

Cutting the Panel Pieces:
To cut these panels, you will be creating picture frames. You will cut each end at a 45 degree angle.

It gets a little confusing – especially if you’re using chair rail molding like mine that isn’t symmetrical on both sides. Make sure you are keeping the same side out when you create the frames.

How to Install a Panel:
We began with the top of each panel and made sure it was level before nailing it down.

We used a nail around every 10-12 inches.

Once the top was level and secure, we moved on to the sides. We only added nails to the top of the sides so there was a little wiggle room when adding the bottom piece.

Be sure to use the level when adding every piece.


Once you have the bottom piece level and in place, you can go back through and add the additional nails to the sides.

Once all the panels are installed, you will need to go through and fill the nail holes and evaluate if you need to caulk. Once the wood filler (and caulk – if needed) is dry, it’s time to paint!
Helpful Hints:
Here are several helpful hints to make the installation go smoother and faster:
- Write down the panel piece dimensions so you can cut them in batches.

- Use a labeling system to keep all the panel pieces organized.

- Create a spacer to aid in keeping panels from going wonky.
We created a little spacer (piece labeled “s”) to help the long panels from staying straight. We checked to make sure they weren’t being inverted (or vice versa) before nailing down.

The spacer only works if your panels are all equally distant.
- When cutting in batches, use the wall to save time on measuring each piece.
We used the wall to help us determine length of the panel pieces. We lined up the saw and then placed the panel pieces against the wall. It proved to be more accurate for us than marking each piece.

- Level, level, level!

I used the level constantly and found it helpful to match up one panel to another.

- Work with a partner.
I recruited my dad to help me with this project, and I don’t think I could have done this alone.

He did the majority of the cutting while I worked on the installation.

Buy a Tapping Block
My dad introduced me to the tapping block, and it was SO helpful. There will be times you need to move the piece just a smidge, and this tool will help you do that!

- When planning the paneling design, consider the height of doorways and windows.
The tops of my panels are flush with the top of my window for a cohesive look.

Installing the Chair Rail
Our Chair rail met in the corners of the room. To have it match up neatly, use a 45 degree angle to miter the piece.


I hope this post was helpful, and I’m going to share a few more photos showing how we dealt with obstacles such as a return vent.

Here’s an overall shot of the space.

And here is how I dealt with the gap on top of the doorframe.

A special shoutout to my dad for all his time and expertise with this project!

And Steve was sweet enough to spend his weekend helping me paint.

We love the final product!
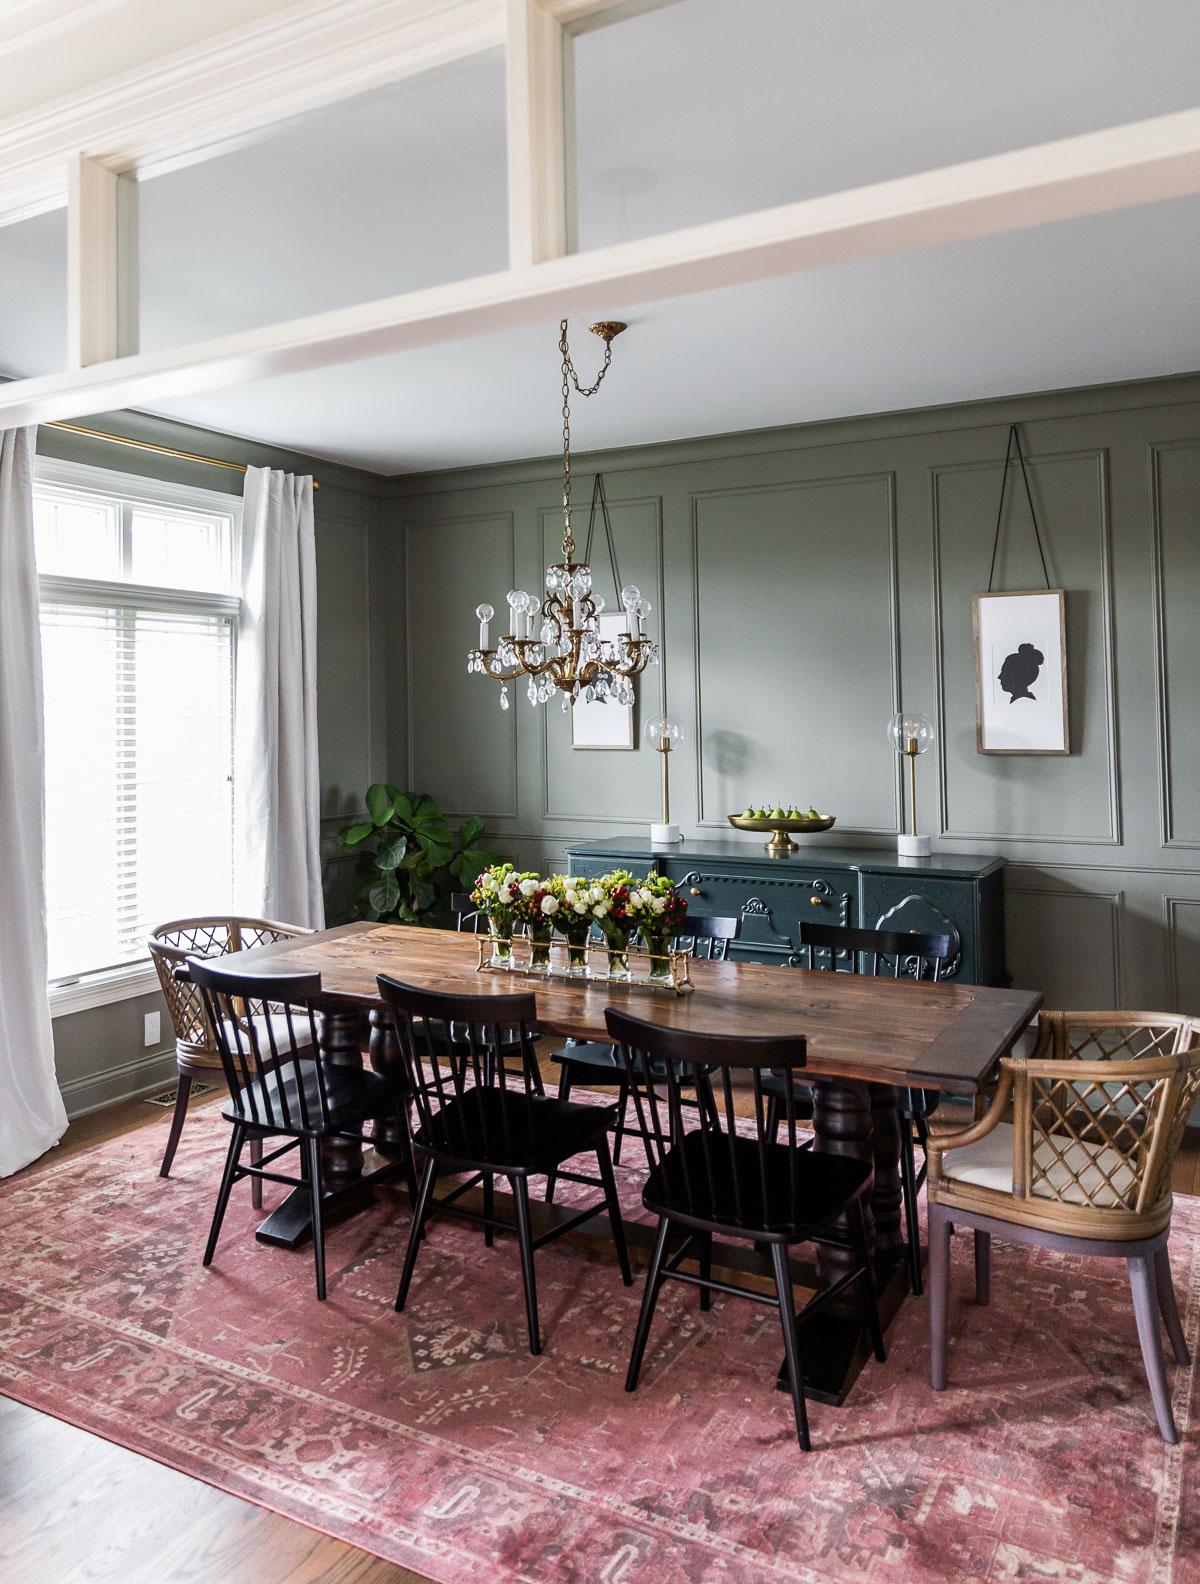
The walls are painted in Benjamin Moore’s Storm Cloud Gray.
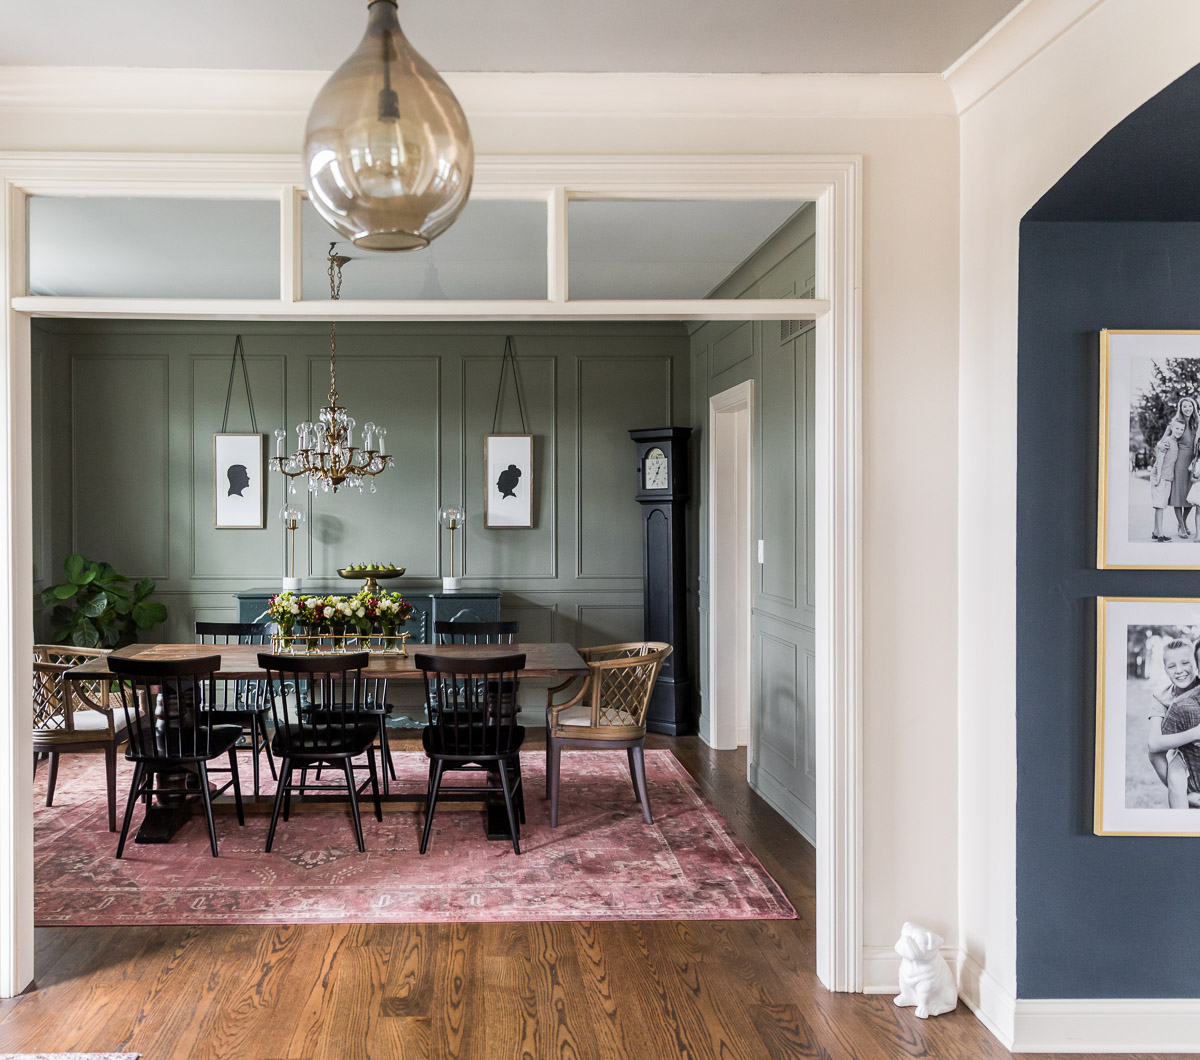
Go create something!

Are you new to my blog? Go HERE to see my home tour and HERE to shop for items I use in our home.
Find me on Facebook | Instagram | Twitter | Pinterest
