Our kitchen nook needed a little something, so I added elegant DIY open shelving. It is an easy project – I did this solo one morning!

There is a large empty wall in the space, and I have struggled with decorating it since we first moved it. I tried stenciling it (see more details on that stencil HERE) and eventually added shiplap (see that DIY tutorial HERE).

Although I loved the texture the shiplap brought to the space, I still struggled with what to put in the space. I felt my bench and hutch looked cluttered in the space. I dream about building a large built-in buffet, but we have other large projects that need to come first. I decided to build some inexpensive open shelving. I began by taping out my plan for the shelves and added some faux lighting (I’ll talk more about this later) above the shelving.

This post contains some affiliate links for your convenience. Click here to read my full disclosure policy.
For this project, I used:
- 2 10″ x 8′ boards
- 6 brackets ( I bought these from Lowes)
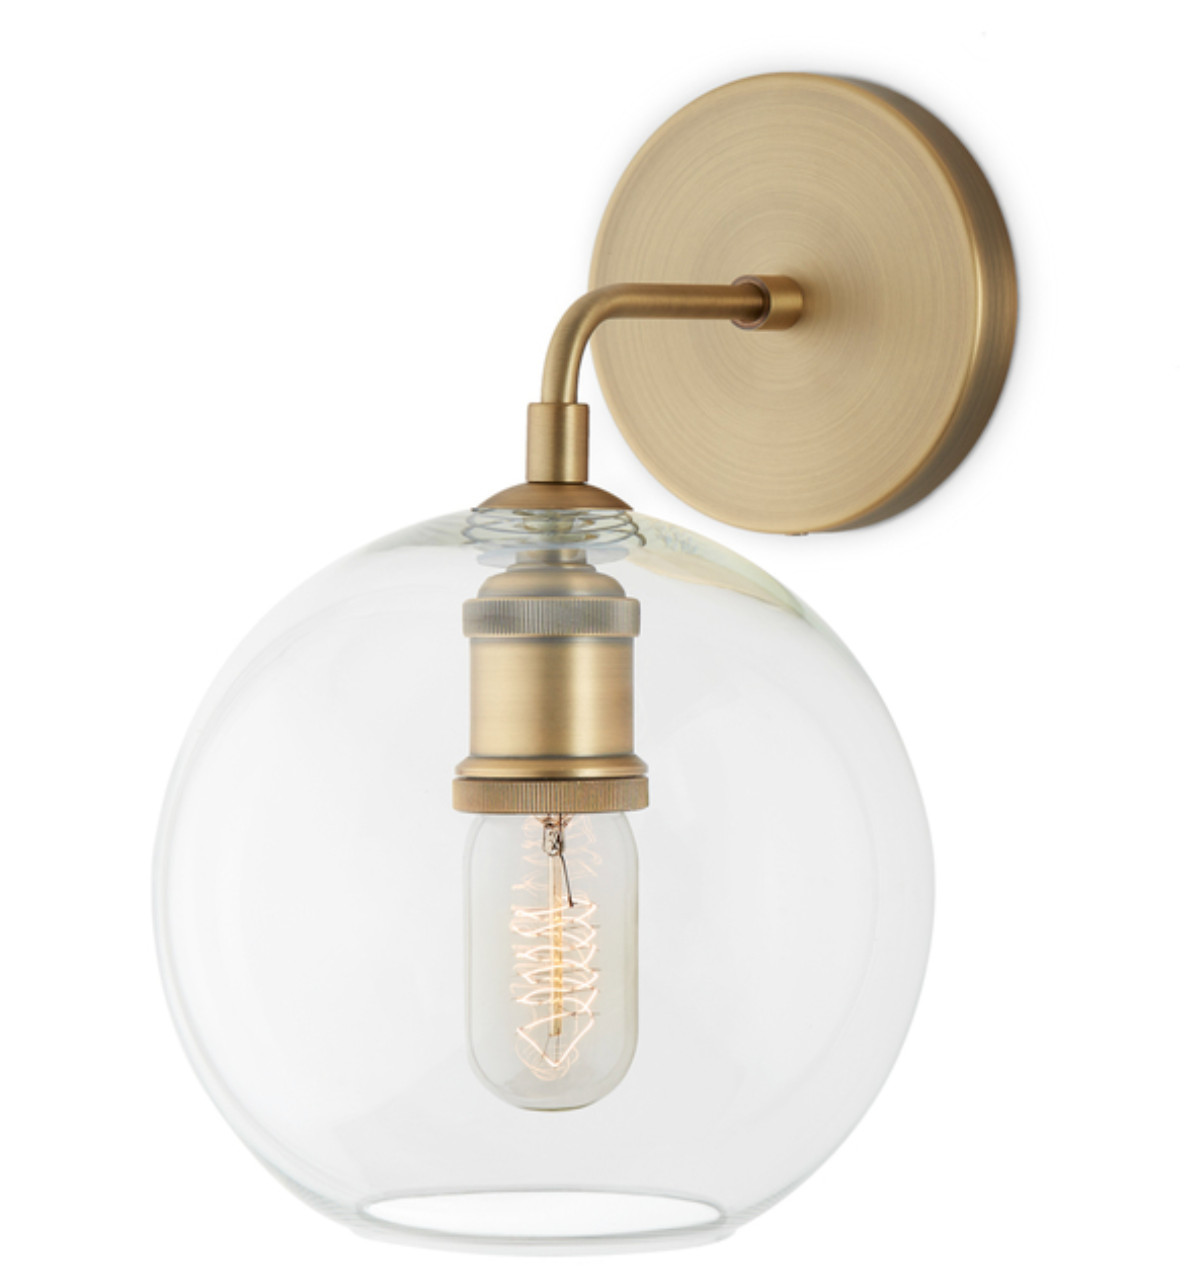
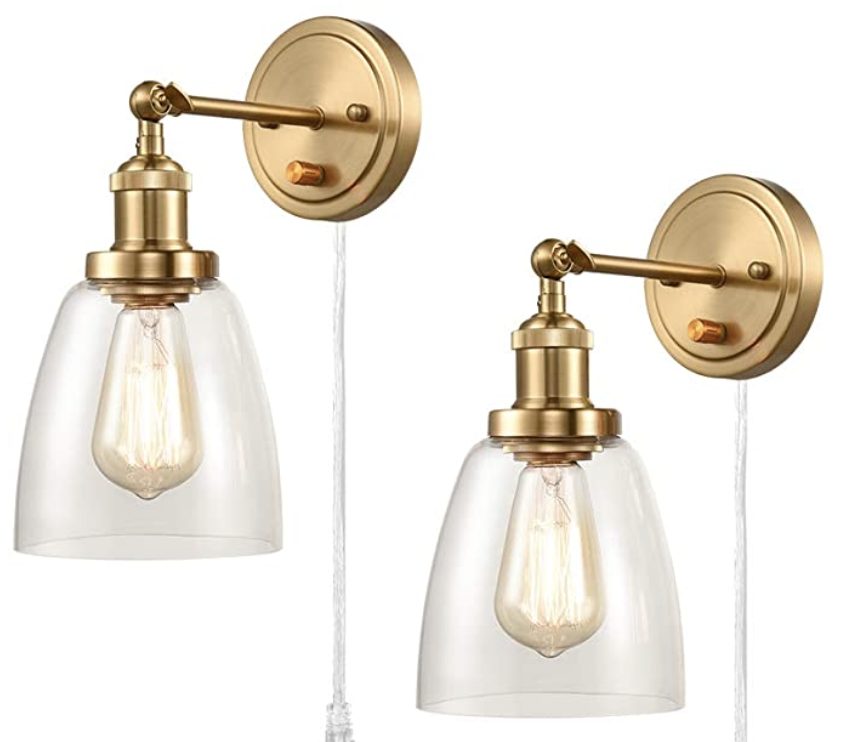
- 3 wall lights (I found mine on Amazon)
- gold spray paint
- primer
- paint
- Electric sander
- Drill
I began the project by sanding down/smoothing my boards.

I added a couple of coats of primer and a couple more coats of paint.

I “installed” my lighting. I looked everywhere for battery-powered wall lamps without any luck. I ended up finding some gorgeous wall lights on Amazon and decided to add them to my space. I’m hoping my electrician (aka my dad) will help me install the lighting down the road, but it will probably prove to be a little tough since I added shiplap. However, I love the look my (faux) lights add to the space!

After the lights were added, I installed the brackets for the shelving. I spray-painted the brackets to match the finish of the lights.

I added my painted boards, and the open shelves were done! The entire project only took me a few hours (solo) to install.

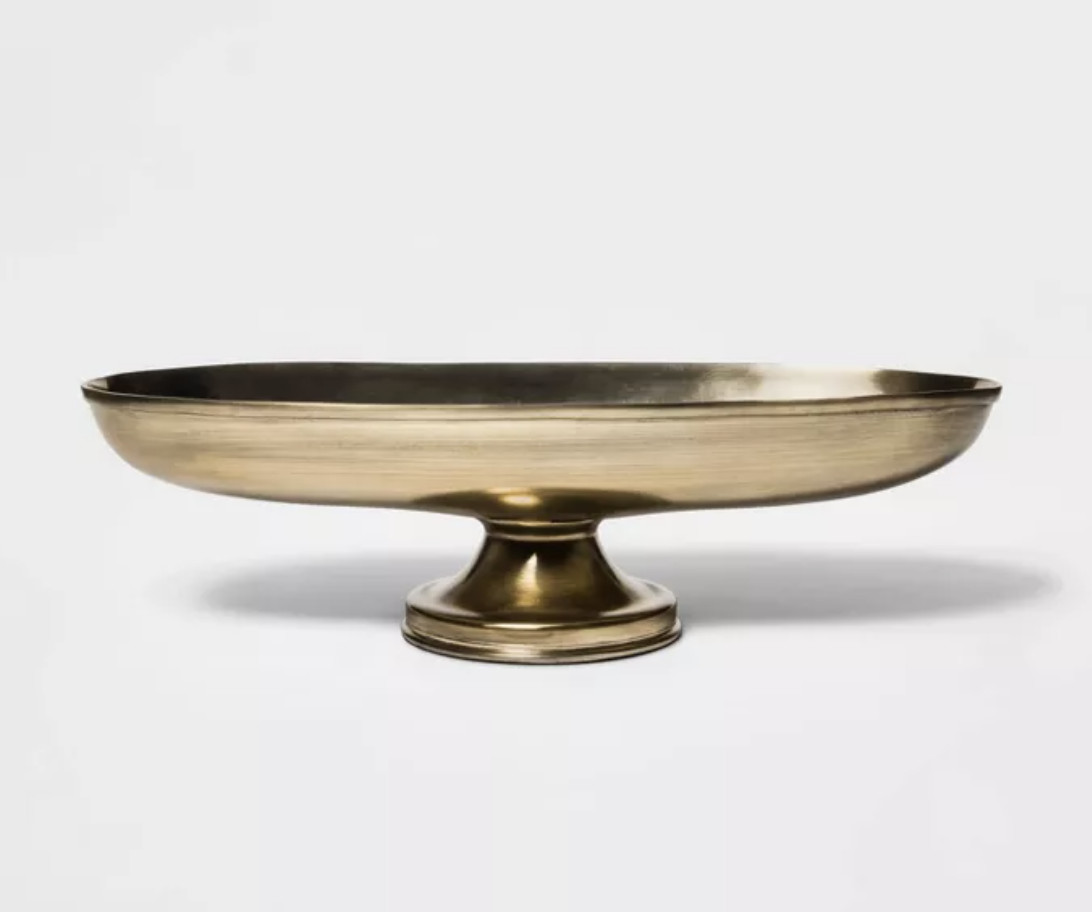
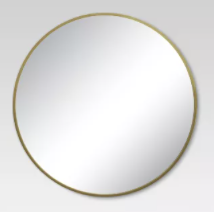
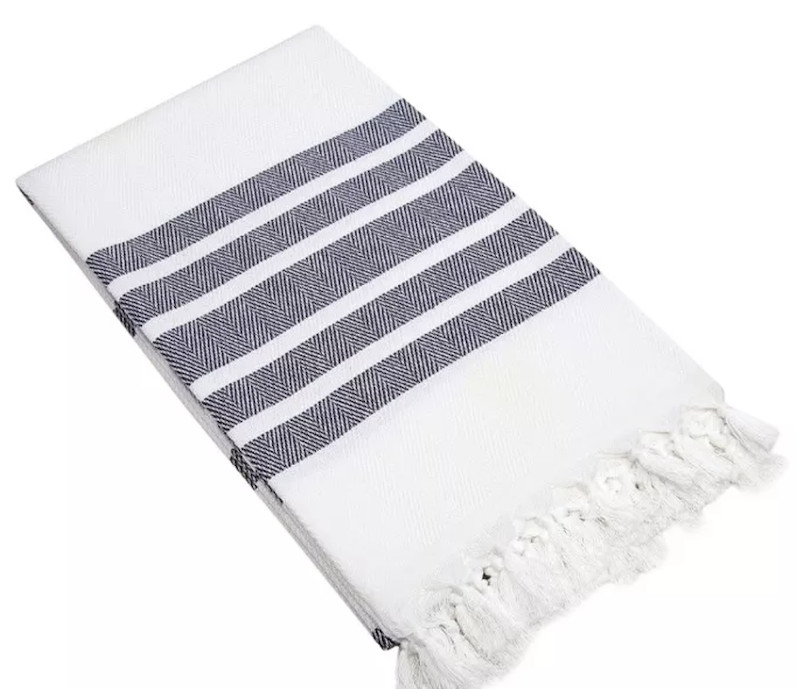
I styled the shelves with some plants and white dishes (click HERE for an inexpensive way to get the look).


I now love this wall!


Where could you use some open shelves in your home – if you don’t already have any?
Go create something!

Are you new to my blog? Go HERE to see my home tour and HERE to shop for items I use in our home.
Find me on Facebook | Instagram | Twitter | Pinterest


Love this project! I shared them today as part of our Sunday post 🙂 Well done! XO, Amy
Thanks so much Amy – I appreciate the share!
Can you share what brand of gold spray paint you used on the shelf brackets? So pretty!!
Thanks Hailey! I always use either Rustoleum or Valspar’s metallic gold. I can’t remember which one I used for these brackets, but they are both really pretty golds!
Open shelving are popular and a great way to organize space. I love these DIY. I got some great ideas from this article. Thanks for sharing.
I saw your article in Romantic Homes and I got your email from the magazine. I love the whole project. I am wondering about the brackets, where did you get them. I love, love, love them.
Hi Connie! I’m so glad you found me. I found the brackets at Lowe’s, but I used spray paint to make them gold. They come in a dark oil-rubbed bronze (almost black) color.
Thank you so much Sara!!! That is wonderful, I am going to copy but I will keep them in the dark-oil-rubbed bronze. I will be using them in the kitchen and my faucet happens to be dark oil-rubbed bronze.
You are so sweet!!!
This may be too old of a post for you to respond, but did you worry about screwing the brackets into studs, or how did you insure that they will hold? I’d love to do something similar above the toilet in the guest bath, but want to make sure they are sturdy. Thanks!
I didn’t worry to much about studs since I was going into shiplap, but yes you should consider studs and try to hit them whenever possible! Anchors are also good for this brackets that aren’t hitting studs. Good luck!!
I’m new to your blog, Sara, and I love your style! …So, by faux lighting do you mean that the fixtures are hung, but not wired and not functioning? Clever…
Yes, I want to eventually have them wired, but for now they’re fake!
Hi Sara! Where are these lights from? Love them! Thanks
They’re from Amazon: https://amzn.to/2SV8J7b
These are beautiful!! What kind of wood did you use?
Just inexpensive pine!
Sara,
I found your shelves in an older issue of Romantic Homes that included your web address. After being inspired by your shelves I am adding similar shelves in my garden shed. I am writing a blog post about the shelves and included a photo of your shelves with a link back to your blog. Please let me know if would rather I not use one of your photos. If so, I will delete the photo and only provide the link back to your blog.
Thanks for the inspiration.
Judith