Decor

Decorating with Brown

Today we’re talking about decorating with brown. Now before you decided to leave, brown is a hardworking neutral that works with just about every color. When used in the right environment, it can create a warm, stable feeling in any room.

This post contains some affiliate links for your convenience. Click here to read my full disclosure policy.

I partnered with Amy Howard Home to share their Color of the Month.

The Color of the Month Club is a monthly subscription where Color of the Month subscribers will receive a new color every month exclusive to the club. This month’s Color of the Month is Southern as Pecan Pie, and it is a dark chocolate brown which is perfect for fall – which is why we are talking about decorating with brown!

An excess of brown can create a dark, heavy feel in your space which is why it’s important to integrate shades of brown into a color palette with colors and shades that complement it. It’s all about knowing the colors that go with brown, and the best ways to incorporate them.

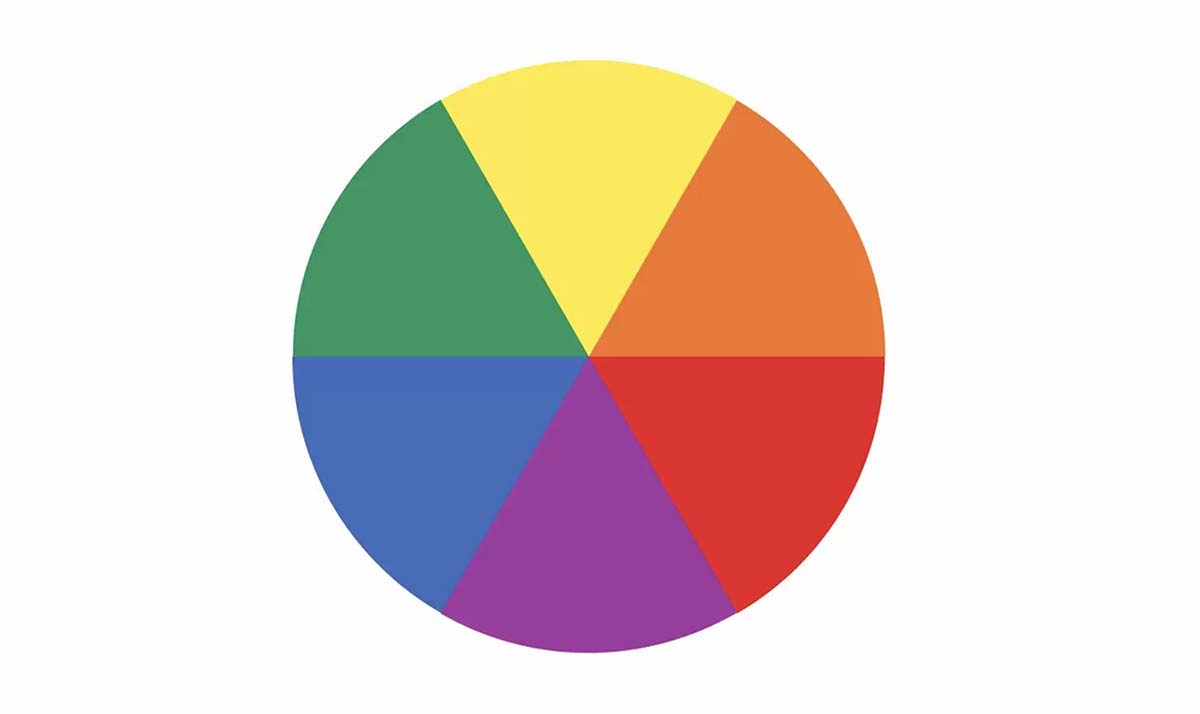
The Color Theory Behind Brown

Despite all of these meanings and uses, you won’t find brown on the color wheel or in the rainbow. It’s a composite color made by combining usually 3 other colors (black, red, and yellow for example, or red, yellow, and blue in certain ratios). Together with low brightness or low saturation, we get brown, instead of a clear shade of another color. Its composite nature makes it a natural background color, and you can find a shade of brown to complement any other color well.

Brown is the color of earth, wood, stone, wholesomeness, reliability, elegance, security, healing, home, grounding, foundations, stability, warmth, and honesty, is a natural, neutral color that is typically associated with the seasons of fall and winter. It is a warm color that stimulates the appetite. While it is sometimes considered dull, it also represents steadfastness, simplicity, friendliness, dependability, and health.

Brown is believed to help create a wholesome feeling, a connection with the earth, and a sense of orderliness and convention. Brown is a stable and grounded color that is known to make people feel safe and comfortable.

Brown & White

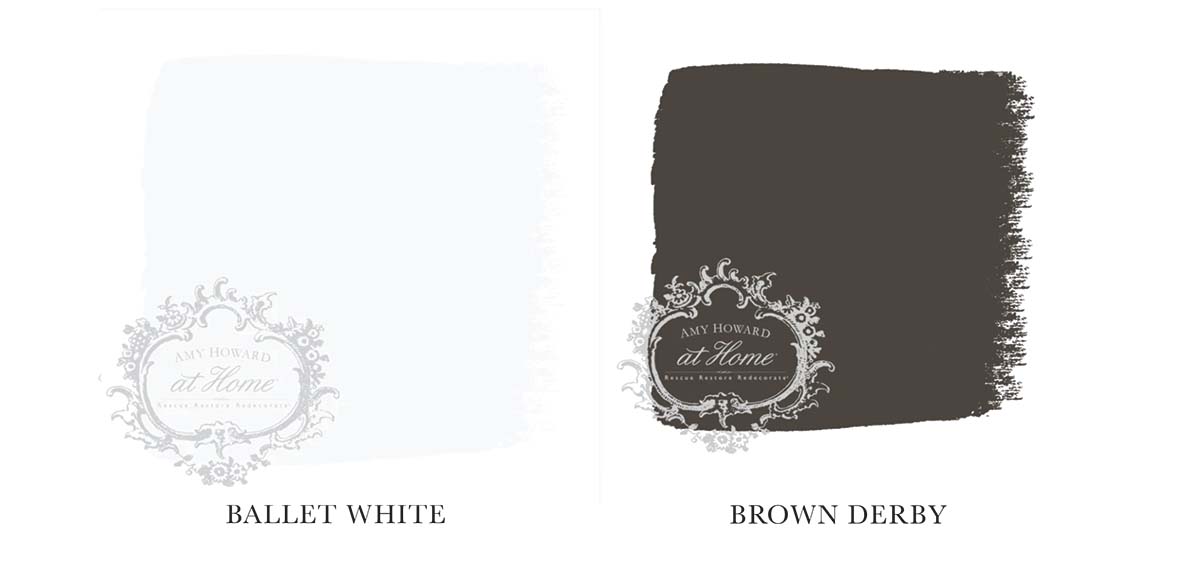
White goes with just about every color, and brown is no exception to that rule. Pairing any shade of brown with a white will give you a classic and clean contrast that works well in a room like a formal dining room or living room. If white and brown are your two main colors in any room, make sure you vary the shades to keep it interesting and from being too monochromatic.
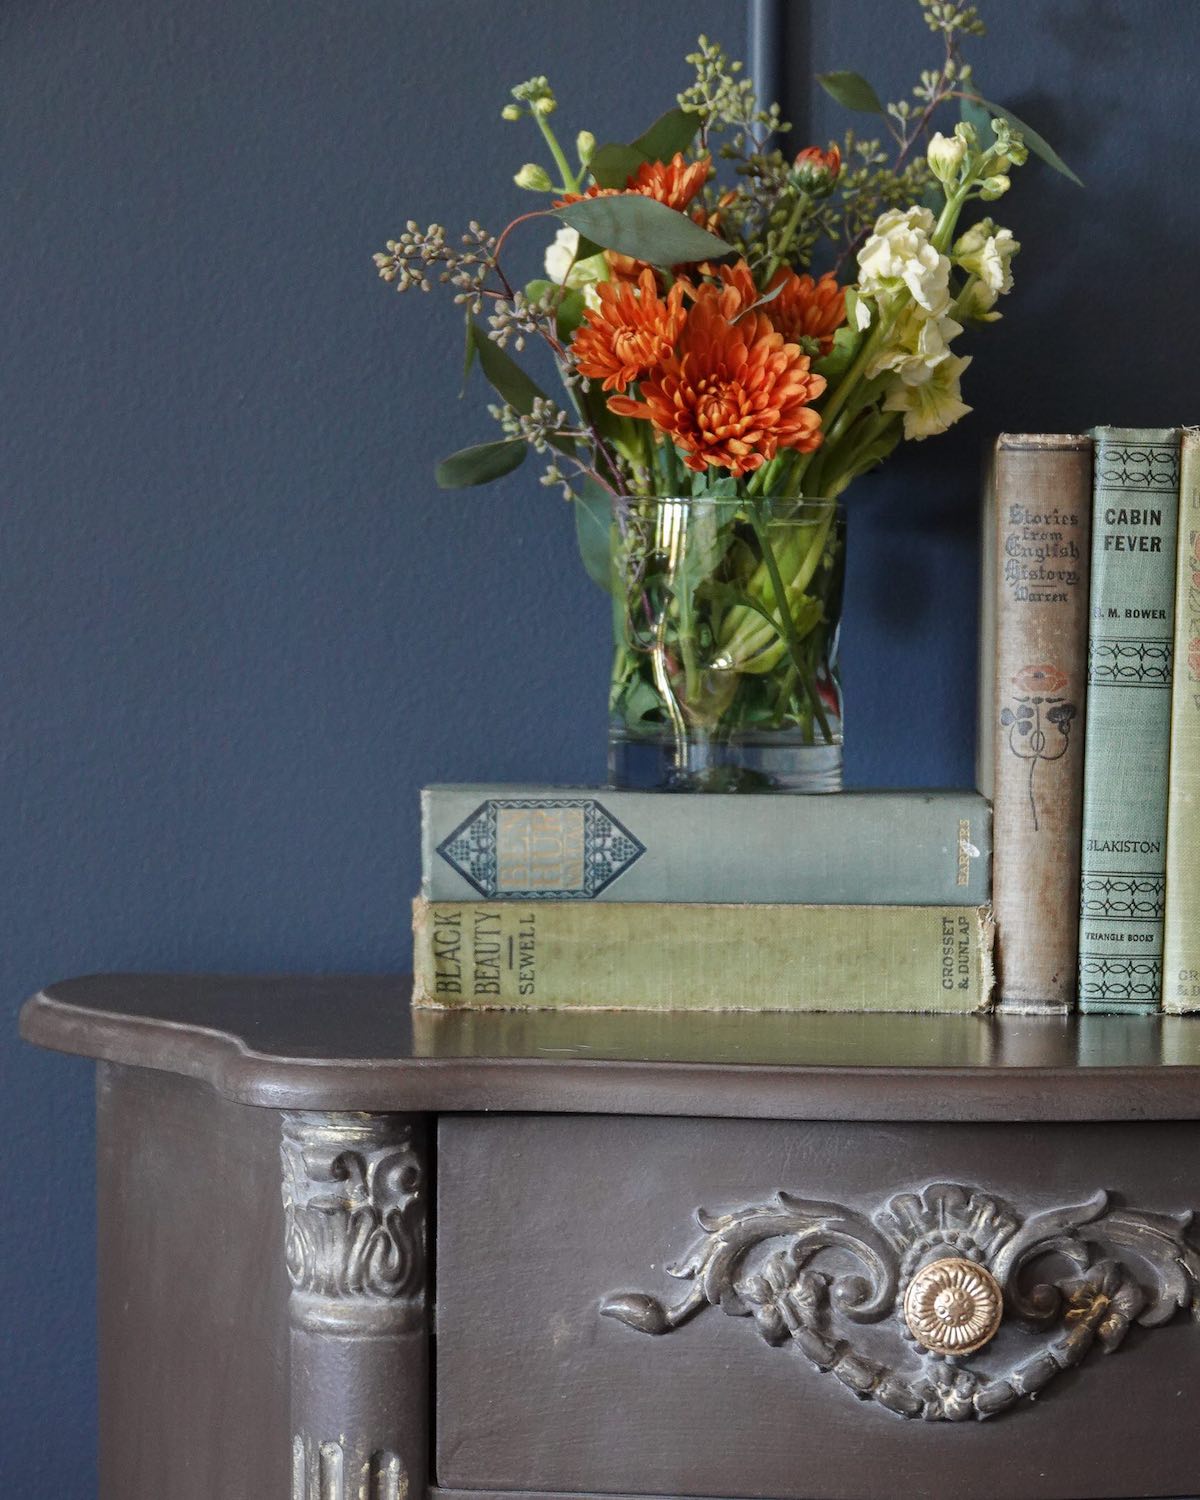
Brown & Orange

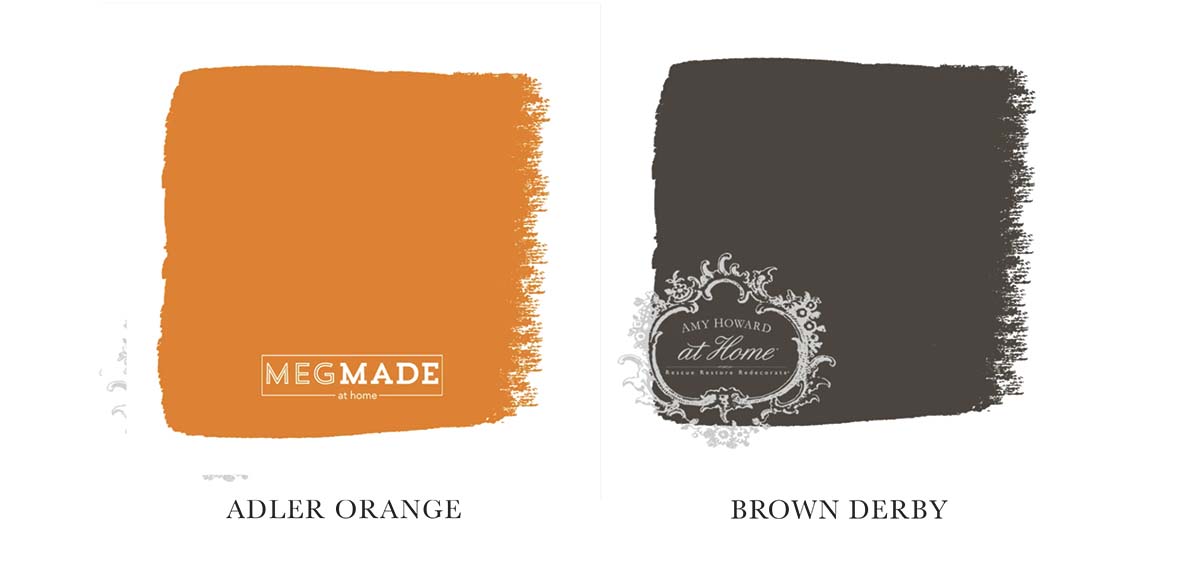
Since brown and orange are such similar colors you might shy away from pairing them together – but don’t! When placed in a primarily brown space, orange accents will serve as the perfect energizer for the room. A pop of orange in a brown room is very sophisticated and glamorous, especially against darker woods. For a more warm, sophisticated color scheme, you can try pairing a dark chocolate background with orange and cream accents.
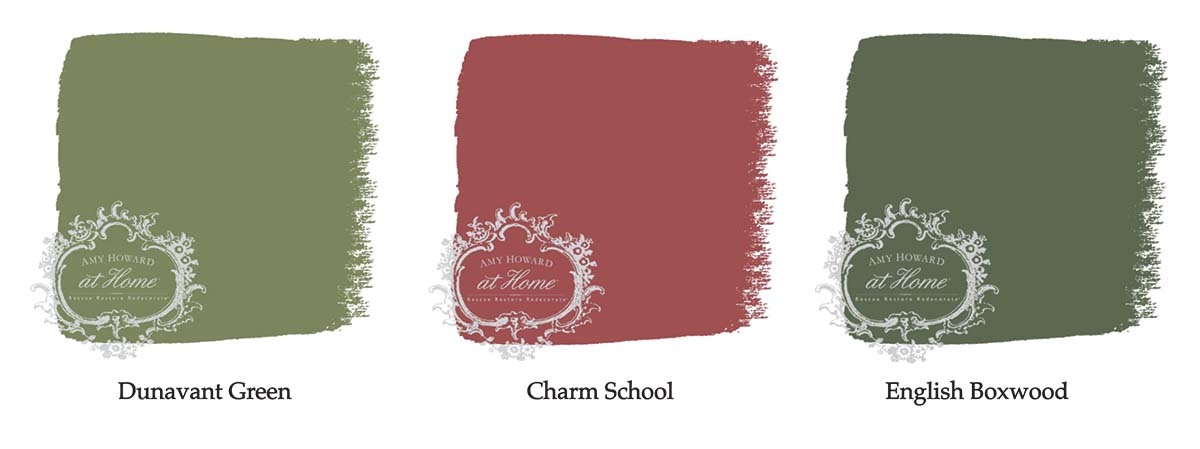
Brown & Green

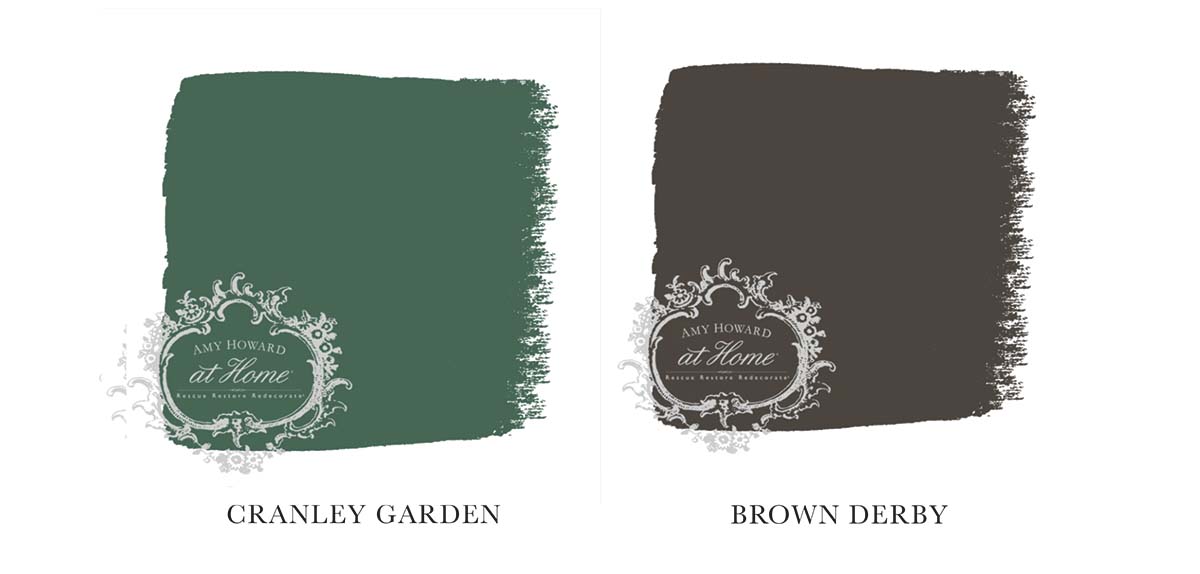
Brown is a color perceived as natural and neutral so pairing it with green plays just makes sense. Lighter shades of green like mint soften the darker furniture in a room. Using darker shades of green paired with dark brown accents or wooden furniture creates a darker, moody vibe that would work for a den or office space. There are few combinations of green and brown that wouldn’t compliment each other thanks to the two colors being natural in nature.

Brown & Yellow

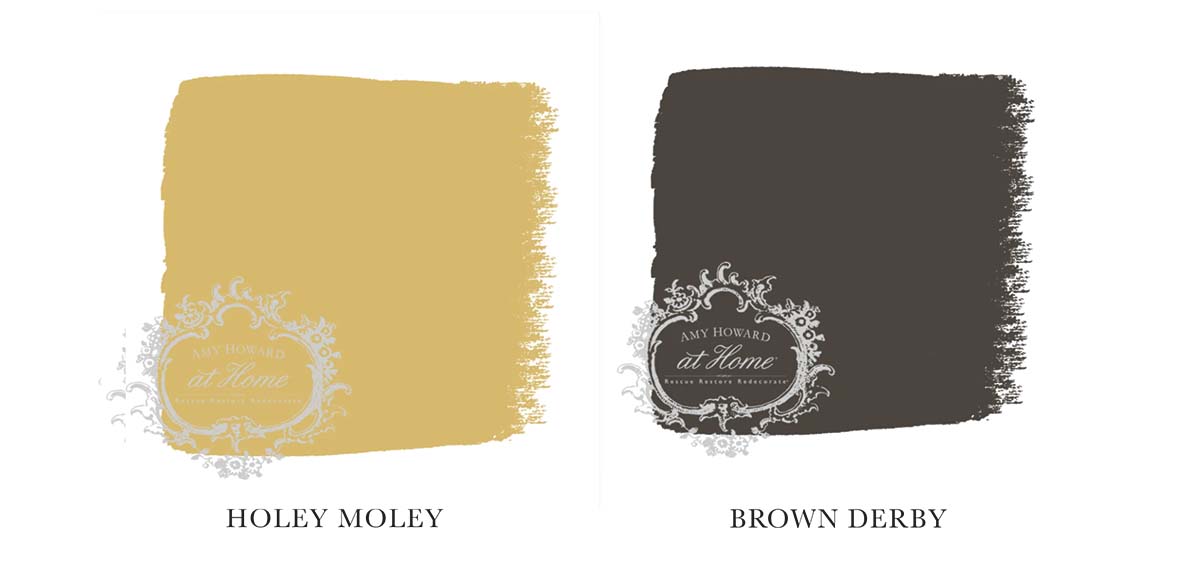
Consider pairing yellow with brown. Pairing brown with yellow creates a contemporary vibe in a bedroom or sitting room. Using the 60-30-10 rule would work well when pairing yellow and brown. 60% of the room should be a neutral shade such as white, with 30% of the room decorated in various shades of brown, while 10% is reserved for yellow accents.
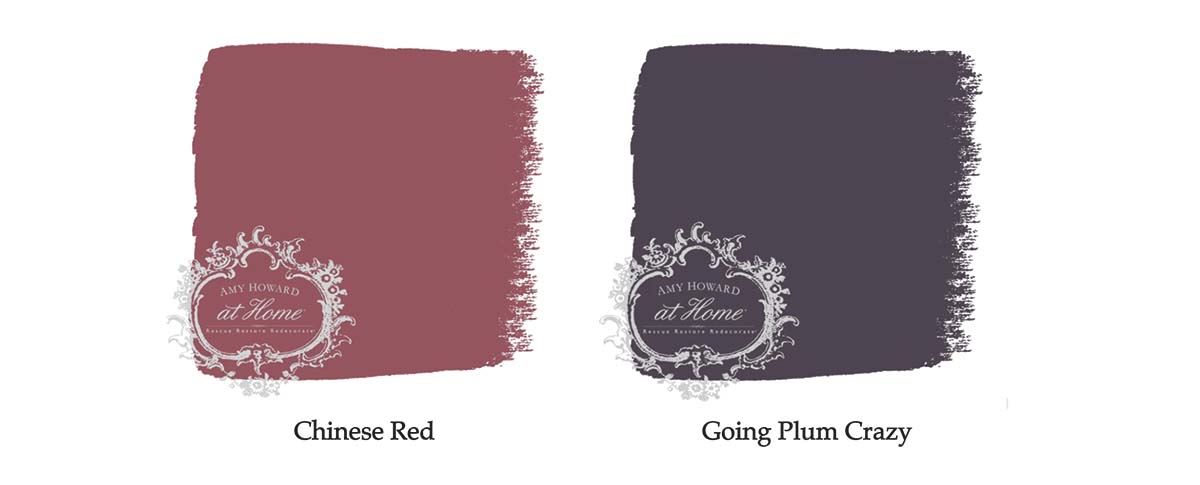
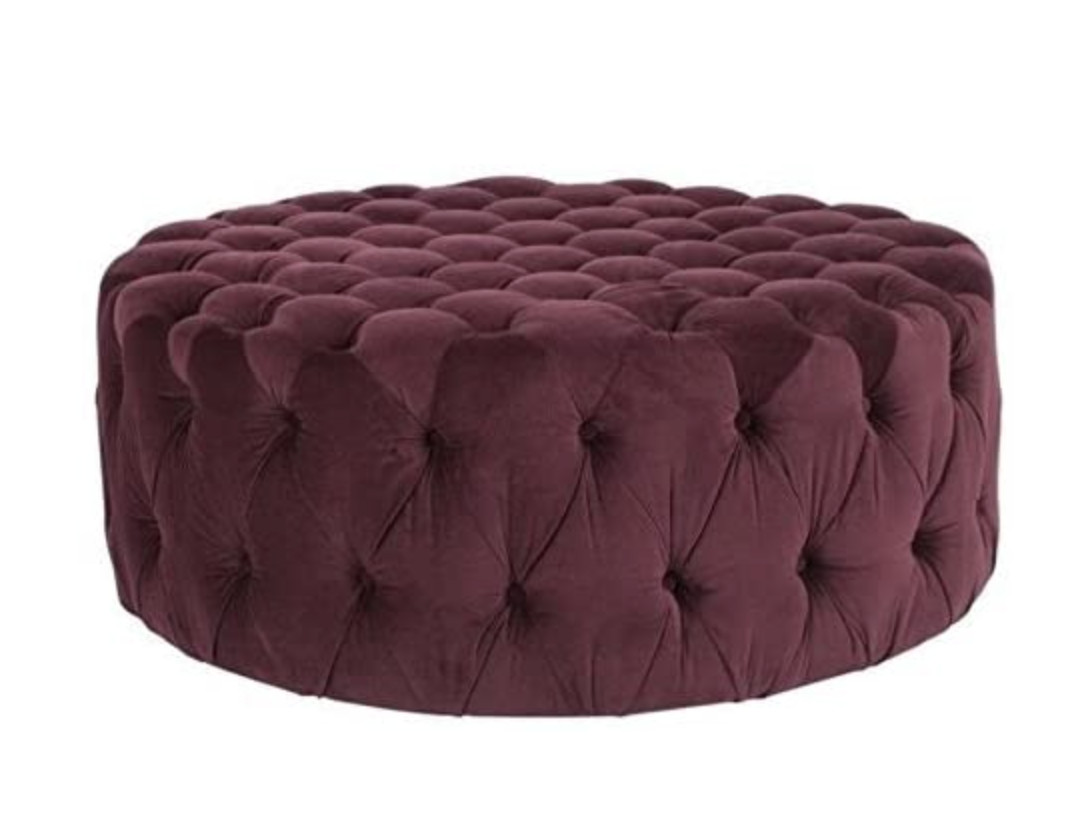
Brown & Purple

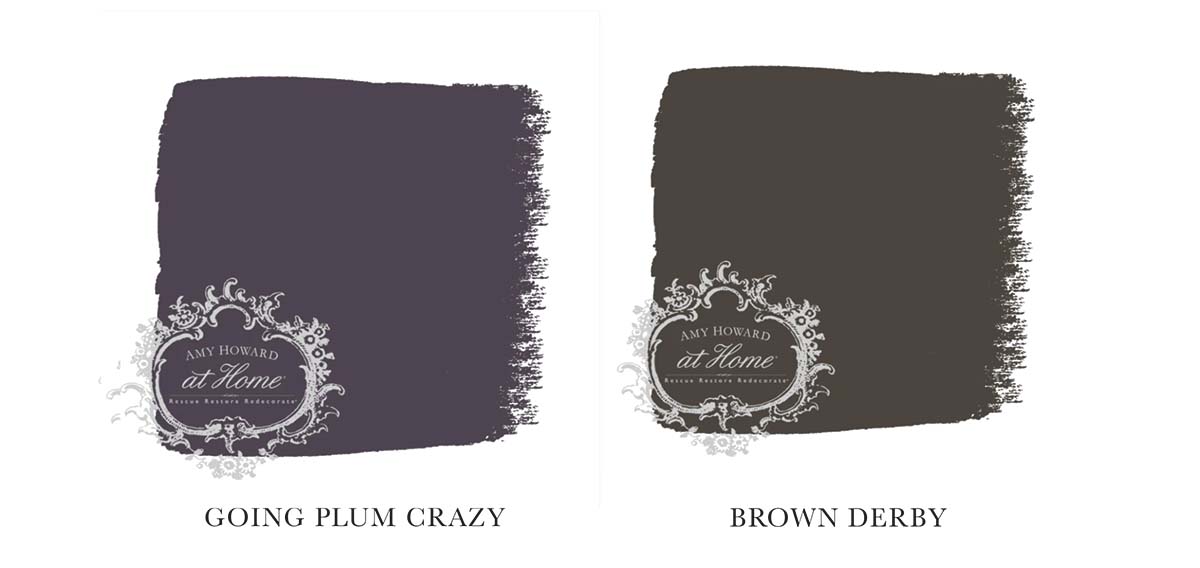
A more unexpected pairing is brown and purple. Deeper shades of purples and browns can make larger spaces feel warm and rich. When pairing purple and brown, always focus on the opposites. Darker woods like walnut pair well with pastel purples, and lighter brown woods pair well with deep shades of purple like plum or bright shades like amethyst. Brown and purple work very well in a room with gold accents and the colors can create a cozy, moody, and luxurious space.
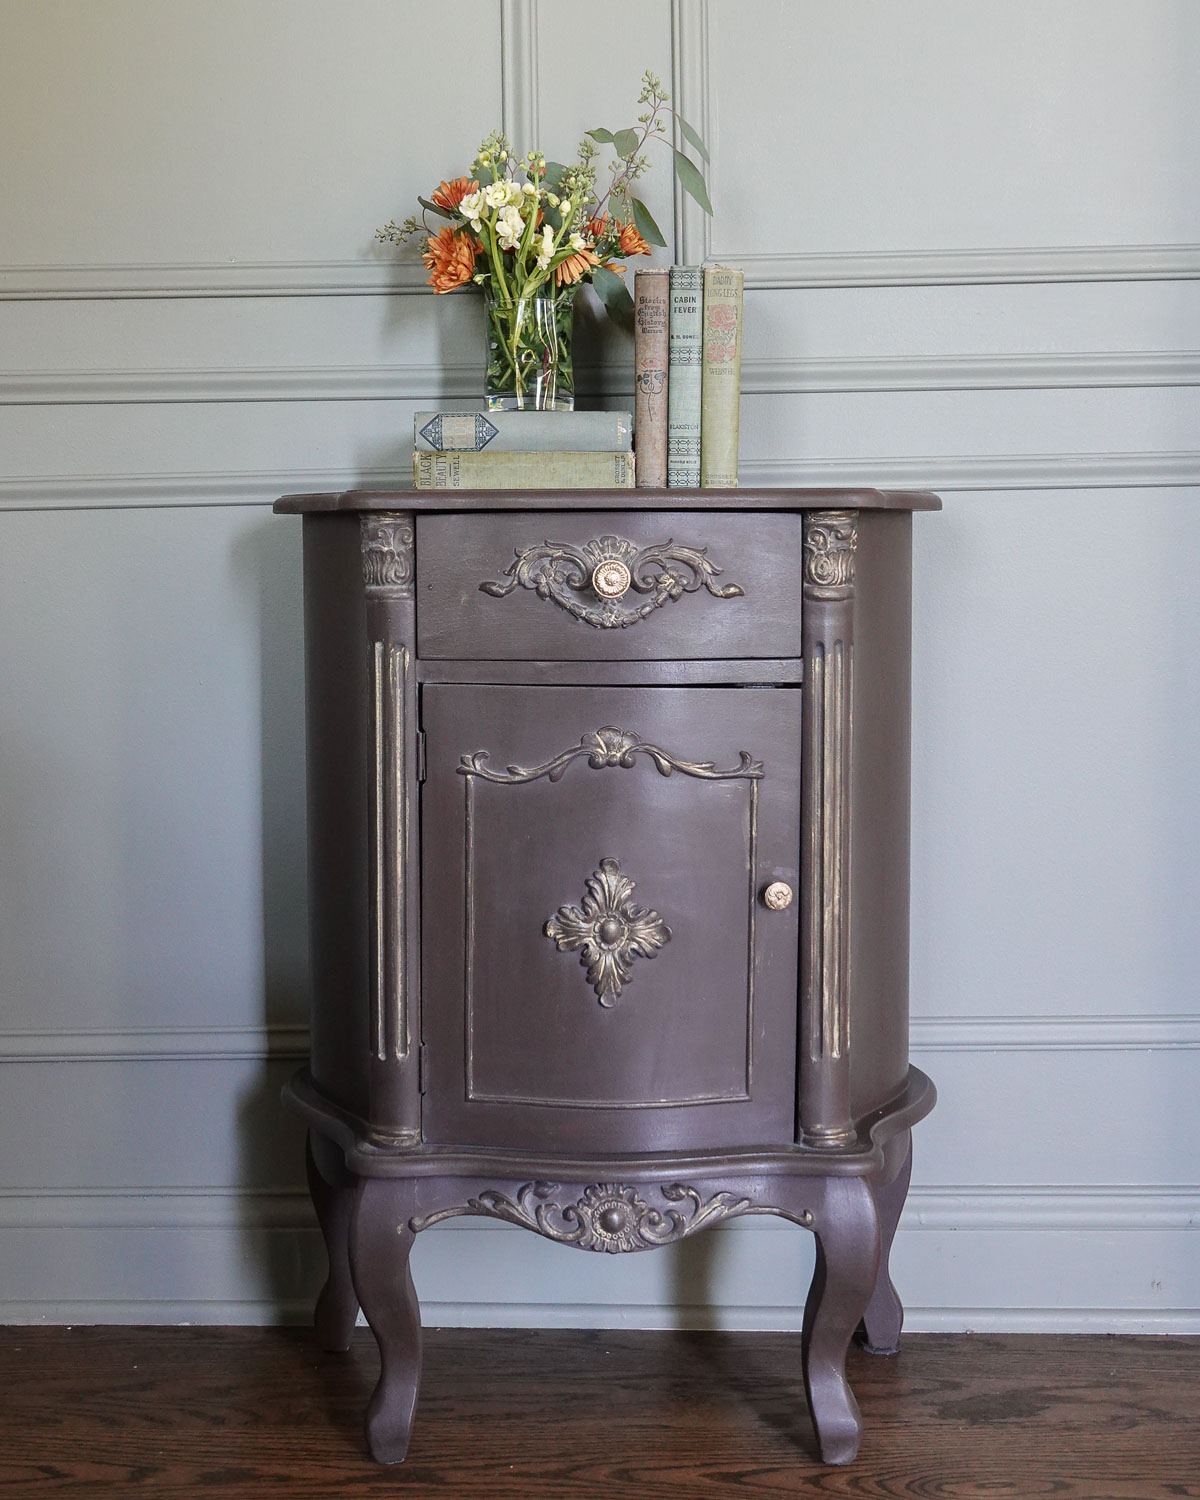
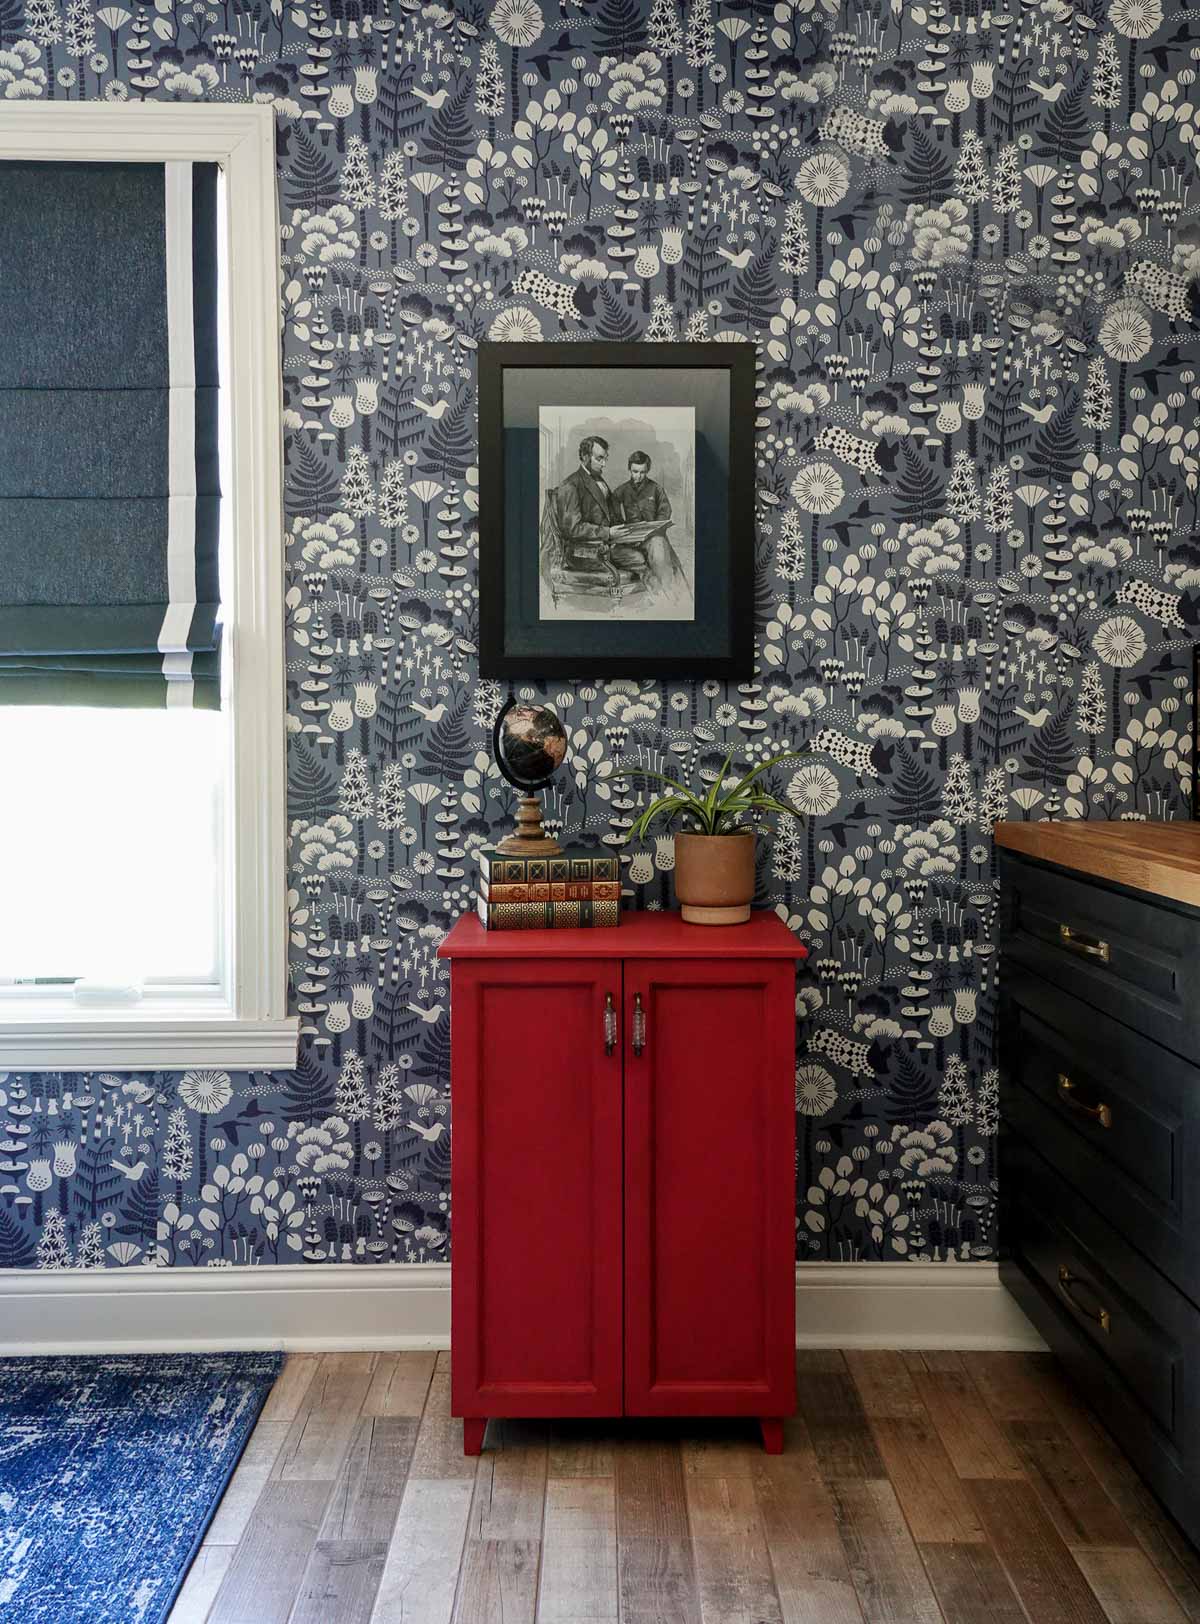
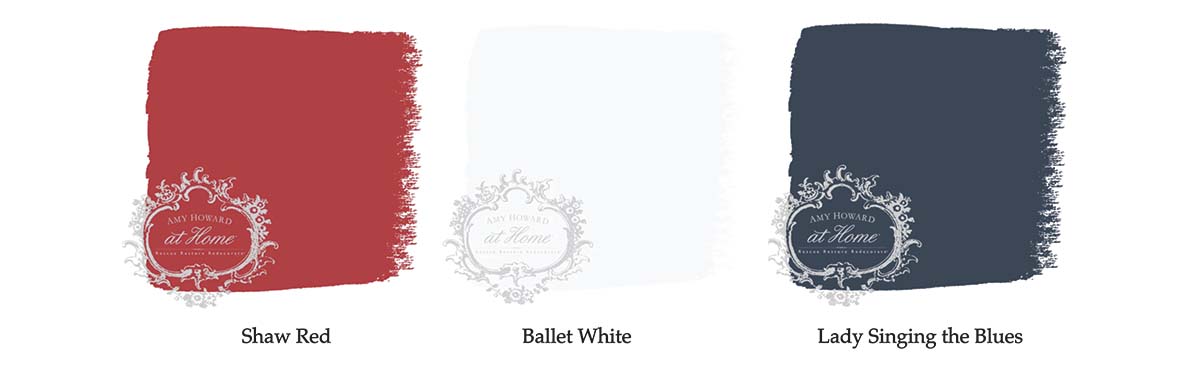
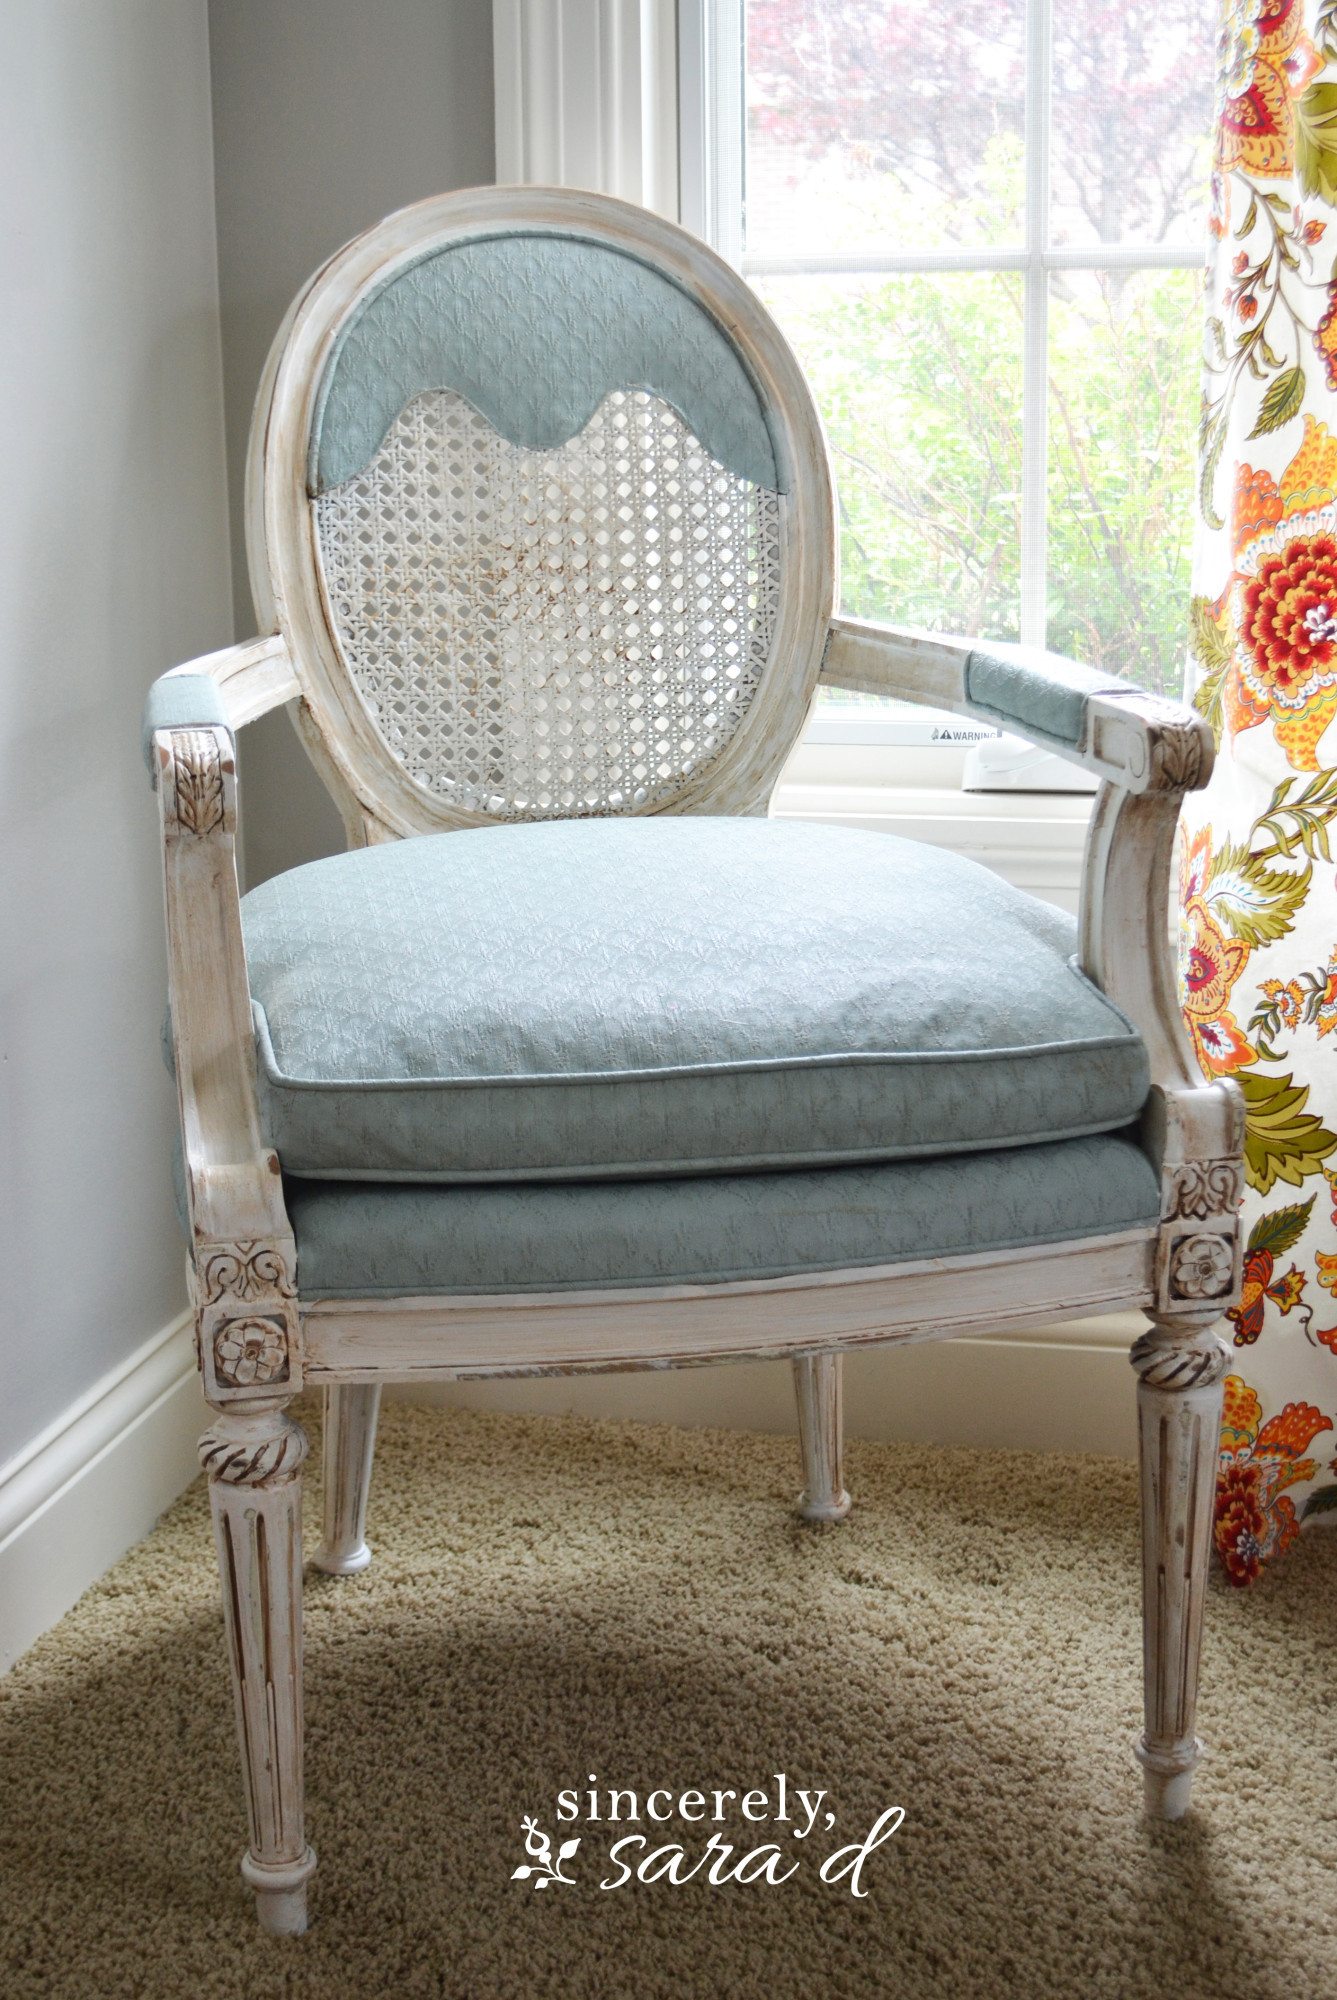
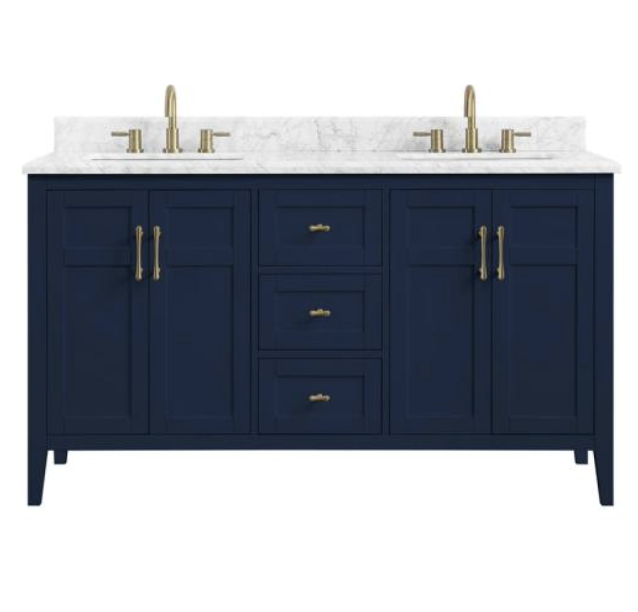
Brown & Blue

You won’t find brown on the traditional color wheel, but since its closest shade is orange, blues is an obvious complementary color for brown. Combining blue and brown tones can make a relaxing environment. Brown paired with dark navy blue makes a room feel refined with the dark colors, whereas pale blue paired with beige or a lighter wood creates a more serene environment. The cool tones in shades of blue mix well with the warm browns of darker wooden furniture without leaving the room feeling too dark or heavy.
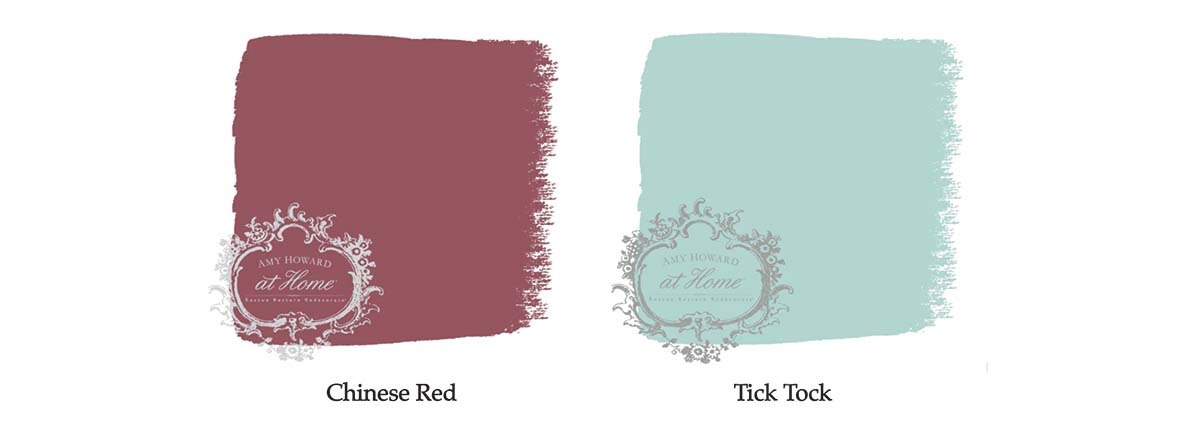
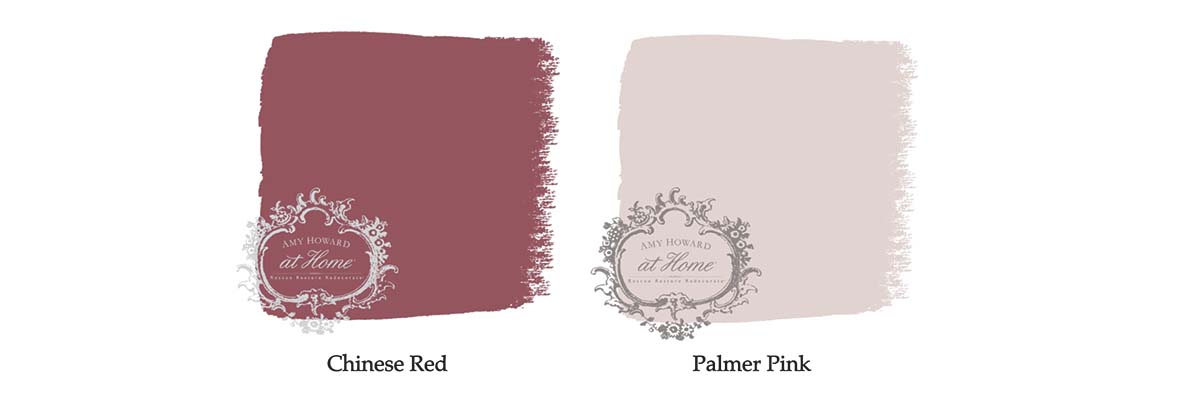
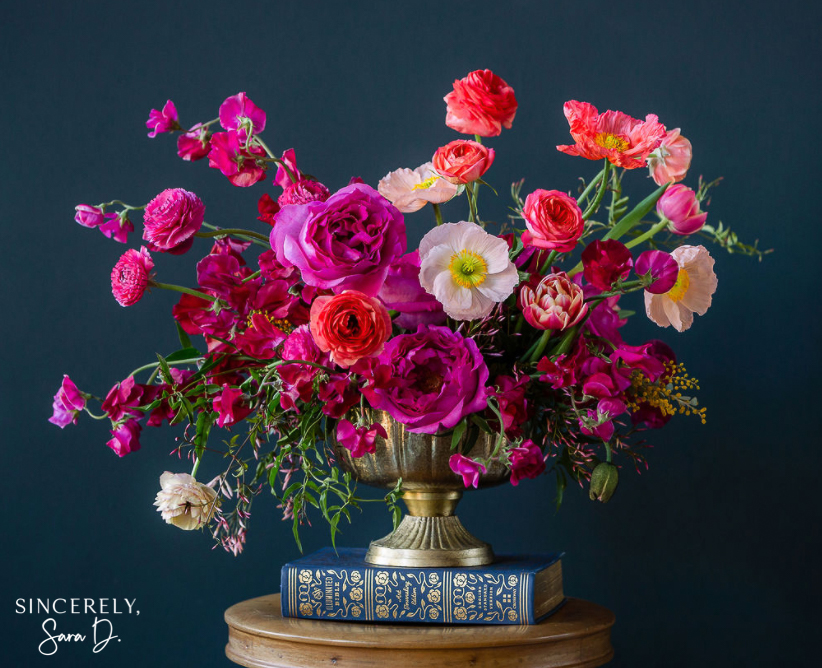
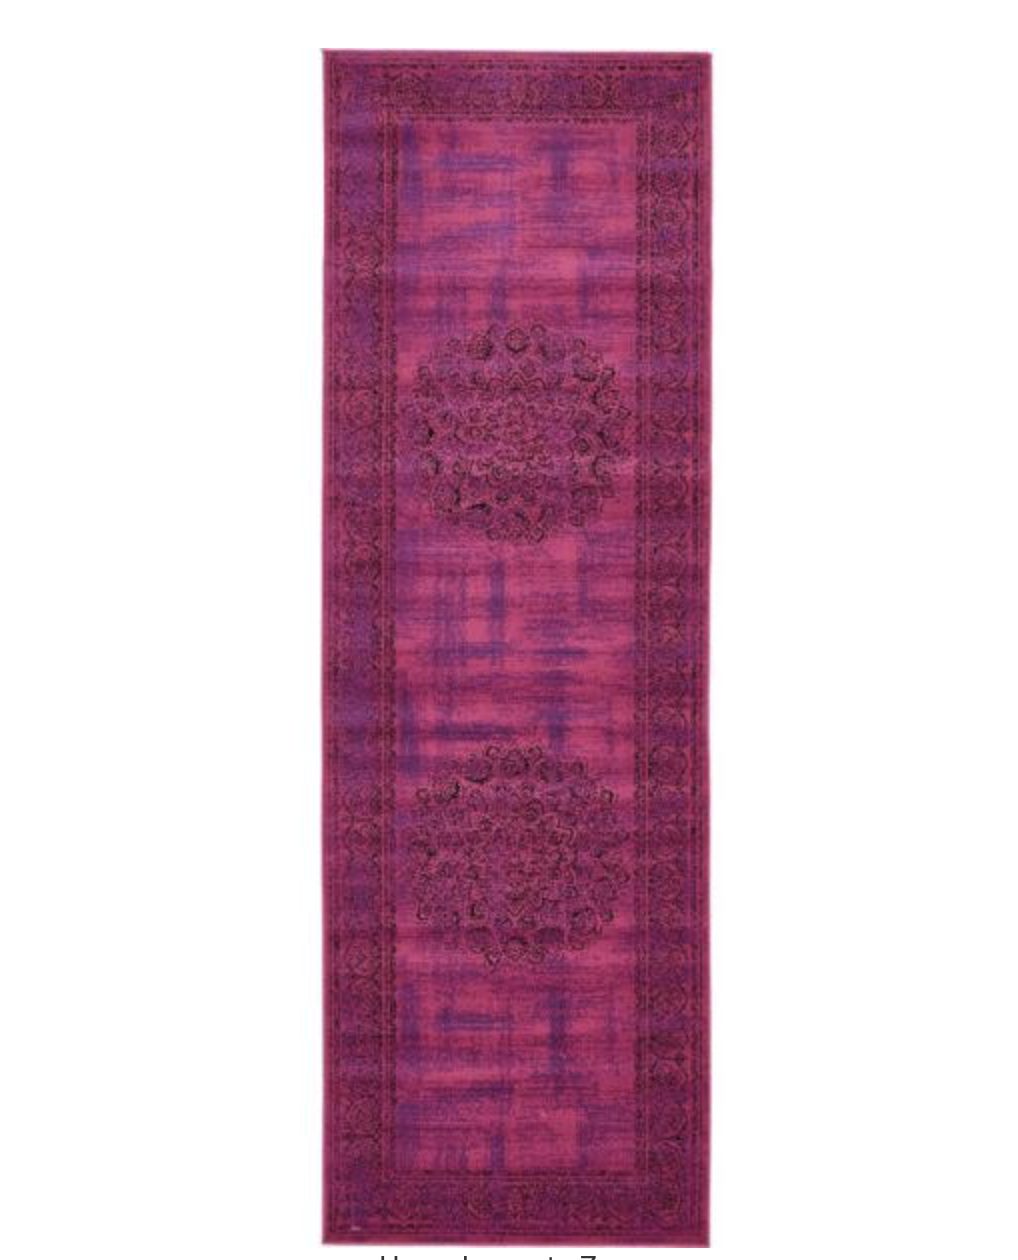
Brown & Pink

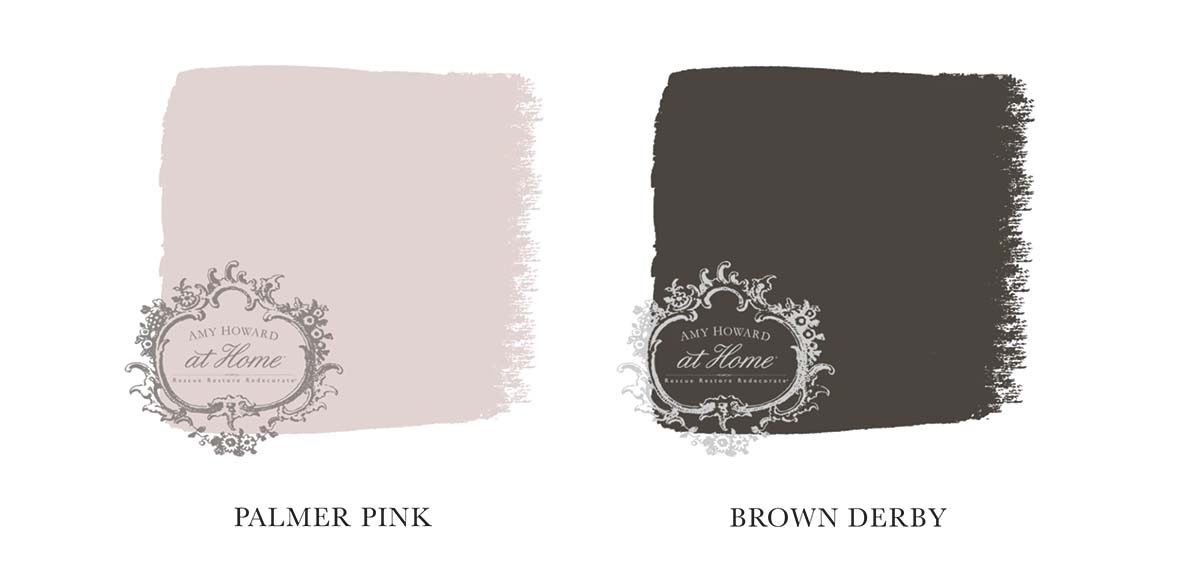
Brown and pink may be an unlikely pair, but they work really well together. Pairing brown with shades like rose or fuchsia creates a feminine space without overdoing it. If you’re going ahead with a pink room, the natural order would be to start with a brown base and brown or wooden furniture, using shades of pink as your accents in things like pillows, curtains, or artwork.

Brown & Black

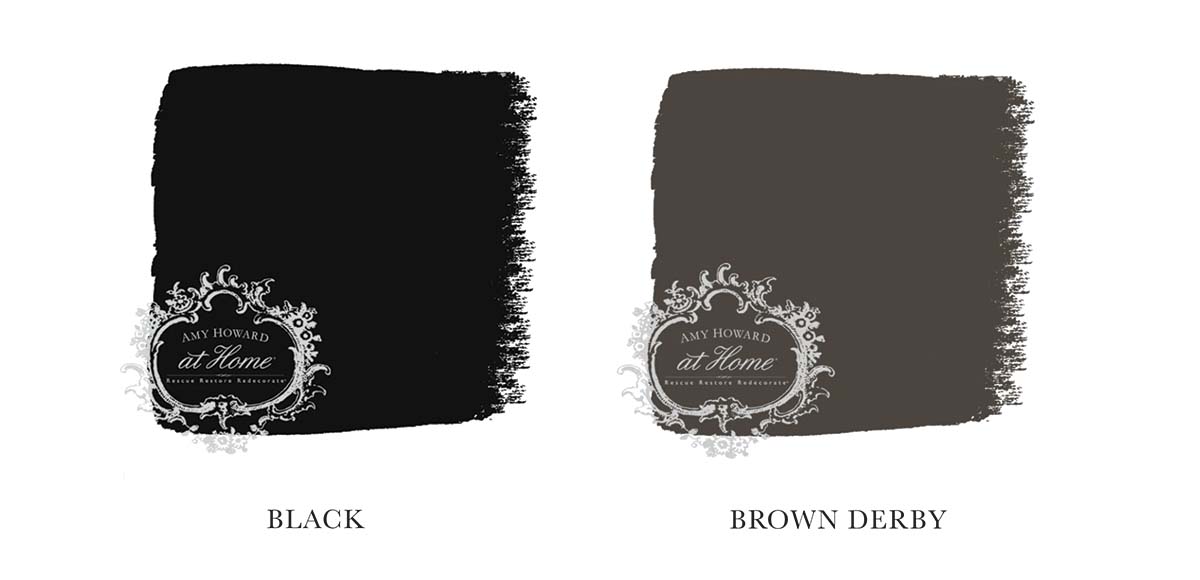
Brown and black are neutrals that work well together and create a classic color palette in any room. When using black as one of your main colors, you must make sure to balance it well. Lighter shades of brown work better so the room doesn’t appear too dark. In spaces with black furniture, brown accents can add depth and interest to the room, while black can create drama against brown furniture.
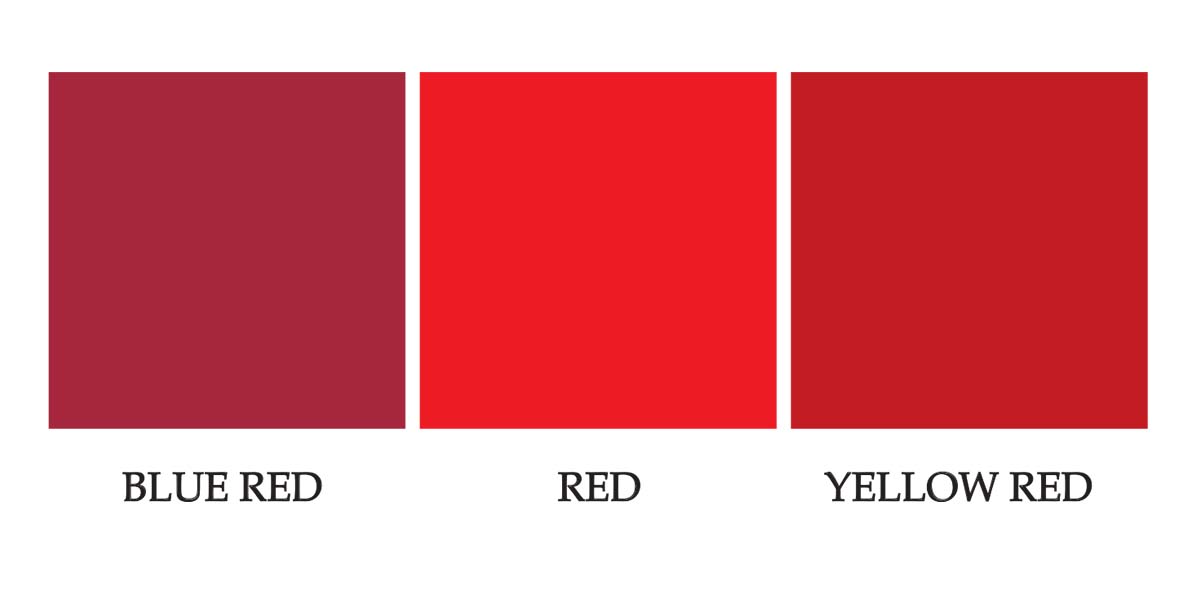
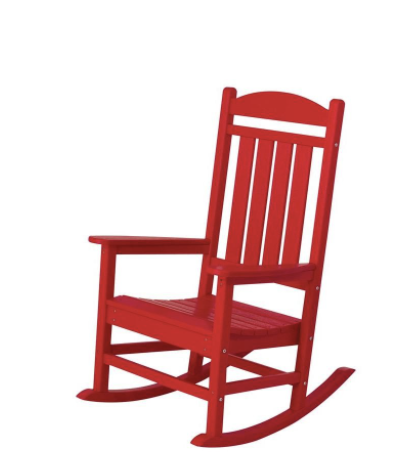
Brown & Red

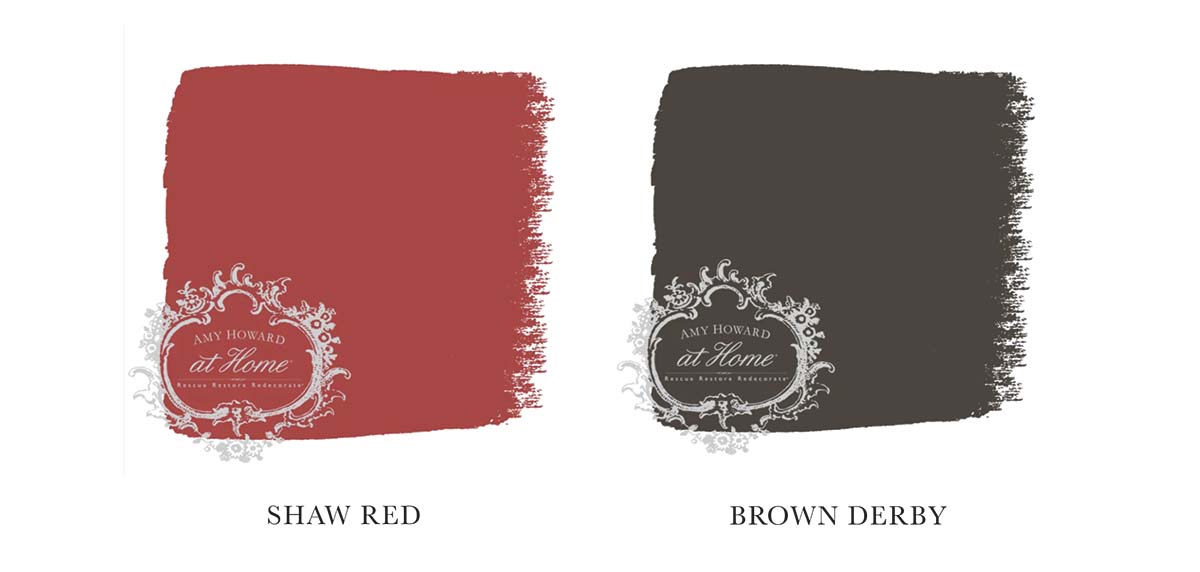
When it comes to pairing brown with red, it’s all about the shade of red that you choose. A room such as a home library or study might call for a moody color palette centered around darker hues of red, whereas a clean, modern bedroom can benefit from a pop of color in the form of a bright red throw blanket or reading chair.

The color brown is a wonderful neutral that can both carry or accent a room design. From deep rich chocolate to soft, muted taupe, brown is the great equalizer and goes with everything.

If you want to see more info on the color of the month club or purchase any of the specific paint colors I mentioned, go to Amy Howard Home.

Go create something!

Are you new to my blog? Go HERE to see my home tour and HERE to shop for items I use in our home.

Decor

Decorating with Red

Today we’re discussing decorating red because it is such a powerful accent color. Red captures attention and is the color of extremes. It’s the color of passionate love, seduction, violence, danger, anger, and adventure. Our prehistoric ancestors saw red as the color of fire and blood – energy and primal life forces – and most of red’s symbolism today arises from its powerful associations in the past.

It is one of the most visible colors, second only to yellow – which explains why it is used on fire engines and stop signs to trigger alertness.

This post contains some affiliate links for your convenience. Click here to read my full disclosure policy.

I partnered with Amy Howard Home to share their Color of the Month.

This is a new monthly subscription where Color of the Month subscribers will receive a new color every month exclusive to the club. This month’s Color of the Month is When in Doubt Wear Red,  and it is a beautiful deep red with blue undertones perfect for fall – which is why we’re talking about all things red!

The cabinet I showed earlier is one I found at a roadside sale for $10. It’s amazing what some paint can do (and new hardware):

RED COLOR THEORY

On the color wheel, red is a warm, primary color and sits between blue and yellow. Primary colors are the 3 pigment colors that cannot be mixed or formed by any combination of other colors. All other colors are derived from these 3 hues.

The three secondary colors (colors created when primary colors are mixed) are green, orange, purple. And there are six tertiary colors, which are colors made from primary and secondary colors, such as blue-green or red-violet.

Warm colors include red, orange, and yellow (and variations of these three colors). Warm colors are the color of fire, fall leaves, sunsets and sunrises, and are generally energizing, passionate, and positive.

Generally speaking, the most complementary colors are those that stand opposite each other in the color wheel, such as red and green, blue and orange, purple and yellow.

Red has the longest wavelength of any color. It’s the first color babies can see, and it’s the very first color to vanish as the sunsets.

Red is the opposite of blue (read all about decorating with blues here). While blue calms, red can speed up our heart rate and is a physical stimulant.

Red calls us to action, gets us motivated, and wearing red lets people know we feel confident. Red is associated with luxury – think about a red Ferrari.

Red also has negative connotations in that it can indicate anger and red is associated with financial loss.

SHADES AND TINTS OF RED

  • Blue-based reds are berry reds.
  • Yellow-based reds are tomato reds.

Generally, females are more attracted to blue reds while males prefer yellow reds.

DECORATING WITH RED

In design, red can be a powerful accent color. It can have an overwhelming effect if it’s used too much in designs, especially in its purest form. It’s a great color to use when power or passion want to be portrayed in the design. Red can be very versatile, though, with brighter versions being more energetic and darker shades being more powerful and elegant.

LESS IS MORE WITH RED

Red is the perfect way to add a splash of color to any space and is a beautiful accent color. Use it to enhance a room by painting a piece of furniture or adding it as a decorative piece (think artwork, vases, and throw pillows).

COLOR SCHEMES THAT WORK WITH RED

All of the colors I share below are from Amy Howard at Home’s One Step Paint Line.

Red, Navy, and White

There’s a reason so many flags are red, white, and a deep, navy blue. Red, white, and blue is a classic combination, but because red and blue are both primary colors, the combination can be overwhelming. A more sophisticated combination is primary red and a deep navy blue.

Red and Turquoise

Red and turquoise the perfect combination for people who want bold decor. These two vibrant shades are loud on their own but somehow, they neutralize each other when styled together. Turquoise is an example of a tertiary, and they tend to work well with red.

Red and Green

Since red and green are complementary colors, it’s only natural that they pair nicely in your home. The colors create levels of high contrast but be careful to not make your space look too jolly. Try mixing several different greens versus only the primary green.

Red and Orange

Try mixing colors with red on the same color spectrum – like orange. The result is warm and inviting.

Red, Black, and White: Retro Classic

Black, white, and red is a reliable color combination that results in a sweet, retro attitude. It is a classic approach to decor.

Red and Blush

If you want a modern decor look, try mixing red and a subtle blush. The blush acts as a neutral so the red stays the center of attention.

Red and Purple

Located on the opposite ends of the color spectrum, red and purple aren’t the first two colors you’d think to put together. This unlikely duo can really work but make sure the two colors are in the same tone range. If you select a red and purple with the same saturation, it will look balanced in the room.

What is your favorite combination with red? Want to learn more about the color of the month club or check out all of Amy Howard at Home’s

Go create something!

Are you new to my blog? Go HERE to see my home tour and HERE to shop for items I use in our home.

Shop the Post
Paint

How to Use Chalk Paint

How to use chalk paint

Both the wood and fabric was painted with chalk paint on this headboard.

Chalk paint eliminates the prep work and does not require stripping, sanding or priming! It adheres to most any surface, and chalk paint dries quickly and cleans up easily with soap and water since it’s water-based. Chalk paint has low odor, is very durable, and it dries to the flat chalky finish seen on antique pieces.

Chalk paint only requires a quick washing of your piece with a cleaner like Simple Green to remove dirt and dust. Chalk paint is so great because it eliminates the need for prep work.

HOW TO USE CHALK PAINT

  1. STEP ONE: PAINT


    Paint the entire piece with chalk-type paint. I often use a brush (although for larger areas I sometimes use a small roller), and a little paint goes a long way. Only one coat may be needed, but I almost always find that I need two. This paint dries really fast, and it is easy to tell when it is dry. Apply the second coat of paint AFTER the first coat is dry.

    You can water-down chalk paint and use it in a sprayer for a smoother finish. See more on that HERE.

  2. STEP TWO: ADD A SEALER


    After the paint is completely dry, apply two coats of sealer. I would suggest using either a polycrylic or wax. I’ll talk more later about when to use which.

    For a polycrylic (a water-based sealer), you can apply with a brush, roller or sprayer. Two coats should be adequate.

    To apply wax, a wax brush is helpful (a rag can be used but I find a brush is well worth the investment since it makes the application easier and more even). It is not necessary to wait for the first coat to dry before adding the second coat. Also, for each coat of wax, remember LESS is more! You can add the optional dark wax if you like the aged look, but after all the wax is apply you will have to buff it with a lint-free cloth. Buffing helps smooth and removed extra wax.

  3. OPTIONAL: SAND

    You can sand at the end if you like the very distressed look. Sanding blocks with fine grit work best.

This bedroom furniture was painted with chalk paint and sealed with wax.

Tips for Using Chalk Paint

To Begin:

Make sure the paint is well mixed.
Tip the can over for 30 minutes and give it a good shake. Clean/dust the piece before painting.

While Painting:

Keep in mind the paint dries very quickly!
Do not load the paint brush with paint. The paint is thick.
Quick brushstrokes work best.
Most pieces take 2 coats of paint.
In-between coats of paint, put the brushes in baggies.
Keep the paint covered. It can thicken when exposed to air.
Use a roller for chalk paint.
Chalk paint can thicken over time, just add a little water to make it thinner.

While Waxing:

Do not overwax! Think about it like applying hand lotion – put on a small bit and massage until it is absorbed. Use a brush to apply the wax and a lint-free cloth to wipe off excess. USE CLEAR WAX FIRST BEFORE APPLYING THE DARK WAX. The dark wax adds dimension and age. Use the clear wax as an eraser if too much dark wax was added. See more on using wax with chalk paint HERE.

Painting Fabric with Chalk Paint

To paint fabric with chalk paint, do the same steps as before only water down the paintt. This can be done by adding water directly to the paint. When adding water to the paint, I suggest a 1:1 ratio: 1 part paint to 1 part water. Fabric really soaks up paint, so it will not go far on fabric. After the paint is dry, finish with a couple coats of clear wax. The result will feel similar to leather! Also, keep in mind that if your fabric is peeling, cracking or torn, paint will not fix this. See more on painting fabric with chalk paint HERE.

How to use chalk paint

When NOT to Use Wax as a Sealer:

I would NOT use was when sealing cabinets, desk or table-tops, or floors. I used wax years ago on my kitchen cabinets and had to repaint them, and you can see more on that fiasco HERE. However, I used chalk paint with a polycrylic sealer in our laundry room, and had great success. You can see more on the chalk-paint laundry cabinets HERE.

After Painting:

To clean brushes (paint & wax), wash with soap and water. (Dawn dish soap works well!) Buff the piece 24 hours after your last coat of wax if you want a shinier look. Keep in mind that wax takes awhile to cure. I usually allow the wax to dry a few days before I transport a piece or use a piece. However, keep in mind that it can take weeks for the wax to completely set.

Go paint something!

Are you new to my blog? Go HERE to see my home tour and HERE to shop for items I use in our home.

Find me on Facebook | Instagram | Twitter Pinterest

How to use chalk paint
Paint

All You Need to Know About Chalk Paint

Chalk paint has been popular for years, and I have used it more times than I can count on various projects. After all my experience with it, I thought it would be helpful to share a post on all you need to know about chalk paint.

Chalk paint saves time – there isn’t any prep, sanding or need for a primer! You can paint over anything: laminate, wood, glass, plastic, and even fabric.

Typically you will add two coats of chalk paint (it dries quickly) and seal with either a wax or water-based sealer. You can sand if you want the distressed look.

My favorite chalk-based paint is Amy Howard’s One Step Paint.

Before you begin:

  • Make sure the paint is well mixed. Tip the can over for 30 mins and then give it a good shake.
  • Clean/dust your piece before painting.

While you’re painting:

  • Keep in mind the paint dries very quickly!
  • Don’t load your paint brush with paint. The paint is thick.
  • Quick brushstrokes work best.
  • Most pieces take 1.5 – 2 coats of paint.
  • In between coats of paint, put your brushes in ziplock bags.
  • Keep your paint covered. It can thicken when exposed to air.
  • You can use a roller or *sprayer for chalk paint.
  • You can add one coat and add a wash of a second coat (or even second color!) with watered-down paint.

*When using a sprayer, you will need to add some water to the paint. I talk more in detail on this later in this post.

While you’re *waxing:

  • Don’t overwax! Think about how you apply hand lotion – put on a small bit and massage until it is absorbed.
  • Use a brush to apply the wax and a lint free cloth to wipe off excess.
  • YOU MUST USE CLEAR WAX FIRST BEFORE APPLYING THE DARK WAX.
  • The dark wax adds dimension and age.
  • You can use the clear wax as an eraser if you’ve added too much dark wax.

*waxing works great on most pieces, but I would NOT recommend it for table and desk tops, cabinets, and floors.

*UPDATE: Waxing is still a great option for some pieces, but recently I’ve been using a brush on matte sealer, and this sealer is my favorite.

After you’re done painting:

  • To clean brushes (paint & wax), wash with soap and water.
  • Buff your piece 24 hours after your last coat of wax if you want a (slight) glass effect.

Want all you need to know about chalk paint as a printable? GO HERE to print them out!

Below are several chalk paint projects I’ve done over the years. Come see what worked well and what didn’t!

Using Chalk Paint on Cabinets

Chalk paint can work well on cabinets, but you need to be careful about the sealer you use – DO NOT USE WAX. I did and ended up having to repaint my cabinets (see more on why I repainted my cabinets HERE). Wax doesn’t work well on cabinets (think about heat in a kitchen).

When Not to Use Wax

Wax is a great sealer for chalk paint in most cases, but as I mentioned above, DO NOT use it on cabinets. I would also stay away from table tops, desk tops, and floors.

However, in other cases (I painted my daughter’s bedroom set and sealed it in wax over 5 years ago and it still looks great), wax is a great sealer. You can see all the details on how to apply wax to chalk paint HERE.

Chalk Paint can be used in a sprayer

This is a fantastic way to apply chalk paint – not brush strokes and a smooth finish. See more on using chalk paint in a sprayer HERE. Using a sprayer provides a great cabinet finish.

Chalk Paint Can Be Used on Fabric

Chalk paint can be used on fabric. It’s not the perfect solution (the result feels like pleather), and it can get expensive and timely since fabric soaks up so much paint. However, you can see more HERE on painting fabric with chalk paint.

Are you completely new to chalk paint? GO HERE for a tutorial on applying chalk paint.

Chalk Paint Can Provide a Faux Wood Look

I have used chalk paint to make pieces that aren’t wood (like our kitchen hood), look like wood. Go here to see the wood look paint technique!


Chalk paint was once expensive and hard to find, but it is now available at every hardware store and can often be mixed to create the perfect color for your space.

Don’t hesitate to comment with any questions! I tried to cover all you need to know about chalk paint, but I’m sure I missed a few things.

Are you new to my blog? Go HERE to see my home tour and HERE to shop for items I use in our home.

Find me on Facebook | Instagram | Twitter Pinterest

Paint

Painting Cabinets with Chalk Paint

Today I’m sharing all about painting cabinets with chalk paint.

Painting Cabinets with One Step Chalk-Type Paint

I recently shared my laundry room makeover (to see more, click here). My laundry room lacks natural light, and I painted the cabinets to brighten the space.

Here’s the before:

Laundry Room - BEFORE

And the after:

Laundry Room Makeover To paint my cabinets, I used a chalk-type paint from Amy Howard at Home.  I love this paint because it eliminates the need for sanding or priming.  There is no prep work!  Here’s what is needed:

To begin, remove the hardware from the cabinets.

Remove Hardware before Chalk Paint

 Next, wipe down the cabinets with Simple Green All-Purpose Cleaner.

Clean Cabinets Before Painting

Use painter’s tape to tape off areas where needed.

Taping off Cabinets Before Chalk Paint Now it is time to paint!

Amy Howard One Step Paint Linen Begin with a brush to get all the areas the foam roller will not reach.

Using a Brush with Chalk Paint After the hard-to-reach areas are done, add a coat of paint to everything with the foam roller.

Rolling Chalk Paint Amy Howard Once the first coat of paint is dry, give everything a second coat.

Amy Howard Paint on Cabinets

I painted the insides of my cabinets with Vintage Affliction.

Amy Howard at Home One Step Paint

I painted the inside of the cabinets similar to how I painted the cabinet doors.  I used a brush for the hard-to-reach areas and went back through with the foam roller.  I gave the insides of the cabinets two coats of paint.

Trimming cabinets with Brush

Amy Howard One Step Paint Cabinets

I also painted the shelves.

Painting Cabinets with One Step Paint

Once the paint is dry, finish with Amy Howard’s Matte Sealer.  Add two coats using the brush and foam roller.

Amy Howard Sealer

My laundry room cabinets were painted in one day, and what a difference it made!

Starched Fabric Walls in Laundry Room

Laundry Room Reveal

I’ve painted a lot of cabinets over the years.  Here are a couple of other tutorials you may be interested in:

Happy Painting, and let me know if you try painting cabinets with chalk paint!

Are you new to my blog? Go HERE to see my home tour and HERE to shop for items I use in our home.

Find me on Facebook | Instagram | Twitter Pinterest

*This post contains affiliate links and is a sponsored post through Amy Howard at Home. I received compensation in the form of product in exchange for my review. I take pride in reviewing only products that fit my brand and will be beneficial to my readers. And while this post is sponsored, all the opinions are my own.    

Paint

Painting Furniture with Chalk Paint

Today I’m talking all about painting furniture with chalk paint.

Painting Furniture with Chalk-Type Paint

If you take a look around my blog, you’ll quickly realize I am a huge fan of any type of chalk-type paint (or miracle paint as I lovingly call it).

Painting with Amy Howard One Step Paint

Chalk-type paint eliminates the prep work and doesn’t require stripping, sanding, or priming!  It adheres to almost any surface, dries quickly, and cleans up easily with soap and water.  It’s pretty close to the perfect paint.

Distressed Yellow Chalk Paint

If you’re new to painting furniture, go ahead and try chalk-type paint!  I think it will help you gain confidence, and let you then branch out to other paint types – although you may not want to after you see how easy it is to use!

Gray Chalk Paint Distressed and Dark Wax

To begin, I usually just wipe down a piece to remove any dust or dirt.  I personally have never used a primer with chalk-type paint, but I would suggest it if the piece has a really glossy finish.

Step 1:  Paint

Paint the entire piece with paint.  I usually use a brush (but a small roller could come in hand for some pieces such as cabinets).  You’ll find that a little paint goes a long way, and I almost always use two coats of paint.  Chalk-type paint dries really fast, but make sure the first coat is dry before applying the second.

Chalk Paint Tutorial

Step 2:  Wax (Clear)

After the paint is completely dry, apply two coats of wax on the piece using a wax brush.  I don’t wait for the first coat of wax to dry before I apply the second coat.  A tip when waxing, less is more! You are not limited to using wax, but wax does work well with chalk-type paint.  However, I would recommend a water-based polycrylic for cabinets, table and desktops, floors, and outdoor furniture.

Adding Clear Wax to Chalk Paint

Step 3: Wax (Dark)

This step is optional.  Dark wax is good if you want to bring out details and/or like the aged look.  You must apply clear wax BEFORE you apply dark wax.  Go easy on the dark wax.  You won’t need much!  Apply the dark wax with a brush over somewhat dry clear wax.  Remove excess wax with a lint-free cloth.

Adding Dark Wax to Chalk Paint

Step 4: Buff Buff the wax using a lint-free cloth.  It’s pretty easy to see where you missed the wax, so you can easily touch those places up with a brush or rubbing the wax in with your cloth.  Buffing helps smooth out and remove extra wax.

Buffing Chalk Paint Wax

Step 5: Sand  I recommend sanding after you apply the wax because of the chalk nature of chalk-type paint.  It will make a mess if you sand before waxing and then you risk waxing in the chalk paint particles.  I usually sand the edges and places where normal wear and tear would occur.

Sanding Chalk Paint

And that’s it!  This is by far my favorite paint to use on furniture. You can also see the more basic tutorials in my Painting Furniture Tutorial Series by clicking HERE. Still want more tutorials and information on painting furniture with chalk-type paint, milk paint, spray paint, latex paint, and oil-based paint?  Then you need to check out my eBook, Painting Furniture.  Receive your FREE copy by signing up for my newsletter.

Go create something!

Are you new to my blog? Go HERE to see my home tour and HERE to shop for items I use in our home.

Find me on Facebook | Instagram | Twitter Pinterest

Paint

Painting Furniture Series

I’m celebrating the release of my new eBook with this new series!  I won’t go as in-depth as I do in my book, but I will provide you with the basic steps to painting a piece using five different paint types.  Discover which paint works best for your next painting furniture project.

Painting Furniture Tutorial Series by Sincerely Sara D

I am providing tutorials for these five different types of paints:

Latex Paint

Click HERE for the Latex Paint Tutorial and learn about using water-based paint (wall paint) on your furniture.  

Chalk Type Paint

Click HERE for the Chalk-Type Tutorial, and you will fall in love with not needing to sand or prime with this paint.

  Milk Paint

Click HERE for the Milk Paint Furniture Tutorial and learn how to use this paint that will surprise you every time.

  Spray Paint

Click HERE for the Spray Paint Furniture Tutorial if you want a very quick solution.  

Oil-Based Paint

Click HERE for the Oil-Based Paint Furniture Tutorial if you want a finish that is a hard enamel.  

If you want more detailed tutorials and information beyond this painting furniture series on painting furniture with chalk-type paint, milk paint, spray paint, latex paint, and oil-based paint, then you need to check out my eBook, Painting Furniture.  You can receive a FREE copy by signing up for my newsletter.    

Go paint something!

Are you new to my blog? Go HERE to see my home tour and HERE to shop for items I use in our home.

Find me on Facebook | Instagram | Twitter Pinterest

Paint

How to Apply Wax to Chalk Paint

How to Apply Wax to Chalk Paint

Happy Friday! 

If you haven’t seen our previous videos, I teamed up with Angela from Unexpected Elegance, and we created several video tutorials.  Our first series is all about chalk paint. 

You can see our welcome video HERE.


Today I am showing how to apply wax to chalk paint.  I would not recommend wax as a sealer on a desk or tabletop or cabinets (go here to see what happened when I used wax on my cabinets).  However, it works well on most furniture!

But first, we have some other video tutorials on chalk paint.  If you want to see more on chalk paint, click HERE to see how to mix colors.  Or if you want to know how to prepare a piece for chalk paint and using chalk paint, click HERE.

And finally (to see what you are probably here for), watch the video below for the tutorial on using wax on chalk paint:

As I said earlier, I have successfully used wax over chalk paint for several furniture pieces.  However, I would strongly urge you to NOT use wax on kitchen cabinets.  

GO HERE to see why I had to repaint my chalk paint cabinets.

If there are any specific video tutorials you’d like to see us create, please let us know!  We are always looking for tutorial ideas.


Go create something!

Are you new to my blog? Go HERE to see my home tour and HERE to shop for items I use in our home.

Find me on Facebook | Instagram | Twitter Pinterest

How to Apply Wax to Chalk Paint


Shop the Post
Paint

Chalk Paint Tutorial

I’ve blogged about many different chalk paint projects, but I felt like I needed to provide a basic, step-by-step chalk paint tutorial for you.

Simple Chalk Paint Tutorial

Chalk paint is so great because it requires no prep work.  You don’t need to sand or strip paint – you just go for it! For this tutorial, I’m using a wooden plaque I picked up at a craft store.  But you will use this same technique on furniture, cabinets, or whatever else you are chalk painting.

How to use chalk paint

For the chalk paint, I am using Annie Sloan chalk paint.  You can find local retailers by going to her website.  There are several other chalk paint options out there – don’t be afraid to test them out!

Annie Sloan Chalk Paint

First, paint the entire piece with chalk paint.  I often use a brush (for larger areas I sometimes use a small roller), and you’ll find that a little paint goes a long way.  You may only need one coat, but I find that I usually need two.  This paint dries really fast, and you’ll be able to tell when it’s dry.  Apply the second coat of paint AFTER the first coat is dry.

Painting with chalk paint

Chalk Paint

You can use other finishes, but Annie Sloan’s wax is one of my favorites. Apply two coats of wax on the piece using a wax brush.  You DO NOT have to wait for the first coat to dry before adding the second coat. I love wax for furniture pieces, but I would NOT recommend wax on tabletops, desktops, or cabinets.  Go here to see why I don’t recommend wax on kitchen cabinets.

Annie Sloan Clear Wax

Applying Clear Wax

Like the paint, a little wax goes a long way.  It’s pretty easy to see if you’ve missed any spots.  After you have applied the wax with the brush, use a lint-free cloth to buff and remove any extra wax. Buffing the Wax

This next step is optional.  Dark wax is good if you want to bring out details and/or like the aged look.  You must first apply the clear wax BEFORE you apply the dark wax.  Go easy on the dark wax.  You won’t need much! Annie Sloan Dark Wax

In this tutorial, I only applied dark wax around the edges.  You can buff with a lint-free cloth as you did with the clear wax.

Applying Dark Wax

If you first applied the clear wax BEFORE you applied the dark wax, you can use the clear wax to erase and dark wax mistakes or if you find that you want a little dark wax.  Dip the cloth in the wax and rub away the dark wax. Clear wax as an eraser

 You can sand the edges if you really like the distressed look.  In my tutorial, it’s hard to see the distressing since I painted white over a light wood.  However, sanding the edges can add a lot of interest.  Especially if you paint over a dark piece of wood. Sanding Chalk Paint

One more thing you can add to the chalk paint is gilding wax.  This can be found at any craft store and comes in a variety of colors.  I used my finger and apply this.  For this tutorial, I applied the gold wax to the edges. Gilding Wax

Gold Wax

And that’s the end of the tutorial!  Once you get started, you’ll find that chalk paint is really user-friendly.  Here are some projects I’ve done with chalk paint: This first project is a headboard I paint with chalk paint (I also painted the upholstered fabric).  The headboard was gold, and I painted it with gray chalk paint and used clear and dark wax.  I also distressed/sanded it.  To see more, click HERE.

Gray Chalk Paint Distressed and Dark Wax

This next piece was a dark trunk that I painted with gray chalk paint.  I used clear and dark wax as well as the gold gilding wax.

Gray Chalk Paint with Gold Wax

This ornate piece is part of my daughter’s bedroom set which was originally white.  I used gray chalk paint and clear and dark wax.  I also sanded it.

Chalk Paint with Dark Wax

This is my daughter’s headboard.  The piece was originally white, and I painted it with turquoise chalk paint.  I used clear wax and sanded.  To see more in her room, click HERE.

Chalk Paint with Clear Wax

This is a hutch I painted for my kitchen.  The hutch was originally dark, and I used yellow chalk paint.  I used clear and gold gilding wax and heavily sanded.  You can see more if you click HERE.

Distressed Yellow Chalk Paint

I painted the legs on my dining room table gray.  The table was originally dark, and I used clear wax and a little sanding.  You can see more by clicking HERE.

Gray Paint with Clear Wax

This is a free dresser that was handed down to me.  It was dark, and I used white and gray chalk paint.  I also used clear and dark wax and sanded the piece.  You can see more by clicking HERE.

White Paint with Dark Wax

This is a bench that we made from a headboard.  The headboard was originally a tan color, and I used green chalk paint with clear wax.  I also sanded it.  You can see more on this project by clicking HERE.

Green Chalk Paint Clear Wax

I also have a FREE chalk paint tips printable you can get by clicking HERE. I hope after reading through this tutorial you have the confidence to go for it!  Chalk paint is a fun and easy way to instantly transform a piece. Go create something!

Are you new to my blog? Go HERE to see my home tour and HERE to shop for items I use in our home.

Find me on Facebook | Instagram | Twitter Pinterest Want to see what else I’m up to?  Click on the photos below:

DIY Concrete Table        Paint.a.Faucet          PaintedHeadboardB&A

Paint

The Perfect Coral Paint

Today I’m sharing how I created the perfect coral paint.

 Mixing the Perfect Coral with Chalk Paint

I was recently asked by a friend to paint her daughter’s bedroom furniture.  The daughter wanted this to be the inspiration for her new bedroom: (Image found on Pinterest)

Hale Navy Pin

I am not sure of the source of this design board, but it is a gorgeous inspiration!  I love the contrast of the deep navy with the playful coral.  The two colors compliment each other so well.

The furniture my friend gave me has already painted a soft pink.

Painting Furniture

It was very pretty, but this almost ten-year-old was ready for something a little more grown-up and bold.

Coral Vanity

To get this coral color, I used three Annie  Sloan colors:

Coral Annie Sloan Chalk Paint

Barcelona Orange – Pure White – Emperor’s Silk I mixed: 1:2:1 1 part Barcelona Orange: 2 parts Pure White: 1 part Emperor’s Silk And this was my result:

Annie Sloan custom Coral

I think this is the perfect coral paint color!

I also painted the dresser in the same color.

Chalk Painted Coral Dresser

Coral Dresser

I used gold paint for the handles and accents.  The coral and gold accents work so well together.  I think I am in love!

Would you be brave enough to add coral and gold to your home?

Go create something!

Are you new to my blog? Go HERE to see my home tour and HERE to shop for items I use in our home.

Find me on Facebook | Instagram | Twitter Pinterest Want to see what else I’m up to?  Click on the photos below to see some more fun DIY projects!

DIY Concrete Table        Paint.a.Faucet          PaintedHeadboardB&A

Coral Dresser with Gold Handles

Interested in more chalk paint information?  Go to the search bar at the top right corner of the page and search for “chalk paint.”  You’ll find lots of tutorials and helpful tips and tricks!


Paint

Chalk Painted Dresser

I’m still painting things.  Check out this chalk painted dresser.

A family member had this amazing dresser which I immediately knew could be given a second life with chalk paint:

Chalk Painted Dresser

It was pretty worn, but it was SO unusual and beautiful!  About half of the finish was worn off, and there were lots of nicks and scratches.  But, I knew chalk paint would give it a new life: Dresser(2)

I painted the dresser with Annie Sloan chalk paint and used Paris Grey and Pure White.  This is a picture of the dresser before the wax was applied.  I used clear and dark wax, and you’ll notice in the after pictures how well the dark wax brings out the details of the piece. The bottom drawer was missing part of the flourish detail.

Dresser(1)

So, I took the bottom drawer out until I can fix it correctly.  However, I’m liking the open concept of the bottom drawer.  I use the drawer turned shelf for our family photo albums. Dresser(8)

The rest of the piece holds my craft supplies. This dresser is in my office, and it makes a wonderful storage solution!

Dresser(7)

Dresser(6)

Want some chalk paint tips?  Check out an earlier post HERE or click on the image below:

ChalkPaintTipsPic

Are you new to my blog? Go HERE to see my home tour and HERE to shop for items I use in our home. Find me on Facebook | Instagram | Twitter Pinterest  

Paint

Yellow Painted Hutch

I painted my hutch yellow. And I love it because the yellow painted hutch brightens up my kitchen nook.

Yellow Painted Hutch

I forgot to get an actual before picture before I started paint testing the hutch. And no, I don’t normally keep daffodils in my hutch.  I had just picked a bouquet and thought they were so pretty and had to share… I fell in love with my dining room set in an antique store.

Hutch.5

I looked beyond the giant lace doily (that thing is HUGE, isn’t it?!) and saw potential in this set.  You can see more about my dining room HERE and check out my dining room chair update HERE. The hutch was in really bad shape, and I wasn’t really up to refinishing it.  (And I was already dreaming about a yellow hutch.)

Hutch Hutch.2

I used chalk paint in my hutch’s update – no sanding, priming, prepping required! To see a full tutorial on chalk paint, click HERE.

chalkpaintTUTORIAL

I prefer Annie Sloan’s chalk paint, but she didn’t have the exact yellow I was envisioning. So, I bought some chalk paint on Etsy and mixed in some cream chalk paint I had on hand to lighten it up a little. I bought “That’s the last straw” from the Etsy shop ChauxBelle. My hutch makes me happy.

Hutch.9

And the painting continues…

Are you new to my blog? Go HERE to see my home tour and HERE to shop for items I use in our home. Find me on Facebook | Instagram | Twitter Pinterest