Home

Bed Rail Cover

Bed Rail Cover newsew

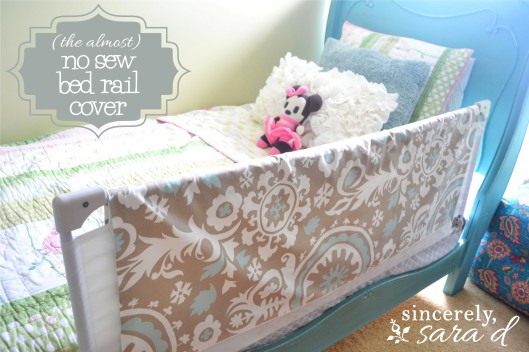
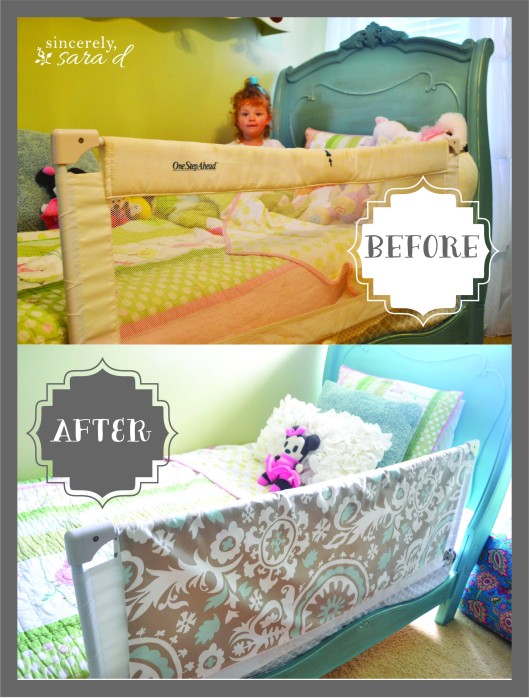
Lena’s new (big girl) bedroom redo is coming very soon! However, one thing that has been holding me up with the post is her bed rail. It’s just so practical and not cute. So, rather than wait on her to not need it anymore (or go through the trouble of taking it off for the photoshoot), I decided to make it pretty! But first, here’s a before and after picture:

Before.AFter

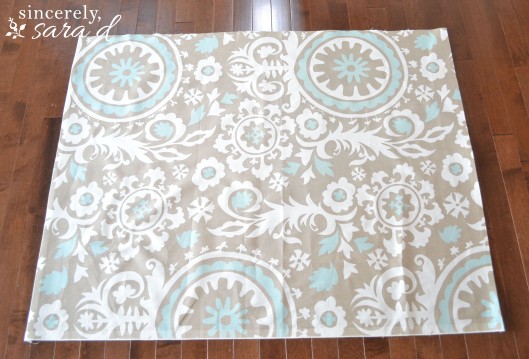
Luckily I had a fabric remnant that was large enough for this project. Basically, you just need a piece of fabric to wrap around the bed rail.

rail.3 copy

Since I remove bed rails pretty quickly from my kids, I decided to make the cover pretty but not spend much time on it since it’s so temporary. I ironed down the ends of the fabric, and I used starch to help keep them down. rail.4 copy

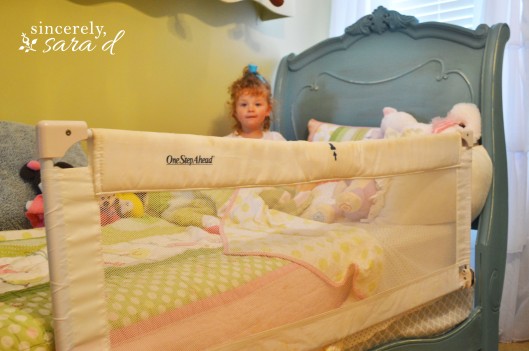
Next, I started at the bottom of the bed rail and wrapped the fabric around the top. Lena took an extra long nap today, which would normally be exciting. However, today I needed to get started on beautifying her bed rail. Poor girl woke up to me snapping the before pictures:

rail.1 copy

Once I had the fabric in place, I sewed three “x” stitches along the bottom – which is why this project is (almost) no sew. You could easily just use safety pins instead of the stitch. However, here’s where I placed my stitches.

stitch

And, there you have it! A pretty bed rail! Disclaimer: I’m sure there’s a reason they use netting on these rails. And I’m sure this project makes these bed rails unfit for children. However, it makes them so much cuter. Luckily Lena doesn’t sleep against the bed rail, so I went for it! More on Lena’s room coming soon!

Are you new to my blog? Go HERE to see my home tour and HERE to shop for items I use in our home. Find me on Facebook | Instagram | Twitter Pinterest

DIY

Mod Podge Memories

Mod Podge Memories

I discovered “mod podging” (or deco podge) in college.  Maybe we were weird (I prefer to think we were trendsetters), but my friends and I would mod podge whatever we could get our hands on – frames, boxes, photo albums –  you name it.  It was an inexpensive but sentimental gift.  I ran across this beauty the other day…

gift

I made this for my husband, but we were “friends” at the time.  Explains the collage of people in the frame instead of a picture of just us.  It’s pretty cheesy, but it was sweet (I think?) at the time. I was excited to revisit my mod podging days, and I got this idea off of Pinterest.  Using photos, paint, mod podge, and unfinished wooden plaques (found at Hobby Lobby or Michaels for only a few dollars), you can create wall art. plaque modpodge

I painted the plaques using three different but similar neutral colors (a beige-ish, greenish and grayish neutral) and let them dry.  I then distressed them by sanding them and added a light drybrush of another color.  Finally, I cut my photos and glued them on with a mod podge. Mod podge is really easy to use – you just brush it on!  After you have the photos glued in place, you can mod podge the entire plaque – just brush right over the photo.  I did a couple of layers on each plaque and let it dry.  Mod podge looks white when wet, but it will dry clear and become shellac.

frames2

It’s an inexpensive and unique way to display some of your favorite photos.

wallgallery

What Mod Podge memories are you going to create?

Are you new to my blog? Go HERE to see my home tour and HERE to shop for items I use in our home.

Find me on Facebook | Instagram | Twitter Pinterest