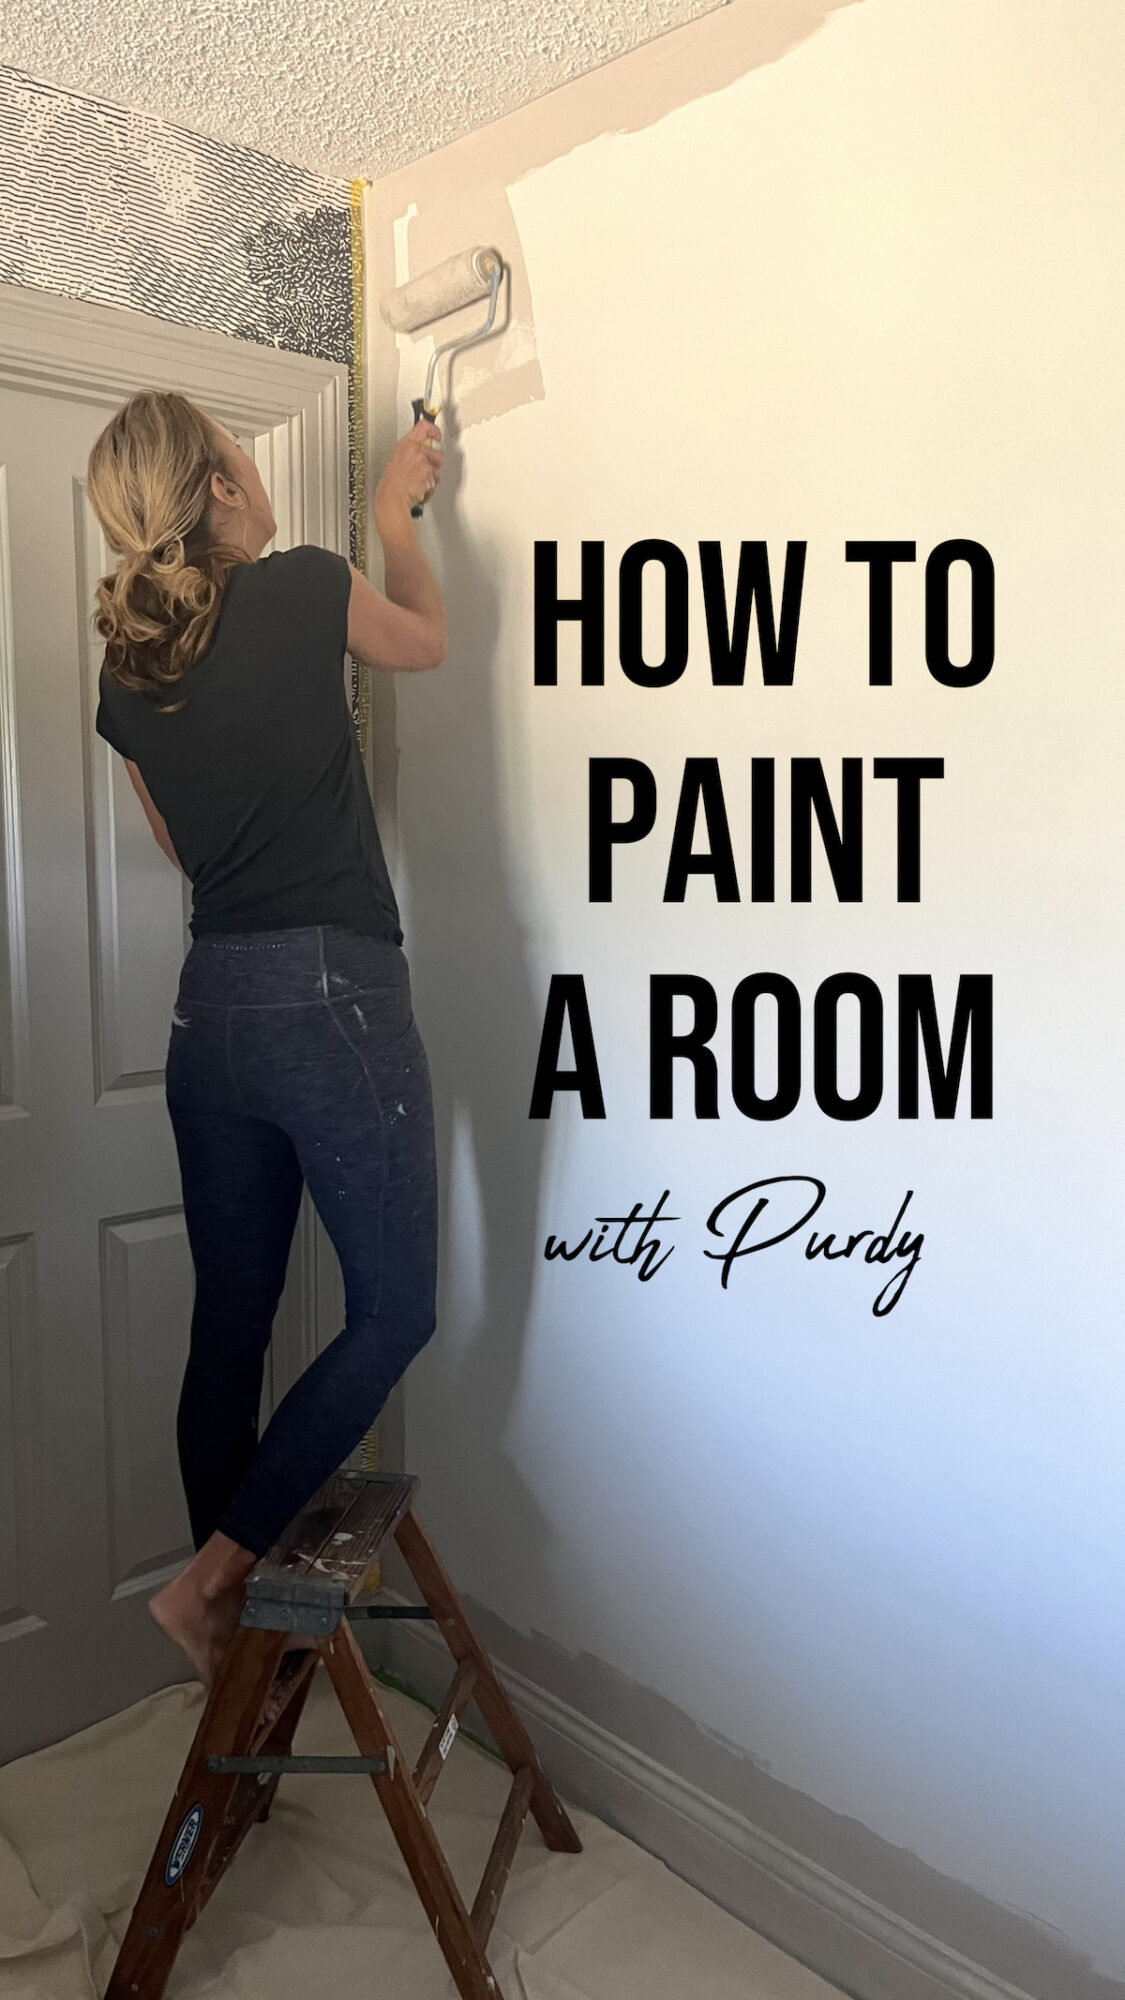
Learn how to paint a room along with tips and tricks for making it look like it was done by a professional.
This post is a sponsored post by Purdy. I take pride in reviewing only products that fit my brand and will be beneficial to my readers. While this post is sponsored, all the opinions are my own.
Prep the Room
Before you begin to paint a room, you will need to prep the room.
Clear the Room and Protect Furniture
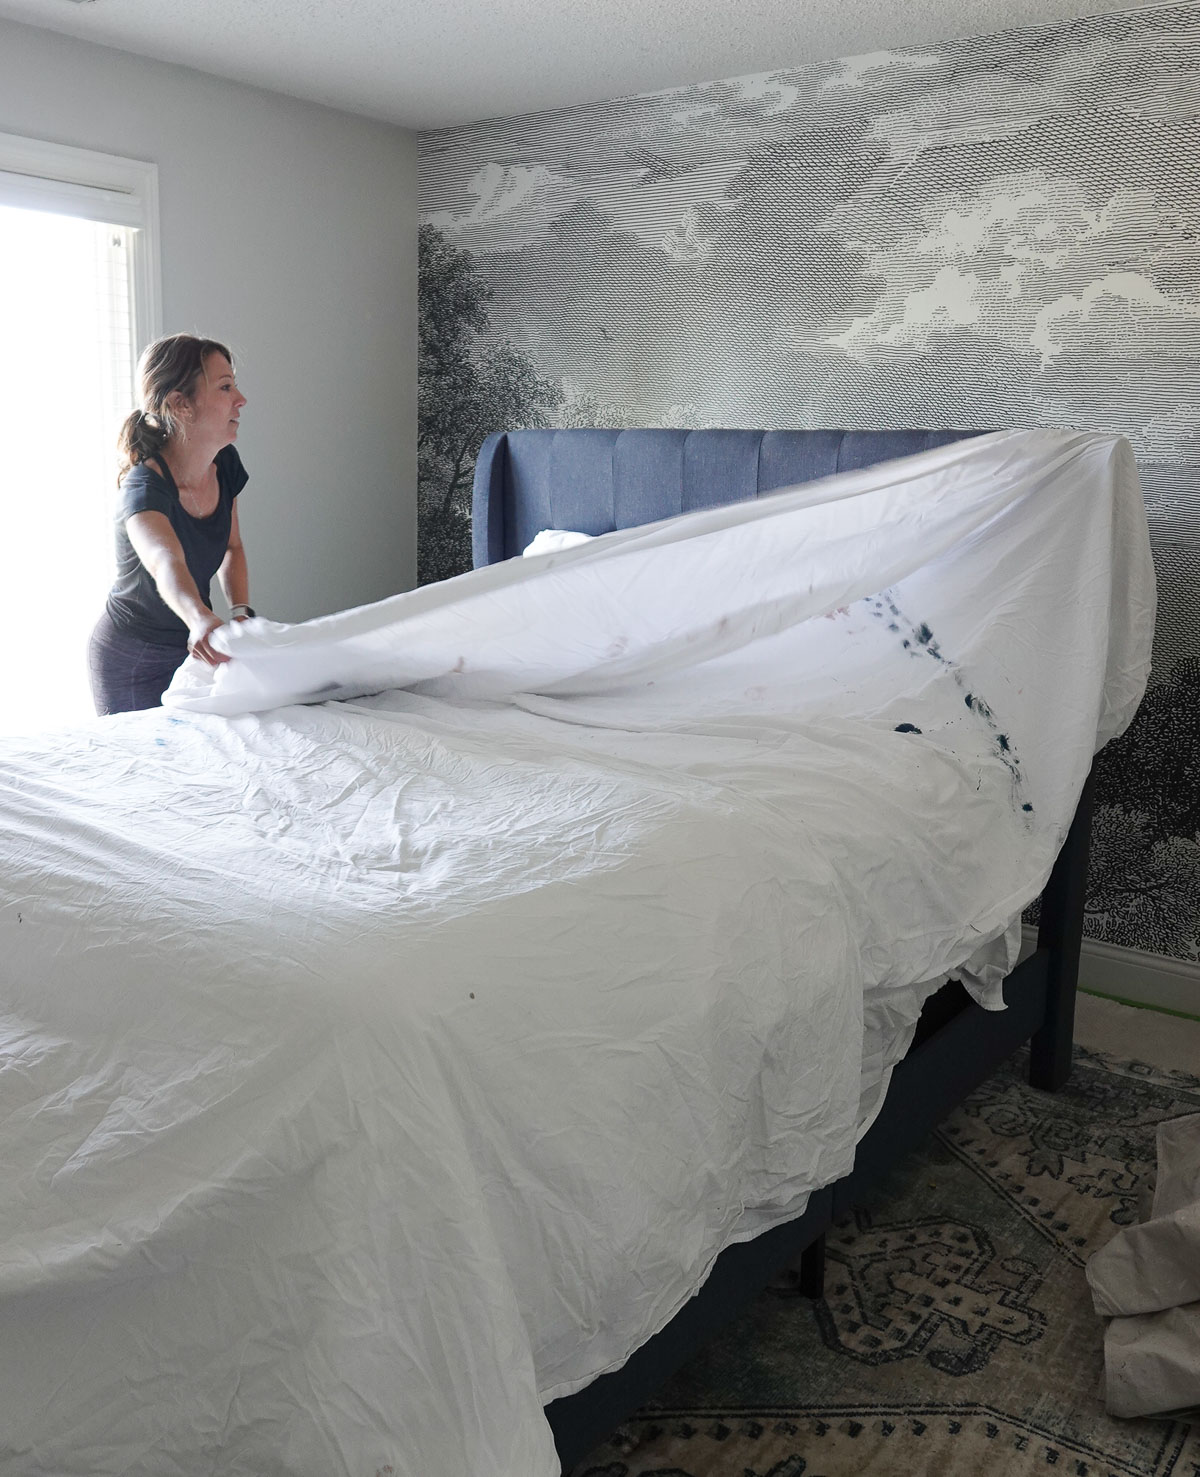
Move all furniture to the center of the room and cover it.
Fix and Clean the Walls
Carefully inspect the walls for cracks, holes, dents, or other imperfections. Scrape cracked or flaking paint and sand any small bumps. Use a putty knife and lightweight spackling compound to fill and repair holes and cover imperfections.
Wipe walls clean with a damp towel or sponge. If you are painting in the kitchen with grease spots, use mild dish soap to clean the spots. Allow walls to completely dry before proceeding.
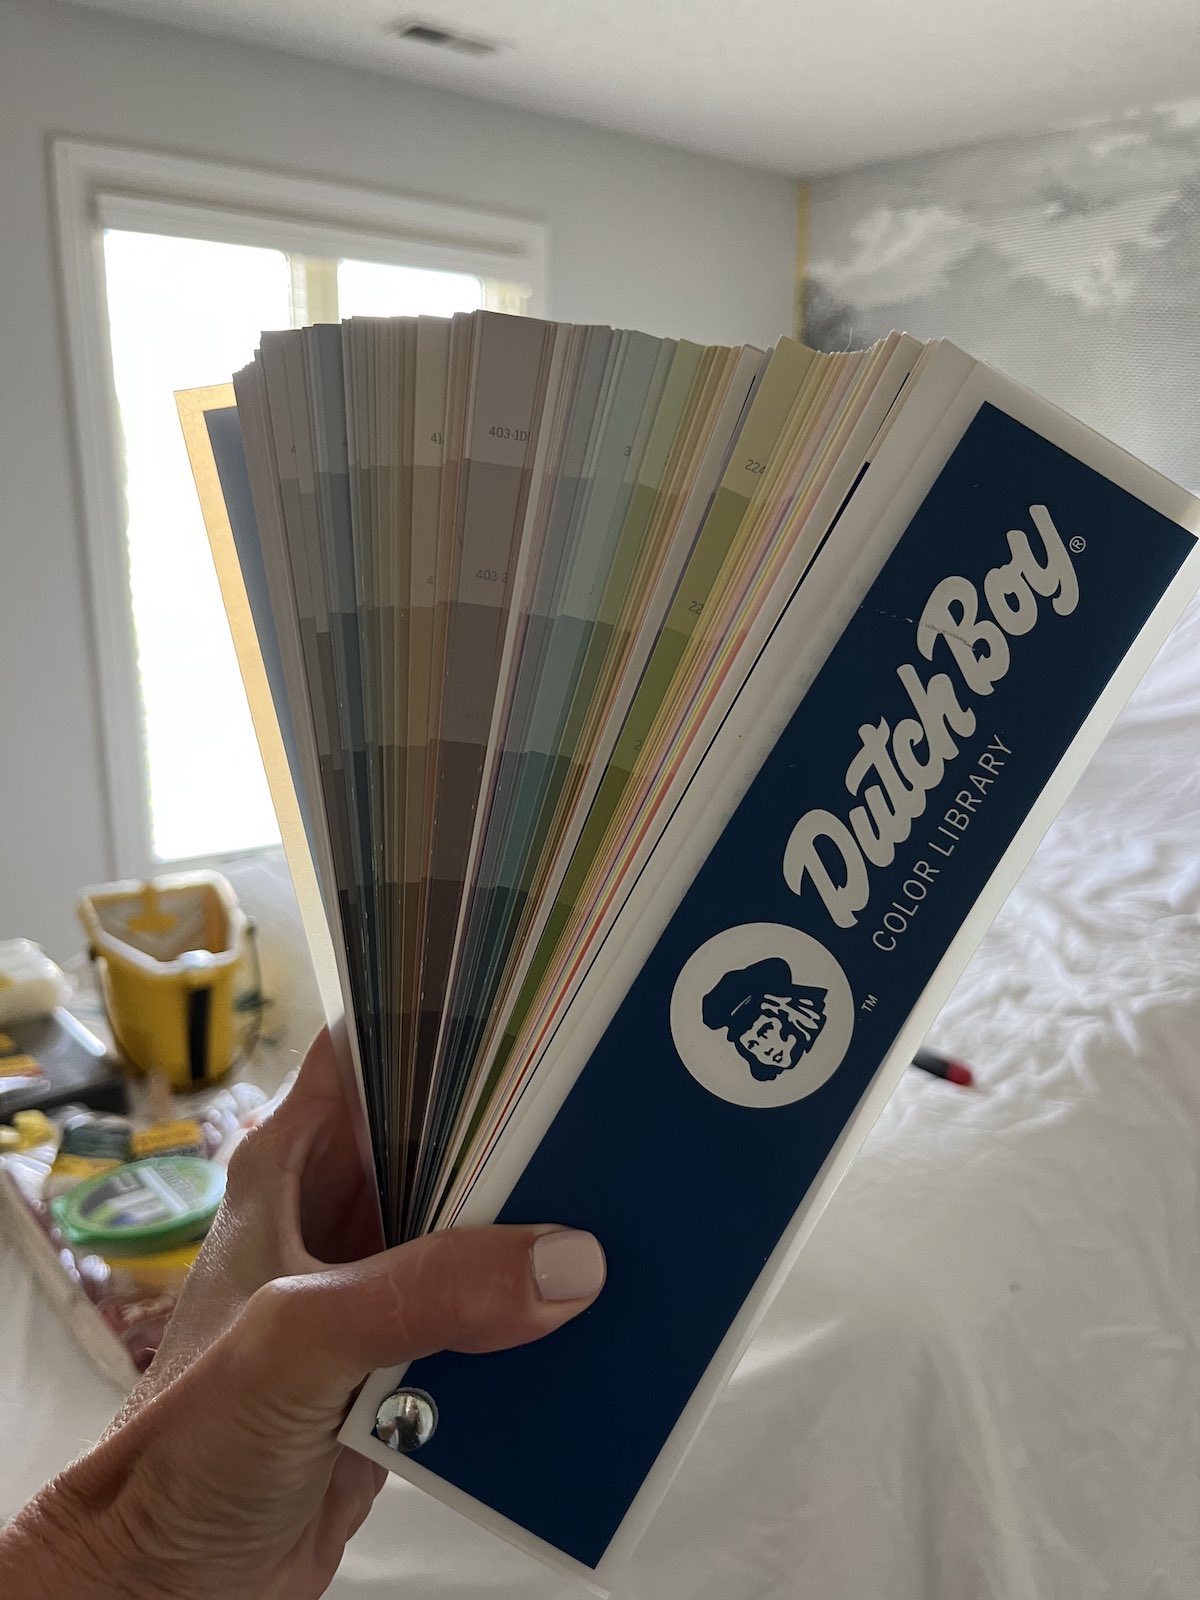
Make a Plan
Maintain efficiency by getting enough paint. A gallon of paint can roughly cover between 350 to 400 square feet of wall space.
This is a great time to test out your chosen paint color. Most likely the paint swatch you found in the store won’t look the same in your home.
Lighting changes the appearance of the paint color, and I love to purchase small samples and paint different areas of the room before I fully commit to a color.
Trim with Painter’s Tape
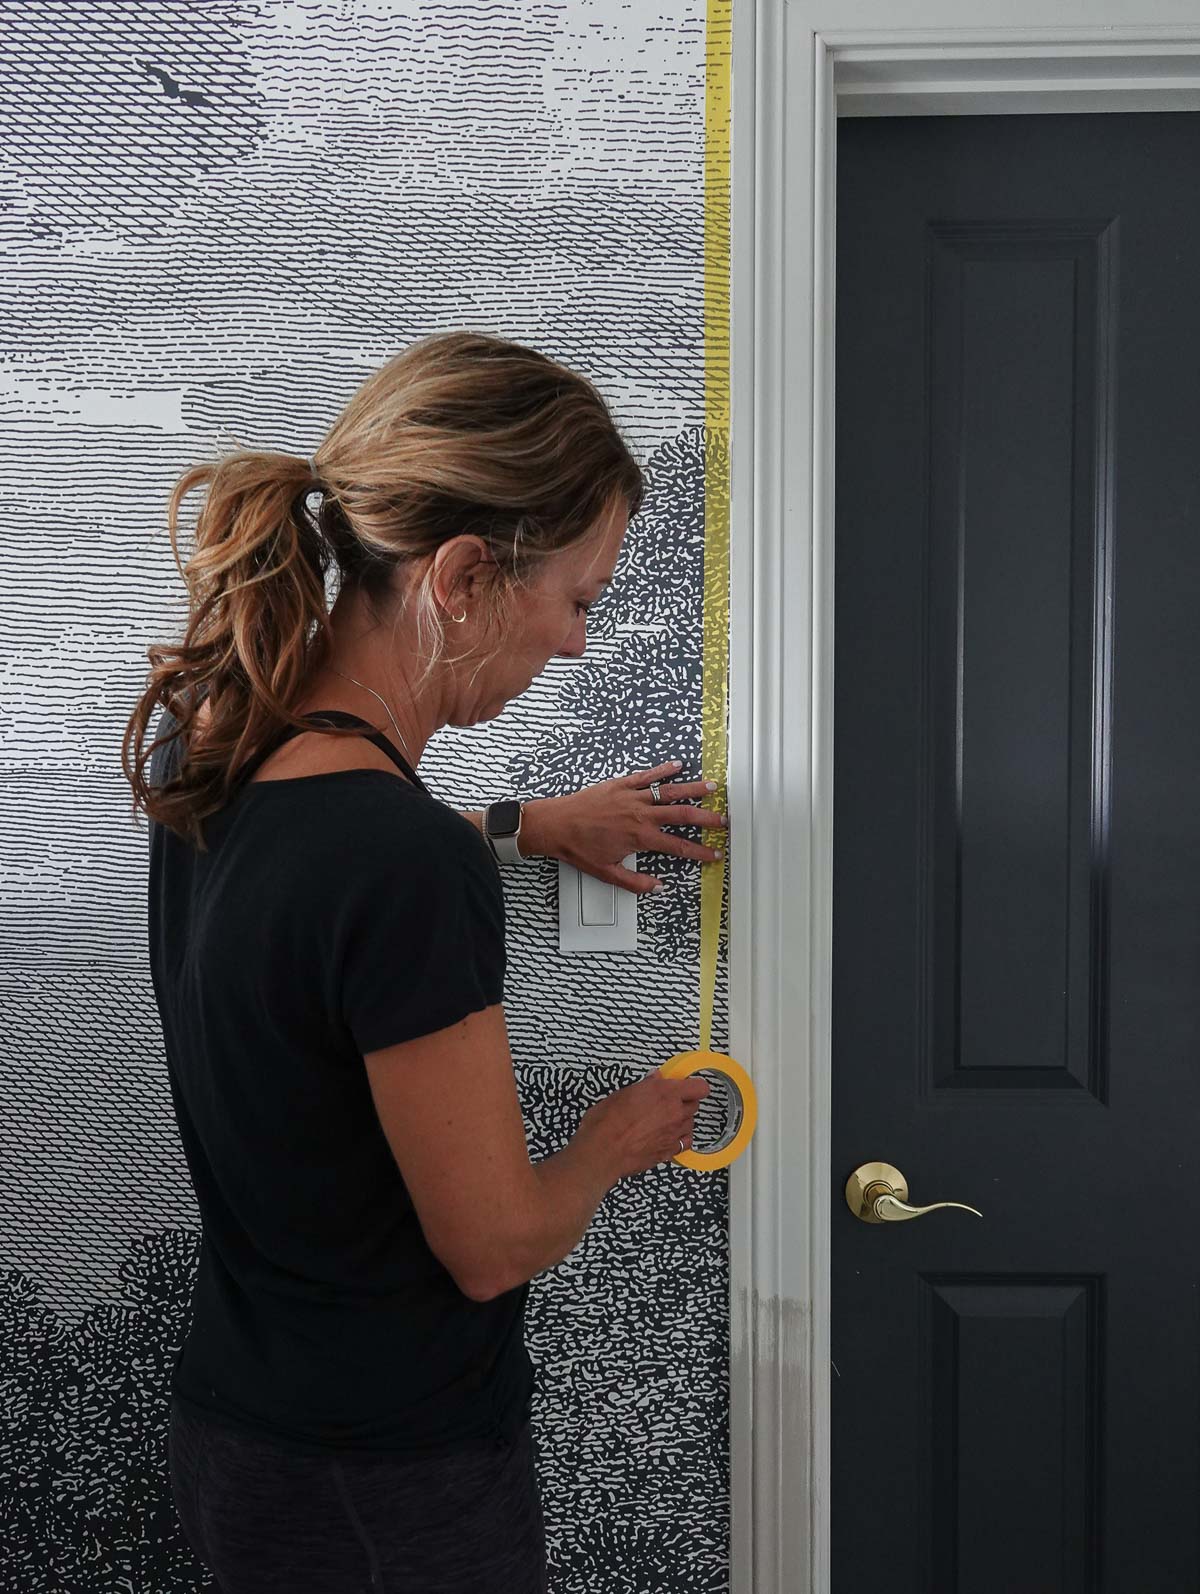
Mask off trim, windows, and door frames. Press the tape firmly in place to prevent paint from seeping underneath or bleeding through.
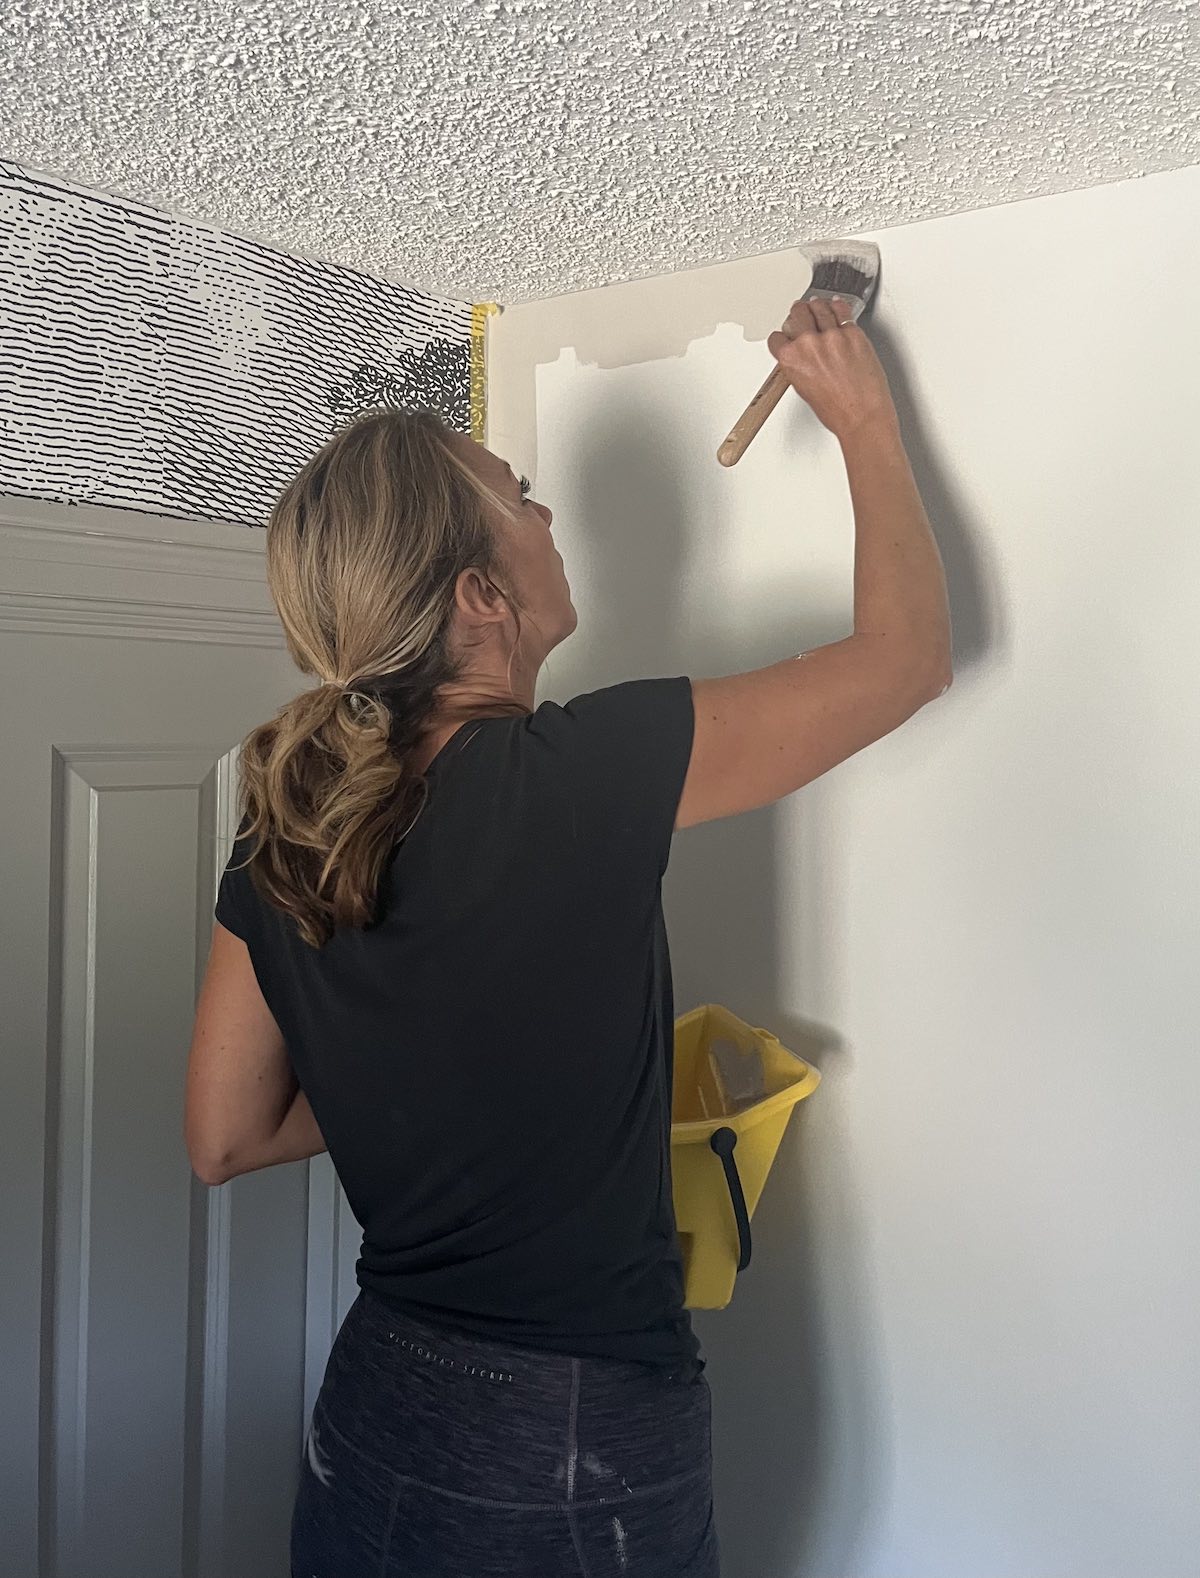
If you use Purdy® Clearcut brushes, you don’t need to use painter’s tape. They provide excellent cut-in ability and create well-defined lines, making edging easy.
Cover the Floors with Drop Cloths
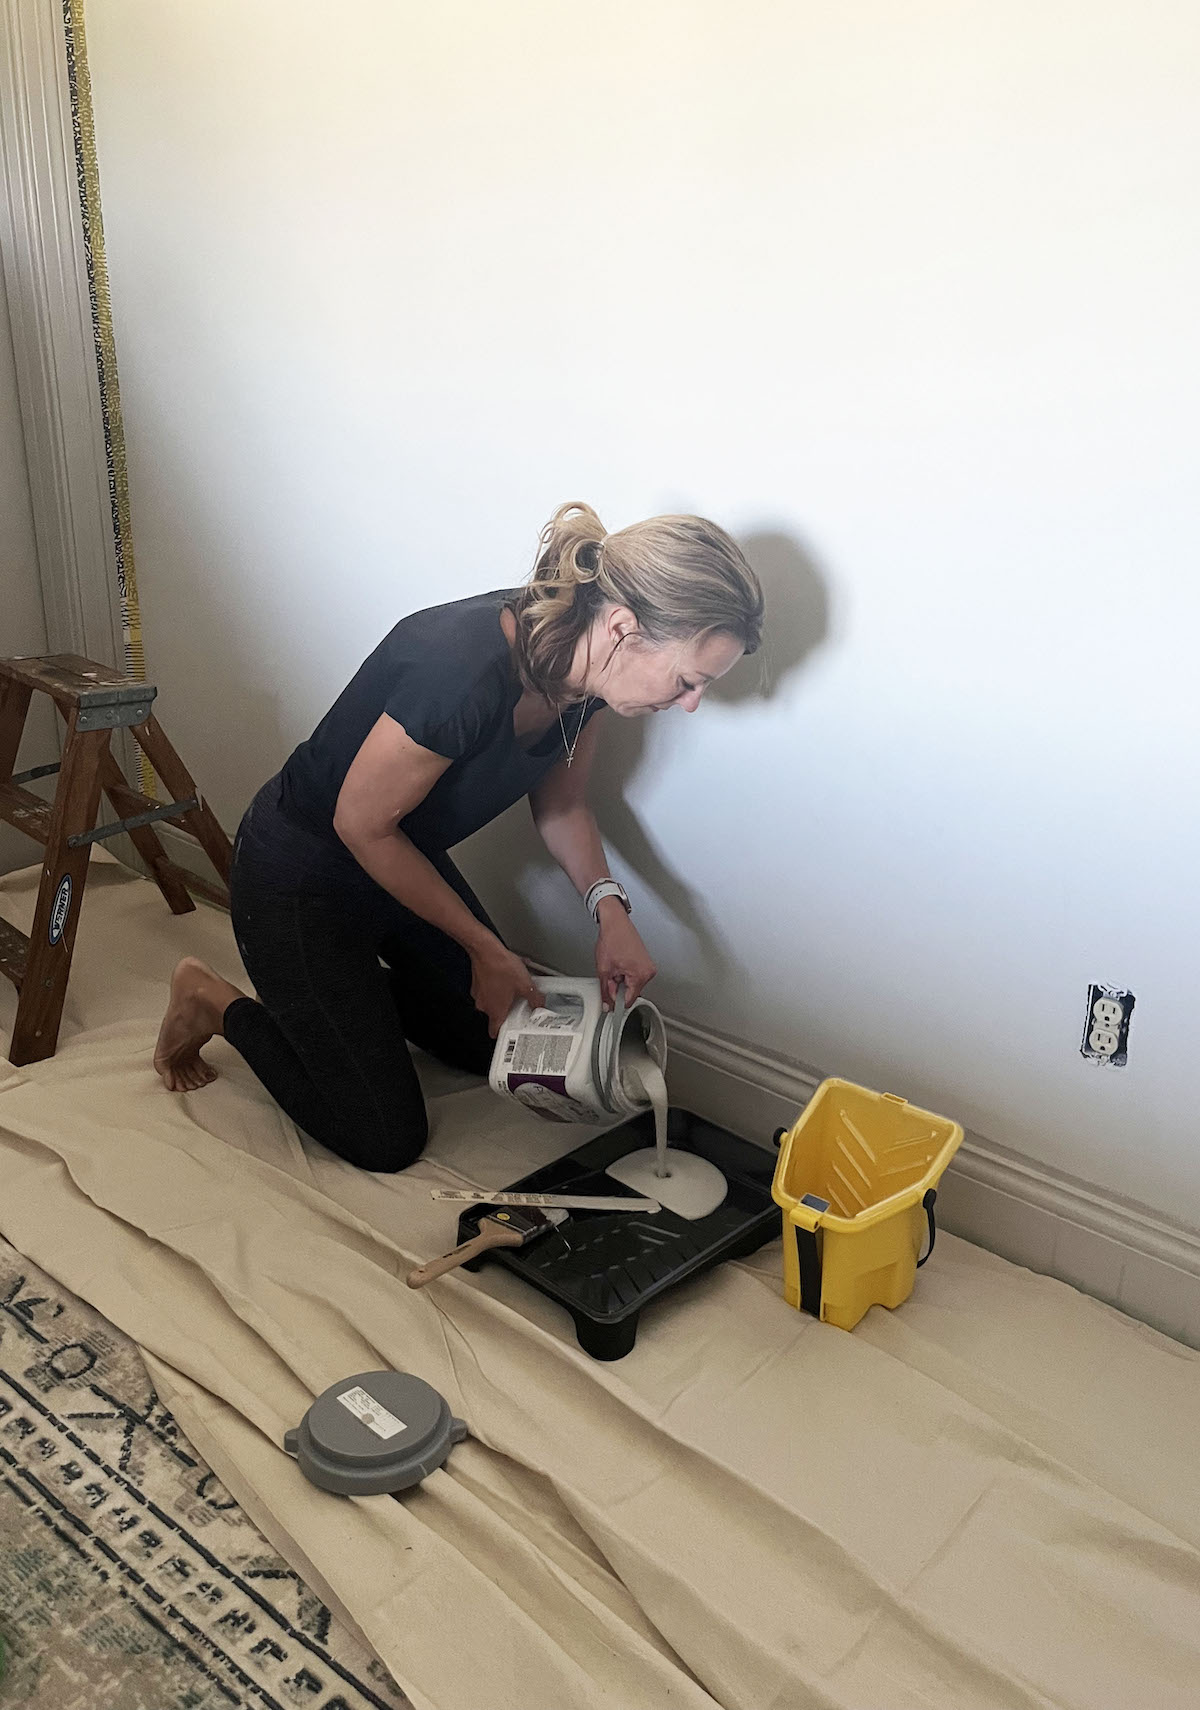
Cover the floors with drop cloths to protect them from paint drips and splatters.
- Canvas drop cloths are durable and absorbent. They can also be reused, and in my opinion, are worth the additional cost.
- Plastic drop cloths are durable and budget-friendly but NOT absorbent. Dripped paint is more likely to be tracked if stepped on.
Prime the Walls
A quality primer is always recommended when painting a room – especially if you’re painting from a darker color to a lighter color. Primer helps hide imperfections and gives the finished coat of paint a uniform look.
Mix the Paint
Use a wooden stick to mix the paint. The ingredients in your paint can separate which could compromise the true color you are going for.
Invest in Quality Brushes, Rollers, and Paint
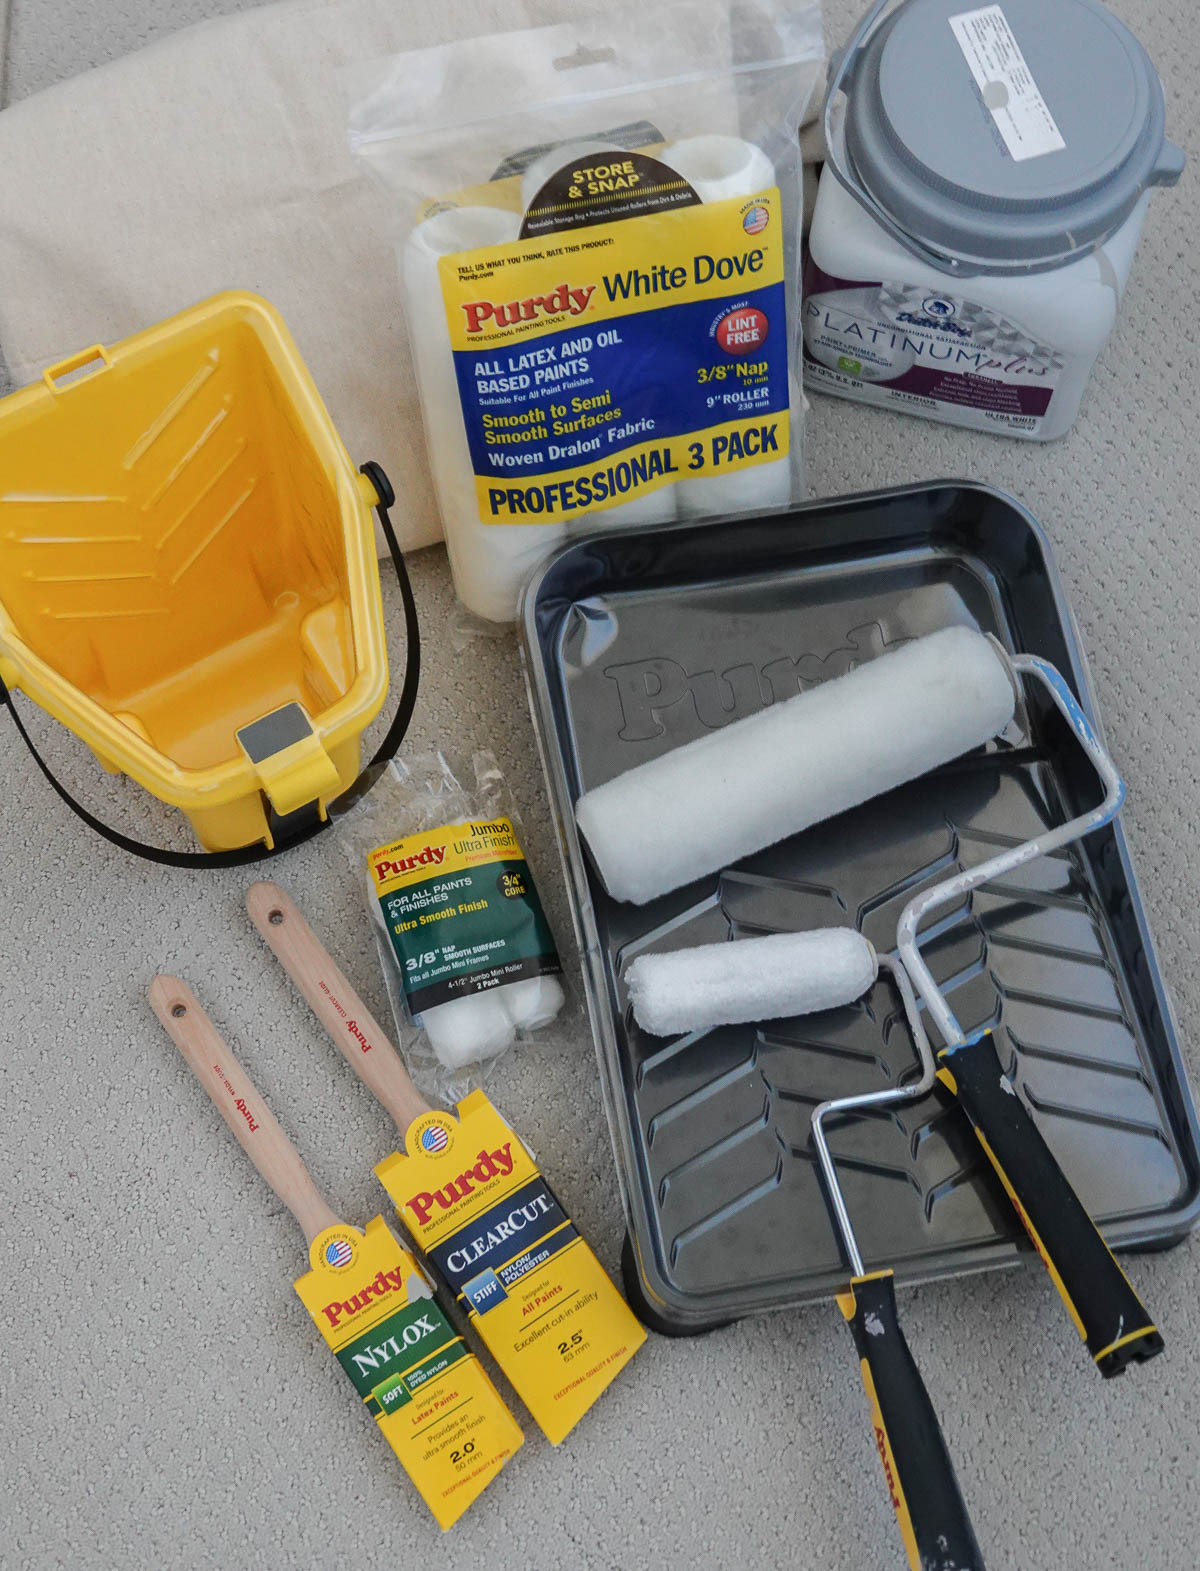
Invest in quality brushes, rollers, and paint. The painting job will go quicker and easier – and look better in the end. Clean your brushes and rollers well, and they will last a long time.
It’s also important to buy the best paint you can afford. It’ll go on easily, offer the best coverage, and last a long time.
Paint One Wall at a Time
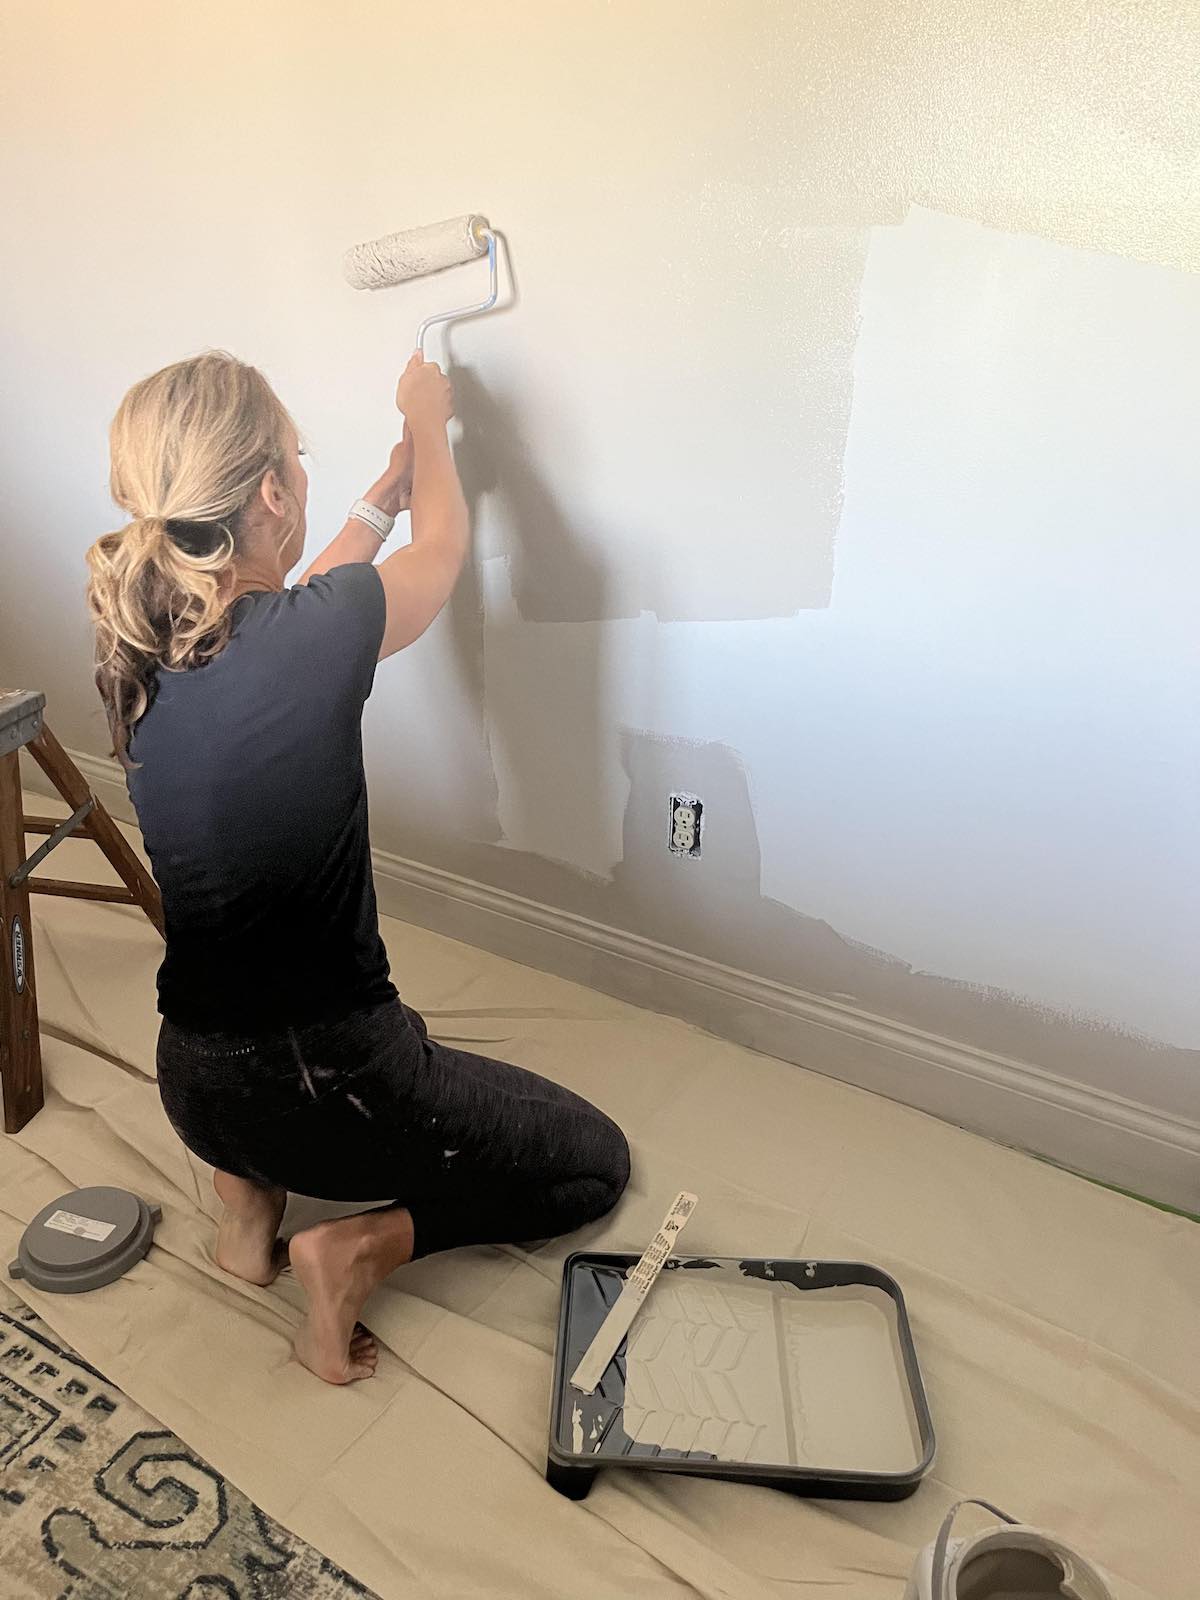
Paint one wall at a time. Take a brush and cut in and follow up with the paint roller. When applying paint with the roller, use long strokes in a W pattern for ample coverage (and to avoid roller marks).
Before reloading your roller and moving on to the next section, roll over the area you’ve just painted in a smooth, continuous stroke from top to bottom to catch drips and help hide lines.
Overlap areas already painted and lightly lift the roller off the wall to avoid leaving end marks.
Once the wall is dry to the touch, it’s ready for a second coat.
Clean Up
Once the painting is done, remove all the painter’s tape. Gather drop cloths – make sure any spills are dry before you move them.
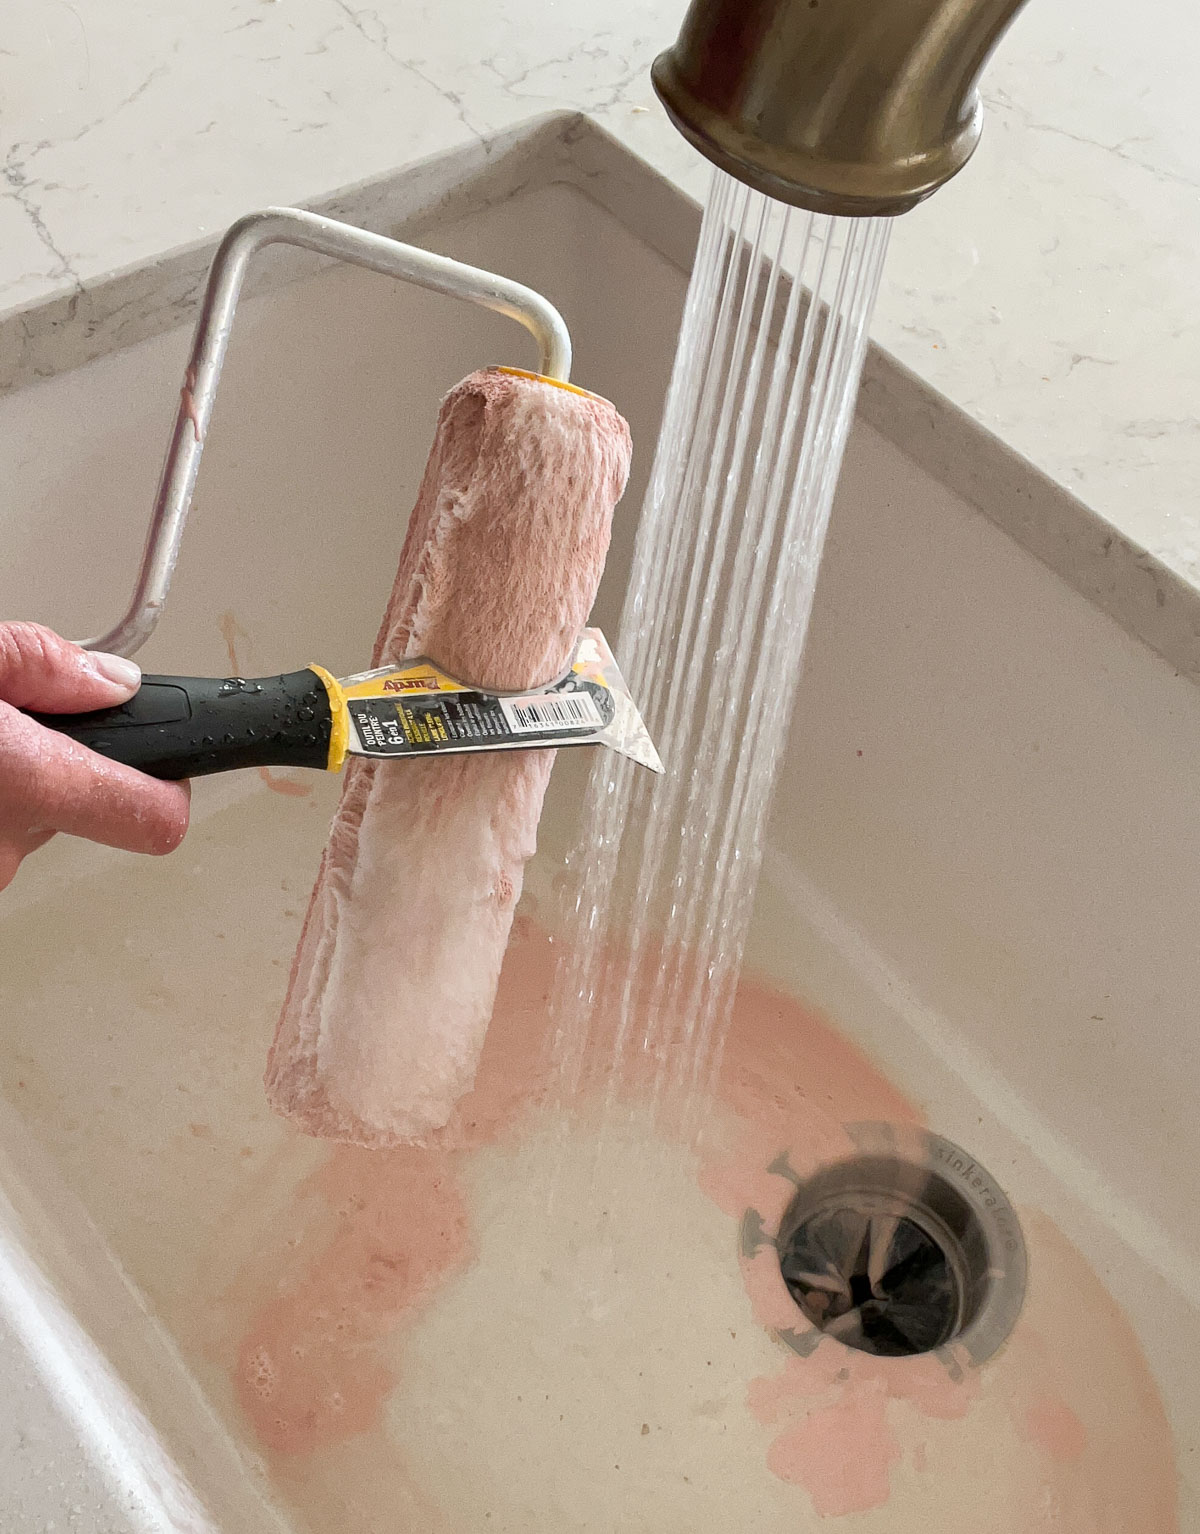
Clean the paintbrushes with soapy water and use the brush to clean and reshape the bristles. You can use the 5-in-1 tool to remove excess paint from your roller under running water. The tool is also useful for opening a can of paint, removing nails, and scraping.
Additional Painting Tips
Cover your paint bucket, tray, or container when switching between brushing and rolling – this will keep your paint and tools from drying out.
Make sure your room is well-ventilated by opening windows and using fans. The fans are an added bonus since they will speed up drying time.

Are you new to my blog? Go HERE to see my home tour and HERE to shop for items I use in our home.
