DIY Wall Moulding
This post is sponsored by Behr Paint Company. All thoughts and opinions are my own.

In case you missed my earlier post, BEHRBox is a fun challenge where I received a box full of paint colors and items to spur my creativity. I created a weekend project drawing inspiration (and using colors) from the box. My paint colors included the Behr 2019 Color of the Year:
As well as the Behr 2019 Color Trends Pastel palette, Soft Focus:
I was asked to use the 2019 Color of the Year (Blueprint S470-5) as well as one of the colors from my assigned palette.

I decided to add decorative wall moulding to my stairway landing and make it a more useful place (the swiss crosses were fun but no longer fit my decor style). Here’s a before photo: 
Watch the tutorial for adding decorative wall moulding here:

MAKE A PLAN
To begin, measure the wall and make a plan for the decorative moulding. I used grid paper which was really helpful for measurements. Once I had a plan and measurements, I transferred the plan to the wall and drew out all my frames. 
HANG THE DECORATIVE MOULDING
Using 1.25″ trim, I mitered and framed various sized decorative moulding. Use a chop saw to cut the trim (45 degree angle) and a nail gun is very helpful when adhering the frames to the wall. 
FILL THE HOLES AND GAPS
Use will filler to fill in the nail holes and frame gaps.  Once the wood filler is dry, use a sand block to sand the frame smooth.
Paintable caulk is needed to fill in the gaps around the frame.

PAINT THE WALL
After the caulk is dry, paint the walls and frames. I painted everything the same color on the decorative moulding wall – including the door frame and baseboards (to see how to easily paint baseboards with carpet, go here). 
I had a poll on my instagram stories asking which pastel I should use for my walls, and Cotton Grey HDC-NT-20 was the winner by a landslide, and I used BEHR PREMIUM PLUS ULTRA® Interior Paint in a matte finish. 
I also wanted to add Blueprint S470-5, so I painted a $10 thrift store side table using BEHR PREMIUM PLUS ULTRA® Interior Paint also in a matte finish. 
And here is the reveal of the completed space!

Cotton Grey HDC-NT-20 may be my new favorite grey paint color – it is gorgeous (and goes so well with my doors painted in Orion Grey N510-6 also by Behr). 
The wall treatment only cost around $100, but it adds so much to the space!
And the blue table adds such a fun pop of color…

…while tying in the wallpaper in our hallway.


Where would you use Behr’s 2019 Color of the Year in your home?
Go create something!

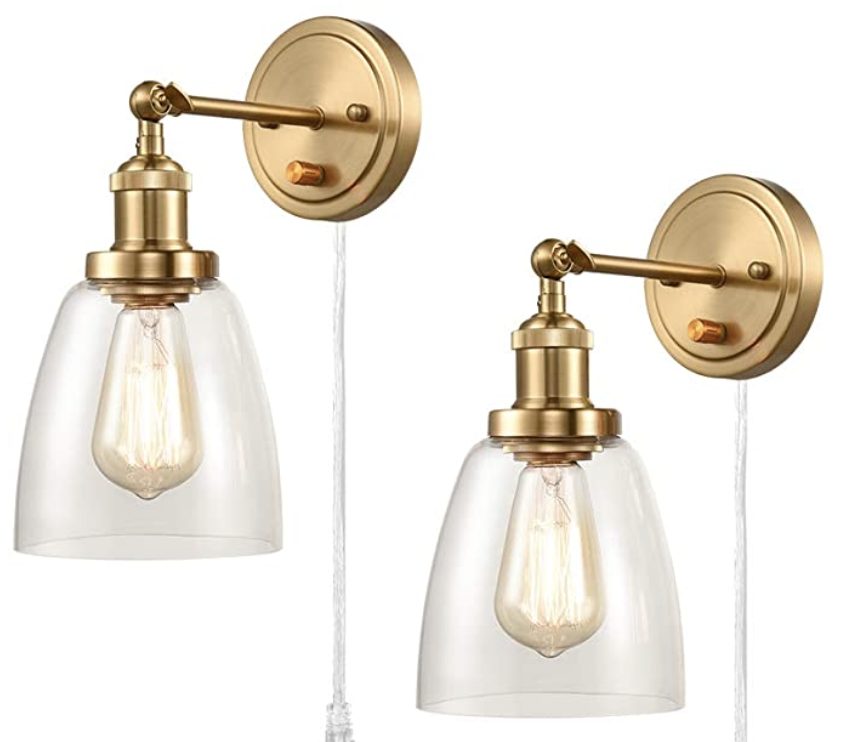
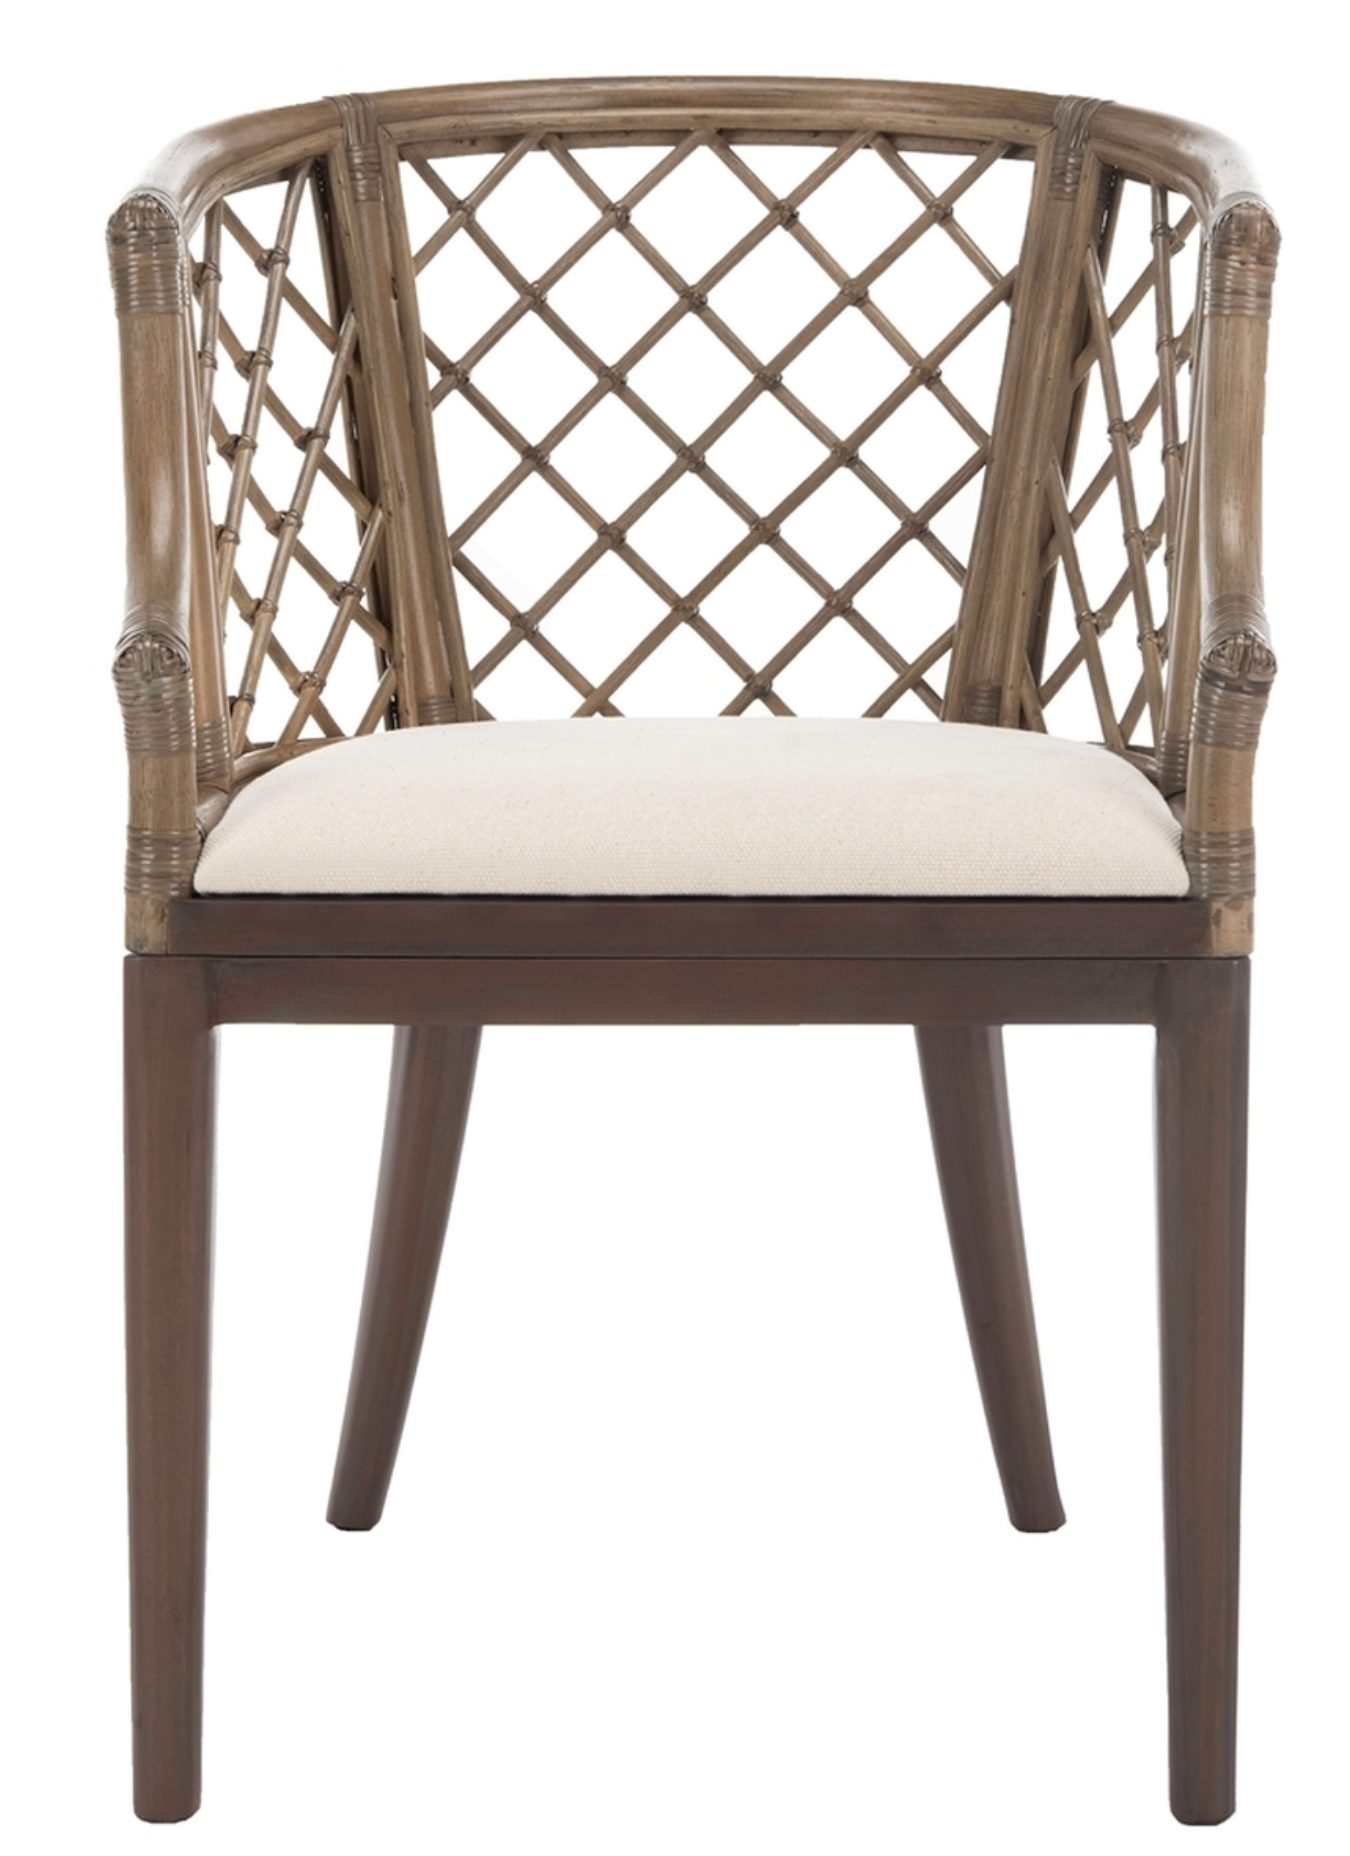
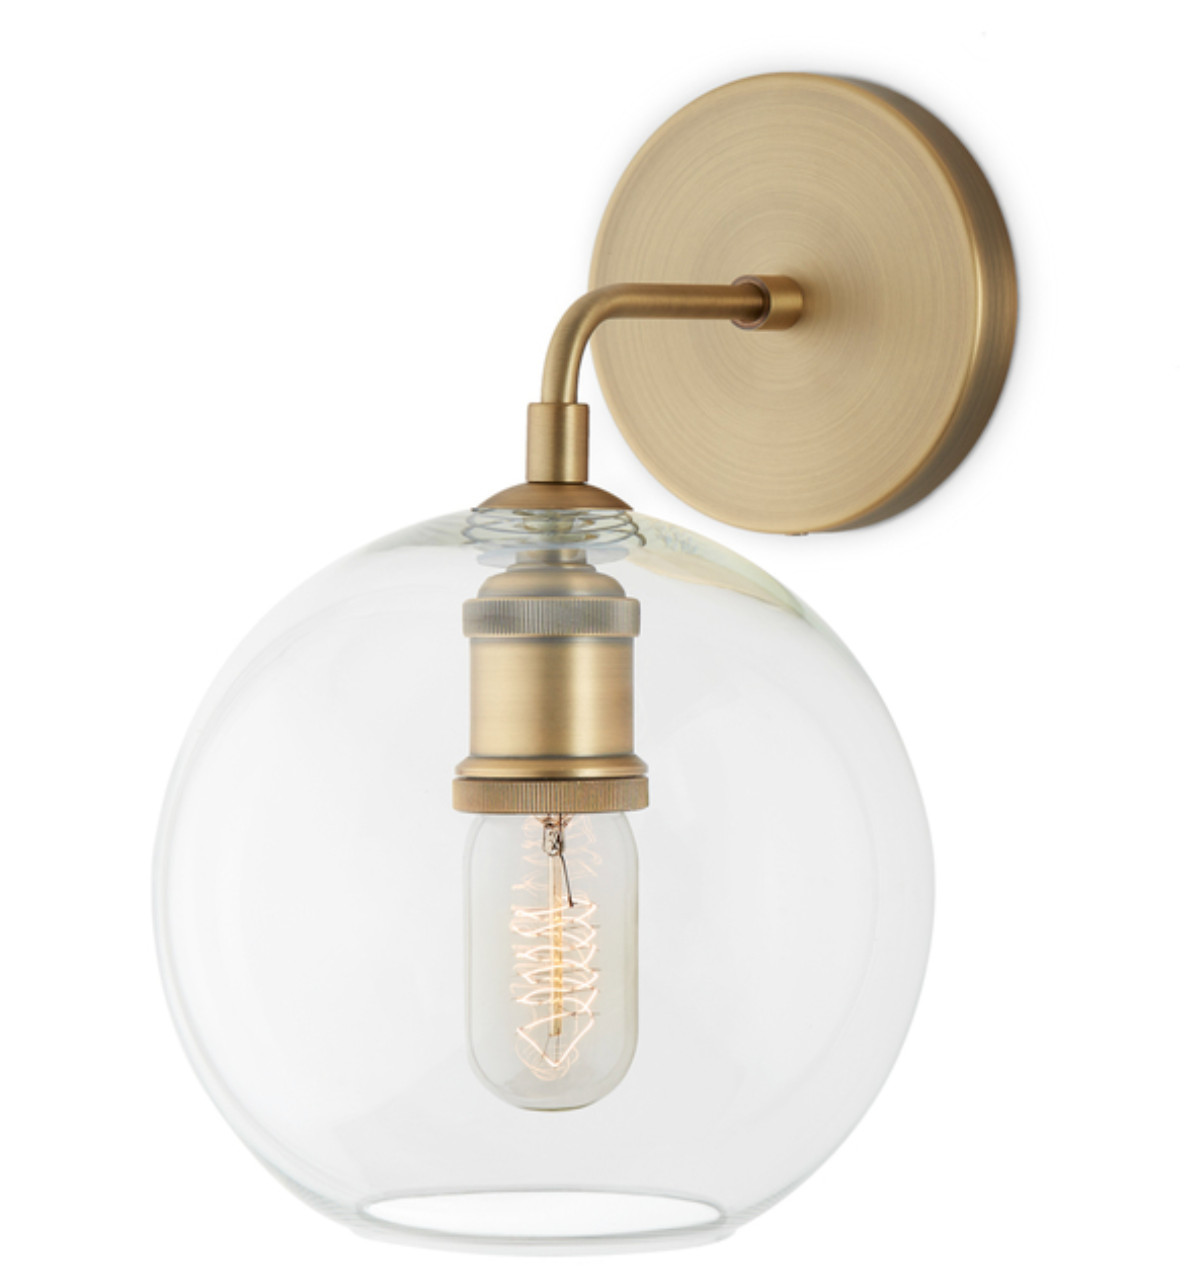
Are you new to my blog? Go HERE to see my home tour and HERE to shop for items I use in our home.


 Before you begin, make a plan. I found the center of my room and wallpaper (the bird pattern), and began there.


