DIY

Board & Batten Tutorial

Want an inexpensive way to add interest to your space?  Try this Board & Batten Tutorial!

Board and Batten Tutorial

My boys’ room recently had a major makeover, and you can see all the furniture details by going here.  I wanted a statement wall in the space, so I created this board and batten wall.  I built it solo one afternoon, and (since I had everything other than the MDF board) this project cost me less than $100!

This post contains some affiliate links for your convenience. Click here to read my full disclosure policy.

Supplies for this project:

  • (9) 5 1/2″ x 8″ primed MDF board
  • (6) 2 1/2″ x 8″ primed MDF board
  • (2) 3 1/2″ x 8″ primed MDF board
  • Sandpaper
  • Caulk
  • Wood filler
  • Nail gun
  • Chop saw

I began by lightly sanding the stripes (most likely you will not have to do this step unless you happen to have stripes on your walls).

Add 3 1/2″ x 8″ primed MDF board to the base.

Once the baseboard is up, lay out the 5 1/2″ x 8″ boards and figure out how far to space the pieces.

The top piece is a 2 1/2″ x 8″ board.  Once that is in place (use a level to be sure everything is straight), add the larger (5 1/2″ x 8″) boards.  Begin in the center and then centered a piece between the center of the wall and the corner on the right side.  Do the same with the left side.

Continue the process until all the vertical boards are up.

Add another 2 1/2″ piece was added to the top (or you can use a thicker board instead of the two smaller boards – I was working with what I had on hand).

To finish off the wall, add a piece of the 2 1/2″ x 8″ board.  I flipped it to create a finished edge (or ledge).  A nail gun was used to adhere the boards to the wall.

Fill the nail holes with wood filler.

Fill the gaps with caulk.

Once everything is dry, sand the wood filler and *paint the board and batten. *I did not prime my boards since they were pre-primed.

After two coats of paint (to see more on this gorgeous paint color, go here), the wall will be complete!

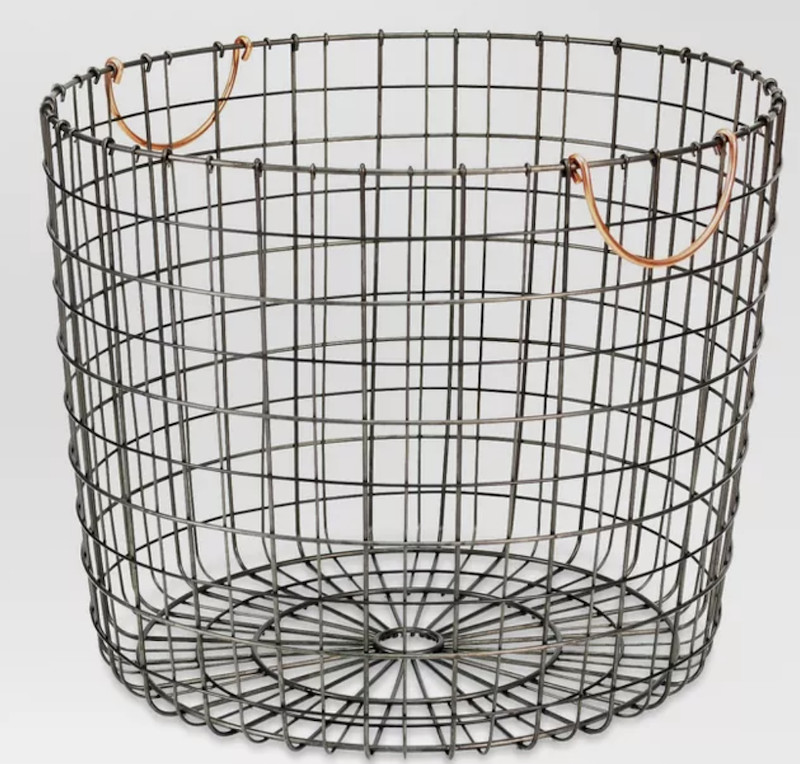
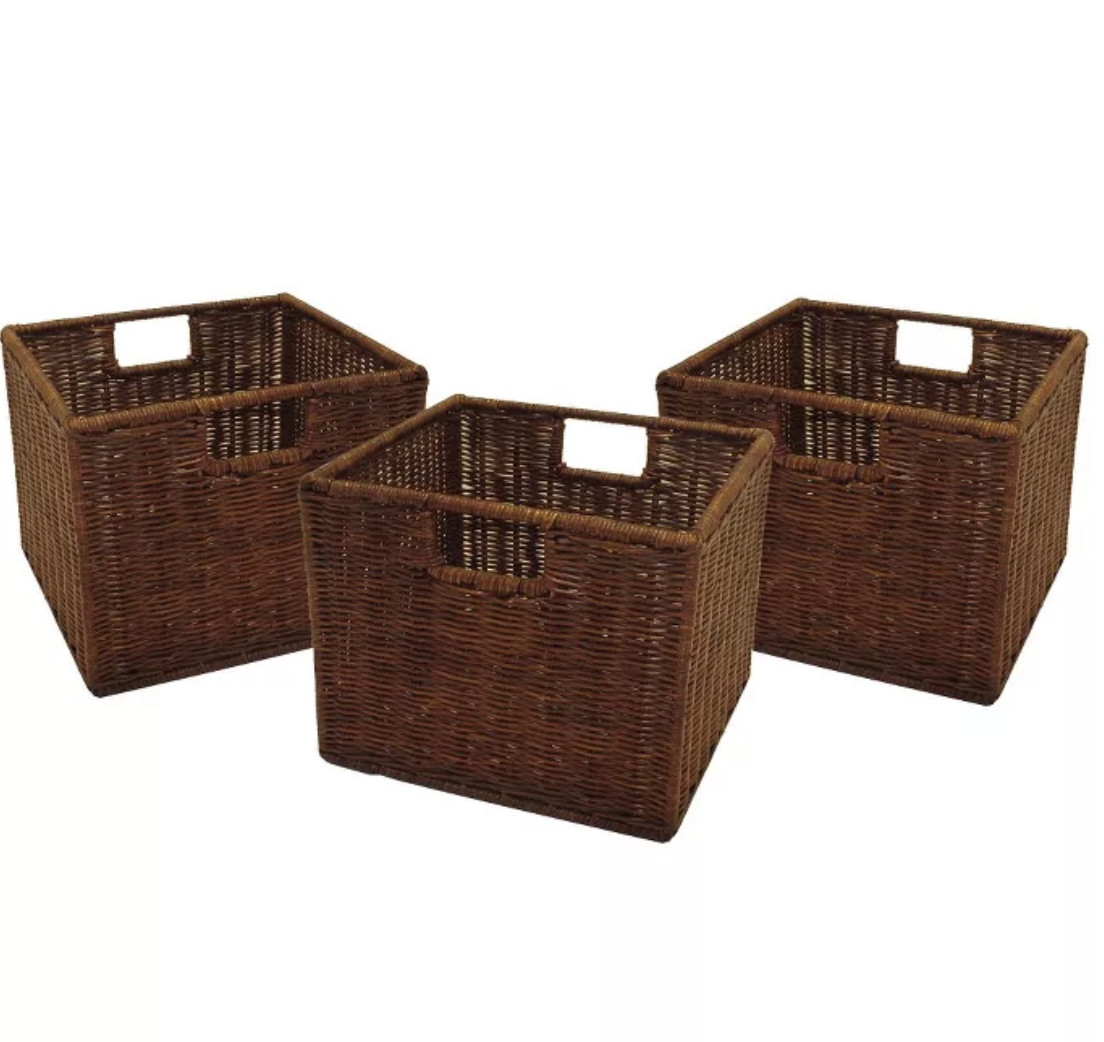
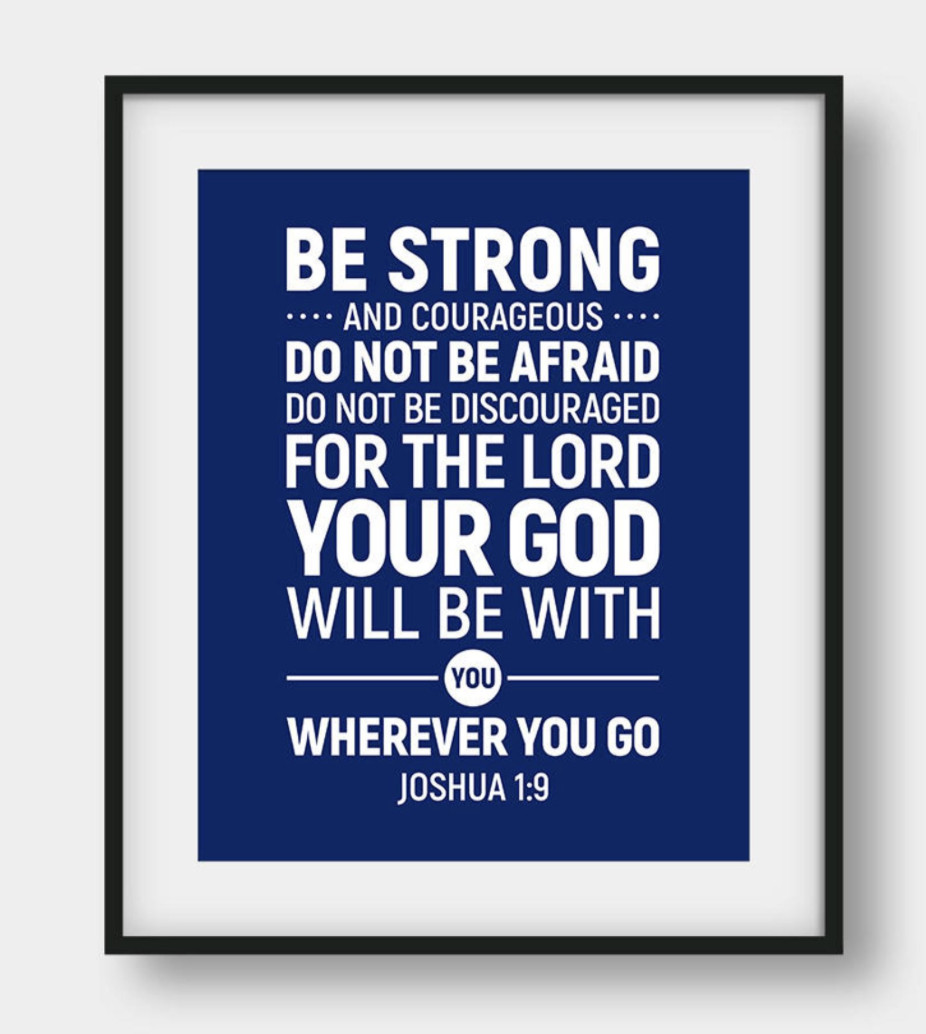
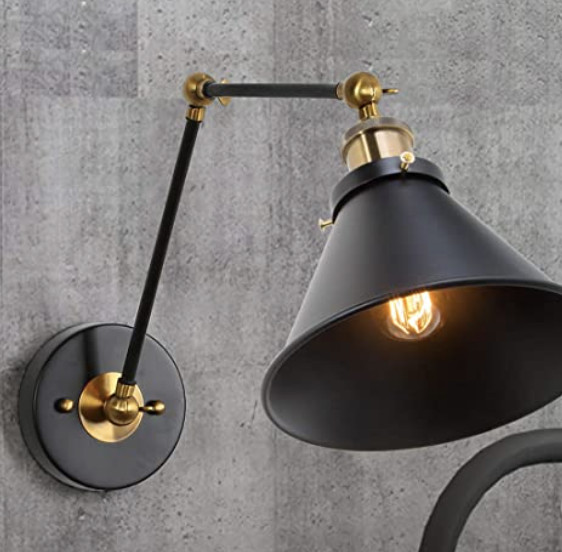
I linked up to many of the decor items used in this space – just click on the image you want to know more about!

The wallpaper from Wallpaper Boulevard, and I used Common Thread from Magnolia Home. It ties in perfectly with the rest of the space and will grow with my boys.

If you noticed, I painted the baseboards the same color as the board and batten.  

Want an easy way to paint baseboards without painting your carpet?  GO HERE to see the easy technique!  It is one of my favorite painting tips.

Go create something!

Are you new to my blog? Go HERE to see my home tour and HERE to shop for items I use in our home.

*This post has been sponsored by Wallpaper Boulevard.  All thoughts and opinions are my own.  

Decor

Boys Bedroom Makeover

It’s crazy how much my boys have grown since we moved into our home four years ago. They were little guys – only in kindergarten and 2nd grade. Flash forward to now, and they are 4th and 6th graders, with my 6th grader already four inches taller than me. Since the boys were quickly outgrowing the space (and their beds), I was overjoyed to partner on my Boys Bedroom Makeover with The RoomPlace!

Boys Bedroom Makeover with The RoomPlace

Similar to our master, the boys’ bedroom is a large space that we filled with lots of small furniture, and it ended up looking cluttered.

I painted the room, added a DIY wall treatment, wall lamps and wallpaper and brought in gorgeous new pieces from The RoomPlace.

Here is another angle of the bedroom – before and after!

I was most excited to get the boys nice larger mattresses. My oldest has trouble sleeping, and it is wonderful to have a mattress that allows him to stretch out on and continue to grow! The RoomPlace delivered the boys’ mattresses and furniture. The delivery guys were efficient, polite and removed all trash.

These mattresses are absolutely amazing and SO comfortable.  The only downside is that I struggle to get my boys up in the mornings…

They both have the Therapedic Splendor Pillow Top Mattress in the full size.

The Kirkland Bronze Full Bed is timeless and will grow with the boys.

With two full-sized beds in the room, we didn’t have a lot of extra space.  Luckily the Catalina Chestnut Nightstand  provided some storage for the boys and fit the space perfectly!

I am so in love with the boys room, and I love their Catalina Chestnut Desks and Paxton Blue Office Chairs.

The space was designed around the office chairs because they are gorgeous.  I refer to them as my sophisticated little men chairs.

The boys spend a lot of time at their desks, and they provide just enough storage.

The DIY paneled wall treatment tutorial will be shared soon, and I love the contrast of the navy wall with the bronze beds!

Want to recreate my boys bedroom?  Here are The RoomPlace pieces we used:

  • Therapedic Splendor Pillow Top Mattress
  • Kirkland Bronze Bed
  • Catalina Chestnut Nightstand
  • Catalina Chestnut Desk
  • Paxton Blue Office Chair


Check out my other makeovers in partnership with The RoomPlace!  See our living room and the kids playroom

Photo credit: Carpenter Photo & Design

Go create something! 

Are you new to my blog? Go HERE to see my home tour and HERE to shop for items I use in our home.

This post has been sponsored by The RoomPlace.  All thoughts and opinions are my own.

Shop the Post
Decor

Master Bedroom Makeover

Our master bedroom is always the last room that receives attention which is crazy considering how much time we spend in it. So, when I had the opportunity partner on our Master Bedroom Makeover with The RoomPlace, I was thrilled! Master Bedroom Makeover with The RoomPlace When we first moved into our home, we brought all the furniture from our previous house. Later I painted the walls and added new drapes, a headboard and a DIY side table.  It was looking more like me, but it still felt a cluttered as filled the large room with LOTS of little pieces. 
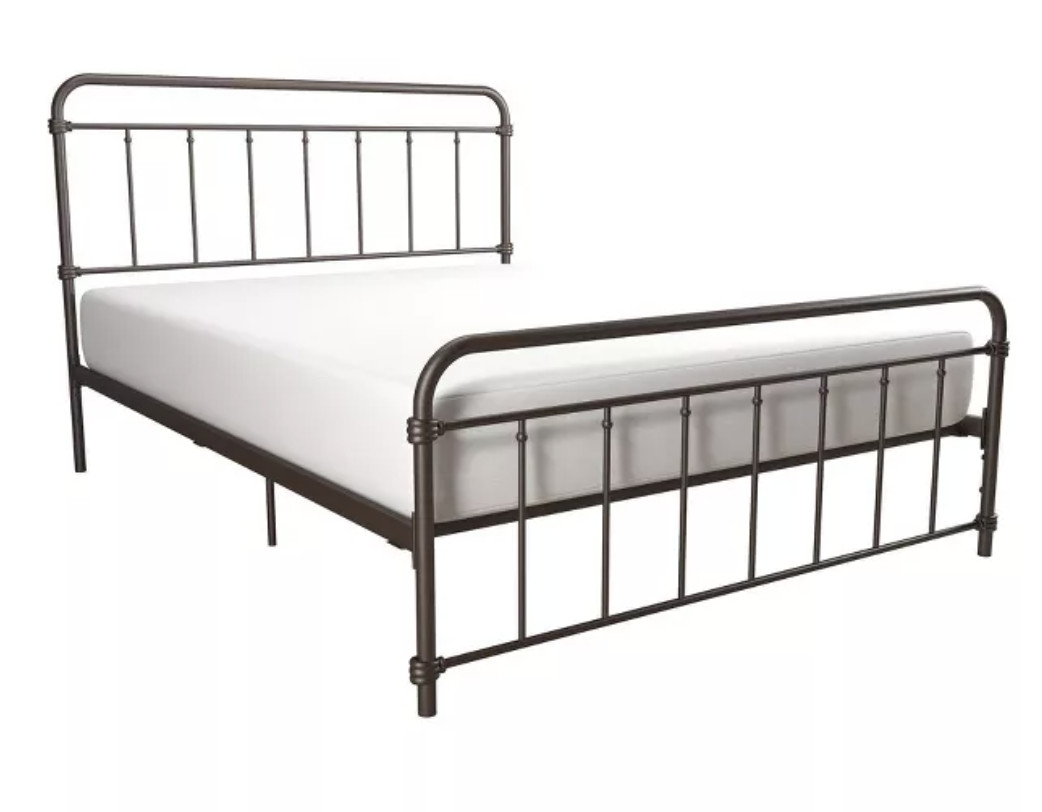
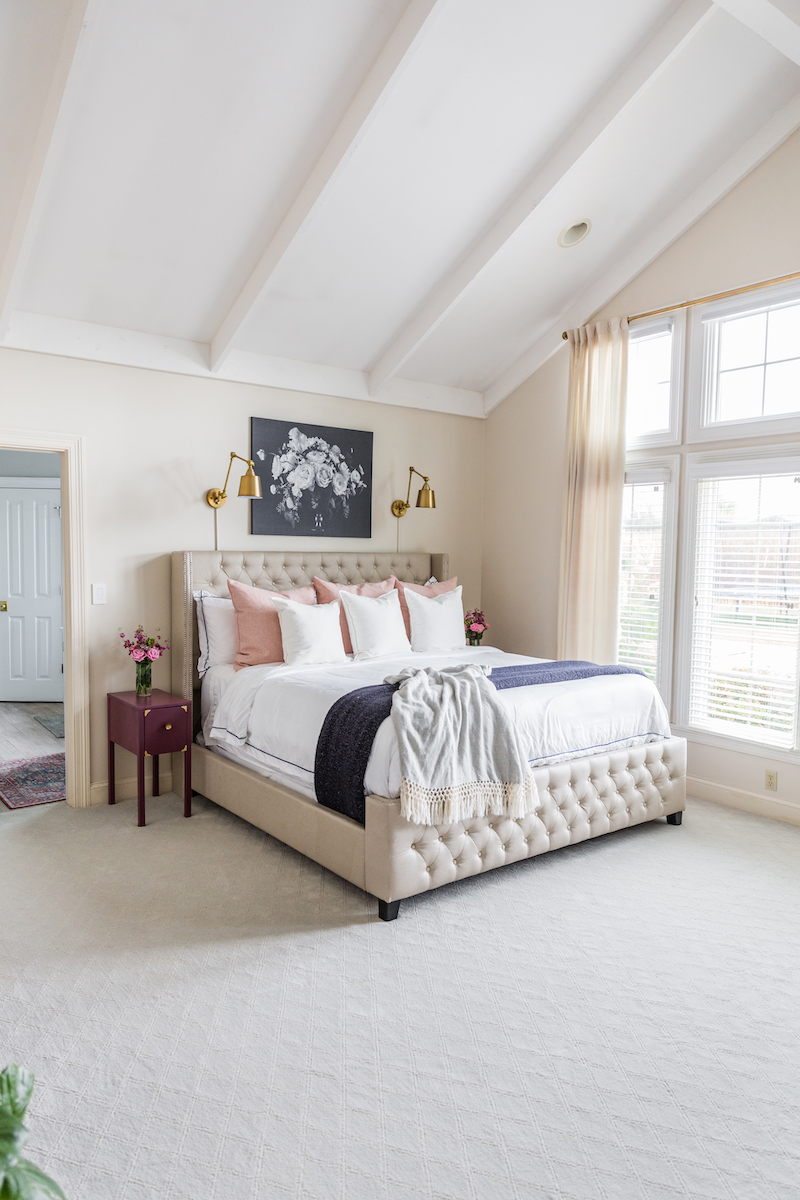
I was excited to give the master the attention it deserved and add large pieces that actually fill the space – like a king-sized bed. Some of the pieces came via delivery, and the delivery guys were efficient, polite and removed all the trash. The smaller pieces (web-specials) came straight to my doorstep via FedEx.  The pieces were easy to assemble, and usually only required a few minutes of work. 
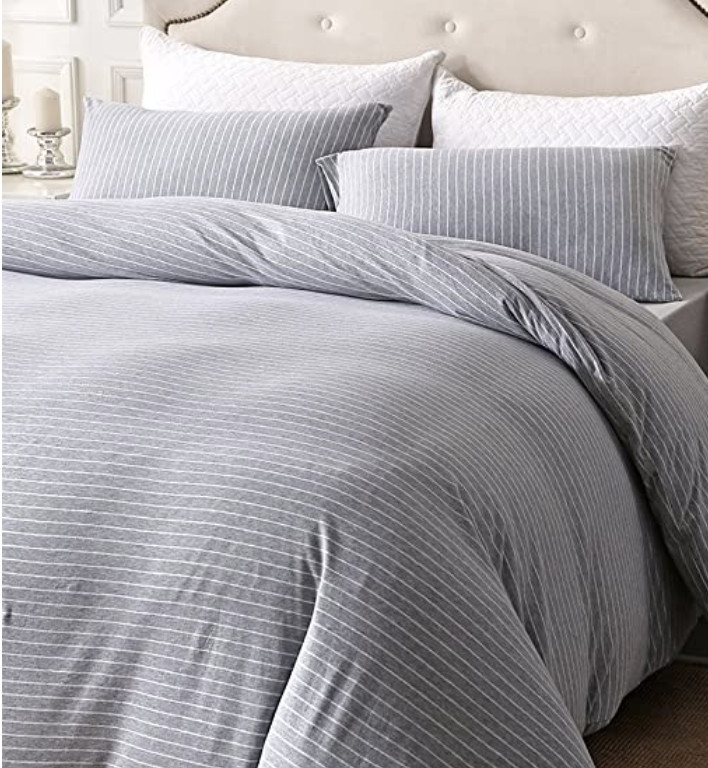
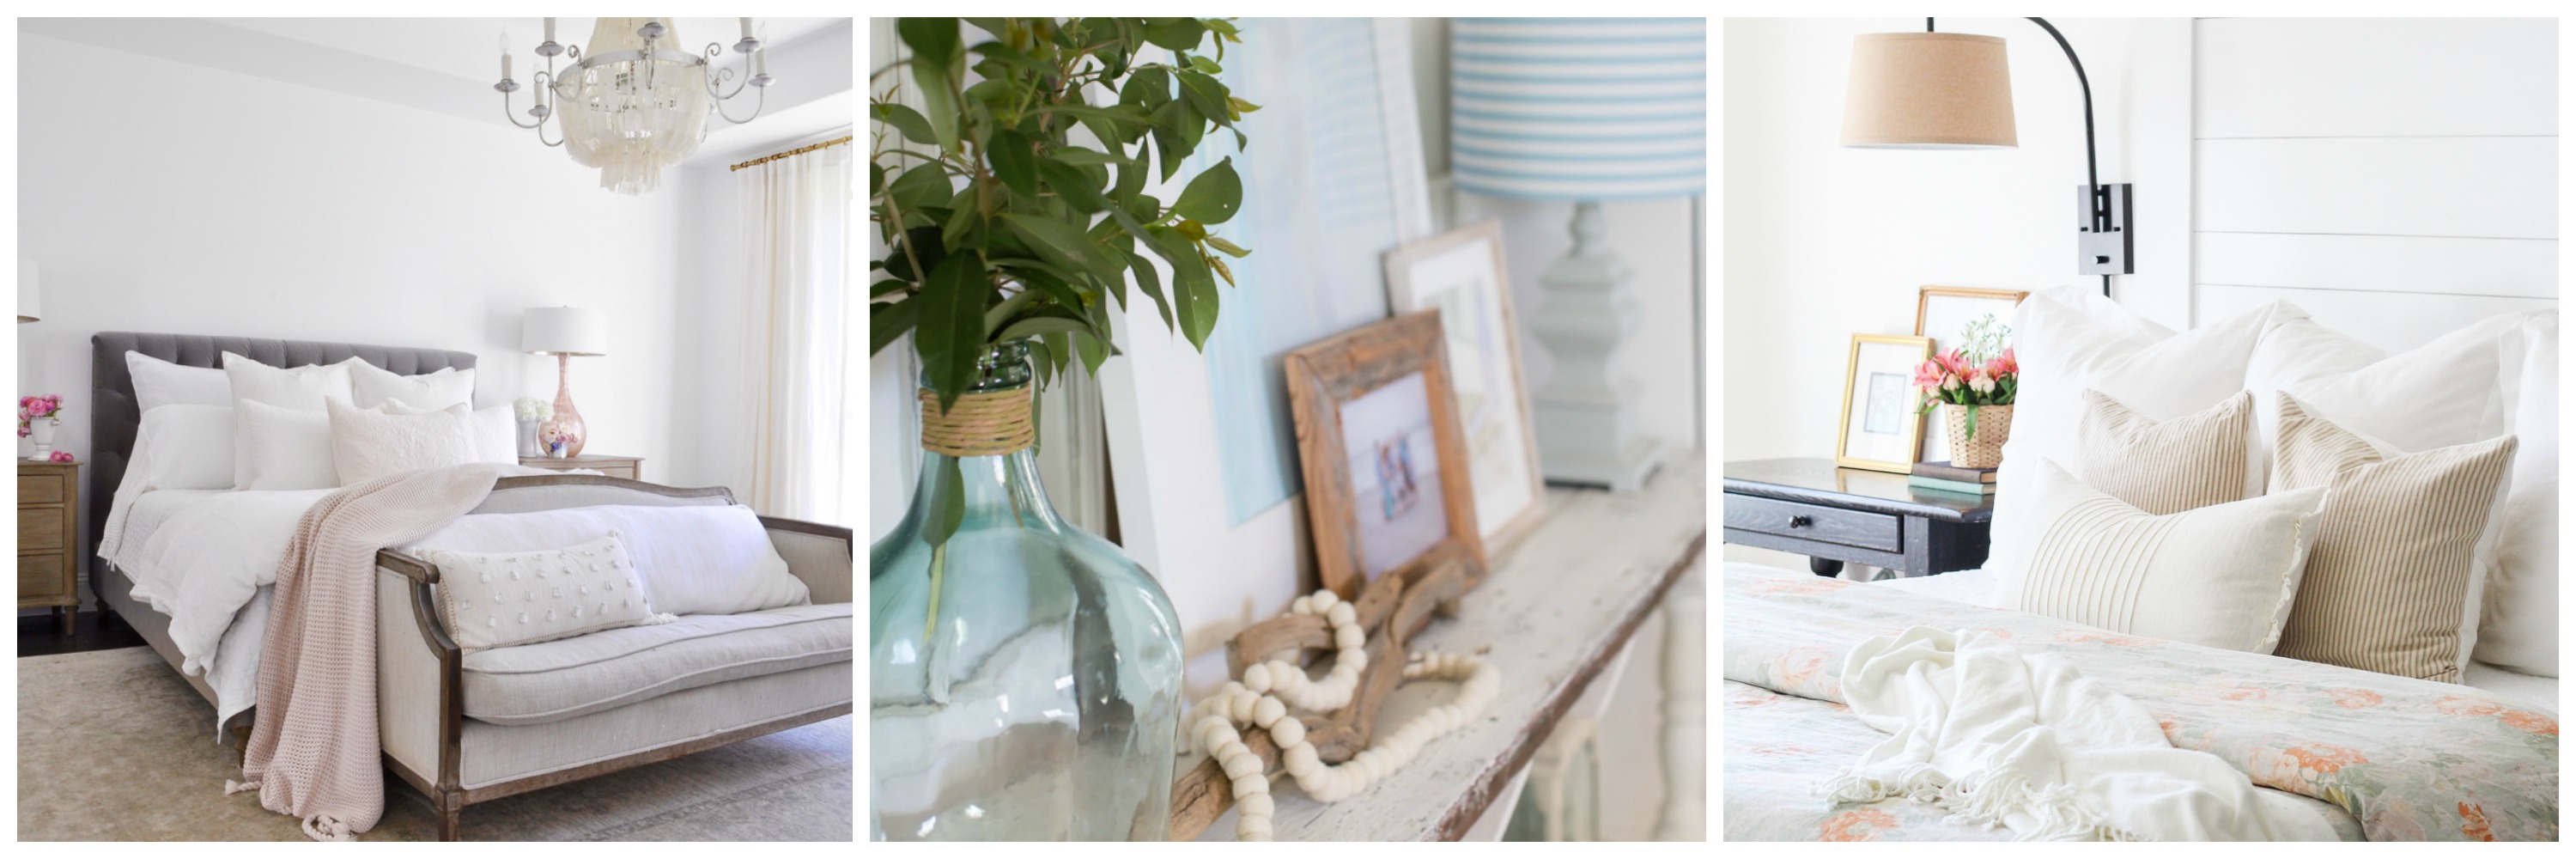
My favorite new piece in the master is our amazing Therapedic Luxury Pillow Top Mattress.  I feel like I’m sleeping in a luxurious hotel – every single night! The luxurious mattress requires a luxurious bed, and we are in love with the Isabella King Bed. How can you have go wrong with tufting?! It is a gorgeous, elegant piece, and the perfect centerpiece for our master bedroom. 
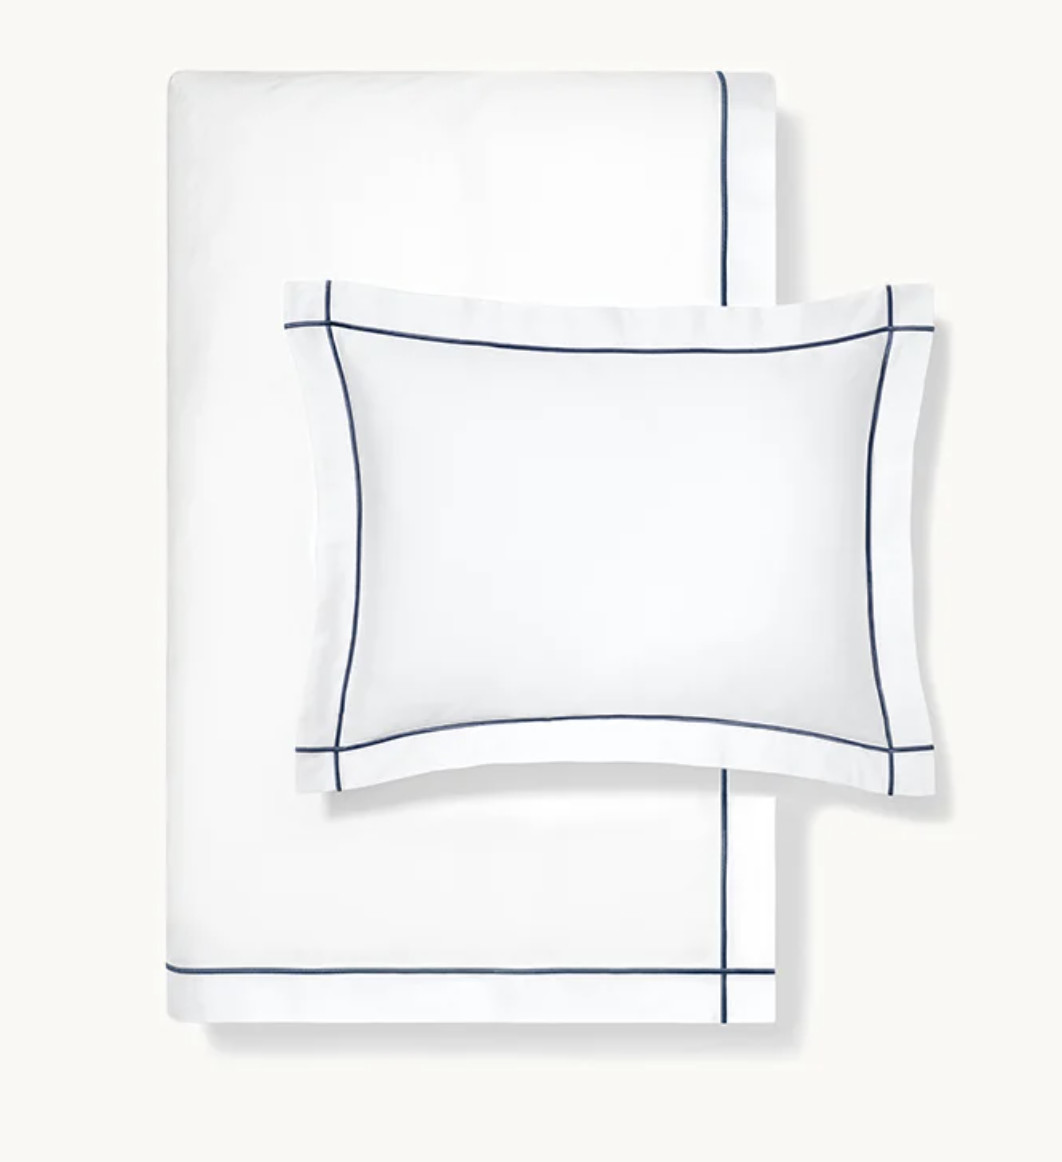
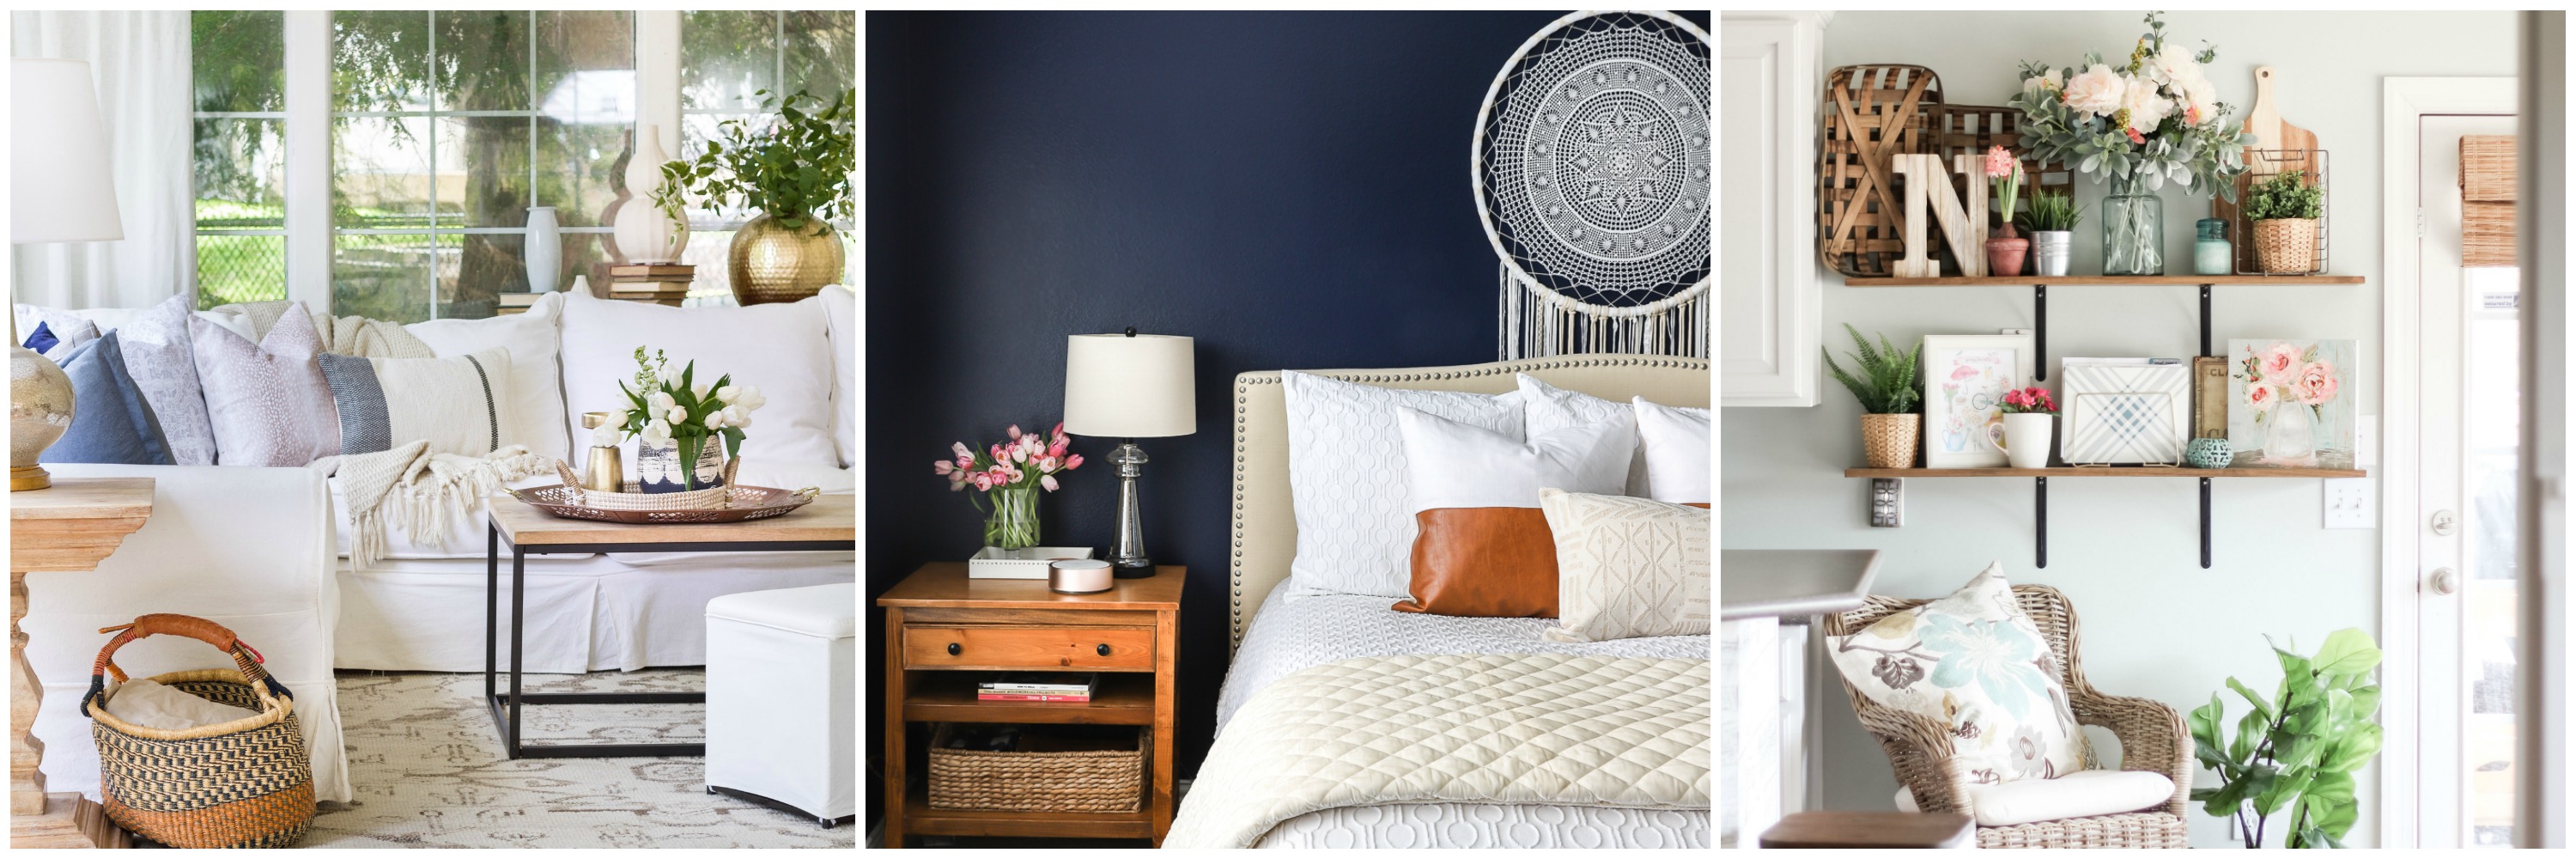
I added the Navy Cotton Velvet Throw Pillows . I added a little reading corner in our room with the Langston Taupe Chaise. 
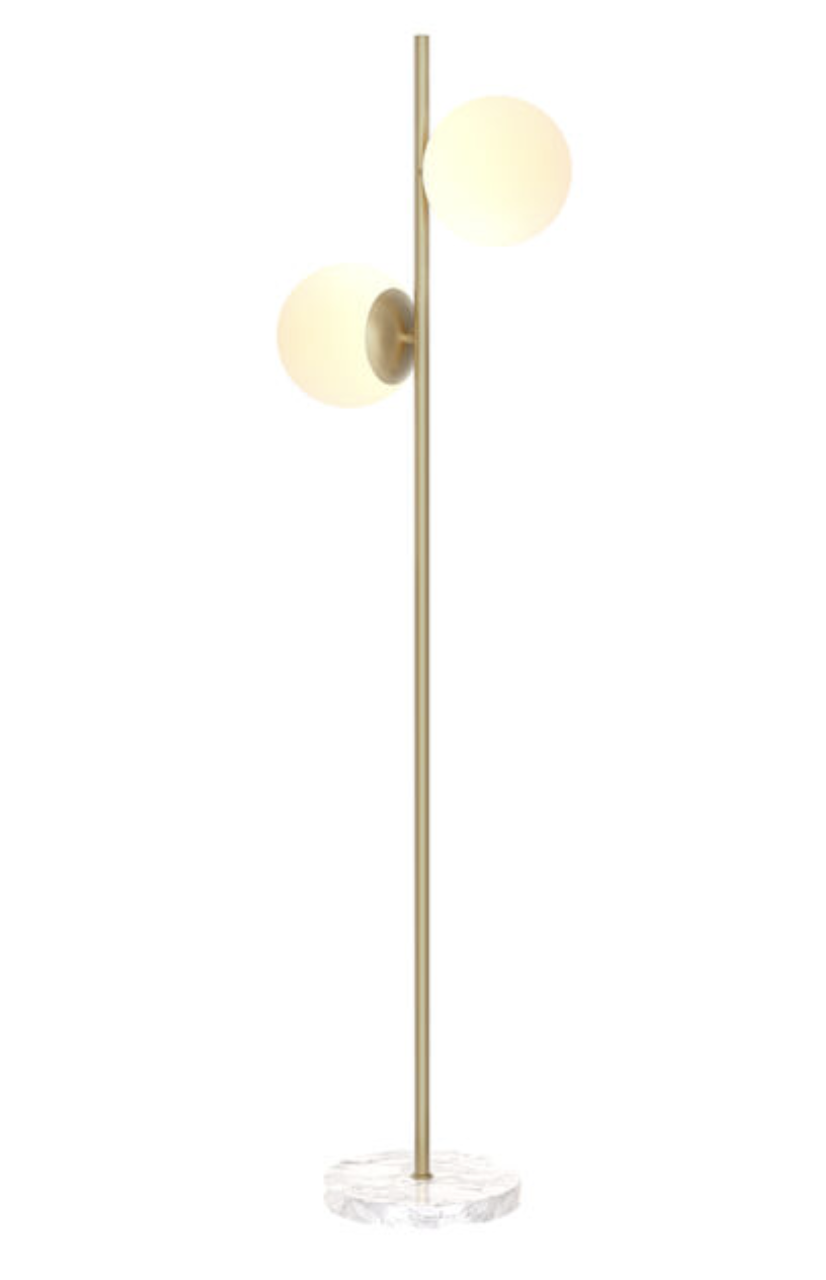
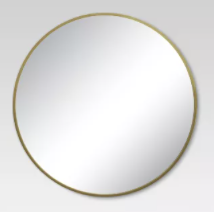
This gorgeous mirror bounces light around and allows me to approve my outfits every morning! 
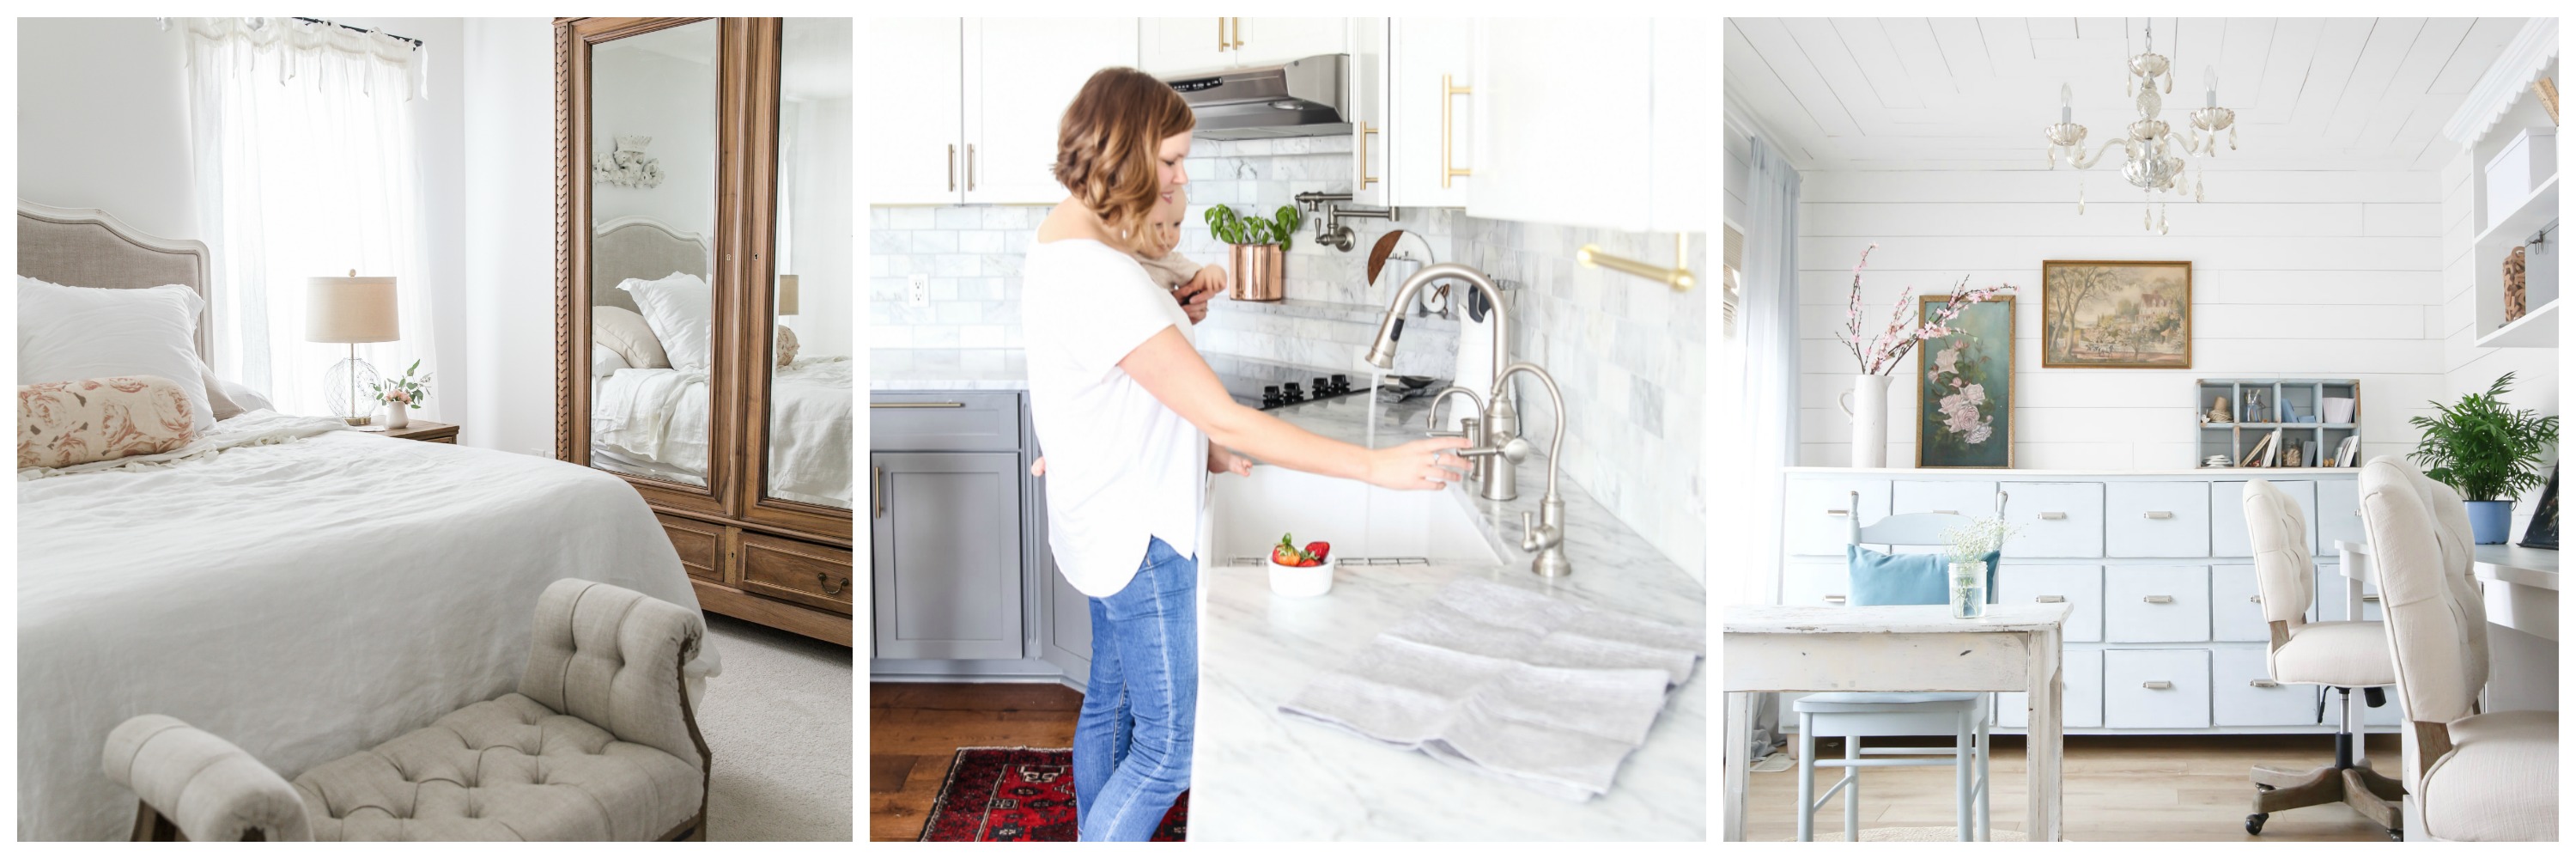
I recently lost my home office to bookshelves and a piano, so a cute little office space in our bedroom was created using the Silvia Accent Chair, a Writing Desk, and a Gray Nightstand (perfect for storing my files and holding my printer). Our bedroom has a lot of natural light from the large wall of windows, so it’s a delightful place for my home office! 
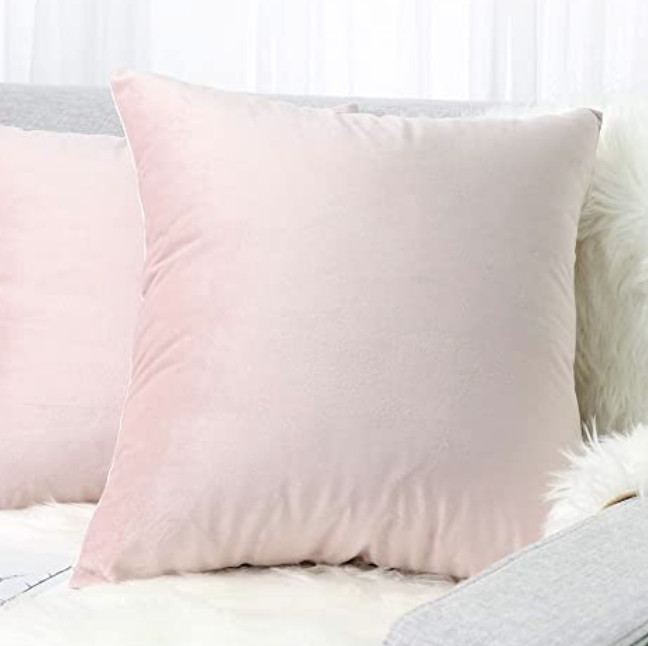
Next to my home office, I added this comfy Canyon Accent Chair. I am in love with the navy color and velvet texture – it ties in well with the throw pillows on the bed. Want to recreate our Master Bedroom Makeover?  Here are the items used:
  • Therapedic Luxury Pillow Top Mattress.
  • Isabelle King Bed
  • Navy Cotton Velvet Throw Pillows
  • Langston Taupe Chaise
  • Gorgeous Mirror
  • Silvia Accent Chair
  • Writing Desk
  • Gray Nightstand
  • Canyon Accent Chair
Or you can check out my custom Stylyze board HERE. Do you have trouble finding a way to make your space feel like you?  With The RoomPlace’s new interactive digital feature, Stylyze, you can create customized looks based on the trends you’re drawn to.  It takes the guesswork out of designing a room or whole home! The RoomPlace has styles suitable for every type of preference. Check out my other makeovers in partnership with The RoomPlace!  See our living room and the kids playroom. Go create something! Are you new to my blog? Go HERE to see my home tour and HERE to shop for items I use in our home.

This post has been sponsored by The RoomPlace.  All thoughts and opinions are my own.

Shop the Post
Home

Dwell Well Studio

Dwell Well Studio | Design Services

*UPDATED – We couldn’t keep up with Dwell Well Studio, so we no longer provide design services.*  


I am SO excited so share that I’ve partnered with my friend Angela of Unexpected Elegance, and we’ve launched Dwell Well Studio and are now offering Design Services!

Dwell Well Studio Design Services

I’ve known Angela for over five years now, and we both have a passion for design. We also want to help people, so we’re excited to launch this new business venture together.

I LOVE my DIY crowd here on Sincerely, Sara D. (and am still planning to continue my DIY adventures here), but I also realize there are those of you who prefer to have someone else direct and guide you.  At Dwell Well Studio, we offer Digital Design Plans to help those of you who want to change things up but don’t know where to begin.   We believe that everyone should be able to enjoy and afford a beautiful, updated space within your own timeline and budget! On the Dwell Well Studio website we’ll be sharing design tips and makeovers. To celebrate the launch of our new business, we’re giving away a $100 Target gift card.  Find us on Instagram for your chance to win!

Go create something!

Are you new to my blog? Go HERE to see my home tour and HERE to shop for items I use in our home.


Home

Same Here Sisterfriend Review

Same Here, Sisterfriend Review Years ago when I was in the middle of mothering young kids, I found a creative outlet in creating custom invitations.  I had a little shop on Etsy, and would spend nap time fulfilling my orders.  Sincerely, Sara D. was the name I gave to my little stationery shop. Somewhere between six years ago and now, I closed my Etsy shop and began blogging about my DIY home decor adventures.  Life is a funny journey, isn’t it?! But back to when I was running my little Etsy shop… I met a sweet girl named Holly through Etsy’s internal messenger.  Holly did printing, and wanted to know if we could form a partnership.  I would send my customers her way for printing, and in return I earned points towards Starbucks gift cards.  It was a win-win situation! That same Holly has had quite a journey herself which has since led to TWO published books.  Holly wrote the Bible Study Engaging Motherhood, Heart Preparation for a Holy Calling (which I love) and now the recently released, Same Here, Sisterfriend.

Same Here, Sisterfriend Book Review

Holly rounded up several of her “sisterfriends” and they share tales and laugh their way through the misadventures of motherhood.  The book is full hilarious and vulnerable tales written by moms.

From the Same Here, Sisterfriend website:  Laugh alongside a group of real mamas as they tell of the neverending joys and unpredictable perils of motherhood. Between diaper fiascos and singing potties, and whether mowing to escape reality or being mistaken as a pile of laundry—hilarity ensues. The extraordinary vulnerability found in Same Here, Sisterfriend will not only remind every mom that she’s not alone, but also encourage her to look for grace in even the messiest moments. Holly honored me by asking for my review on the book,  and you can see it here on her website.

Same Here, Sisterfriend Review

I so wish I had this book when I was in the middle of raising young kids.  It’s a lighthearted look at mothering young children, and it overflows with encouragement and fills your heart with joy – both from the spiritual truth and the humorous tales of motherhood.  I told Holly I need her to write another book so I can find cheer and humor through this next parenting adventure (my oldest turns 13 this year)!

Go create something!

Are you new to my blog? Go HERE to see my home tour and HERE to shop for items I use in our home.  

DIY

Hang Wall Lamps without Hiring an Electrician

Wall lamps (or sconces) are everywhere in decor right now.  Have you ever wondered how to hang wall lamps without hiring an electrician?  I’m going to share how EASY it is to add wall lamps to your home – in a matter of minutes!

This post contains some affiliate links for your convenience. Click here to read my full disclosure policy

Hang Wall Lamps without Hiring an Electrician:

Supplies needed for installing wall lamps

I always begin by installing my lamp first.  Follow the instructions provided with the lamp, and they are very easy to install.  Most of the time they involve 4 screws (which are easy to put into the wall with a cordless drill).  If you don’t hit a stud, it is helpful to use wall anchors (which usually come with the lamp).  You will be pulling on the lamp to turn it on and off, and you don’t want to risk the lamp falling off the wall!

Once the lamp is installed, you use a cord cover to hide the plug cord.  The cord covers typically pull open so you can place the cord inside.  There is an adhesive back.  Just place that directly on your wall (and don’t forget to use a level to make sure it is straight).

Once the cord cover is up, you paint the cover!  I have found that a brush works best and a few coats of paint will have the cover blend in to your wall! See how easy that is?!  You will begin adding them all over your home after you discover how inexpensively you can install the lights! I added wall lamps to my living room:

And added them to our bedroom (these are my favorite wall lamps):

They’re also on our landing (get a similar look HERE):

And my boys use their lamps every night to read.


Go create something!

Are you new to my blog? Go HERE to see my home tour and HERE to shop for items I use in our home.

Find me on Facebook | Instagram | Twitter Pinterest  

Shop the Post
Home

Nest Video Doorbell

This post has been sponsored by Nest.  All thoughts and opinions are my own.

The Nest Hello Video Doorbell allows me to always know who’s knocking (or ringing)…

Nest Hello Video Doorbell

As a mom, monitoring our front door gives me peace of mind. We are at the stage of life where our kids are involved in a lot of sports and activities.  My husband and I do a lot of dividing and conquering to get everyone where they need to be (along with help from friends dropping off and picking up).  Knowing who is coming and going is helpful. I can engage with my kids (or guests) from anywhere using the Nest Hello doorbell and the Nest app on my phone:

The Nest Hello offers:

  • HD video
  • Night Vision
  • 24/7 streaming
  • HDR
  • 160 degrees field of view

Nest Hello Video Doorbell

The Nest Hello brings together the trusted technology of a Nest Cam with the familiar interaction of a doorbell.

Some cameras only record when they detect movement, but the Nest Cam records continuously – so I never miss a moment (and I can even look back on clips throughout the day).

Check in anytime during the day…

or night!

If the camera is stolen, everything is securely stored in the cloud.  The Nest Hello comes with a two-year warranty and a theft replacement plan in the unlikely event that it is stolen.

We see when packages arrive – which is really helpful when we are out of town (and not so helpful since my husband also has the Nest app and sees how often the UPS man visits our home)!

If you are interested in a Nest Hello for your home, you need an existing wired doorbell with a transformer (16v-24v, AC 10VA) with a wired chime.  

We are absolutely IN LOVE with this doorbell and would highly recommend it to anyone – especially families in our stage of life.

go create something!

Are you new to my blog? Go HERE to see my home tour and HERE to shop for items I use in our home.

Decor

Custom Watercolor Home Portrait

If you’re looking for an artist to create a custom watercolor home portrait, then I have the artist for you!  She’s talented and will create a piece of art that you will treasure for ever.

Custom Watercolor Home Portrait

As much as I love our current home, our last home will always hold a special place in my heart.  It was the first home we purchased, and all three of our babies came home to that house.  It holds 9 years of memories, AND it is where Sincerely, Sara D. began. The walls in that house became my canvas, and I would paint and create to give me a little sanity from being a mom of three little kids.  We all need our creative outlets, and home decor became mine. When I had the opportunity to have our first home painted, I was thrilled.  Katie from Me and Mary painted a gorgeous custom watercolor home portrait of our first home, and I will forever treasure this piece.  When I received the painting, I was overwhelmed with memories – I could almost see my kids running around. She had captured our house perfectly.

Katie has an Etsy shop (click here to go there), and on top of beautiful custom home portraits for an amazing price, the shop is also filled with printable artwork and organization lists.

Katie is an artist, writer, wife and mom.  Besides offering custom watercolor home portraits, Katie offers lettering workshops and custom hand lettered prints.

Katie’s custom watercolor home portraits make a great gift for yourself or someone you know!

Go create something! 

Are you new to my blog? Go HERE to see my home tour and HERE to shop for items I use in our home. This post has been sponsored by Me and Mary.  All thoughts and opinions are my own.

Paint

Kitchen Cabinet Color

One of the most asked questions from my readers is what our kitchen cabinet color is. Our cabinets were RTA (ready-to-assemble) cabinets (read more on the cabinets HERE), and they came in this “light gray” color.  However, they do have a greenish undertone.  At first I wasn’t quite sure if I liked the undertone, but I really have grown to love it  (and I appreciate all the confirmation from readers wanting to know the color).

Kitchen Cabinet Color

Kitchen Cabinet Color

I went to Home Depot and had a cabinet door color-matched for two reasons: I promised several readers I would have the cabinets color-matched, and I also wanted to paint the underside of the upper cabinets (they were a brownish-color, and it bothered me that they weren’t the gray). Here’s the secret formula for the color: BEHR Premium Plus Ultra Paint: Interior Semi-Gloss Enamel in Ultra Pure White 3750 (I purchased a quart size).

  • BASE: 3750
  • CLRNT: 384th
  • DL: 126
  • FL: 56
  • RUL: 6
  •  

I wish it was as easy as sharing a paint color, but unfortunately it’s just a bunch of numbers.  However, if you go to Home Depot armed with this information, you can have the same color as these kitchen cabinets!

If you want to see more on our DIY kitchen journey, you can follow along here:

Go create something!

Are you new to my blog? Go HERE to see my home tour and HERE to shop for items I use in our home.

Shop the Post
Seasonal Decor

Easter Tablescape

We are in desperate need of spring here in Indiana, so I really enjoyed designing an Easter tablescape and decorating our home for spring with Balsam Hill. Easter Tablescape | Spring with Balsam Hill 
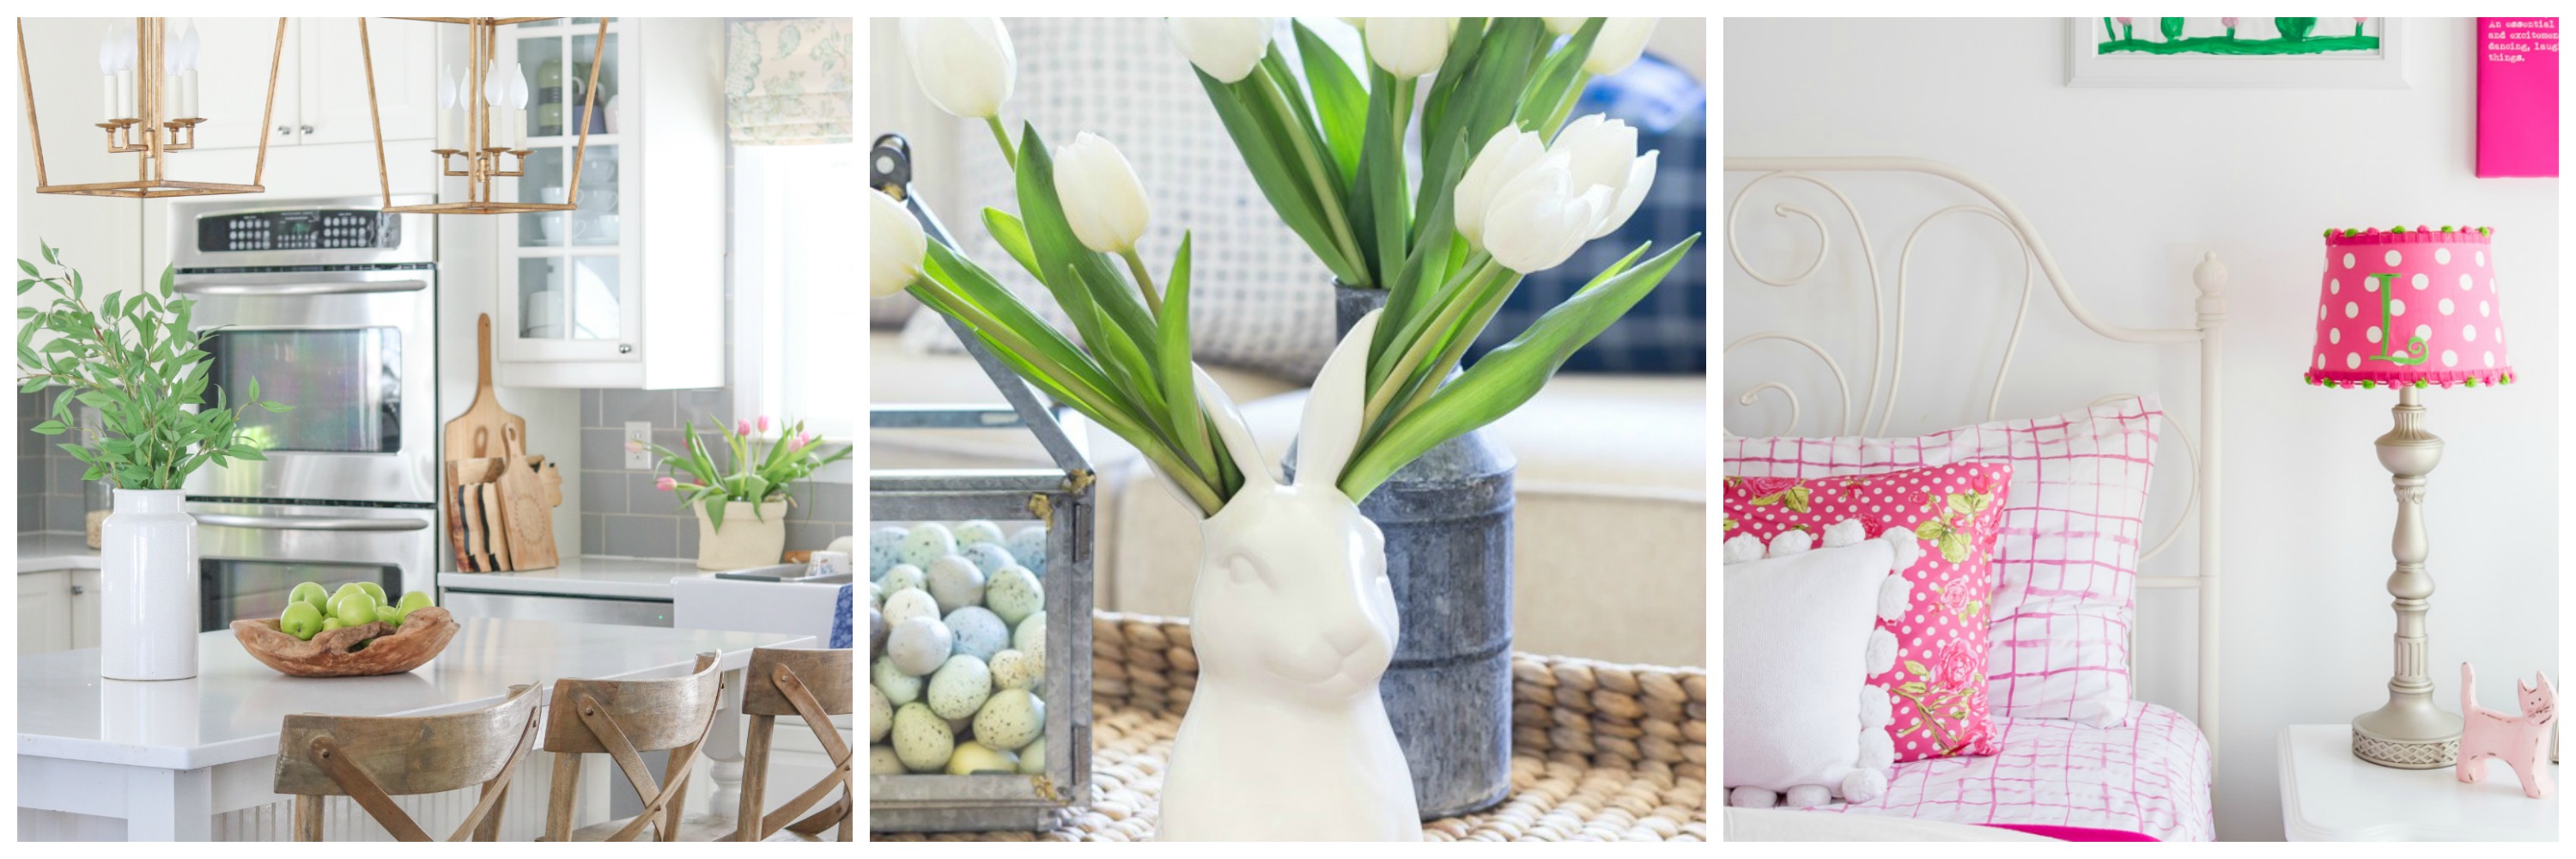
I have always loved yellow in small doses, and this Small Meyer Lemon Tree adds the perfect amount of color to my kitchen. It looks so realistic – right down to the “dirt” in the aged pot.  The best thing about it – I don’t need to worry about making a mess OR watering! I am a fan of Balsam Hill’s miracle flames candles, and I used them year round in our home (I used them in our fall decor last year). This candle is Balsam Hill’s 7″ Miracle Flam LED Wax Pillar Candle. It can be turned on or set to a timer with a handy remote that comes with each candle. I love how much life that little lemon tree brings to the space. The details are amazing – right down to the tree blossoms. Now if only we would see some tree blossoms soon here… 
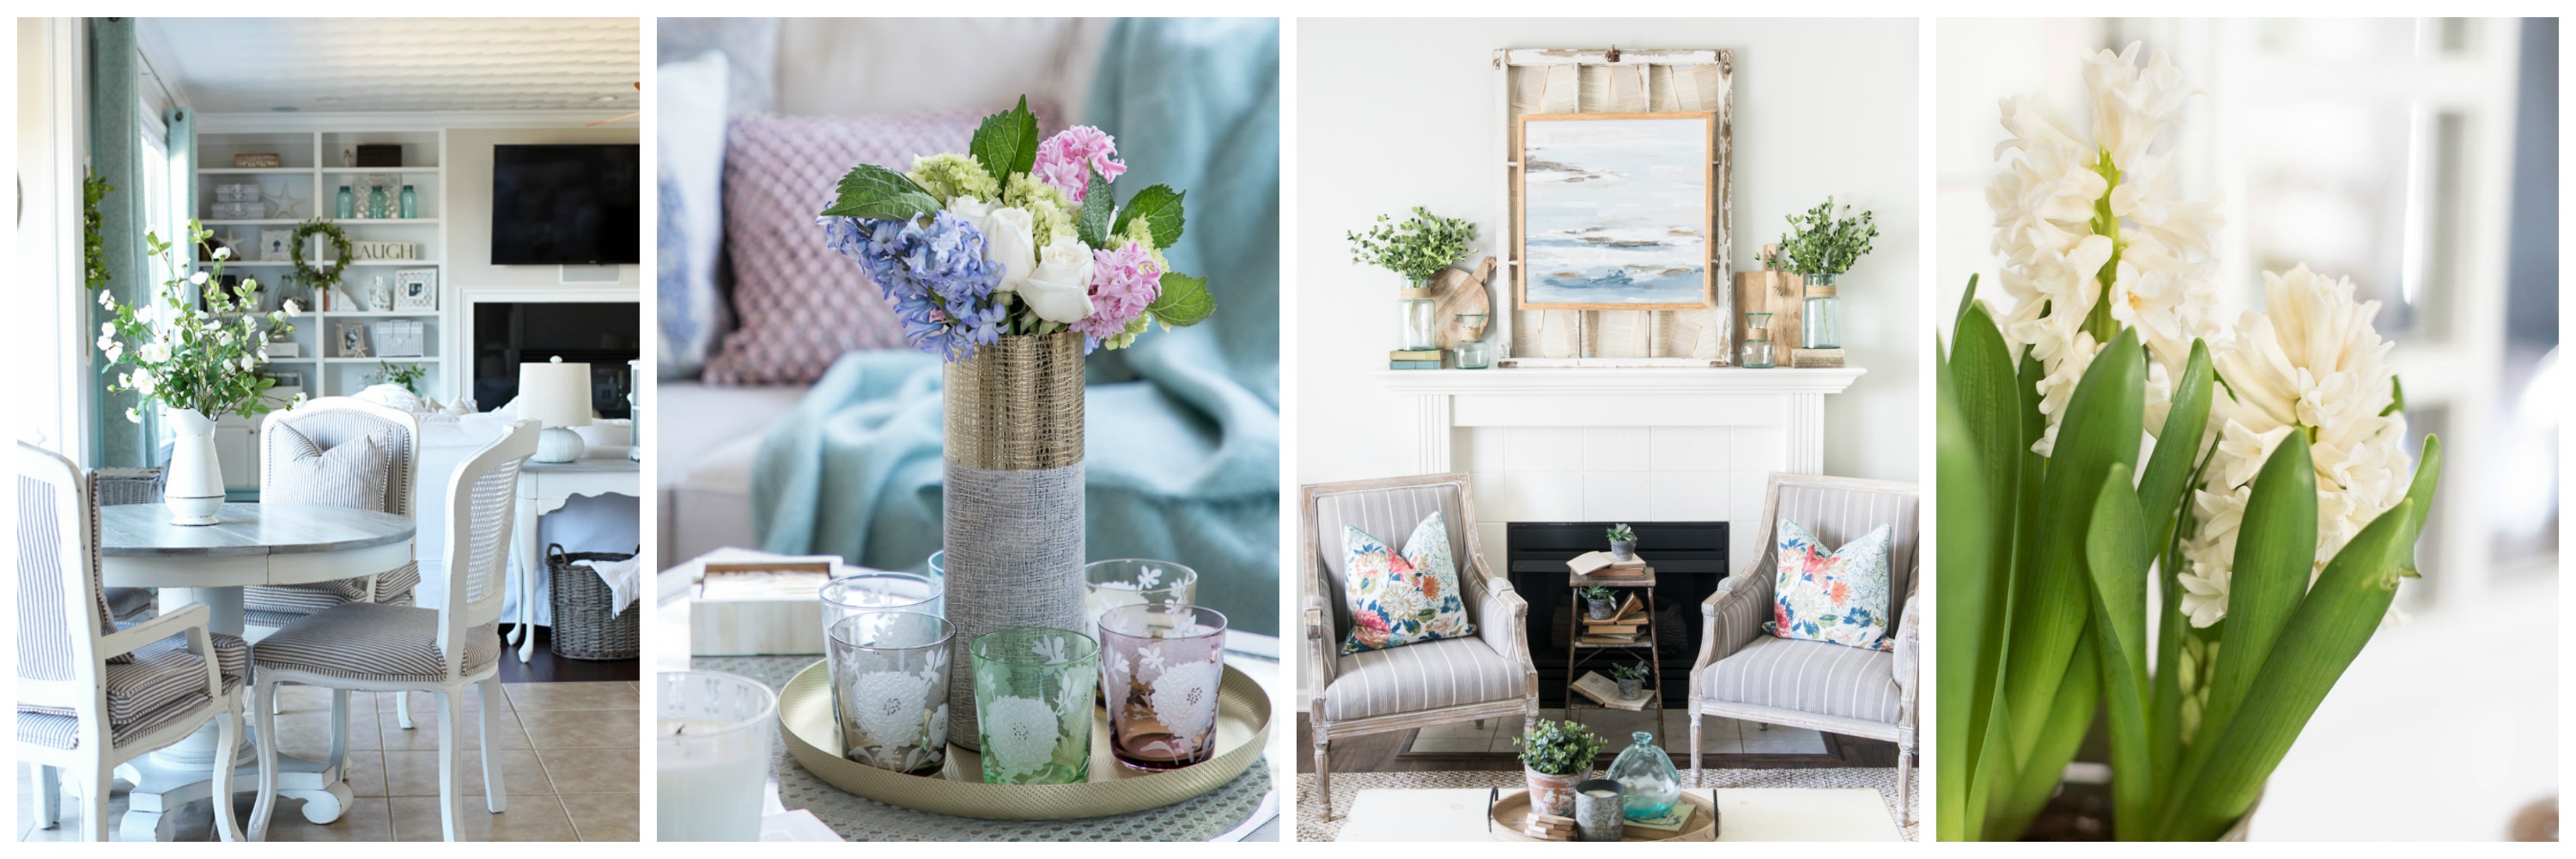
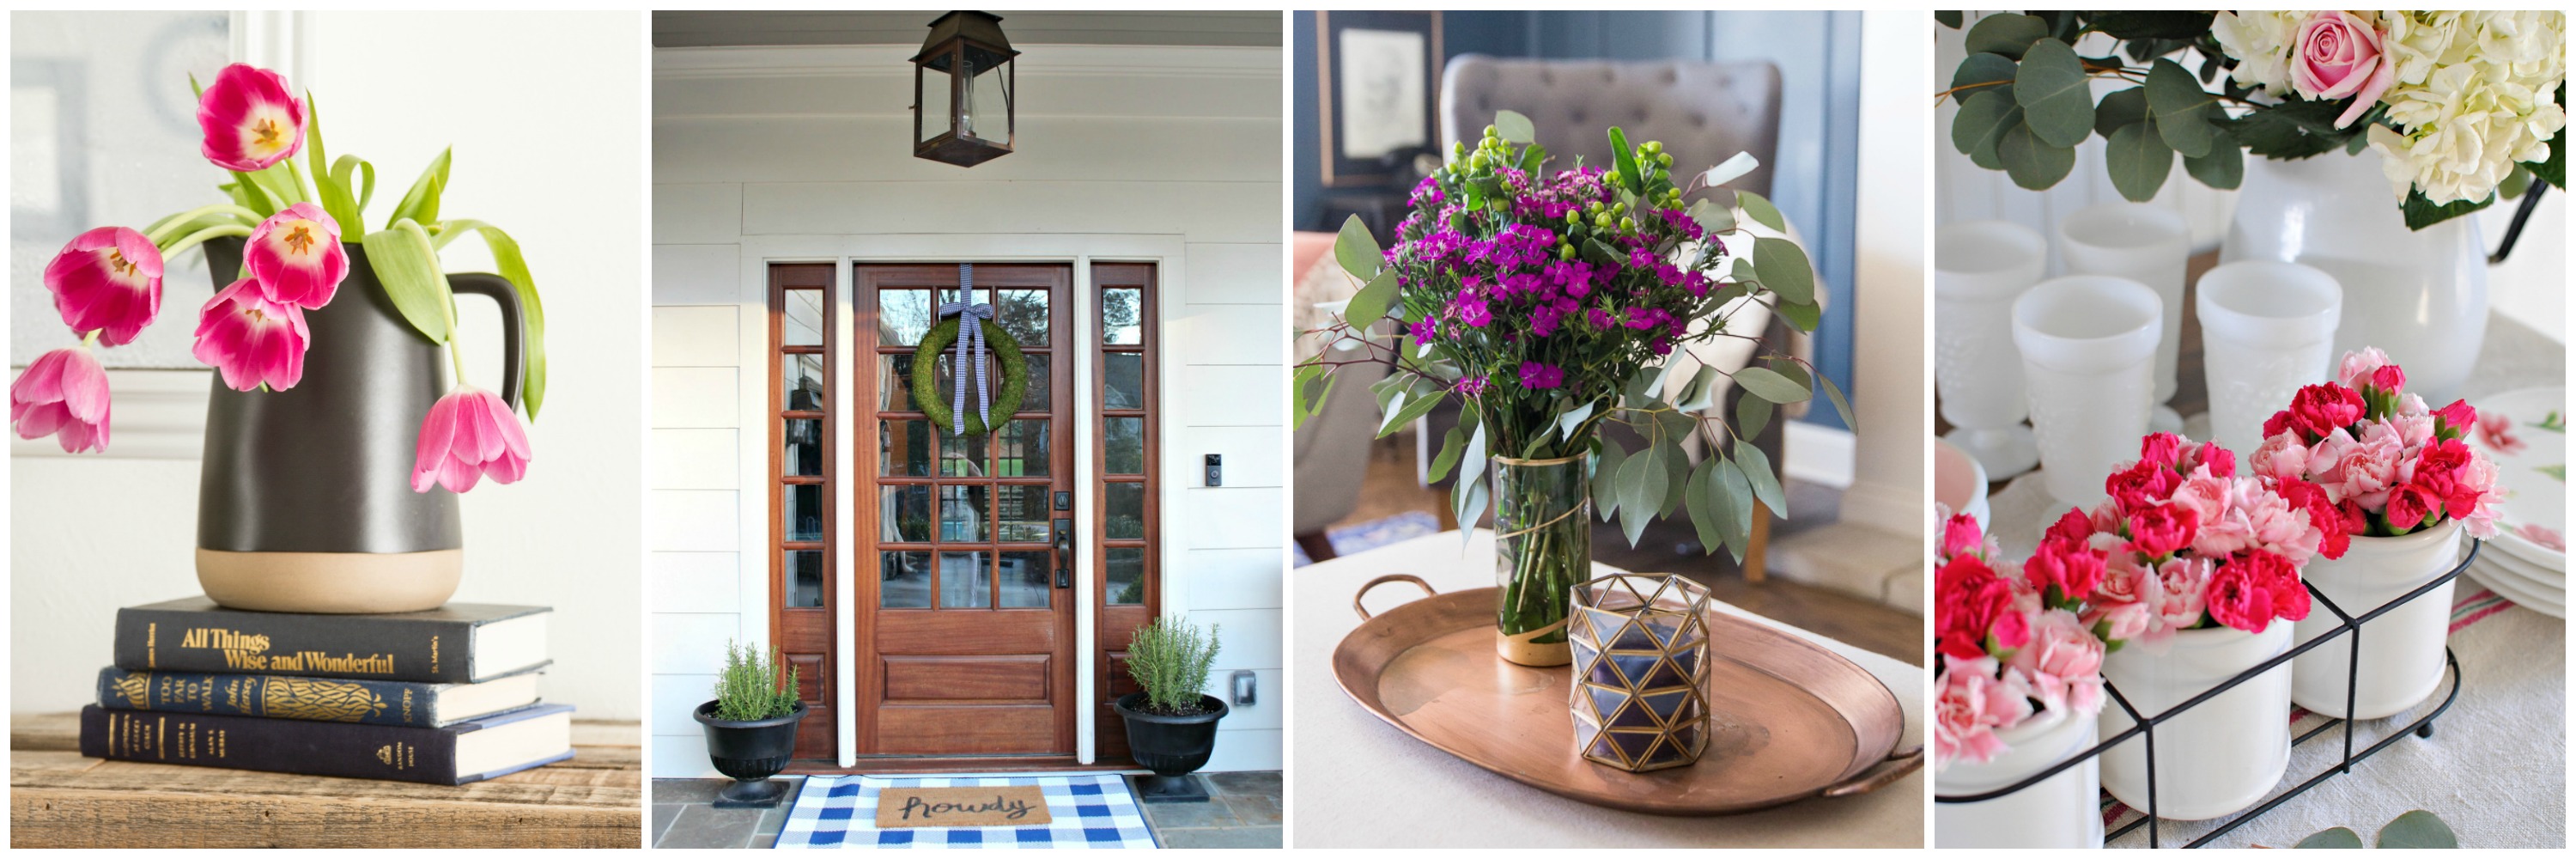
For Easter, I planned an intimate little tablescape with lots of color. The centerpiece of the table is from Balsam Hill. Spring Table Decor Ideas I added my pink dishes and gold flatware for a glamorous look. The table adds so much color to my neutral kitchen nook. On either side of the floral arrangement, I added Balsam Hill’s Peach Balsam Candle Rings. These florals make any day special. I also added those candles I love so much to add ambience. In the floral rings are Balsam Hill’s 5″ Miracle Flame LED Wax Pillar Candles. My kids saw the table and can’t wait to dine! I’m hoping I can make something to eat worthy of this gorgeous tablescape! What are your favorite colors for spring? I’m adding navy and blush with pops of other colors throughout my home. I’m joining 5 other bloggers in Balsam Hill’s Spring in Bloom Campaign: Go create something! Are you new to my blog? Go HERE to see my home tour and HERE to shop for items I use in our home. This post has been sponsored by Balsam Hill.  All thoughts and opinions are my own.
Seasonal Decor

Elegant Spring Home Tour

Although it doesn’t feel like spring here in Indiana, I am excited to share my elegant spring home tour in hopes that warmer weather is on its way! For this particular spring tour, I’ve joined 28 other decor bloggers as we share our home tours.  If you’re here from Southern State of Mind, welcome! The tour begins in our dining room.

Elegant Spring Home Tour

I love having a formal dining room, but we don’t use the space everyday.  When we do eat in the dining room, it is usually for a special holiday, event or when we entertain guests.

I combined both faux greenery and live greenery and added some fruit to each place setting – perfect for spring!

See more on our DIY paneled wall here.

The tour continues to our family room where I once again added greenery for the spring season.

I love decorating with live plants and have them scattered throughout our home.  I added an inexpensive floral arrangement made from flowers and greenery I picked up at Trader Joe’s grocery store.

I especially love using eucalyptuses because of its longevity.

To see more on the family room DIY paneled wall, click here.

Moving on to the kitchen are more touches of greenery and fruit.

I am craving warmth, so I added tropical fruit like pineapple and lemons.

Plants are both on the kitchen island and in the kitchen nook.

I found some potted tulips at the grocery store and transplanted them into a terra cotta pot for instant decor goodness.

Mixing faux florals with live plants is always a good thing.

See all the details on our DIY kitchen remodel here.

Moving into our back entry/mudroom, I’ve added some faux plants to brighten the space.

See more on this recent mudroom makeover here.

Our master bath is the last space on this tour.  I added a pretty bouquet I put together from some Trader Joe’s flowers.

They add color to the neutral space. Go here for all the details on this master bath remodel!

Thanks to my friend Mel of Carpenter Photo for the gorgeous photos!

Don’t forget to check out the other blogger’s home tours, and hop on over to Town and Country Living to see the next home on today’s tours.  I want to give a special thanks to The Happy Housie for hosting the Seasonal Simplicity Spring Series!


This week I’ve joined up with a talented group of bloggers to share part of our home decorated for spring as part of the Seasonal Simplicity Series. There is so much stunning inspiration for you to enjoy, all week long!

Monday

The Happy Housie // Sunny Side Up // Rooms FOR Rent

So Much Better With Age // Maison de Pax // TIDBITS

Zevy Joy // The House of Wood // The Turquoise Home

Tuesday

Confessions of a Serial DIYer // Designthusiasm // House by Hoff // Nina Hendrick Design Co.

Stacy Risenmay // Southern State of Mind // Sincerely, Sara D. // Town and Country Living

Wednesday

Willow Street Interiors // On Sutton Place // Duke Manor Farm

Place of My Taste // Rambling Renovators // Deeply Southern Home

Thursday

Decor Gold Designs // Sincerely Marie Designs // Amber Tysl

Summer Adams // Setting for Four // Craftberry Bush

  Go create something!

Are you new to my blog? Go HERE to see my home tour and HERE to shop for items I use in our home.

Home

DC in 3 Days

Washington DC in 3 Days.

We took our three kids (ages 12, 10 and 6) to Washington DC for 3 days.  We drove from Indiana and arrived mid-afternoon on Saturday and headed home after lunch on Wednesday.  It was a great trip – exhausting but so fun!

TRAVEL DAY (SATURDAY)

We arrived to DC mid-afternoon on Saturday and checked into the Embassy Suites Georgetown.  We parked our car in their garage and never used it until we left the hotel. Once we unloaded our things into the room, we put on our walking shoes and headed out! LunchShake Shack (Dupont Circle) Walking Tour (National Mall):
  • White House (1.1 miles from our hotel) Tours of the White House are available, but you do have to request in advance.  We planned our trip on the car on the way to DC, so we missed out on the inside tours.
  • Washington Monument (.8 miles from The White House) The Washington Monument was closed for construction so we couldn’t go inside.  However, it is still a beautiful site and great photo opportunity!
  • National Museum of American History (.3 miles from the Washington Monument) *We stopped here because we needed a bathroom break.  All Smithsonians are free.
  • Capitol (1.1 miles from the National Museum of American History) Capitol tours are available, but you do have to request in advance.
Dinner – Room Service (which ended up being bad, but we were so worn out from all the walking).

Washington DC in 3 Days

DAY 1 (SUNDAY)

Originally we had planned to attend church somewhere in DC, but between all our walking and the time change (we sprang forward for daylight savings), unfortunately we slept in.  Once we got up, we had breakfast at our hotel and headed to the nearest metro to buy passes.  Our nearest metro was Dupont Circle Station – just under a 10 minute walk.  We rode the metro back to the White House.  We had a coupon for a free Oval Office photo after some purchases we made at White House Gifts the day before.  After our photo, we walked (.6 miles) to Ford’s Theatre for our 12:30 tour.
  • Ford’s Theatre – This is the one visit we planned ahead for.  Be sure to buy tickets several weeks in advance for Ford’s Theatre.  The tickets include the museum across the street and the Petersen House (where Lincoln died).  Unfortunately the Petersen home was closed for renovations while we were there.
  • Lunch – BIBIBOP in Chinatown (.4 miles from Ford’s Theatre) We wanted to check out Chinatown, and DC’s china town is not the traditional city’s Chinatown.  It’s pretty commercial, but it was still fun!
  • Arlington Cemetery (We rode the Metro from Chinatown to Arlington.  The Metro station is very near the Arlington Cemetery welcome center.
  • Dinner – The Front Page (Dupont Circle) and Krispy Kreme

DAY 2 (MONDAY)

  • Museum of the Bible This museum is new to DC and not part of the free Smithsonian museums.  However, we were very impressed and it’s a gorgeous facility.
  • Lunch – Local Deli (I can’t find the exact location, but it was a deli called Sisters Cafe or something like that).
  • National Air and Space Museum – This Smithsonian was only a .3 mile walk from the Museum of the Bible.  It is the most popular of the Smithsonians, and it was really crowded.
  • Dinner – Union Station (UNO and Sugar) After a brief break at our hotel, we rode the Metro to Union Station.  Union Station is a gorgeous building, but it is attached to a train station and bus station (which isn’t so nice).

DAY 3 (TUESDAY)

  • Hop-on Hop-off Bus tour Luckily I found a Groupon for this bus tour – it is expensive.  However, it was a great way to see all the sights of DC.  For our bus, there was a 30 minute gap in buses, so we chose to only hop off at a few places (the weather was pretty chilly and we didn’t want to wait).
  • Lincoln Memorial
  • Lunch – Food Court at L’Enfant Plaza – We lost a bag on the bus after getting off at the Lincoln Memorial, so we rode the bus the entire loop to get back to stop 1 where our bag was waiting.  We ended up eating at a food court white we stopped.
  • American History Museum – We stopped at this museum again because we realized we missed the First Ladies dress exhibit, and I really wanted to see it!
  • Natural History Museum – We are fans of Night at the Museum, so we had to stop here.  It was another very crowded, popular Smithsonian.
  • Dinner – District Anchor (.4 mile walk from our hotel) and Crepeaway

TRAVEL DAY (WEDNESDAY)

Mount Vernon – We stopped by Mount Vernon on our way home, and this was by far my favorite stop of the trip.  The home and grounds are gorgeous.  Buy your tickets online in advance to save a little money and don’t forget to eat at the local restaurant. It was a great trip! Go create something! Are you new to my blog? Go HERE to see my home tour and HERE to shop for items I use in our home.
We're On Instagram
I love this chair and side table from @zgallerie that I decided to try it in my office/library. I’m not sure where I love it more - here or my bedroom! It adds so much elegance and charm to the spaces. Use my code SY5 at checkout for 5% off your entire purchase.
Shop My Favorites by commenting LINKS or through the link in my bio #ZGallerie #MyZgallerie #Zgallerie #ModernLuxury #LuxuryInterior

...

31 11
We waited 13 years for this - and our house looks happier with her glow-up!

We went from a drafty single door (with a 90s glass inlay I poorly covered up) to double doors that allows in more light and feel right for our home.

What do you think?

...

90 38
My patio is all ready for warmer weather thanks to the new launch with @livabliss + @galeyalix! I’m LOVING the checkerboard outdoor rug. Comment “PATIO” and I’ll send you the links! #Livabliss #LivablissHome #GaleyALixxLivabliss #HomeDecor #Rugs

...

41 16
I’ve been slowly refreshing our bedroom and recently added this beautiful swivel chair and side table from @zgallerie! They add the perfect elegant modern touch to the space. Use my code SY5 at checkout for 5% off your entire purchase. Shop My Favorites by commenting “LINKS” or through the link in my bio. 
#gifted #ZGallerie #MyZgallerie #Zgallerie #ModernLuxury

...

21 16
What started as a leak turned into my dream bathroom ✨ I partnered with @wayfair and found everything - from checkerboard tile to the vanities, mirrors, and faucets. Comment “LINK” and I’ll send you all my favorite finds! *Shower glass coming soon! #ad #wayfaircreator #homereno

...

70 34
@wayfair is helping us turn a disaster into something beautiful ✨A leak from our upstairs shower led to a full remodel, and I can’t wait to show you the AFTER! Bathroom remodel reveal coming soon. Comment “LINKS” and I’ll send all my Wayfair favorites! #ad #wayfaircreator #wayfair #homereno

...

48 15
*TWO THINGS that make wallpaper removal easy* Wallpaper has come a long way and there’s no need to be scared of it anymore! Before I hang wallpaper, I size the walls and often use pre-pasted SureStrip wallpaper that is activated with water! Comment WALLPAPER for easy to remove wallpaper links!

...

41 29
What a difference pattern can make in a space! 

Are you ready to try wallpaper in your home?

...

131 46
2016 didn’t seem that long ago until I dug through my blog for old home photos. 😳

...

112 13
Dreaming of spring days while winter does its thing.

...

63 14