Paint

Favorite Paint Colors

I love using paint to transform spaces and pieces, so I am thrilled to be partnering with BEHR.  Today I am sharing my favorite paint colors, a few DIY paint projects and the details for an upcoming BEHR Color Clinic where we can chat live! This post has been sponsored by BEHR Paint.  All thoughts and opinions are my own. Favorite BEHR Paint colors for furniture, walls and home decor! Although it was hard to narrow down, these are my current favorite BEHR paint colors (and colors I use in our home):

  • Swiss Coffee  This is a beautiful creamy white.  It is perfect for almost any space, and I use creamy whites all over my home.
  • Midnight Show This is a gorgeous lighter navy.  I used it on an accent wall in my boys’ room (more pictures below).
  • Everything’s Rosy This is the perfect accent color for almost any space.  It is a gorgeous blush, and I used it on our kitchen step stool (see more below).
  • Orion Gray I am slowly painting our interior doors to this pretty charcoal gray.
  • Silver Drop This is a great gray that doesn’t shine too blue.  I used it in our guest room, and it pairs well with blush accents.


I am currently in the process of making over my boys’ room.  They share the space and were 6 & 8 when we first moved into our home.  Four years later, my 10 & 12 year olds are opinionated and want a space that reflects them – not a little boys’ room.  They both absolutely love Midnight Show.

I created a paneled wall in their space (tutorial coming soon), and painted it with this gorgeous shade of blue.  I used a paint brush and roller to cover the dimensional wall.

I sanded my stripes before I painted, but I didn’t used a primer.  My MDF boards were already primed and the blue paint was much darker than the pale gray currently on the walls, so I didn’t see the need to prime.

This color really is the most gorgeous light navy, and it is perfect for my boys’ room.

BEHR paint goes beyond the walls and works great on furniture as well.

I recently discover their Interior/Exterior Hi-Gloss enamel and am in love.  It is the perfect paint for the step stool in our kitchen.  The finish is beautiful and easy to clean. By the way, if you are curious about paint finishes and which sheen is best for your project, check out this sheen guide from BEHR.


I am obsessed with blush right now and want it everywhere from my closet to my home.

I selected Everything’s Rosy for our kitchen step stool to add a fun (and unexpected) pop of color to the kitchen.

I only bought a small quart of the paint for the stool and have so much left over for future projects. I primed the stool before I painted with two coats of primer.

I bought a step stool from IKEA, so I had the luxury of painting it before it was assembled. You will notice that I painted other pieces as well as my step stool with this gorgeous color!

After putting the stool together, I touched up as needed (and I spray painted the hardware gold).

The result was a fun accent piece for the kitchen that both functions well for our high cabinets and looks pretty!


Go create something!

Are you new to my blog? Go HERE to see my home tour and HERE to shop for items I use in our home.

Home

Spring Cleaning

Spring Cleaning with FiltersFast.com

My family is busy – just like we all are.  I love to find ways to keep my home (and family) clean and healthy, and spring cleaning just got a little easier thanks to FiltersFast.com.

This post has been sponsored by FiltersFast.com.  All thoughts and opinions are my own.

It is amazing how quickly time flies, and I would often forget to change my filter until I noticed our unit lagging behind.  It was just one more thing to worry about, and I was excited when I discovered FiltersFast.com Home Filter Club.  It is so easy to sign up, and I now have the luxury of not worrying about changing the filters – one less thing off my plate is always a good thing!

My middle child deals with allergies, so it is extra important for us to change out those dirty filters.  Most home filters need to be changed every three months, but that time frame can vary from house to house depending on the age of the home, whether or not you have pets and if you suffer from allergies.

Now with FiltersFast.com, I can enjoy the convenience of not having to remember to reorder filters, and I select a delivery schedule that works best for our system.  It is effortless, easy, and the filters show up on my doorstep when it is time to change them!

It is important to me to keep my family healthy (and as free from allergens as possible) and my home HVAC system running smoothly (we want it to last as long as possible).

With warmer weather coming, I am feeling the urge to spring clean.  Now that I am a member of the FilterFast.com Home Filter Club, I have one less thing to worry about on my spring cleanup list! So jump out of hibernation and change those filters as we prep for a new season. Now that I have clean filters, I am on to the rest of my spring cleaning checklist:

  • Clean windows
  • Organize Closets (donate old clothes)
  • Shampoo carpets
  • Check batteries in fire alarms
  • Deep cleaning of my home

What else is on your spring cleaning checklist?  I’d love to know! Go create something!

Are you new to my blog? Go HERE to see my home tour and HERE to shop for items I use in our home.

Find me on Facebook | Instagram | Twitter Pinterest Want a jump start on your spring cleaning? Click here to download a free cleaning schedule!  

Seasonal Decor

Elegant Spring Mantel

Elegant Spring Mantel

I am SO ready for spring, and I am excited to be participating in a large blog hop and sharing our spring mantels. Last year, I updated our living room and added dark navy walls and a moody floral.  My normal Easter decor didn’t quite fit in the space anymore, so I created new decor, DIY style!

Elegant Spring Mantel 
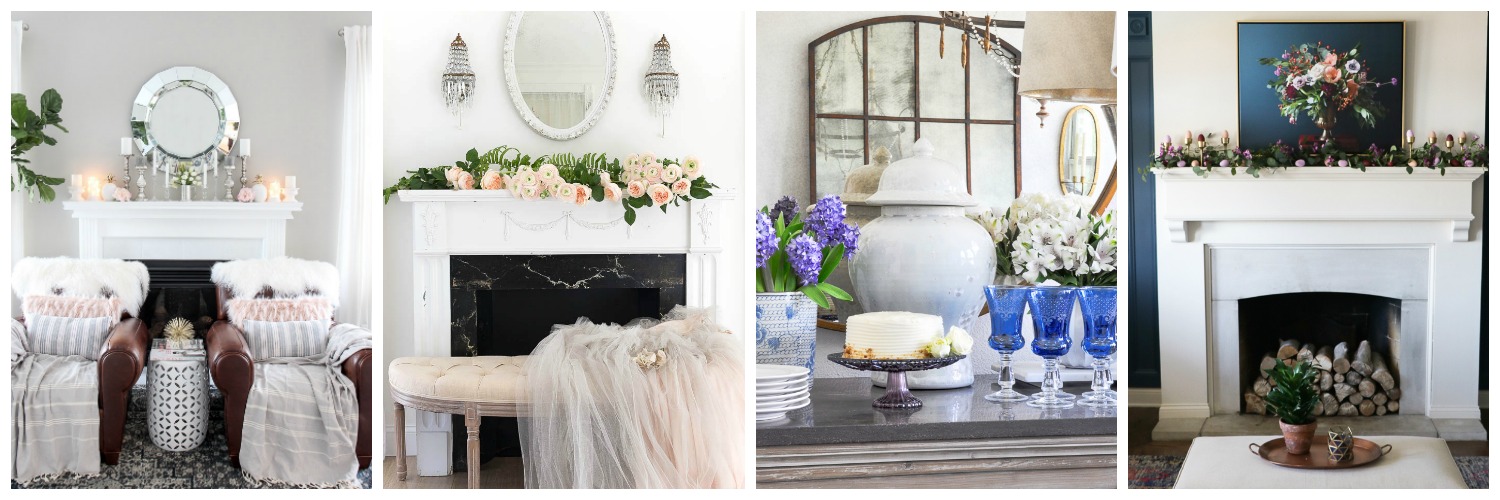
For this spring mantel, I used:

I began by lining my mantel with faux Eucalyptus I found at our local IKEA.  I did not remove the stem because I want to use this faux eucalyptus for future flower arrangements

Next, I painted my eggs to match my decor.  I have floral art hanging above my fireplace, and I selected three colors from the photograph (I ended up replaced the metallic bronze color with a pale lavender but forgot to update the photo).

I found some DIY easter eggs at Walmart, and I painted 24 eggs using acrylic paint.

My candlesticks are clear glass candlesticks I found at The Dollar Tree and painted gold (I used them last fall in my Give Thanks tablescape which you can see HERE).  Then I added some pretty little lavender flowers I found at Trader Joes, and my spring mantel was complete!


The mantel decor is elegant yet simple – just what I like!  My six-year-old daughter doesn’t love the color scheme since it doesn’t look Easter enough, but it is perfect for now.

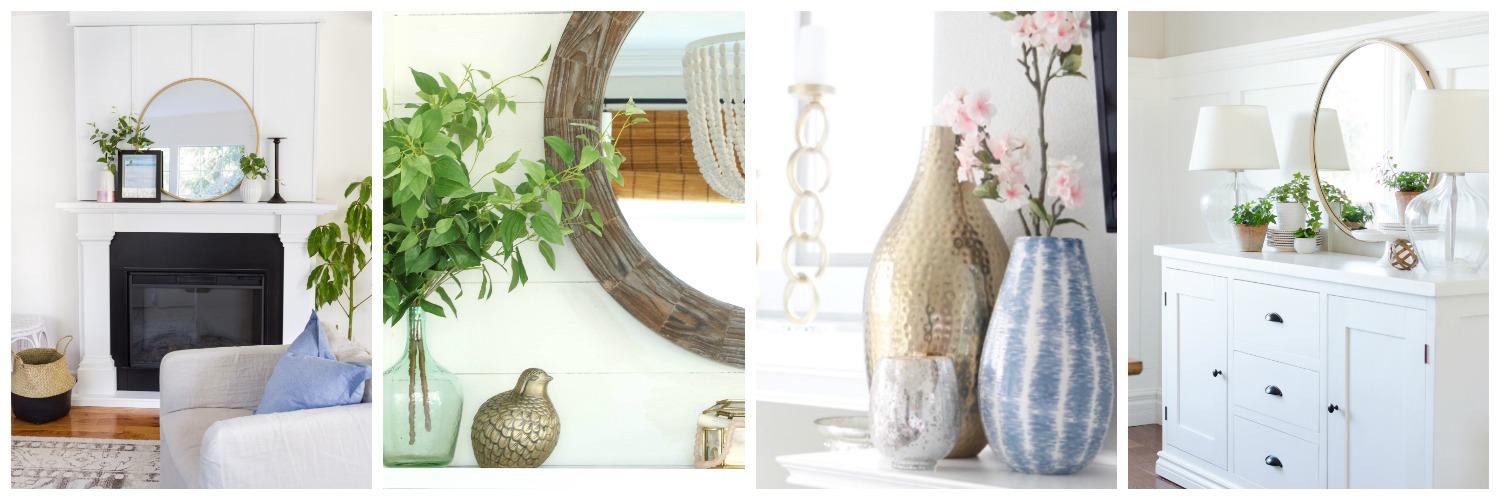
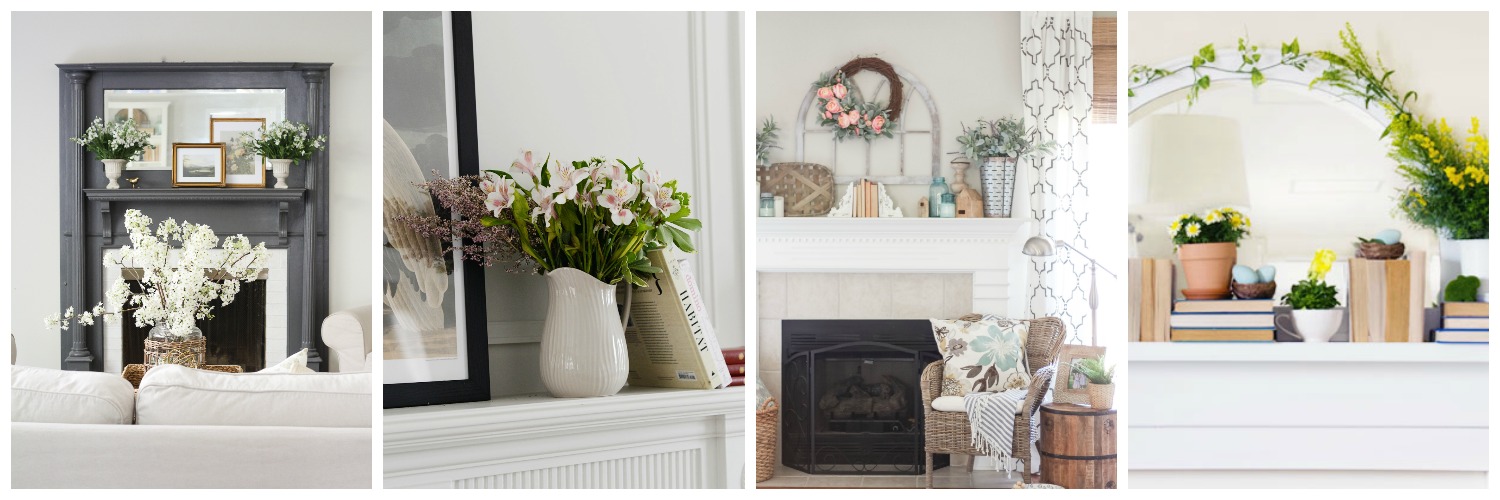
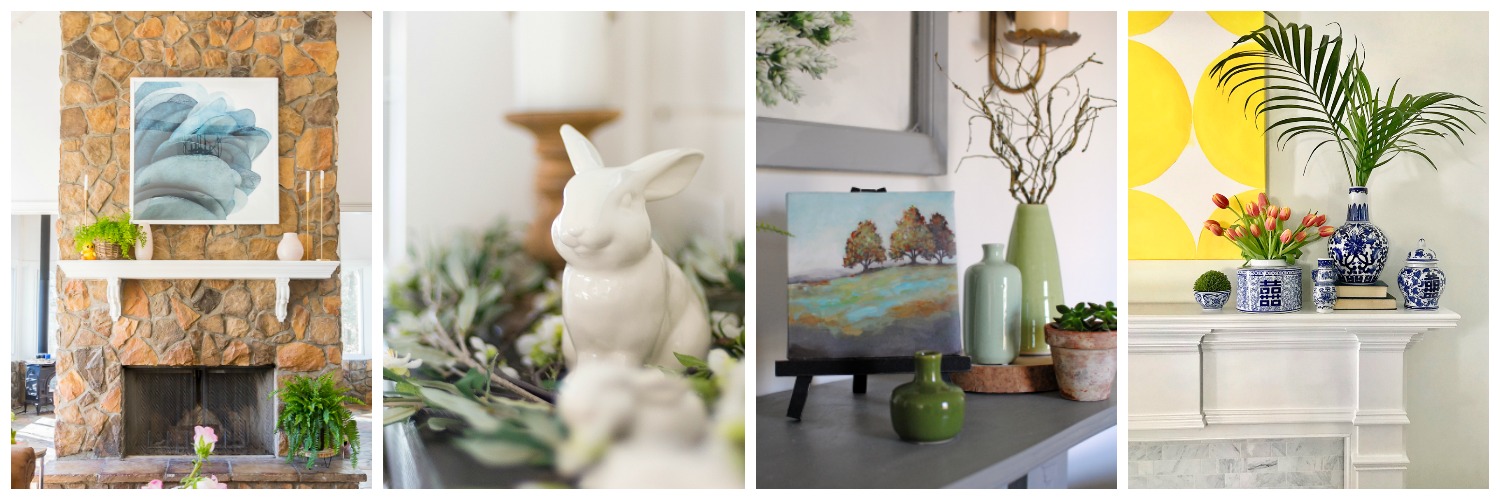
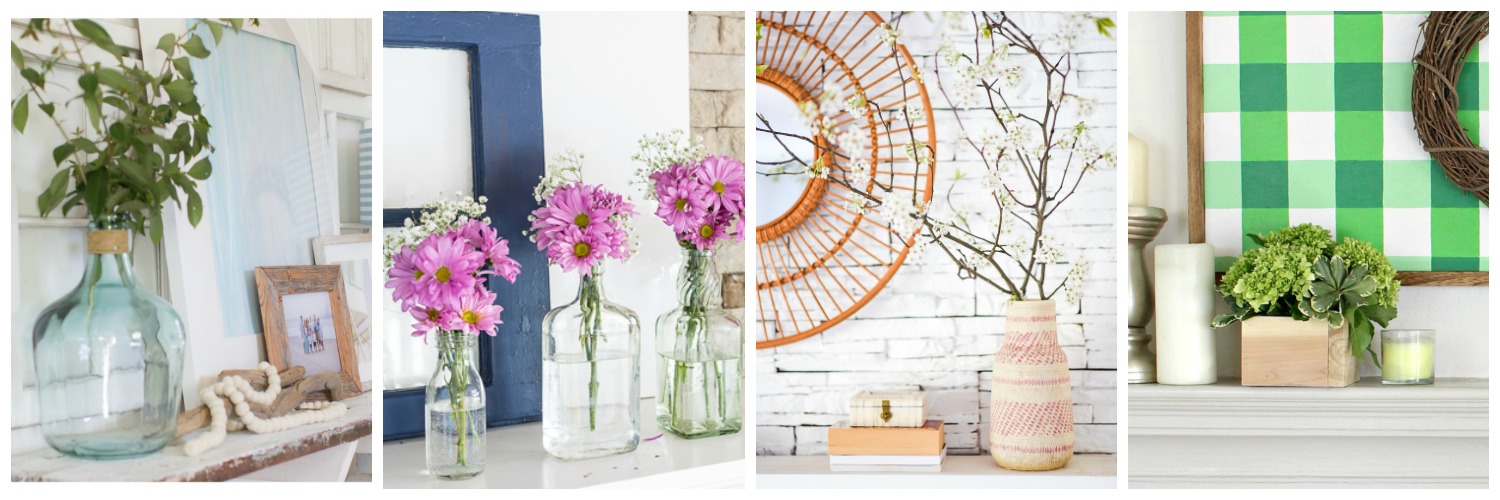
Today some of my friends are sharing their beautiful and inspiring Spring mantel decor or a Spring vignette. Hop over to see what they are sharing…

The Happy Housie / Craftberrry Bush / On Sutton Place / Kelly Elko / Rooms FOR Rent

Zevy Joy / Willow Street Interiors / Summer Adams / A Burst of Beautiful

Sincerely, Marie Designs / Rambling Renovators / The Turquoise Home / Paint Me Pink

Duke Manor Farms / Nina Hendrick Design Co. / Town and Country Living / Deeply Southern Home

Amber Tysl / In My Own Style / Place of My Taste / Jamie Costiglio

Setting for Four / Shabbyfufu / Decor Gold Designs / Sincerely Sara D.

  Go create something!

Are you new to my blog? Go HERE to see my home tour and HERE to shop for items I use in our home.

Find me on Facebook | Instagram | Twitter Pinterest

DIY

DIY Laundry Room Pegboard

We used this DIY laundry room pegboard for awhile and loved how well it organized our laundry room while looking nice.  However, we have since transformed our laundry room yet again – more into our dream space.  You can see all the details of that DIY HERE.

Laundry Room Pegboard

This pegboard wall would also be a great solution for a crafter and all the supplies that come with crafting! (see the tutorial for creating the fabric wall in my laundry room here).

Here’s what you’ll need:

  • Peg Board (4′ x 8′)
  • (6) Furring Strips (1″x 2″ x 8″)
  • Chop Saw (to cut the wood strips to size)
  • Nails
  • Hammer or Nail Gun
  • Screws
  • Electric Screwdriver
  • Primer & Paint
  • Paint Roller

To begin, decide where you want your peg board to go and what size you want it to be.

Peg board typically comes in a 4 feet x 8 feet sheet, and I decided to not make any cuts and keep it the full size.  I found the center of my wall and measured out where my peg board would go.

You will want to create a frame for the peg board so it sits off the wall.  In order to easily do this, I took my level and drew the perimeter of the 4’x8′ rectangle.

Once I knew where my pegboard was going, I found the studs and tried to strategically place my furring strips over the studs.  This proved to be a little tricky since some of the furring strips were not straight.

I used a nail gun to hang my strips (best investment ever).

After the frame was up, we added several more furring strips for support since I was going to be hanging some heavier items like my iron and ironing board.

We went through and drilled holes for the screws.

The majority of the screws were in studs.

We marked off the studs above the peg board.

We then attached the pegboard with screws making sure the majority were in studs.

I primed and painted the pegboard using Zinsser Primer 123 and finished it with Valspar’s Signature Paint + Primer in Coconut Milk (one of my favorite colors).

Once the paint was dry, I hung my laundry supplies!

If you want to see all the details on where I found the supplies for my laundry room pegboard, you can check out this post.

I have plenty of room to add more items if needed.

This laundry room makeover was feature in This Old House magazine – read more HERE!

Go create something!

Are you new to my blog? Go HERE to see my home tour and HERE to shop for items I use in our home.

Find me on Facebook | Instagram | Twitter Pinterest

DIY

Mudroom Makeover

Our back entry serves as a mudroom for our family, and I’m sharing our mudroom makeover.

Mudroom Makeover - DIY Coat Rack When we first moved into our home, I was really into stripes and a more eclectic look…

Later I decided to tone it down with shiplap and neutrals (go here to see how to install shiplap and here to see how to remove shiplap).

Mudroom Makeover

This poor space probably isn’t sure who she is, but I am loving her more recent (and sophisticated) look:

One of my favorite things in the space is this DIY coat rack.

We love to hosts, and unfortunately our coat closet is full of our families coats.  We never had anywhere to hang their coats – until now!

I bought two KARTOTEK hook racks from IKEA and spray painted the hardware gold and the rack a dark gray.  

I think the result looks a lot more expensive than $26.

The rack has spots under every hook for labeling.  I ended up creating some number and printed them out.

I have a free printable version (just like mine) that fit the label if you want to make your own.  You can download the PDF here: Numbers for IKEA KARTOTEK I also added some gorgeous wallpaper to the back wall.

Go create something!

Are you new to my blog? Go HERE to see my home tour and HERE to shop for items I use in our home.

Find me on Facebook | Instagram | Twitter Pinterest

Decor

Large Photo Gallery Wall

I have always wanted to add a large photo gallery wall to our home, and now we have one! We recently remodeled our kitchen (to see more on that DIY, GO HERE).  As a result of the remodel, I was left with a much smaller wall than before. Large Photo Gallery Wall Before the remodel we had our piano along this wall.

It’s hard to tell from my photos, but there was a closet at the end which we removed (the closet took up space in the kitchen).  The navy wall moved down towards the entry to open a walkway into the kitchen.  The newly shortened wall did not allow for the piano any more, so we moved the piano into our library (which was once my home office).

The wall is visible from the front door and our living room, so I still wanted it to be a (pretty) focal point, but there was not room for furniture (unless I was okay with people bumping into it as they entered).  I decided a large photo gallery wall was the perfect solution for the space.

The walls are painted in Valspar’s Night View – my favorite deep navy/moody color right now.

The frames are RIBBA frames from IKEA.  I went with the $14.99 version, and the mat frames a 16×20 photograph.  They come with plexiglass instead of glass, but I actually prefer the plexiglass because it makes the frames less heavy than they would be with the glass (and I don’t have to worry about my kids breaking them).

If you don’t have an IKEA near you, the RIBBA frames are available online.  Just make sure to select the correct size for your project – they offer several sizes.

The photo prints are 16×20 and are from Mpix.  Mpix is my favorite online photo printer.  They can be pricier than some, but the quality is really good.  They do offer coupon codes from time to time, so be on the lookout! I have used these frames in many other rooms in my house.  The are definitely a favorite of mine right now.  I love the simple lines and the price!

After I posted this, I painted my outlet to match the wall – it was driving me crazy.  Just in case it bothered anyone else…

Go create something! 

Are you new to my blog? Go HERE to see my home tour and HERE to shop for items I use in our home.

Find me on Facebook | Instagram | Twitter Pinterest

DIY

Removing Shiplap

After the craze of shiplap dies down, there will be some of you who are curious about removing shiplap.  I’ll walk you through how I removed ours.


Since moving in, we added shiplap to several spaces in our home (go here to see the shiplap tutorial). However, we recently updated all our light switches and unfortunately the new switches were smaller than the old ones which meant there was a large gap around the switch on one of the shiplap walls.

Although it was fixable, fixing it required removing half of the shiplap first.  I decided to remove the entire wall of shiplap (and provide a shiplap removal tutorial).  I know as much as we are all loving shiplap, there will grow a time we grow tired of it.  I decided to see what happens when I removed the shiplap (and I’m always up for a change)! I used a tongue and groove system for our shiplap and installation began at the top.  So, removing began at the bottom for my wall.  At first it was pretty easy to remove and the nails popped out without much effort.

I had painted stripes on our mudroom wall before, so those stripes reappeared when I removed the shiplap.

The shiplap on the wall on the other side of the doorway was a little trickier.  The pieces were much smaller, so the nails were closer together.  Also, caulking was used along the edges of the shiplap, and it acts like a glue to hold the shiplap down.

Pry off the shiplap.


Use a spatula to scrape away extra caulk.


The walls will have lots of nail holes.

And possibly more damage from the prying.

Patch the nail holes and other wall damage.

This post contains some affiliate links for your convenience. Click here to read my full disclosure policy. This is not a sponsored post, but I absolutely love DAP Dry Dex for filling holes and patching drywall.

It is pink but dries white.  I repaired the entire wall and only used a quarter of the container.

Let the patch work dry completely.

Once dry, sand all the patch work.

I used a fine grit sanding block.

Prime the wall with two coats of primer.

Once the primer is dry, painting can begin.

Compared to what it looked like when I first pried off the shiplap, my wall looks amazing!

Want to see what I did to this wall after removing the shiplap?

 Click HERE to see the mudroom makeover!

Go create something!

Are you new to my blog? Go HERE to see my home tour and HERE to shop for items I use in our home.

Find me on Facebook | Instagram | Twitter Pinterest

Printables

Adoption Creed Print

I have several cousins who are adopted, and while back my aunt shared this beautiful adoption creed with me: Not flesh of my flesh, Nor bone of my bone, But still Miraculously my own. Never forget for a single minute, You did not grow under my heart, But in it. -Fleur Conkling Heyliger Although I don’t have any adopted children of my own, as a mother I know the love between a parent and his/her child.  I thought this creed was absolutely gorgeous, and I wanted to share this Adoption Creed Print with you. I am actually sharing two separate printables of this adoption creed, so you can select the one you like best!

Free printable adoption creed

Print one (or both) for yourself or frame it and make it a special gift. This first version has a chalkboard looking background, and does tend to print best on photo paper.  To do this, simply click on the image below and save the JPG to your computer.  Send it to a photo lab and have it printed as an 8×10.

If you prefer to print it out at home, here’s is the (8×10) PDF file:

BLACK-Free-Printable-Adoption-Creed-Print

If the black background isn’t your thing, I also have a white option.

Just like I mentioned before, if you prefer having it printed through a photo lab, here is the JPG (8×10) file.  

To get your free print, simply click on the photo below and save it to your computer.

If you prefer the PDF file, simply click on the file below.

WHITE-Free-Printable-Adoption-Creed-Print

Go create something!

Are you new to my blog? Go HERE to see my home tour and HERE to shop for items I use in our home.

Find me on Facebook | Instagram | Twitter Pinterest

*All Sincerely Sara D. printables are for personal, non-commercial use only. Use it, gift it, but don’t alter it, sell it or otherwise distribute the print or the file. 

Decor

DIY Kitchen Remodel Details

All the details of our DIY kitchen remodel

If you are new to the blog, my husband and I remodeled our kitchen – DIY style (to see the weekly progress of this remodel go here). I’m sharing and the DIY kitchen remodel details today.

When we first moved into our home, our kitchen was dark and closed in with appliances that were original to the house.

After living with the space for almost four years, we knew exactly what needed to be changed.  You can see more about the final reveal here.

Cabinets

The cabinets are from Custom Service Hardware, and you can read all about the RTA (ready-to-assemble) cabinets HERE!  Also, I color matched the paint color due to several requests, and here’s the label (Home Depot can create this paint color for you):

This post contains some affiliate links for your convenience. Click here to read my full disclosure policy.

BACKSPLASH

This is the white subway tile we used on the backsplash.  It’s gorgeous but inexpensive (and easy to work with)!

SINK

Installing a farmhouse sink was tougher than we expected, but we love our BLANCO IKON 33 inch sink!

Faucet

The Delta Cassidy Faucet is the most gorgeous champagne bronze color.

Pot Filler

And the Delta Traditional Wall-Mounted Pot filler perfectly coordinates with the faucet.

Lighting & Stools

I fell in love with the Brass Pendant Lights when I first laid my eyes on them and the White & Gold Stools added a little bit of  a modern touch to our traditional kitchen.

Kitchen hood

I used a DIY Faux Wood Painting Technique on our kitchen hood.

Rug, Hardware & Appliances

The Fuchsia Rug adds a fun pop of color to the space and the Gold Cabinet Pulls show how form and function can work together.

I share all the details of updating our appliances here, and you can see more on our Fridge, StoveMicrowave and Dishwasher

Shop our kitchen remodel here:

Go create something!

Are you new to my blog? Go HERE to see my home tour and HERE to shop for items I use in our home.

Find me on Facebook | Instagram | Twitter Pinterest

Printables

1 Peter 3:3-4 Printable

1 Peter 3:3-4 Printable

Don’t be concerned about the outward beauty of fancy hairstyles, expensive jewelry, or beautiful clothes. You should clothe yourselves instead with the beauty that comes from within, the unfading beauty of a gentle and quiet spirit, which is so precious to God.

This is one of my favorite verses, and I remember reading it often as an insecure teenager.  Now as a mom of a daughter, I want her to know the truth – that there is so much more than her appearance (despite what the world will tell her).  True beauty begins inside.  I wanted to create a printable to encourage her and others. I offer two separate versions of this printable, and you can download the first option here.  Since this version has a chalkboard-looking background, it prints best on photo paper.  To send it to a photo lab, use the (8×10) JPG file below.  To print your own copy, simply click on the image and save it your computer.

If you prefer a (8×10) PDF file, it can be downloaded here:

BLACK-Beauty-Comes-From-Within-FREE-PRINTABLE-1Peter-3

I also am sharing another printable version of this beautiful verse, and it’s my personal favorite.

To download the (8×10) JPG file, just click on the image below and save it to your computer.

Or, if you prefer the (8×10) PDF file, click and save the file below.

WHITE-Beauty-Comes-From-Within-FREE-PRINTABLE-1Peter-3

Go create something!

Are you new to my blog? Go HERE to see my home tour and HERE to shop for items I use in our home.

Find me on Facebook | Instagram | Twitter Pinterest

*All Sincerely Sara D. printables are for personal, non-commercial use only. Use it, gift it, but don’t alter it, sell it or otherwise distribute the print or the file. 

Decor

Navy Bath Makeover

It is amazing how paint can transform a space!  I’m sharing all the details behind our inexpensive Navy Bath Makeover.

This post has been sponsored by BEHR®.  All thoughts and opinions are my own.

Navy Bathroom Makeover

When we first moved into our home, I was loving all things neutral.  I added a paneled wall treatment, painted the walls a neutral beige and added a starched fabric wall treatment to our half bath.

Four years later, I decided it was time for a bathroom refresh as we head into the new year.  I have been crushing on navy lately, and I knew a color would add some fun and drama to the space – without breaking the bank.

Navy Bath Makeover

I went to our local Home Depot and played around with BEHR’s ColorSmart app.  It is so easy – just grab a paint chip and scan the barcode!  The app allows you to see the color in various spaces, and it helps visualize what your room will look like in a color.

The display also shows the various paint sheens and suggests the best use of each. I chose BEHR in Dark Denim.  

It is a navy, but it does have quite a bit of gray in it.  I wanted to avoid a more royal blue look, so I made sure to find something with a deeper undertone.  My space also has no natural light, so I only painted the upper wall to avoid making the room appear smaller.

I used BEHR’s Premium Plus Ultra paint in the eggshell finish – one of my favorite finishes.

I also painted the bathroom door using BEHR in Orion Gray – the same color I recently painted my laundry room doors (see more here).  I am slowly painting the doors in our mudroom hallway this gorgeous medium gray.  The doors were an off-white, but they see so much use that they were hard to keep clean.  This gray hides so much.

For the door, I began with two coats of KILZ premium primer.  I used a foam roller for a smoother finish and brush for hard-to-reach areas (like the inset panels in the doors).

Once the primer was dry, I added two coats of BEHR in Orion Gray – once again using the roller and brush.

The result is a sophisticated entrance into the bathroom.

The navy adds so much to the space!  I found an inexpensive rug and floral art and kept the decor minimal.

As I mentioned before, the bathroom has no natural light.  I kept the paneled walls their original off-white color to not allow the room to be swallowed by the darker color palette.

BEHR in Dark Denim is now one of my favorite navy paint colors!  Where can you see this color in your home?  I already know some other rooms I’d love to see it in my home!


Go create something!

Are you new to my blog? Go HERE to see my home tour and HERE to shop for items I use in our home.


DIY

Installing a Pot Filler

Kitchen Faucet & Installing a Pot Filler

When designing our kitchen, I knew we needed a gorgeous faucet to be the centerpiece of our island.  I also really wanted to also incorporate a pot filler into the design. We selected the (affiliate links provided for convenience) Delta Cassidy Single-Handle Pull-Out Sprayer Kitchen Faucet, and it is gorgeous.  The kitchen faucet is sophisticated and a stunning champagne bronze color.

Kitchen Faucet & Installing a Pot Filler The Delta Cassidy is timeless and traditional. The pull-down sprayer features MagnaTite docking which keeps the wand firmly in place with a powerful integrated magnet, so it stays docked when not in use.

The 2-function wand operates in stream or spray mode.

The Delta Traditional Wall-Mounted Pot Filler is everything (kitchen) dreams are made of.  It can be used to quickly and easily fill pots without having to walk from the sink to the stove.

I had dreamed about a pot filler for a LONG time, and I was thrilled when it worked out to add one into the remodel plans.  However, when you DIY a kitchen, installing a pot filler can have its challenges. The wall was already tiled where the pot filler would be installed – it was one of the only things from the previous kitchen we saved. My husband began installation by drilling a hole using a tile drill bit.

The pot filler required four screws for it to be mounted, so we marked where those screws would be.

And the holes were drilled – again with a special (smaller) tile drill bit.

Because of the already tiled wall, we went inside from the back side of the wall.  Luckily the other side of the wall happens to be in a hallway closet.

A block of wood was added to mount the pot filler to since it fell in-between the studs (and we didn’t want all of the weight from the pot filler hanging on the tile/drywall).

The (cold) water line was run from the crawl space below, the wall was closed up and our pot filler was installed!

If you’re new to the blog, follow our DIY kitchen remodel from the beginning!  Go here to see more!

Go create something!

Are you new to my blog? Go HERE to see my home tour and HERE to shop for items I use in our home.

  *This post is a sponsored post by Delta Faucet.  I take pride in reviewing only products that fit my brand and will be beneficial to my readers. And while this post is sponsored, all the opinions are my own.

We're On Instagram
I love this chair and side table from @zgallerie that I decided to try it in my office/library. I’m not sure where I love it more - here or my bedroom! It adds so much elegance and charm to the spaces. Use my code SY5 at checkout for 5% off your entire purchase.
Shop My Favorites by commenting LINKS or through the link in my bio #ZGallerie #MyZgallerie #Zgallerie #ModernLuxury #LuxuryInterior

...

32 11
We waited 13 years for this - and our house looks happier with her glow-up!

We went from a drafty single door (with a 90s glass inlay I poorly covered up) to double doors that allows in more light and feel right for our home.

What do you think?

...

90 38
My patio is all ready for warmer weather thanks to the new launch with @livabliss + @galeyalix! I’m LOVING the checkerboard outdoor rug. Comment “PATIO” and I’ll send you the links! #Livabliss #LivablissHome #GaleyALixxLivabliss #HomeDecor #Rugs

...

41 16
I’ve been slowly refreshing our bedroom and recently added this beautiful swivel chair and side table from @zgallerie! They add the perfect elegant modern touch to the space. Use my code SY5 at checkout for 5% off your entire purchase. Shop My Favorites by commenting “LINKS” or through the link in my bio. 
#gifted #ZGallerie #MyZgallerie #Zgallerie #ModernLuxury

...

21 16
What started as a leak turned into my dream bathroom ✨ I partnered with @wayfair and found everything - from checkerboard tile to the vanities, mirrors, and faucets. Comment “LINK” and I’ll send you all my favorite finds! *Shower glass coming soon! #ad #wayfaircreator #homereno

...

70 34
@wayfair is helping us turn a disaster into something beautiful ✨A leak from our upstairs shower led to a full remodel, and I can’t wait to show you the AFTER! Bathroom remodel reveal coming soon. Comment “LINKS” and I’ll send all my Wayfair favorites! #ad #wayfaircreator #wayfair #homereno

...

48 15
*TWO THINGS that make wallpaper removal easy* Wallpaper has come a long way and there’s no need to be scared of it anymore! Before I hang wallpaper, I size the walls and often use pre-pasted SureStrip wallpaper that is activated with water! Comment WALLPAPER for easy to remove wallpaper links!

...

41 29
What a difference pattern can make in a space! 

Are you ready to try wallpaper in your home?

...

131 46
2016 didn’t seem that long ago until I dug through my blog for old home photos. 😳

...

112 13
Dreaming of spring days while winter does its thing.

...

63 14