Home

Fall Home Tour

Last weekend was spent cleaning (and hiding stuff in closets) as I prepared for my fall home tour with Hometalk. You can see the promo video Hometalk made for the tour here:
I went live on Election day at 1 pm EST.  The keyword is LIVE.  I don’t like to be on camera let alone in a situation where there are no retakes.  It was a little stressful, but I did survive!  You can see the full video on Hometalk’s Facebook Page. screen-shot-2016-11-09-at-11-50-58-am It was a casual tour (as you can see from the strange head tilt).  No fancy equipment – just an iPhone camera.  I began the tour at our front door (which I was extra proud of thanks to my pretty fall decorations from Balsam Hill). screen-shot-2016-11-09-at-11-52-28-am I shared many of my DIY projects and answered some readers’ questions (which proved to be hard since I was about two minutes ahead of the audience). screen-shot-2016-11-09-at-11-54-15-am I shared one of my paint stashes. screen-shot-2016-11-09-at-11-53-15-am Overall, I am glad I did it (I am trying to push myself beyond my comfort zone), but I am so relieved it’s over.  I apologize for the grainy snapshots.  I pulled them off the video which was definitely not HD. Thanks to my husband Steve who did a great job as cameraman and thanks to my friend Angela from Unexpected Elegance for helping things run smoothly.  Also, thanks to those of you who tuned in live with me.  I appreciate your support more than you’ll ever know! Go create something!
Are you new to my blog? Go HERE to see my home tour and HERE to shop for items I use in our home. Find me on Facebook | Instagram | Twitter Pinterest
Seasonal Decor

How to Add Christmas Tree Lights

Tutorial for Adding Lights to a Christmas Tree


If you are not one of the blessed few to have a pre-lit tree, then this post is for you!  Today I’m sharing a tutorial for adding lights to a Christmas tree (and it can be done by one person)!


decorating-a-christmas-tree-surge-protector


Begin with a surge protector.  It makes turning on and off the Christmas lights easy with the flip of the switch.


decorating-a-christmas-tree-extension-cord


Use an extension cord with multiple outlets.  After the extension cord is plugged into the surge protector, it will be wrapped up and around the tree trunk.  I put my extension cord pretty high up on my tree (because I start my lights at the tops of the tree), but you can decide on the best placement for yours.


decorating-a-christmas-tree-with-lights


Keep in mind that you should not add more than three strands of lights together (wires can melt and start a fire).  This is why it is so important to have an extension cord with more than one outlet.


tips-for-hanging-lights-on-a-christmas-tree


Before hanging lights, check to make sure all the lights in the strand work.


tips-for-hanging-lights-on-a-tree


Remove any tags from the strand of lights.

As I mentioned earlier, I start my lights at the top of the tree and move downward.  Divide the tree into 2-3 skinny triangular sections (depending on the size of your tree).


Face the tree and add lights to a skinny triangular section – winding from top to bottom and moving from branch to branch (and wrapping each branch). Once the section is complete, move around the tree and repeat with the next section until the entire tree is lit.


how-to-hang-christmas-lights


You can add as many or as few lights as you wish, but the more lights the better with Christmas trees.  I added 800 lights to my tree which is 7.5 feet tall.

Go HERE to see all the details on my Christmas tree decor!

Do you have any tried and true tips for adding lights to a Christmas tree?  I’d love to hear them!

Go create something!

Are you new to my blog? Go HERE to see my home tour and HERE to shop for items I use in our home.

Find me on Facebook | Instagram | Twitter Pinterest

Seasonal Decor

Minted Christmas Cards

My Love for Minted Continues - Christmas Cards

I have shared my love of Minted with you all (many times) before. I have a gallery wall in my bedroom filled with their artwork and shared personalized photo gift ideas from Minted last year. If you are not familiar with Minted, it is a design marketplace of independent artists from around the globe.  They have the most amazing assortment of stationery, art, and home decor. I must warn you.  When you go to their website, you will be there for a while. Minted is full of beautiful eye candy.

minted-christmas-cards

My first job out of college was working for a greeting card company, so I have extra special love for stationery. Minted has the most beautiful holiday cards.  They are known for their high-quality paper and printing and offer 9 unique die-cut shapes. It took me FOREVER to decide on a design for our Christmas card this year.  There are too many gorgeous options.

christmas-cards-from-minted

Check out their newest assortment of holiday cards. Minted has many different customized backer options.  I added photos to the back of a card along with one of our favorite Bible verses.  I left enough room so we could sign the cards.

minted-christmas-cards-1-5

An added bonus to these beautiful holiday cards is the free recipient addressing.

cards-from-minted

Not only is it gorgeous, but the addressing saves so much time (and a very tired hand).

minted-christmas-cards-1-6

Save time and make your holiday card beautiful from the inside out. A special thanks to Minted for partnering with me on my Christmas cards.  I love them! I would love to know – do you send out Holiday cards?

Go create something!

Are you new to my blog? Go HERE to see my home tour and HERE to shop for items I use in our home.

Find me on Facebook | Instagram | Twitter Pinterest

*This post contains affiliate links and is a sponsored post by Minted. I take pride in reviewing only products that fit my brand and will be beneficial to my readers. And while this post is sponsored, all the opinions are my own.

Seasonal Decor

Decorating a Christmas Tree

Today I’m decorating a Christmas Tree.

Decorating a Christmas Tree with Balsam Hill

diy-christmas-tree-decor-tutorial

My husband and I have been married for 15 years and buy a live Fraser fir every Christmas.  Before you go imagining the happy couple driving home with a tree on top of the car, we have had PLENTY of frustrating experiences (not to mention the cost of 15 years worth of buying live trees).  After having a tree fall over in the middle of the night (breaking most of my ornaments), stains on the carpet from leaking water, clogging vacuums with needles, and stressing about forgetting to turn off the lights on an already dry Christmas tree, I was ready to say goodbye to the live tree. I am excited to be partnering with Balsam Hill, because I have always admired their Christmas tree and other decor products.  This year, I am saying goodbye to the stress of a live Christmas tree and hello to the ease of an artificial tree.  Balsam Hill provided me with a realistic-looking Fraser fir (in the 7.5 size we always buy). There will be no more fighting the weekend after Thanksgiving crowds at the tree farm – our Christmas tree arrived in a box placed on the front doorstep.

balsam-hill-christmas-tree-review Being the organization freak I am, I was overjoyed when I opened the box and found this:

balsam-hill-christmas-tree

Everything is laid out easy to see and find.

balsam-hill-christmas-tree-storage

There are storage cases for everything.

balsam-hill-christmas-tree-assembly

The Assembly of the tree is simple.

balsam-hill-christmas-tree-easy-assembly

Every piece is labeled – even my eight-year-old was able to figure it out.

balsam-hill-christmas-tree-set-up

Notice the gloves he is wearing?  They come with the tree!  Balsam Hill seriously thought of everything.

balsam-hill-tree-assembly

The hardest part of the assembly is fluffing the tree.  It is easy, but it takes time.

balsam-hill-tree-easy-assembly

Assembly involves simply stacking the numbered tree sections.

balsam-hill-christmas-trees

Once the sections are connected, and the tree is fluffed, it tree trimming time.

balsam-hill-christmas-tree-decor

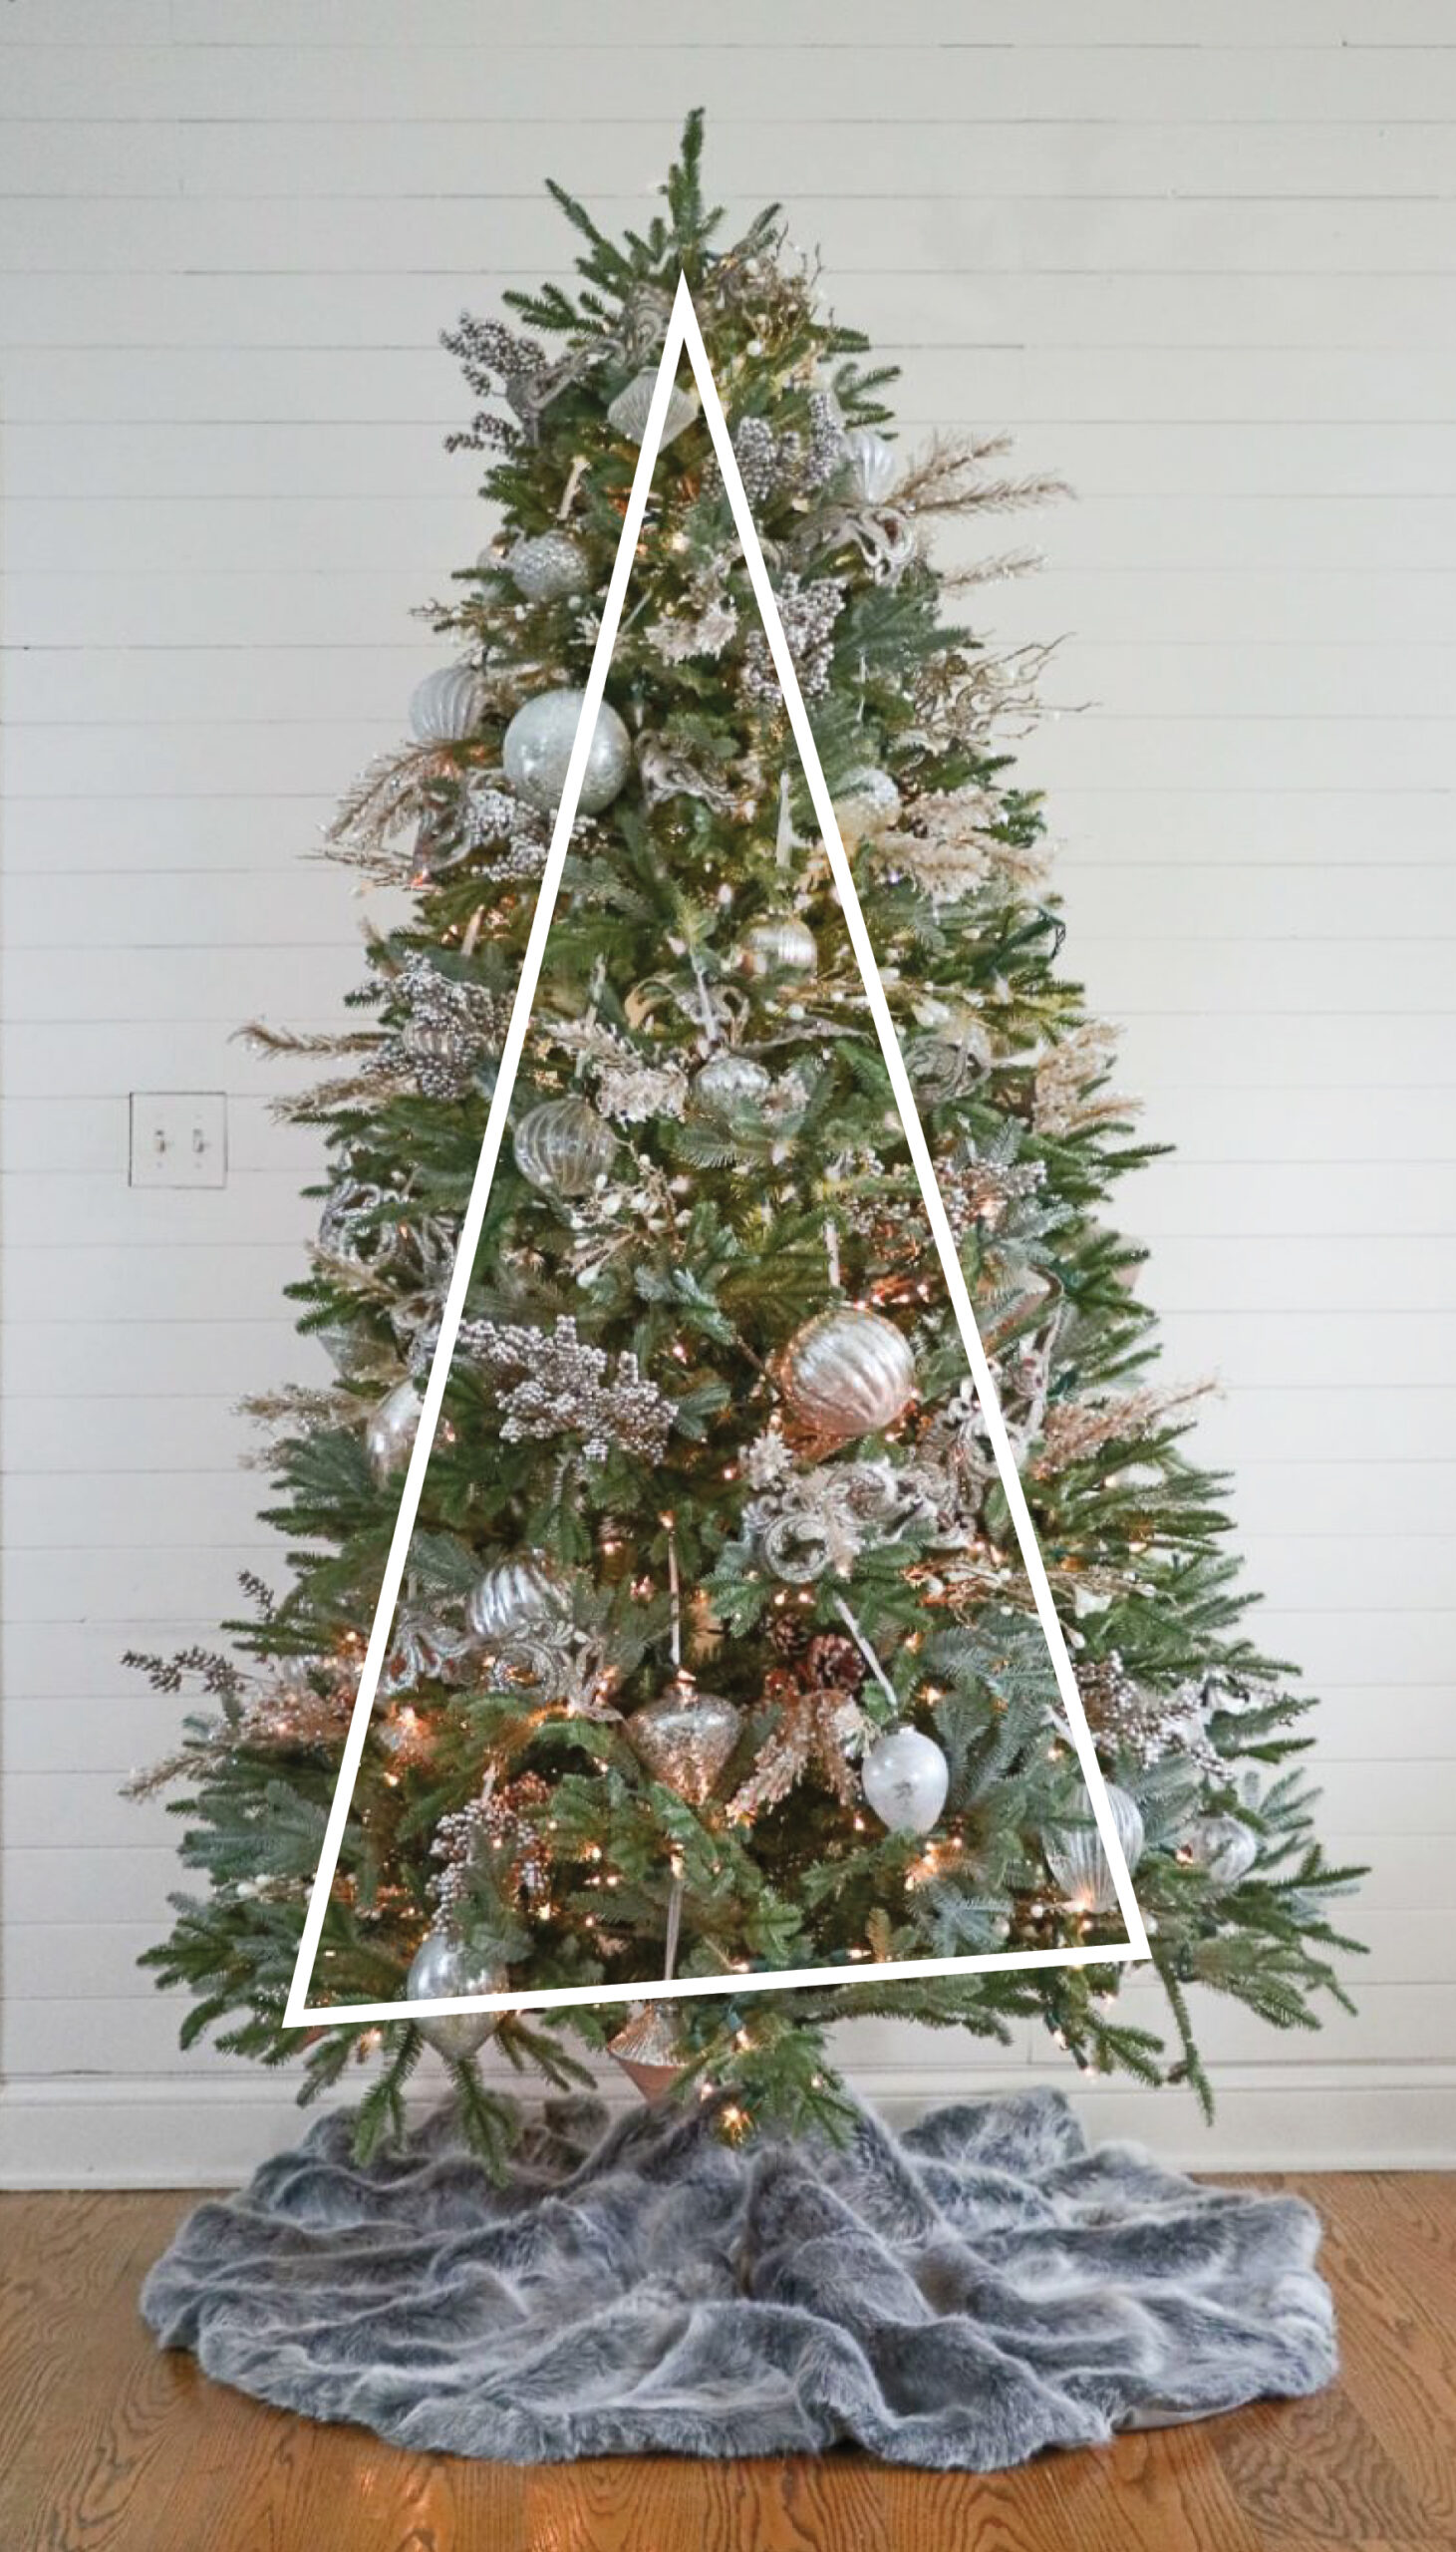
Balsam Hill has many different tree decor themes, but I fell in love with their French Country theme.

balsam-hill-tree-decor The french country ornaments are absolutely gorgeous.

balsam-hill-pretty-christmas-decor

The fillers are just as beautiful.  I used the Champagne Metallic Berry Pics, the Jute Pinecone Picks (my favorite), and the Winter Pearl Glitter Picks.

decor-ideas-balsam-hill

My favorite decor from this collection is the Victorian Cutout Champagne ribbon.

balsam-hill-christmas-decor

balsam-hill-christmas-decor-ideas

The final touch to my tree was the Lodge Faux Fur Tree Skirt in Smoke.  It is so soft and adds beautiful texture to my tree.

christmas-tree-deco-tutorial

So far, I have not missed my live tree yet, but Balsam Hill makes a pretty realistic Christmas tree (and I’ll burn a fir scented candle to make it feel even more authentic).

christmas-tree-decor-tutorial

I would love to know, how do you celebrate the holidays – with a live tree or faux tree (or both)?

Have fun decorating a Christmas tree!

Are you new to my blog? Go HERE to see my home tour and HERE to shop for items I use in our home.

Find me on Facebook | Instagram | Twitter Pinterest

*This post contains affiliate links and is a sponsored post by Balsam Hill. I take pride in reviewing only products that fit my brand and will be beneficial to my readers. And while this post is sponsored, all the opinions are my own.

Decor

Transformation Tuesday – Master Bedroom

Transformation Tuesday – Master Bedroom

It has been over a month since I have shared a Transformation Tuesday, but if you follow my blog you know I have been sharing makeovers in our home.  We have lived in our home for almost three years, and it is fun to look back at the photos from when we moved in and see where we are now. Today I am sharing our master bedroom.  Here is an image from our home listing when we purchased the house:

Transformation Tuesday - Master Bedroom

And here is how it looks now:

neutral-bedroom-decor-ideas

Besides the obvious furniture change, I only did a few things to this space.  This room is part of the reason I first fell (hard) in love with our home.  I absolutely loved all the light as well as the vaulted ceilings with the exposed beams. After we moved in, I did three easy things to the space:

  • PAINTED THE WALLS.   The walls were painted with Sherwin Williams Repose Gray (SW 7015).  I changed the color from a (greenish) beige to a lighter gray.

ceiling-beams-in-bedroom

  • ADDED WINDOW TREATMENTS.  Window treatments were added to the large wall of windows (I found the extra-long cream velvet curtains online, but unfortunately I cannot remember where we bought them).  This was the most expensive of the three room changes, but I love how it softens the room.

pine-cone-hill_

  • REARRANGED THE FURNITURE.  The window is definitely the focal point of the room, and I wanted the bed to be the focal point also (it is a BEDroom).  I feel moving the bed in front of the window made the biggest impact out of all the small changes we made.

The large turquoise mirror on the wall was one of my first (ever) DIY projects.  You can see the tutorial HERE.  Also, I recently share the source of my bedding, and you can read more HERE.  The large floral bulletin board was another DIY project, and I share all the details HERE. Are you interested in seeing past Transformation Tuesdays besides today’s Transformation Tuesday – Master Bedroom?  Check out these other makeovers:

Go create something!

Are you new to my blog? Go HERE to see my home tour and HERE to shop for items I use in our home.

Find me on Facebook | Instagram | Twitter Pinterest

    Bedroom Makeover

Seasonal Decor

Fall Pumpkin Centerpieces

These fall pumpkin centerpieces are one of my favorite fall crafts.

Pretty Fall Pumpkin Centerpieces

We are hosting Thanksgiving at our house this year, so I am going all out with fall decor! I love all the succulent pumpkins planters I am seeing all over Pinterest, but I did want to go to all the trouble and have the pumpkin rot.  Luckily I found a tutorial for making a succulent pumpkin that does not require carving.  Ideally, it should last for a while!

diy-pumpkin-centerpieces

Here is what you will need to create these fall pumpkin centerpieces:

  • Pumpkin(s)
  • Succulents
  • Moss
  • Glue Gun
  • Spray Adhesive
  • Scissors

making-pumpkin-centerpieces

I removed the stem from some of my pumpkins but later realized they were easy to work around (as long as they were trimmed fairly short).

adding-moss-to-pumpkins

Moss was added to the top of the pumpkin.

adding-succulents-to-pumpkins

And the succulents were attached to the moss. I found this tutorial on Simply Happenstance.  This blog shows a detailed step-by-step tutorial for making these gorgeous succulent pumpkins.  There are also several tips for how to enjoy your succulents post-fall.  You can read all about it HERE.

misting-succulents

My succulent pumpkins were made almost a month ago, and I have (somehow) managed to keep them alive.  I mist the succulents lightly a couple of times a week, and I am crossing my fingers they make it to my Thanksgiving table!

diy-succulent-pumpkin

My centerpiece includes one large orange pumpkin and two smaller white pumpkins.

succulent-pumpkins

It was not an inexpensive project due to the number of succulents I had to buy.  However, succulents may be easier to find (and cheaper) depending on where you live.

diy-succulent-pumpkins

I decided it was worth the investment – assuming I can keep them alive through Thanksgiving!

diy-succulent-pumpkins-decor

There is a way to keep them alive once your pumpkin rots.  You can read more about it on Simply Happenstance.

fall-dining-room-decor

I shared the tutorial (and a free printable) for the “vintage” pumpkin patch sign hanging in the background earlier this month.  You can see all the details HERE.

fall-dining-room

I would love to know if you try these pretty centerpieces and if you have any tips for keeping them alive through the holiday!

Go create something!

Are you new to my blog? Go HERE to see my home tour and HERE to shop for items I use in our home.

Find me on Facebook | Instagram | Twitter Pinterest

Home

MyQ Garage Door Opener

We recently installed the MyQ Garage Door Opener on our home.

This is a sponsored post written by me on behalf of Chamberlain. All opinions are 100% mine.

Chamberlain MyQ Garage Door Opener Review

MyQ Garage connects with your current garage door opener and uses your home’s WiFi network letting you secure and monitor your garage door from anywhere you are using the free MyQ App.

my-q-garage-review

chamberlain-my-q-garage-review

You can find it at Home Depot, and the installation is really easy.

1. Mount the door sensor.

The door sensor needs to hang vertically, and I attached ours using the provided fastening strips.

installing-chamberlain-my-q-garage-review

I hung it on the top panel of our garage door.

installing-chamberlain-my-q-garage

2. Mount the door sensor.

The bracket for the door sensor should be hung near the garage door opener on the ceiling.   Once the bracket has been hung, the door sensor can be slid onto the bracket and the unit plugged in.

how-to-install-chamberlain-my-q-garage

how-to-install-chamberlain-my-q

3. Download the free app and follow the instructions.

I used my iPhone to download the Chamberlain MyQ Home Control app.  Once launched, I followed the onscreen instructions to complete installation.

how-to-install-chamberlain-my-q-garage-app

Chamberlain’s MyQ Garage allows you to monitor, open or close your garage door from anywhere with your smartphone.  It works with most major brands of garage door openers manufactured after 1993.

Watch this video to see my MyQ app in action!

You can monitor your garage door activity from work…

my-q

…or on vacation!

my-q-from-anywhere

The MyQ app is able to connect with other smart devices such as Nest Cam, Nest Thermostat, Xfinity Home, and MyQ Lighting allowing you to tune in to who is around the house or turn lights on/off when you are away from home

Learn More and purchase MyQ at a limited time price and find MyQ on Facebook and Twitter!

Go create something!

Are you new to my blog? Go HERE to see my home tour and HERE to shop for items I use in our home.

Find me on Facebook | Instagram | Twitter Pinterest


Seasonal Decor

Fall Front Door Makeover

fall-makeover-after

Since we are hosting Thanksgiving for my family this year, our front door needed a fall makeover.

balsam-hill-fall-decor-ideas_

My usual fall front porch decor consists of a couple of pumpkins and a few mums.  However, this year called for something more.  I wanted the beautiful front door decked out in fall decor – I was dreaming of something you see in the movies. Before I go more into the details (and share a video to show you how easy it is to get this look), check out my before:

fall-makeover-before

The summer porch days are numbered now that our nights are getting cooler.  My begonias did great this year, and I may try to see if I can get my asparagus ferns to survive the winter inside.  The summer porch was pretty, but my new porch screams “come celebrate Thanksgiving here!”

fall-front-porch-with-balsam-hill

I have always been a huge fan of Balsam Hill, and I knew they would have just what was needed for a dream fall front porch. While glancing through their website, it was love at first sight with their Autumn Abundance Foliage Collection.

fall-decor-ideas_

I selected the wreath for our front door.

balsam-hill-autumn-swag

Two 42″ swags were hung on either side of the doorway.

balsam-hill-boxwood

And two Single Battery-Operated Boxwood Topiaries frame the doorway.  I absolutely love these topiaries because they will transition perfectly to Christmas and they are wrapped in clear lights AND they require no maintenance.  They will survive our harsh Indiana winter and give me something green during the colder months.

fall-porch-balsam-hill

I am such a summer girl, so I usually dread fall knowing that winter is right behind.  However, I am going to try and enjoy all the gorgeous weather and activities fall offers.  And this amazing front porch helps me celebrate the season. fall-decor-ideas-with-balsam-hill

Watch this video to see how quickly I transformed my front door with Balsam Hill: 

Go create something!

Are you new to my blog? Go HERE to see my home tour and HERE to shop for items I use in our home.

Find me on Facebook | Instagram | Twitter Pinterest

*This post contains affiliate links and is a sponsored post by Balsam Hill. I take pride in reviewing only products that fit my brand and will be beneficial to my readers. And while this post is sponsored, all the opinions are my own.

Decor

Master Bedroom Refresh

I’m excited to share our master bedroom refresh with you today.

This post was sponsored by Annie Selke as part of an Influencer Activation for Influence Central and all opinions expressed in my post are my own. 

Master Bedroom Refresh with Annie Selke & Giveaway

We recently bought a new bed for our master bedroom.  I was happy with the bed but not our old bedding.

ceiling-beams-in-bedroom

When I was contacted about partnering with Annie Selke, I was thrilled because the timing was perfect (I could complete our bedroom refresh).  I love their product and much of this has to do with the fact that Annie Selke is passionate about style, comfort, and quality.   I used the Annie Selke (Autumn 2016) catalog for my bedding shopping and was excited with all the options.  It took me several days to decide what to order because everything is so beautiful.

annie-selke-autumn-catalog

I began my bedding makeover with the gorgeous Keaton Linen Natural Shams (which also come in other color options).  The linen works perfectly with the bed and the cream details compliment my comforter.

pine-cone-hill-bedding

I fell absolutely in love with the Petite Ruffle Ivory Sheet Set.  This sheet set is a perfect example of how much details matter in decor.  It is so gorgeous.

pine-cone-hill-bedding-texture

I combined several different textures to give our bed the perfect little makeover.  

The Cotton Twill Blanket in Oatmeal/Ocean provides a nice masculine touch to our feminine sheet set (the blanket has wide stripes which are so fun).

pine-cone-hill-bedding-decor

dreamy-bedroom-ideas

Annie Selke excels at bringing happy home-like with this fun Rajasthan Decorative Pillow.   

pine-cone-hill-bedding-details

pine-cone-hill-decor-details

I have been wanting to tie in the large turquoise mirror on my wall (one of my very first DIY projects), and this pillow does it in beautifully. The pillow also has a fun pattern on the back if I ever feel like switching things up.

neutral-bedroom-decor-ideas

pine-cone-hill-decor

Annie Selke aims to be top of mind for home decorating, and if you sign up for their email newsletter, and you will receive 15% off of your first order!

pine-cone-hill_  

Go create something!

Are you new to my blog? Go HERE to see my home tour and HERE to shop for items I use in our home.

Find me on Facebook | Instagram | Twitter Pinterest

Decor

Toy Room Makeover

I’m excited to share our toy room makeover with you today.

Toy Room Makeover with FrogTape

All summer long, I obsessed over the color kelly green.  I love its beautiful boldness, and I wanted it in my home.  However, it just did not work with my neutral decor palette.

green-kids-room

I spent months trying to figure out where I could add it, and one day the perfect space dawned on me – the kids’ playroom!

playroom-before

The playroom was painted a pale green but is separate from the rest of my house.  It was time to kick that green into high gear without worrying about it not fitting with the rest of my home’s neutral colors.

prepping-room-before-painting

Before I began painting, I began by prepping the room with FrogTape®.

painting-the-playroom

Besides offering several different widths, FrogTape® offers a tape specifically for delicate surfaces as well as their classic, multi-surface tape.

Using Frog Tape to Paint (1 of 1)

The yellow delicate surface FrogTape® was used on the wallpapered wall.

painting-with-frog-tape

frog-tape-on-wallpaper

And it was also used on the chalkboard wall.

frog-tape-for-delicate-surfaces

frog-tape-on-chalkboard-wall

The result was crisp paint lines and no damage to my wallpaper or chalkboard. I used the green multi-surface FrogTape® on all the other areas – mainly the trim.

frog-tape

clean-lines-with-frog-tape

FrogTape® brand painter’s tape is the only painting tape treated with patented PaintBlock® Technology. PaintBlock® reacts with the water in latex paint and instantly gels to form a barrier against paint bleed giving you the sharpest paint lines possible – which is especially important with my bold color choice!

bold-green-accent-wall

bold-green-accent-wall-with-frog-tape

This space is constantly evolving as the kids get older.  I want this room to be fun and inviting.

kelly-green-playroom

The green adds an entirely new life to everything.  The colors seem more vibrant and the toys more fun.

bold-toy-room I also love the green next to the black and white frame wallpaper.

green-playroom

I would love to know – what color are you currently obsessing over?  Are you brave enough to cover an accent wall with that color?

Go create something!

Are you new to my blog? Go HERE to see my home tour and HERE to shop for items I use in our home.

Find me on Facebook | Instagram | Twitter Pinterest

*This post contains affiliate links and is a sponsored post by FrogTape®. I take pride in reviewing only products that fit my brand and will be beneficial to my readers. And while this post is sponsored, all the opinions are my own.

Paint

Painted Faucet Update – Two Years Later

Painted Faucet Update – Two Years Later

One of my first (and most popular) DIY projects in our new home was our painted faucet.

Painted Faucet Update - Over Two Years Later

Our home was filled with lots of brass, and I was loving oil-rubbed bronze everything at the time.  Since moving into a new home comes with lots of expenses, I could not justify replacing a faucet that worked.  As a girl who turns to paint to solve almost any problem, I decided to paint it.  I knew the worst thing that could happen would be buying a new faucet.

sink.2

In the early spring of 2014, I said goodbye to the shiny brass faucet and welcomed an oil-rubbed bronze faucet.

Painted Faucet - over 2 years later (1 of 1)

Being a little bit of a germ freak meant that that painted faucet experience a lot beyond normal use.  It was scrubbed with harsh cleaners and surprisingly held up fairly well.  The first year I would occasionally touch up nicks with a q-tip and paint.  However, I stopped the touch-ups in year two.

Painted Faucet Drain - over 2 years later (1 of 1)

After 2.5 years, there was quite a bit of paint missing from the drain.  I knew the painted faucet was temporary (and I had quit touch-ups long ago), so I decided it was time to say goodbye to the painted faucet.

Why I chose to paint my faucet (1 of 1)

I had no idea what the amount of work replacing the faucet would require.  We (when I saw “we” I actually mean my dad) had to remove the pedestal sink from the wall to even get back to the faucet.  Removing the pedestal sink was just a chain reaction which meant removing part of my paneled wall which required the paneling to be redone and recaulked and repainted.

Inexpensive Bathroom Updates (1 of 1)

This post contains some affiliate links for your convenience. Click here to read my full disclosure policy.

It was all worth it for my Ultra UF55113 Two-Handle Brushed Nickel Lavatory Faucet.  

I think it is funny that all I wanted 2.5 years ago was a dark, oil-rubbed bronze faucet.  Then when it came time to select a replacement I went with brushed nickel.  If I had waited a little longer, I may have ended up with another brass faucet.  Preferences and styles change so fast!

The end of the painted faucet (1 of 1)

This faucet cost a little more than my painted version, but having a pretty, brand-new faucet is wonderful!

DIY Painted Faucet (1 of 1)

Do I think painting the faucet was worth it?  

Absolutely!   It bought me over two years of replacing a faucet!

Go create something!

Are you new to my blog? Go HERE to see my home tour and HERE to shop for items I use in our home.

Find me on Facebook | Instagram | Twitter Pinterest

Home

JORD Wood Watch Review

I’m excited to share my JORD Wood Watch Review today.

JORD Wood Watch Review & a Giveaway

I have always loved watches – not only because I am a freak about time, but because I love how stylish they can be.  I was excited about the opportunity to partner with JORD wood watches.  Their hand-crafted, one-of-a-kind wood watches are absolutely gorgeous and unique. JORD watches are made from untreated, natural wood with scratch-proof glass.

 All you need to do is enter because everyone will receive a $20 credit just for entering!

jord-wood-watches

If the watches weren’t great enough on their own, they come packaged beautifully in a wooden keepsake box. JORD watches range in price from $129-$395 USD and ship for free in the United States.  The watches are customized to fit the size of your wrist (with an easy measuring tape from the site).

jord-wood-watchs-women

There are several sizes, wood types, and face colors to choose from, but I fell in love with the Frankie series in dark sandalwood and emerald.

jord-wood-watch

I want a watch that gets noticed, and this one definitely does with its oversized face.  And, I love how surprisingly lightweight it is.

great-watches-for-gifts

I made this DIY jewelry holder (which has also been used as a sink organizer) using thrift store finds – a salad plate and a candlestick holder.  You can see the full tutorial HERE. Would you like a wood watch, too after reading my JORD wood watch review?

Go create something!

Are you new to my blog? Go HERE to see my home tour and HERE to shop for items I use in our home.

Find me on Facebook | Instagram | Twitter Pinterest

*This post contains affiliate links and is a sponsored post by JORD Wood Watches. I take pride in reviewing only products that fit my brand and will be beneficial to my readers. And while this post is sponsored, all the opinions are my own.

We're On Instagram
I love this chair and side table from @zgallerie that I decided to try it in my office/library. I’m not sure where I love it more - here or my bedroom! It adds so much elegance and charm to the spaces. Use my code SY5 at checkout for 5% off your entire purchase.
Shop My Favorites by commenting LINKS or through the link in my bio #ZGallerie #MyZgallerie #Zgallerie #ModernLuxury #LuxuryInterior

...

32 11
We waited 13 years for this - and our house looks happier with her glow-up!

We went from a drafty single door (with a 90s glass inlay I poorly covered up) to double doors that allows in more light and feel right for our home.

What do you think?

...

90 38
My patio is all ready for warmer weather thanks to the new launch with @livabliss + @galeyalix! I’m LOVING the checkerboard outdoor rug. Comment “PATIO” and I’ll send you the links! #Livabliss #LivablissHome #GaleyALixxLivabliss #HomeDecor #Rugs

...

41 16
I’ve been slowly refreshing our bedroom and recently added this beautiful swivel chair and side table from @zgallerie! They add the perfect elegant modern touch to the space. Use my code SY5 at checkout for 5% off your entire purchase. Shop My Favorites by commenting “LINKS” or through the link in my bio. 
#gifted #ZGallerie #MyZgallerie #Zgallerie #ModernLuxury

...

21 16
What started as a leak turned into my dream bathroom ✨ I partnered with @wayfair and found everything - from checkerboard tile to the vanities, mirrors, and faucets. Comment “LINK” and I’ll send you all my favorite finds! *Shower glass coming soon! #ad #wayfaircreator #homereno

...

70 34
@wayfair is helping us turn a disaster into something beautiful ✨A leak from our upstairs shower led to a full remodel, and I can’t wait to show you the AFTER! Bathroom remodel reveal coming soon. Comment “LINKS” and I’ll send all my Wayfair favorites! #ad #wayfaircreator #wayfair #homereno

...

48 15
*TWO THINGS that make wallpaper removal easy* Wallpaper has come a long way and there’s no need to be scared of it anymore! Before I hang wallpaper, I size the walls and often use pre-pasted SureStrip wallpaper that is activated with water! Comment WALLPAPER for easy to remove wallpaper links!

...

41 29
What a difference pattern can make in a space! 

Are you ready to try wallpaper in your home?

...

131 46
2016 didn’t seem that long ago until I dug through my blog for old home photos. 😳

...

112 13
Dreaming of spring days while winter does its thing.

...

63 14