DIY

Square Paneled Wall

Square-Paneled-Wall-Treatment

About five years ago, we added a square paneled wall treatment to our dining room, and you can see that tutorial HERE. It was the first of many wall treatments we have done over the years, and we have really loved it.

It was a medium gray for the first few years of its life.

And then (just like I always do), I decided to switch it up and wanted a change. I painted the square paneled wall treatment off-white (the same color as the trim in the room) to brighten up the dining room.

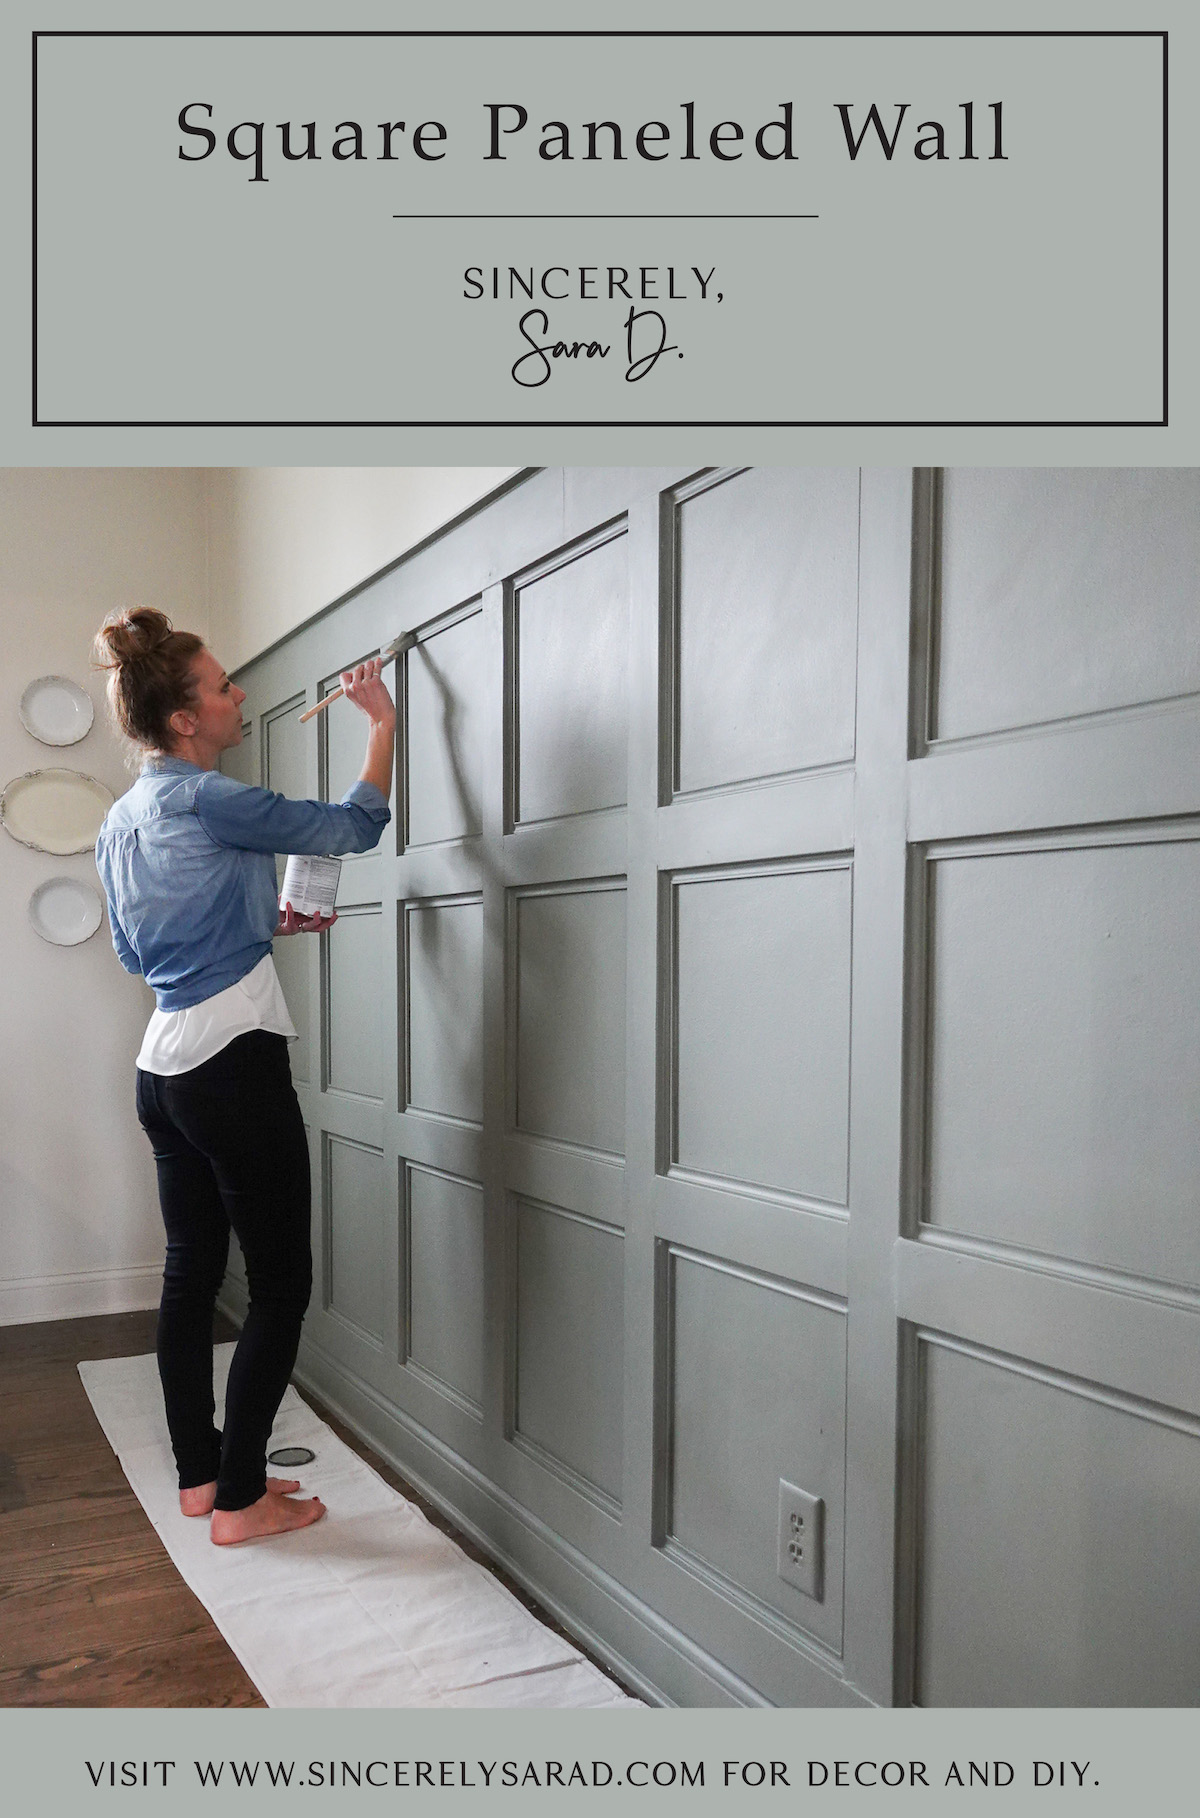
I have always liked the wall treatment but felt like something was missing – like it wasn’t quite elegant enough for the space. It needed a little more detail, so I decided to fix that and added some additional smaller molding to the inside of each square. It’s all in the details, right?

This wasn’t a hard addition, but it was time-consuming cutting that 45-degree angle on each of those interior pieces of molding. Although we tried, those square are not equal sizes. Even being off an eighth of an inch made a difference on this project and meant I couldn’t cut mitered corners in batches and became a little bit of a jigsaw puzzle.

On a project like this, I prefer brad nails over wood glue and/or construction adhesive, and wood filler and caulk will be your best friends to hide the gaps and nail holes.

Again, if you are looking for the original tutorial for this panel wainscoting, you can go HERE to see how we originally created this accent wall (pre-additional wall molding). We used MDF instead of real wood since we were painting it.

Once I had the small molding installed, I painted the entire wall treatment including the baseboard in a greenish-gray (I know – back to the darker colored wall again). I wanted a different color, and it is Benjamin Moore in Storm Cloud Gray. It is even more beautiful in person.

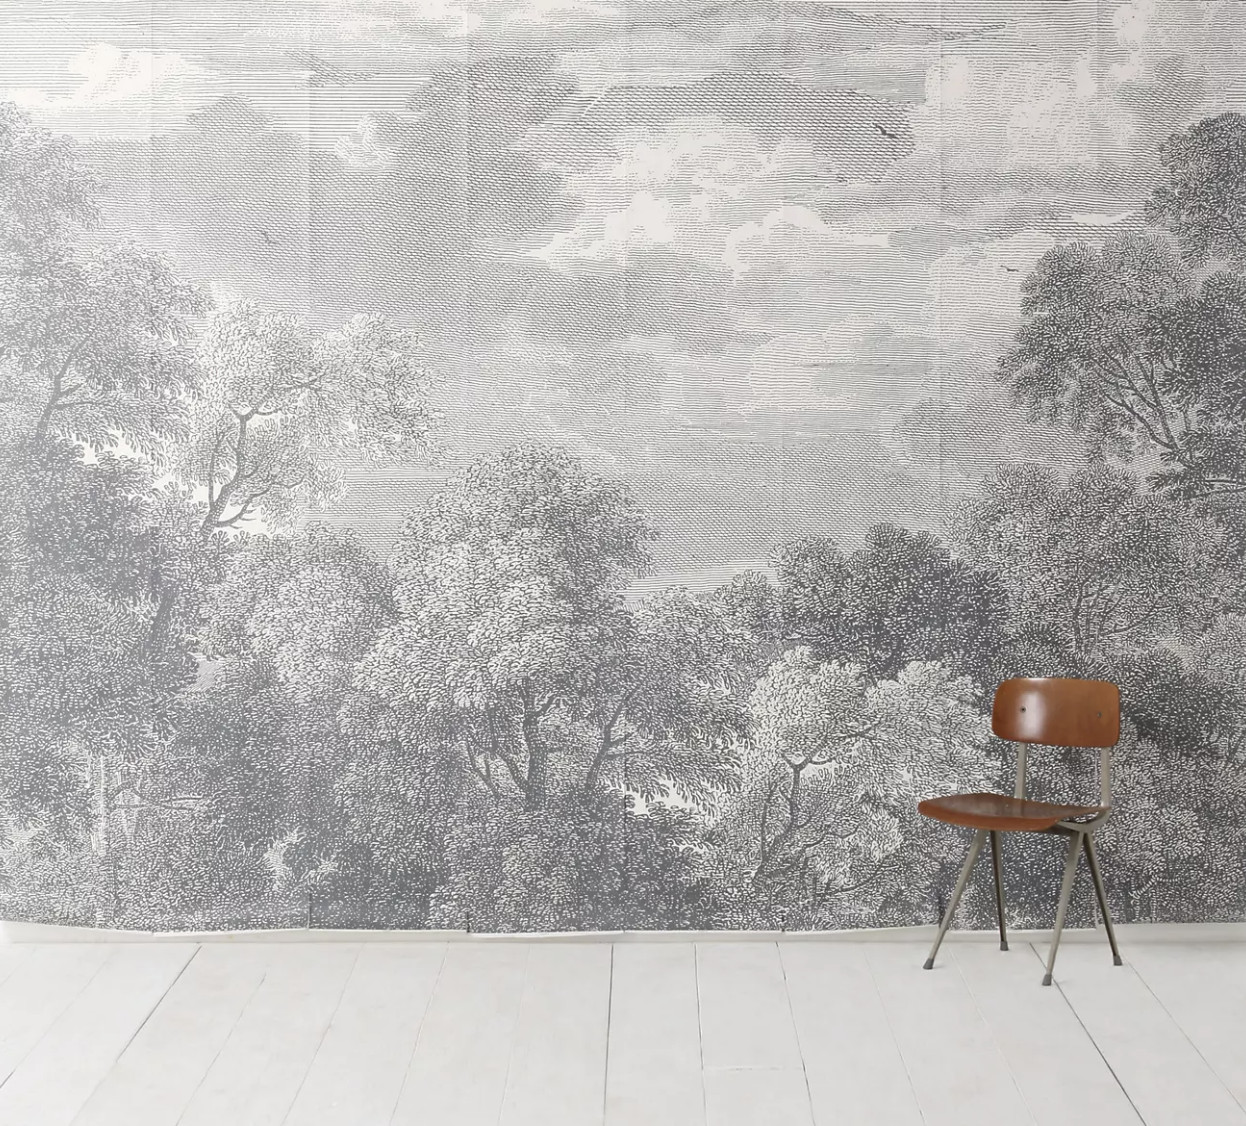
Want even more feature wall ideas? They add texture and a beautiful focal point to any wall space.

I have created several accent walls in our home (everything from wainscoting to board and batten to shiplap to plank walls), and you can see all the details on those HERE. No contractor is required for these DIY wall treatments which add so much visual interest!

*UPDATE* You guys will think I’m crazy, but we replaced this wall treatment (after almost 6 years) with a thin paneled wall treatment that goes to the ceiling and all around the room. You can see all the details HERE. We tried to figure out a way to keep the square paneled wall, but we couldn’t make it work in the rest of the room since it was solely planned as an accent wall.

Tag me on Instagram or Facebook or email me pictures of your wall treatments! I always love seeing what you’re up to.

Go create something!

Are you new to my blog? Go HERE to see my home tour and HERE to shop for items I use in our home.

Find me on Facebook | Instagram | Twitter Pinterest

Shop the Post
DIY

DIY Accent Wall Ideas

Over the years, we have added several wall treatments to our home. They provide a huge impact for little cost to any space. I’ve rounded up my favorites and am sharing DIY accent wall ideas with you. These wall ideas work everywhere from the living room to bedrooms!

Decorative Wall Moulding

DIY accent wall ideas

I added this DIY decorative wall moulding to our landing upstairs. It made a huge impact without breaking the bank. Also, this particular treatment is fairly easy and a great beginner accent wall. It is a great way to get your feet wet!

Board & Batten

I love what this board and batten wall added to my boys’ room. I created this wall solo in one afternoon and it cost me less than $100! It creates a beautiful focal point in the space.

Dining Room Wall Treatment

This dining room wall treatment was the first one we added to our home. It has been through several colors over the years, but it still looks great!

DIY Chair Rail Panel Moulding

Our hallway was dark and boring before I added the DIY chair rail panel moulding. This is an easy update, but unfortunately my peel-and-stick wall frames are no longer available. However, the frames can be built with a little effort.

Elegant Wall Paneling

This elegant wall paneling is my favorite wall treatment. It is perfect for the space and a great solution when you are trying to figure out what to do with the area around the fireplace.

Here’s a quick video showing how I created the wall:

Which wall treatment is your favorite? Please let me know if you use any of the tutorials to create an accent wall in your home!

Are you new to my blog? Go HERE to see my home tour and HERE to shop for items I use in our home.

Find me on Facebook | Instagram | Twitter Pinterest

Paint

Paint Accent Walls & Bookshelves

How to paint accent walls and bookshelves with FrogTape

As I announced last week, I am participating in FrogTape’s Paintover Challenge. I was given a bucket of FrogTape and a $1000 budget to makeover a space. I’m sharing how to paint accent walls and bookshelves with FrogTape.

I am making over our home library which was previously ALL GRAY. I have always wanted a more exciting space, and I was inspired by the Luxe Modern design trend.

I began by painting the gray (and trim) walls an off-white. I used FrogTape to tape off the trim.

After the trim and walls were painted I began scheming about my wall treatment using FrogTape. I was inspired by a wall treatment I saw on a recent trip to Chicago (see more on that in this post), and I drew out a plan on grid paper.

Once I figured out a scale, I transferred the pattern with pencil onto the focal wall.

It was a little bit of a process. I first measured and drew out squares.

Once I had those in place, I created the diamonds.

I was then ready for the FrogTape. I taped a piece down the center (this piece will later be removed since it’s where I will paint).

Next, I added to strips of tape to either side and then removed the center piece.

I did this to all the lines going in the same direction and painted them.

Once dry, I removed the FrogTape.

FrogTape’s PaintBlock technology is amazing! It keeps paint out and keeps line sharp.

Once the first side was done, I repeated the entire process with the lines going the other way.

I did discover a little trick. I was using so much FrogTape, and I wanted to be sure I didn’t miss pressing any of the tape down. I ran a fine-grit sandblock over the tape to seal the tape.

The result was pretty impressive!

As in my inspiration wall treatment, I added medallions to the wall where the lines intersected.

I found these medallions on ebay for next to nothing and painted them gold.

I used my nail gun to adhere them to the wall.

I completed the wall treatment by adding organic dots along the geometric lines to soften the space.

Next up was the giant bookshelf!

I used Frog Tape to tape of the outside of the shelves as well as the ladder rung.

I used a rich matte black on the bookshelves, and it is gorgeous!

FrogTape left a perfect line and protected my marble floors and white ceiling.

FrogTape was also helpful in adding metallic paint to some accent pieces.

I can’t wait to show you the reveal next week!

UPDATE: Want to see the final reveal? GO HERE!

How to paint accent walls and bookshelves with FrogTape is a post written by me on behalf of FrogTape. All opinions are 100% mine.

Go create something!

Are you new to my blog? Go HERE to see my home tour and HERE to shop for items I use in our home.

Find me on Facebook | Instagram | Twitter Pinterest

Shop the Post